Version 1.0, 2019-Nov-4
Copyright 2019. ZHing. All rights received.
本文讲述在Unity 2019.3中,利用DXR实现Realtime Ambient Occlusion的一个案例。Ambient Occlusion以下简称AO。利用Ray Tracing实现AO非常简单可谓是Ray Tracing Realtime应用的Hello World.
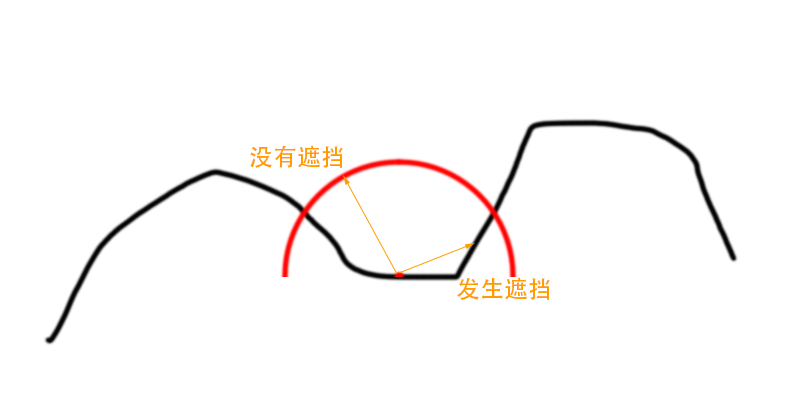
计算AO的方法非常简单,基于物体表面的一点,沿法线建立半球,在半球中按cos分布随机发射光线采样周围指定半径。如果光线被阻挡则计入AO值,没有被阻挡则不计入AO值。
for (int i = 0; i < MAX_SAMPLES; ++i)
{
  const uint2 noiseCoord = uint2((currentPixelCoord.x + i) % 256, (currentPixelCoord.y + i * i) % 256);
  float3 positionWS = GetWorldPositionByPixelCoordAndDepth(currentPixelCoord, normalAndDepth.w);
  float3 normalWS = normalAndDepth.xyz;
  float3 directionWS = SampleHemisphereCosine(_NoiseTexture[noiseCoord].xy, normalWS);

  RayDesc rayDescriptor;
  rayDescriptor.Origin = positionWS - 1e-4f * normalWS;
  rayDescriptor.Direction = directionWS;
  rayDescriptor.TMin = 1e-5f;
  rayDescriptor.TMax = 0.075f;

  RayIntersectionAO rayIntersection;
  rayIntersection.ao = 0.0f;

  TraceRay(_AccelerationStructure, RAY_FLAG_CULL_BACK_FACING_TRIANGLES, 0xFF, 0, 1, 0, rayDescriptor, rayIntersection);
  finalValue += rayIntersection.ao;
}
finalValue /= MAX_SAMPLES;
首先通过获取世界空间中的位置和法线信息。
SampleHemisphereCosine:根据噪声贴图产生的随机数在以normalWS定义的半球中随机产生cos分布的矢量directionWS。
rayDescriptor.Origin = positionWS - 1e-4f * normalWS:rayDescriptor.Origin向物体内部偏移了一小段距离,可以减少Ray Tracing检测这档时的误差。
TraceRay 的返回值(1:被遮挡。0:没遮挡)。
[shader("miss")]
void MissShader(inout RayIntersectionAO rayIntersection : SV_RayPayload)
{
  rayIntersection.ao = 0.0f;
}
miss shader 没有被遮挡返回0。
[shader("closesthit")]
void ClosestHitShader(inout RayIntersectionAO rayIntersection : SV_RayPayload, AttributeData attributeData : SV_IntersectionAttributes)
{
  rayIntersection.ao = 1.0f;
}
closesthit shader 物体的材质被遮挡返回1。
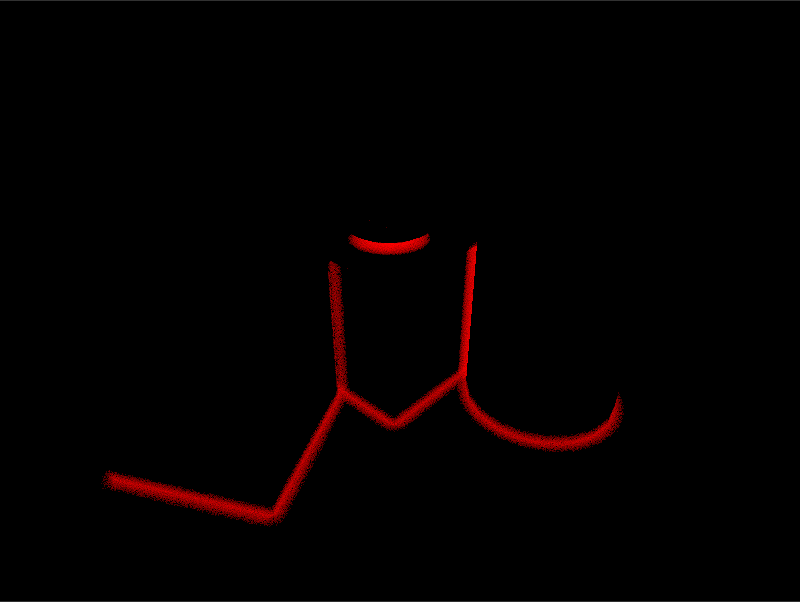
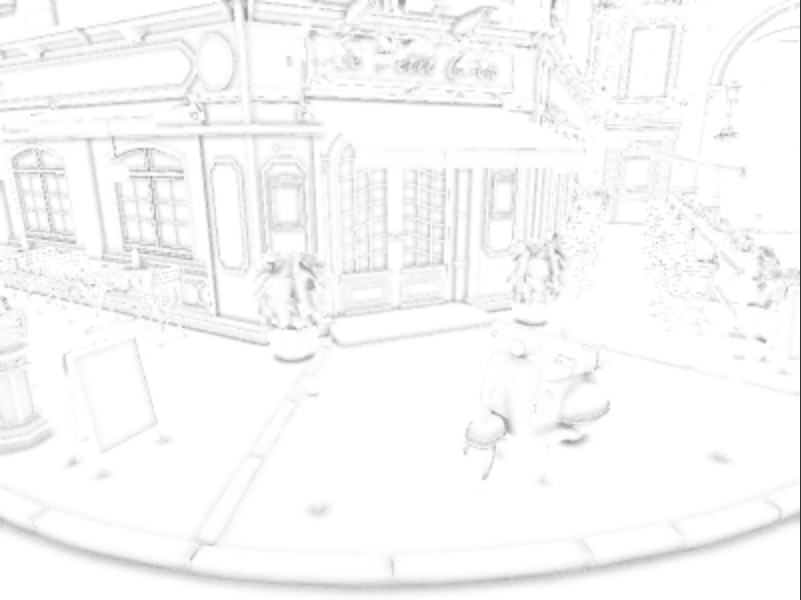
渲染目标为 GraphicsFormat.R16_SFloat 格式,因此显示为红色。
为什么使用GBuffer,而不使用Ray Tracing获取世界空间中的Position和Normal?
Realtime下使用Ray Tracing最重要的优化就是尽可能的少发射光线,并且一般都会和Rasterization共同使用。因此利用Rasterization阶段已经计算好的GBuffer将可以减少发射光线的数量。
本文所实现的随机采样都使用了预先生成好的Blue Noise贴图,Blue Noise和使用White Noise随机采样相比,更适合Tiling同时能更高效的收敛。关于Blue Noise的论述已超出了本文的论述范畴。详细论述可以参看Bilateral Blue Noise Sampling、Blue-noise dithered sampling和噪声的颜色。
由于在Ray Tracing阶段为了减少采样,因此最终结果会充满了Noise。因此需要对Ray Tracing的结果进行Denoise处理。Denoise不论在Realtime还是Offline Ray Tracing中都至关重要,好的Denoise处理能大大减少进行的Ray Tracing采样数量,加快渲染时间。近年来ML的兴起也被应用到了Denoise上,参看NVIDIA® OptiX™ AI-Accelerated Denoiser、AMD Radeon™ ProRender 和Intel® Open Image Denoise。
本文论述重点是Ray Tracing AO,Denoise并不在本文论述范畴,Denoise展开了讲估计一本书也说不完。。。有兴趣可以参看GDC2019 Real-Time Path Tracing and Denoising in 'Quake 2'。
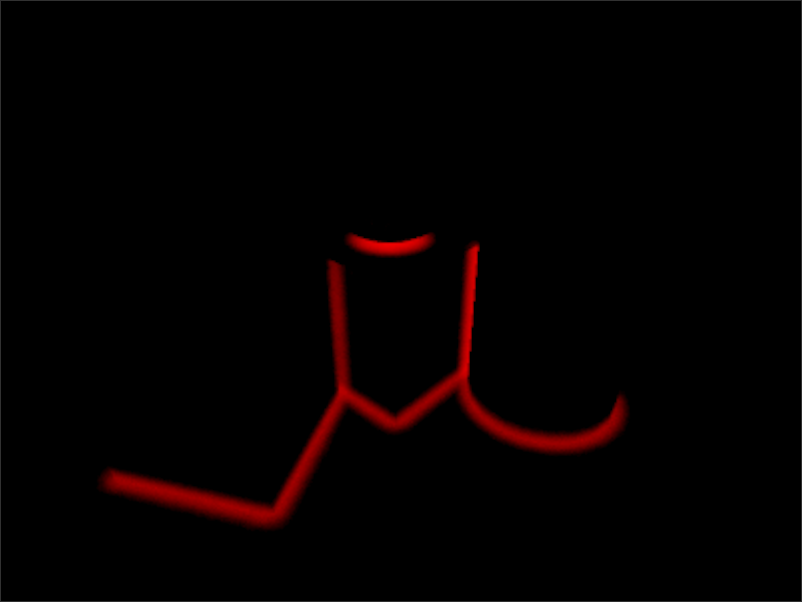
Denoise的结果
using (new ProfilingSample(cmd, "GBuffer"))
{
  cmd.SetViewProjectionMatrices(camera.worldToCameraMatrix, projectionMatrix);
  cmd.SetRenderTarget(gBuffer, outputDepth);
  cmd.ClearRenderTarget(true, false, Color.black);
  foreach (var renderer in SceneManager.Instance.renderers)
  {
    for (var subMeshIndex = 0; subMeshIndex < renderer.sharedMaterials.Length; ++subMeshIndex)
      cmd.DrawRenderer(renderer, renderer.sharedMaterial, subMeshIndex, renderer.sharedMaterial.FindPass("GBuffer"));
  }
}

context.ExecuteCommandBuffer(cmd);
cmd.Clear();

using (new ProfilingSample(cmd, "RayTracing"))
{
  cmd.SetRayTracingShaderPass(_shader, "RayTracing");
  cmd.SetRayTracingAccelerationStructure(_shader, _pipeline.accelerationStructureShaderId, accelerationStructure);
  cmd.SetRayTracingTextureParam(_shader, _NoiseTextureShaderId, _noiseTexture);
  cmd.SetRayTracingTextureParam(_shader, _GBufferShaderId, gBuffer);
  cmd.SetRayTracingTextureParam(_shader, _outputTargetShaderId, outputTarget);
  cmd.SetRayTracingVectorParam(_shader, _outputTargetSizeShaderId, outputTargetSize);
  cmd.DispatchRays(_shader, "AmbientOcclusionGenShader", (uint) outputTarget.rt.width,
    (uint) outputTarget.rt.height, 1, camera);
}

context.ExecuteCommandBuffer(cmd);
cmd.Clear();

using (new ProfilingSample(cmd, "Denoise"))
{
  const int areaTileSize = 8;
  var numTilesX = (intermediateBuffer.rt.width + (areaTileSize - 1)) / areaTileSize;
  var numTilesY = (intermediateBuffer.rt.height + (areaTileSize - 1)) / areaTileSize;
  cmd.SetComputeTextureParam(denoiser, _BilateralFilterKernelId, _NoiseTextureShaderId, _noiseTexture);
  cmd.SetComputeTextureParam(denoiser, _BilateralFilterKernelId, _GBufferShaderId, gBuffer);
  cmd.SetComputeTextureParam(denoiser, _BilateralFilterKernelId, _DenoiseInputShaderId, outputTarget);
  cmd.SetComputeVectorParam(denoiser, _outputTargetSizeShaderId, outputTargetSize);
  cmd.SetComputeTextureParam(denoiser, _BilateralFilterKernelId, _DenoiseOutputRWShaderId, intermediateBuffer);
  cmd.SetComputeFloatParam(denoiser, _DenoiserFilterRadiusShaderId, 0.1f);
  cmd.DispatchCompute(denoiser, _BilateralFilterKernelId, numTilesX, numTilesY, 1);

  numTilesX = (AOTexture.rt.width + (areaTileSize - 1)) / areaTileSize;
  numTilesY = (AOTexture.rt.height + (areaTileSize - 1)) / areaTileSize;
  cmd.SetComputeTextureParam(denoiser, _GatherKernelId, _DenoiseInputShaderId, intermediateBuffer);
  cmd.SetComputeTextureParam(denoiser, _GatherKernelId, _DenoiseOutputRWShaderId, AOTexture);
  cmd.DispatchCompute(denoiser, _GatherKernelId, numTilesX, numTilesY, 1);
}

context.ExecuteCommandBuffer(cmd);
cmd.Clear();

using (new ProfilingSample(cmd, "FinalBlit"))
{
  cmd.SetGlobalTexture(_GBufferShaderId, gBuffer);
  cmd.Blit(AOTexture, BuiltinRenderTextureType.CameraTarget, _finalBlitMat);
}
代码结构非常的清晰明了:GBuffer->RayTracingAO->Denoise->FinalCompose
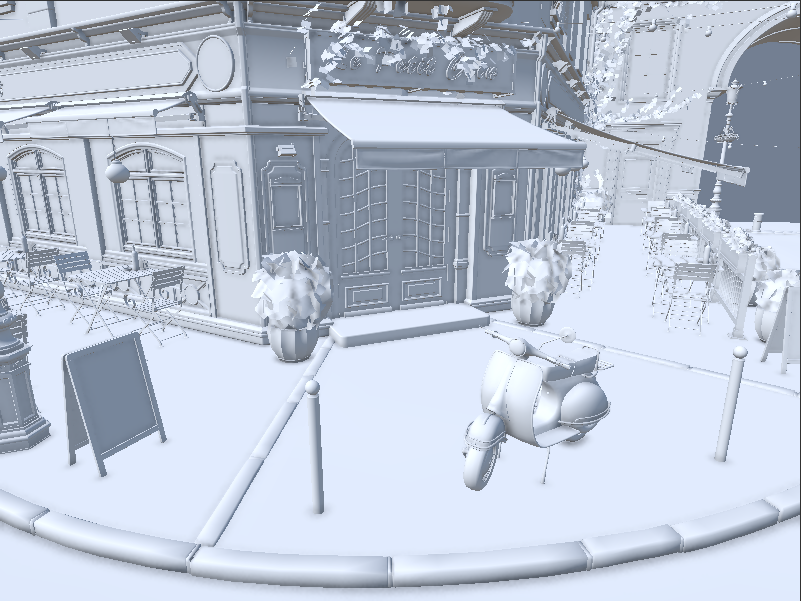
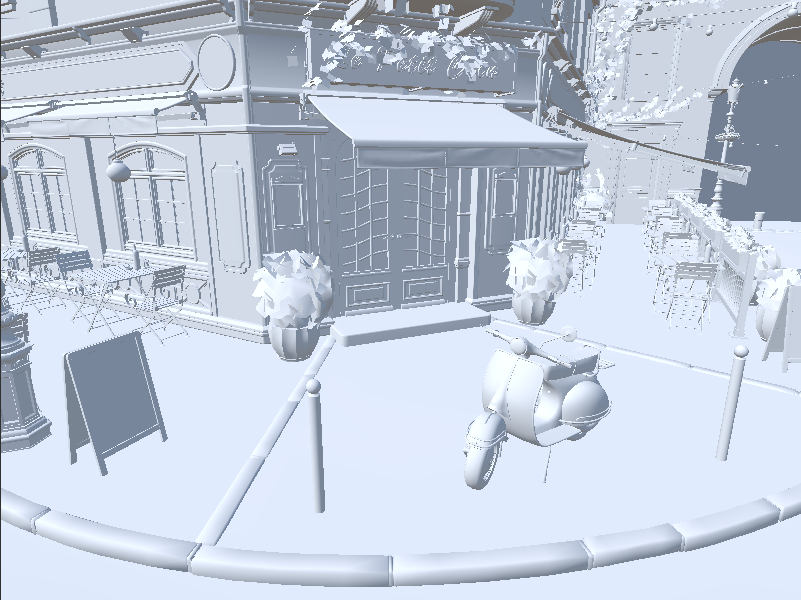
没有AO
AO信息
最终合成
