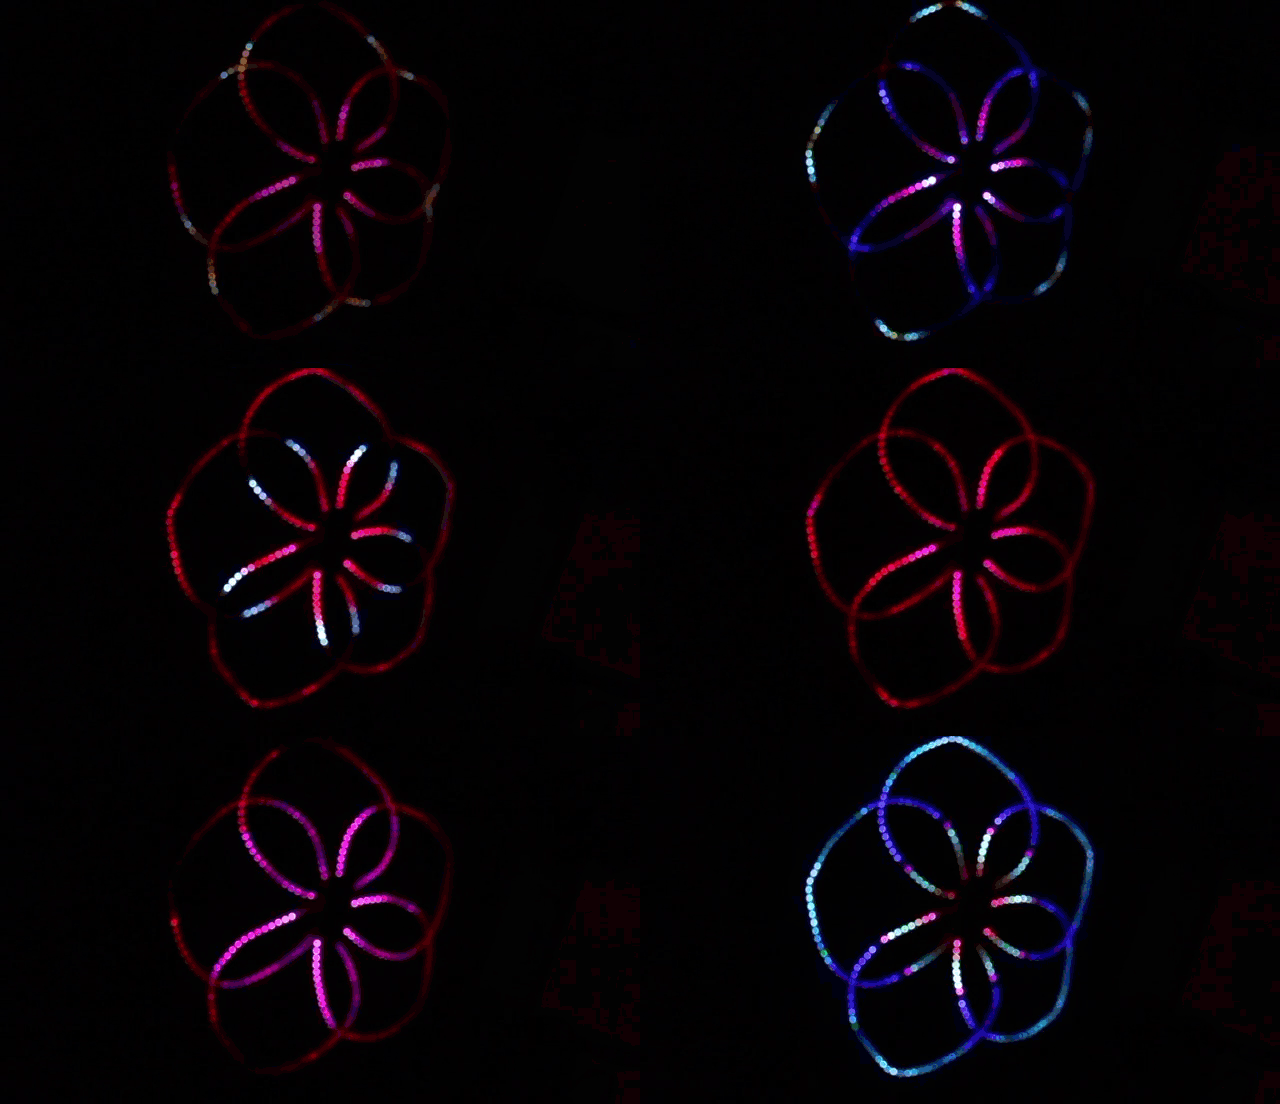
This project realizes a realtime music visualization LED strip.
The only hardware needed is an ESP32 board, a microphone, and a controllable LED strip.
The programs running on ESP32 is compiled in Arduino IDE. Besides, ESPHome platform is also supported.
| HARDWARE | RECOMMEND |
|---|---|
| an ESP32 Board | Nodemcu-32s |
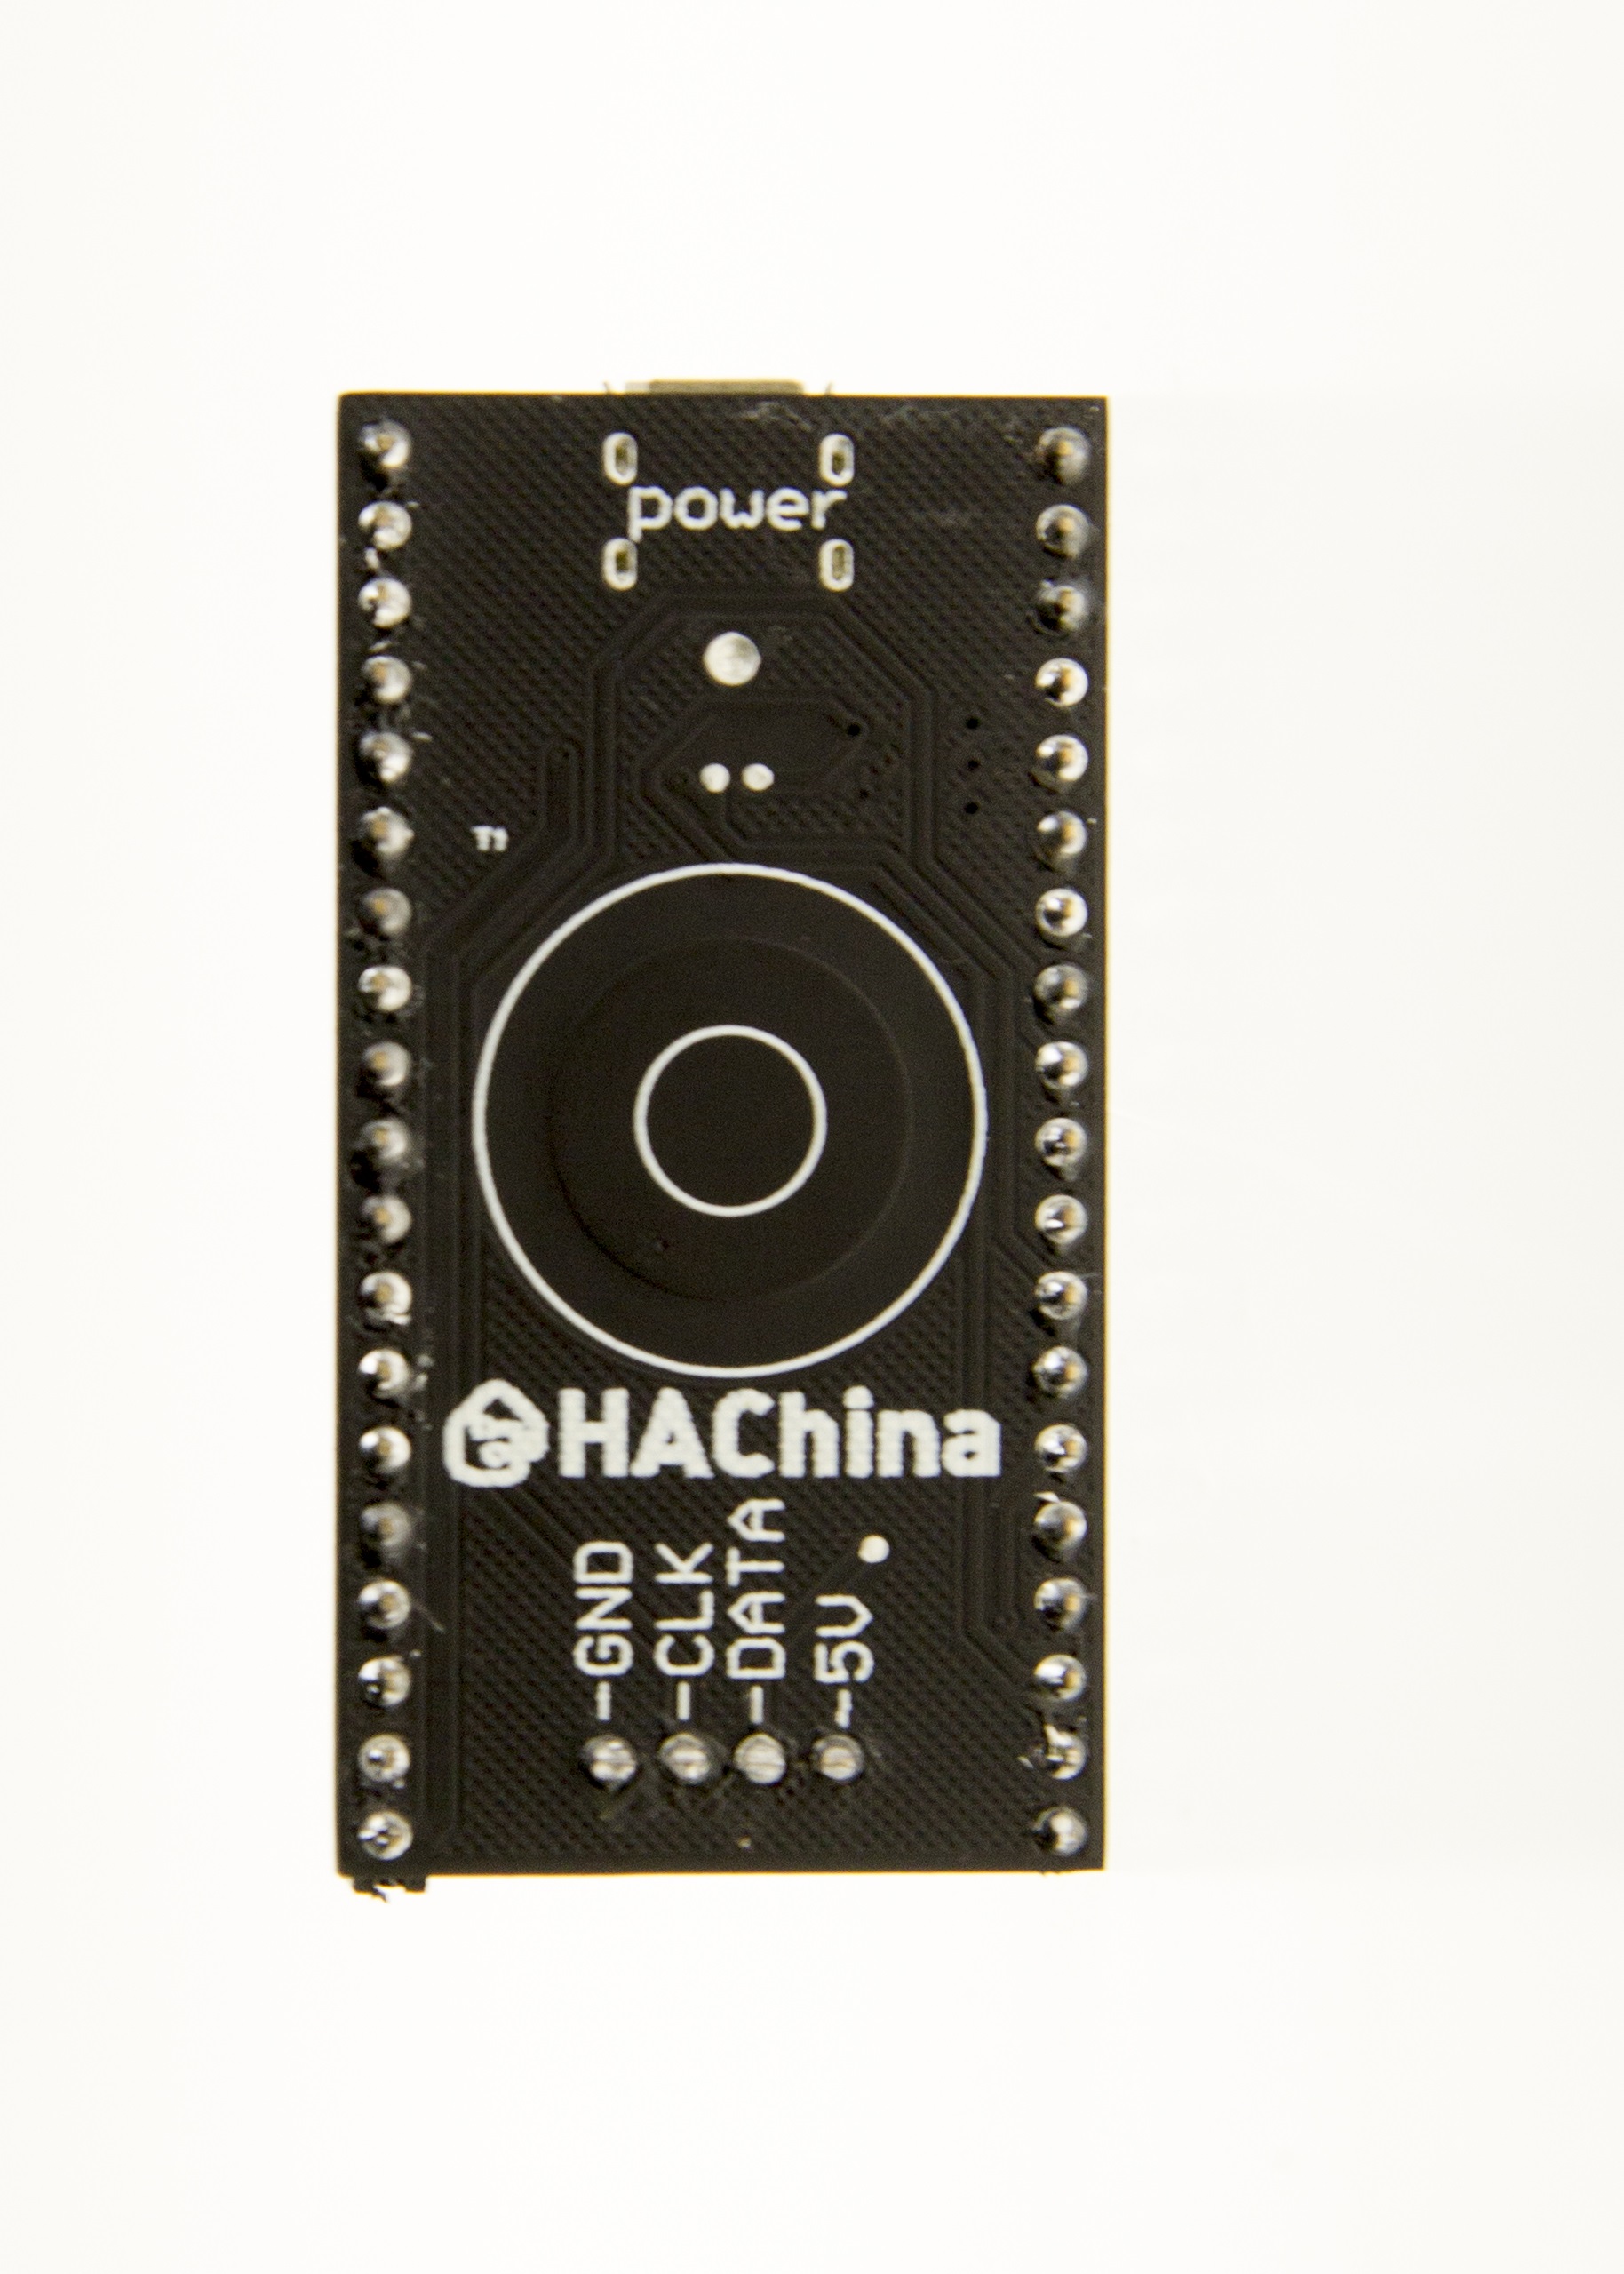
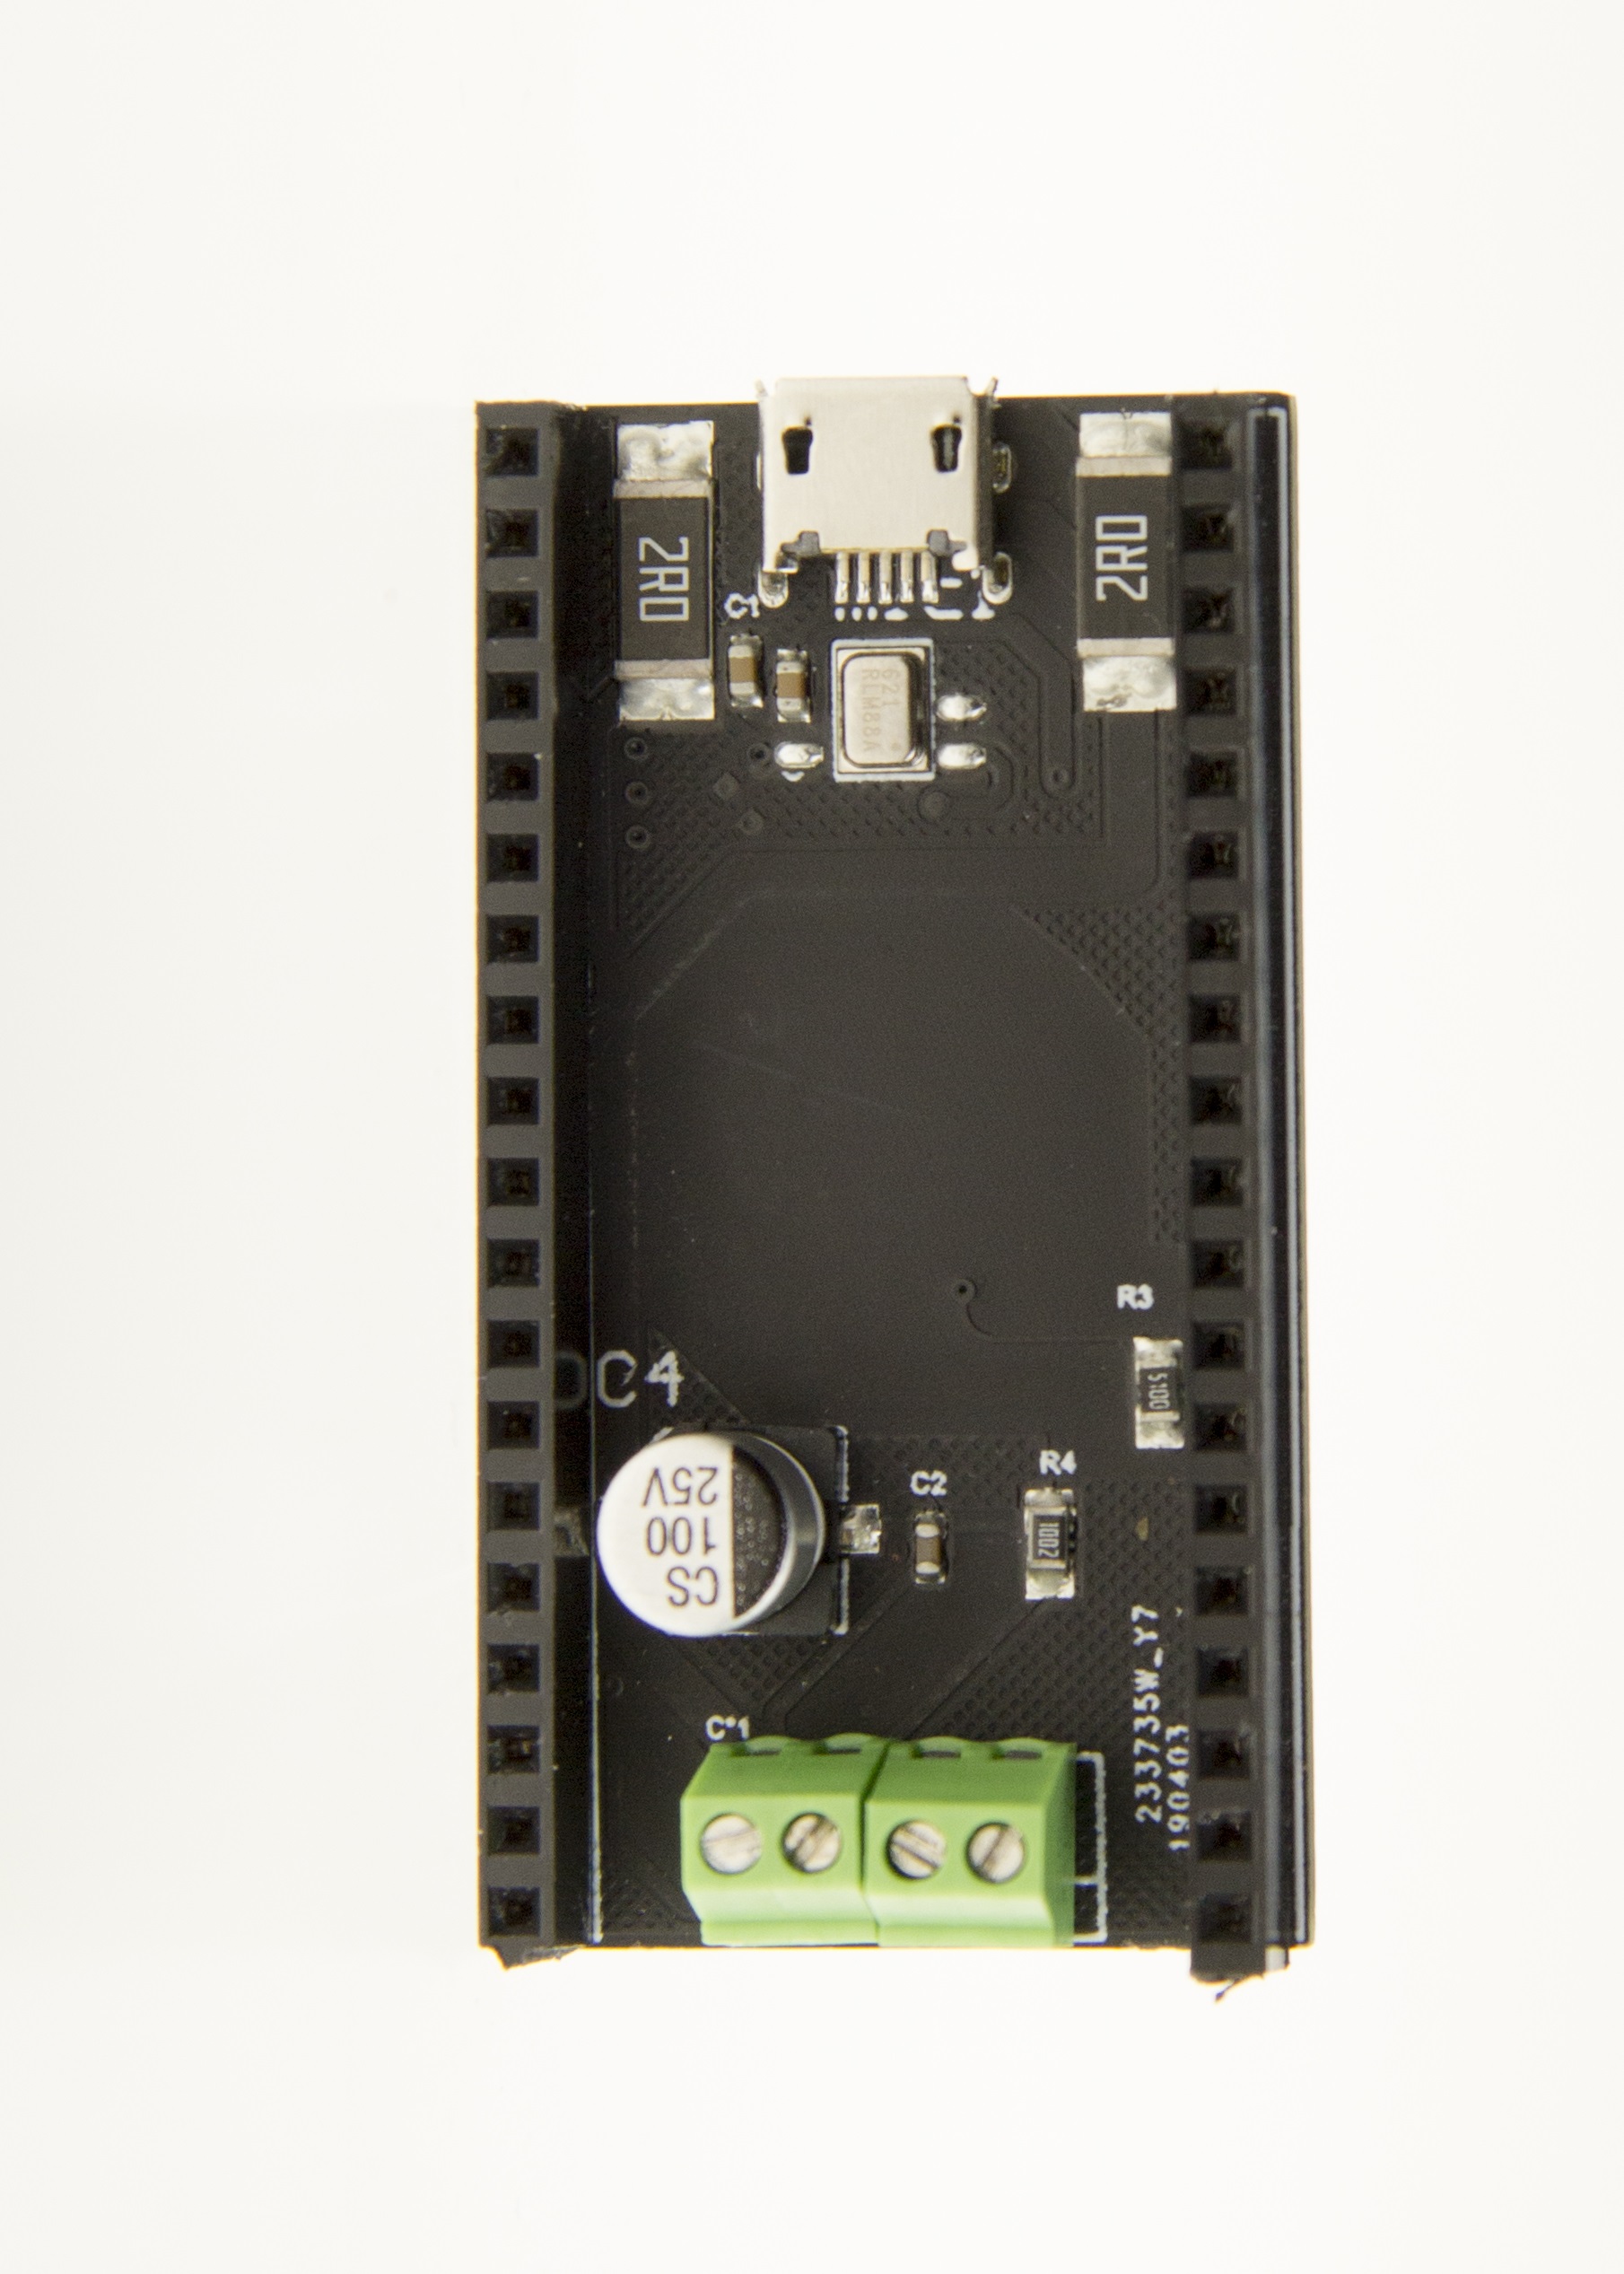
| a PDM Microphone | HaChina's Microphone Shield |
| a Controllable LED Strip | APA102/WS2812/... |
You can find all supported LED Strip in FastLED Libary.
-
How do they connect together?

If you use an I2S microphone, you should modify the program(I2s is supported by ESP32-IDF)
-
What's HaChina's Microphone Shield?
- It contains a PDM Microphone, a Touch Button, post connectors(making connection to LED strip easily).
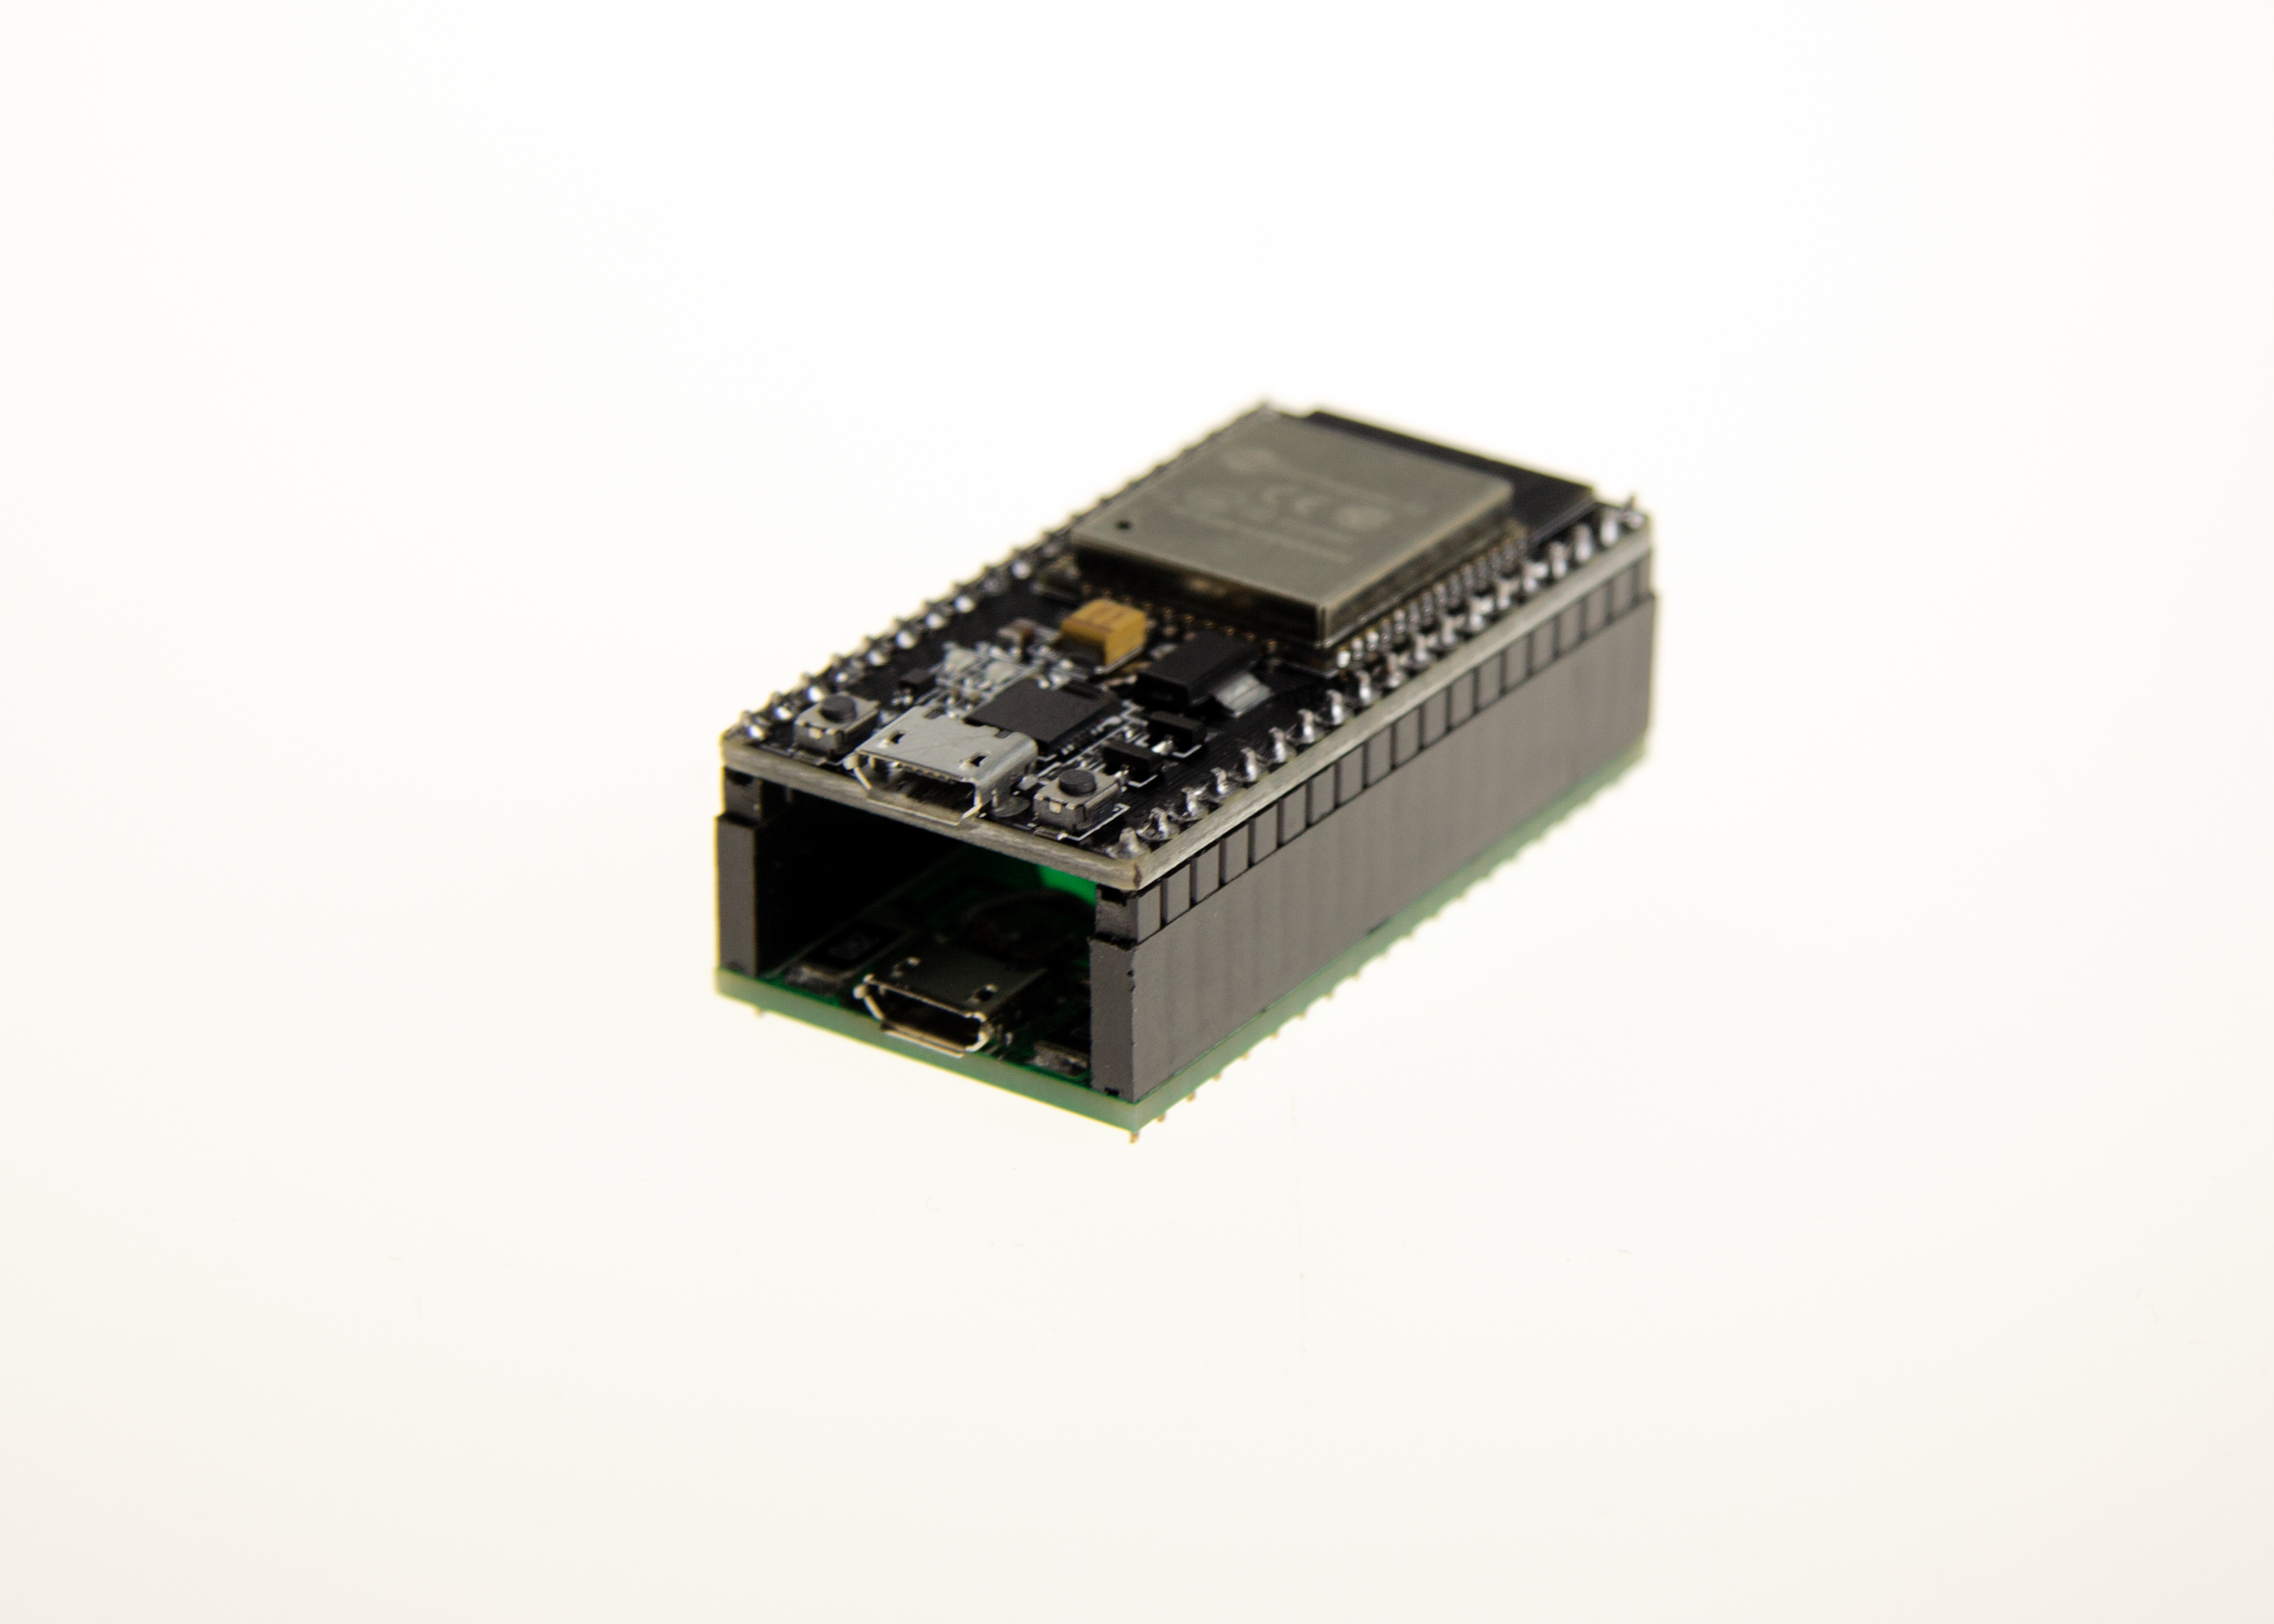
- It can be plugged into NodeMCU-32S directly.
- It can also act as a remote microphone for voice_assistant.
Touch Button is connected to GPIO32
-
Where can I buy HaChina's Microphone Shield?
You can buy it on taobao.
Or if you are not in mainland China, you can email your needs information to q648993779@gmail.com.
-
Install ESP32 Board
Add ESP32's package url in
Additional Boards Manager URLsof the menuPreferences:https://dl.espressif.com/dl/package_esp32_index.json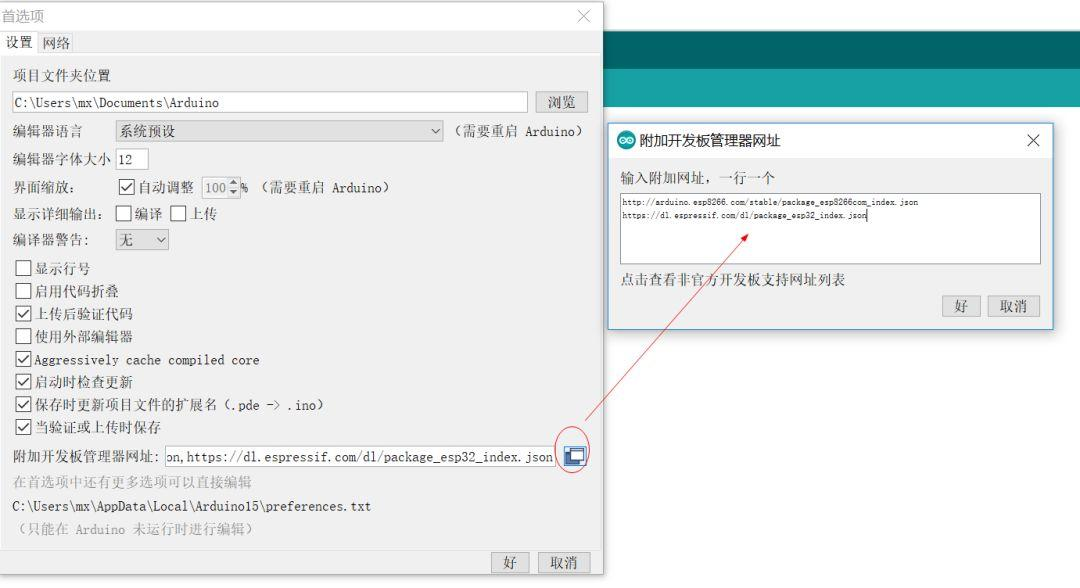
Open
Boards manager...in menuTools. SearchESP32, then install it.
-
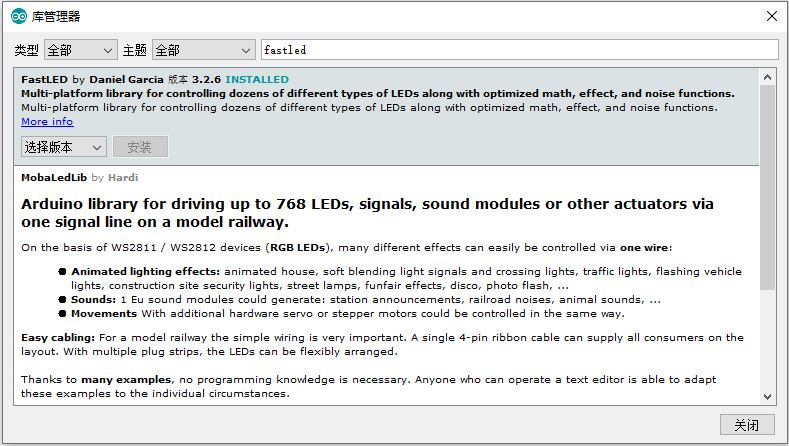
Install Fastled library in Arduino
Search and install
FastLEDin menuSketch/Include Library/Manage Libraries.... -
Clone the project
git clone https://github.com/zhujisheng/audio-reactive-led-strip -
Compile&Upload
-
Open
audio-reactive-led-strip.inoin Arduino -
Connect to ESP32 by the USB
-
Select the correct
BoardandPortin the menuTools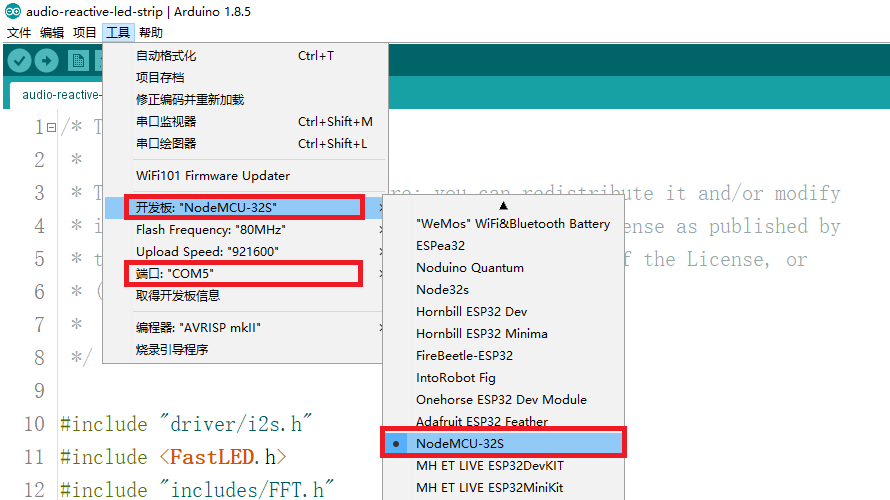
-
Upload
-
Modify
N_PIXELSin fileaudio-reactive-led-strip.ino, if the number of LEDs on strip is not60. -
Modify
FastLED.addLeds<...>(...)in fileaudio-reactive-led-strip.ino, if LED strip has a clock pin(e.g. APA102).
-
-
Copy Source Code to ESPHome's Config Directory
git clone https://github.com/zhujisheng/audio-reactive-led-strip
cp -r audio-reactive-led-strip/includes/ ~/esphome_config/
cp audio-reactive-led-strip/music_leds_esphome.h ~/esphome_config/
If you run on ESPHome Add-on, the ESPHome's config directory is
/config/esphome/(/config/is the HomeAssistant Core's config directory.) -
Config ESPHome Yaml
-
Generate the basic configuration yaml in ESPHome by wizard.
-
Add
includesin domainesphomeesphome: name: ...... platform: ESP32 board: ...... includes: - music_leds_esphome.h - includes/FFT.h - includes/ExpFilter.h - includes/VisualEffect.h - includes/gaussian_filter1d.h ......
-
Config the fastled light, and add some effects you like (as example below)
light:
  - platform: fastled_clockless
#  - platform: fastled_spi
    id: LedsStrip
    chipset: NEOPIXEL
    #chipset: APA102
    pin: GPIO21
    #data_pin: GPIO21
    #clock_pin: GPIO17
    num_leds: 60
    #rgb_order: BGR
    name: "MUSIC LEDS"
    effects:
      - addressable_rainbow:
      - addressable_lambda:
          name: Scroll with Music
          update_interval: 0s
          lambda: |-
            music_leds.ShowFrame(MODE_SCROLL, &it);
      - addressable_lambda:
          name: Energy with Music
          update_interval: 0s
          lambda: |-
            music_leds.ShowFrame(MODE_ENERGY, &it);
      - addressable_lambda:
          name: Spectrum with Music
          update_interval: 0s
          lambda: |-
            music_leds.ShowFrame(MODE_SPECTRUM, &it);
-
Compile and upload the firmware.
-
Config the esphome in HomeAssistant
Modify
num_ledsin configuration YAML, andN_PIXELSinmusic_leds_esphome.hboth, if the number of LEDS is not60. -
-
Config TouchPad
If a TouchPad is connected to ESP32( which is already included in the HaChina's Microphone Shield ), you can config it to control the LED Strip.
esp32_touch:
#  setup_mode: True
binary_sensor:
  - platform: esp32_touch
    name: "Touch Pad on ESP32"
    pin: GPIO32
    threshold: 1000
    on_press:
      then:
        - light.toggle: LedsStrip
https://github.com/scottlawsonbc/audio-reactive-led-strip
Zack-Xu, designer of the microphone shield PCB.
