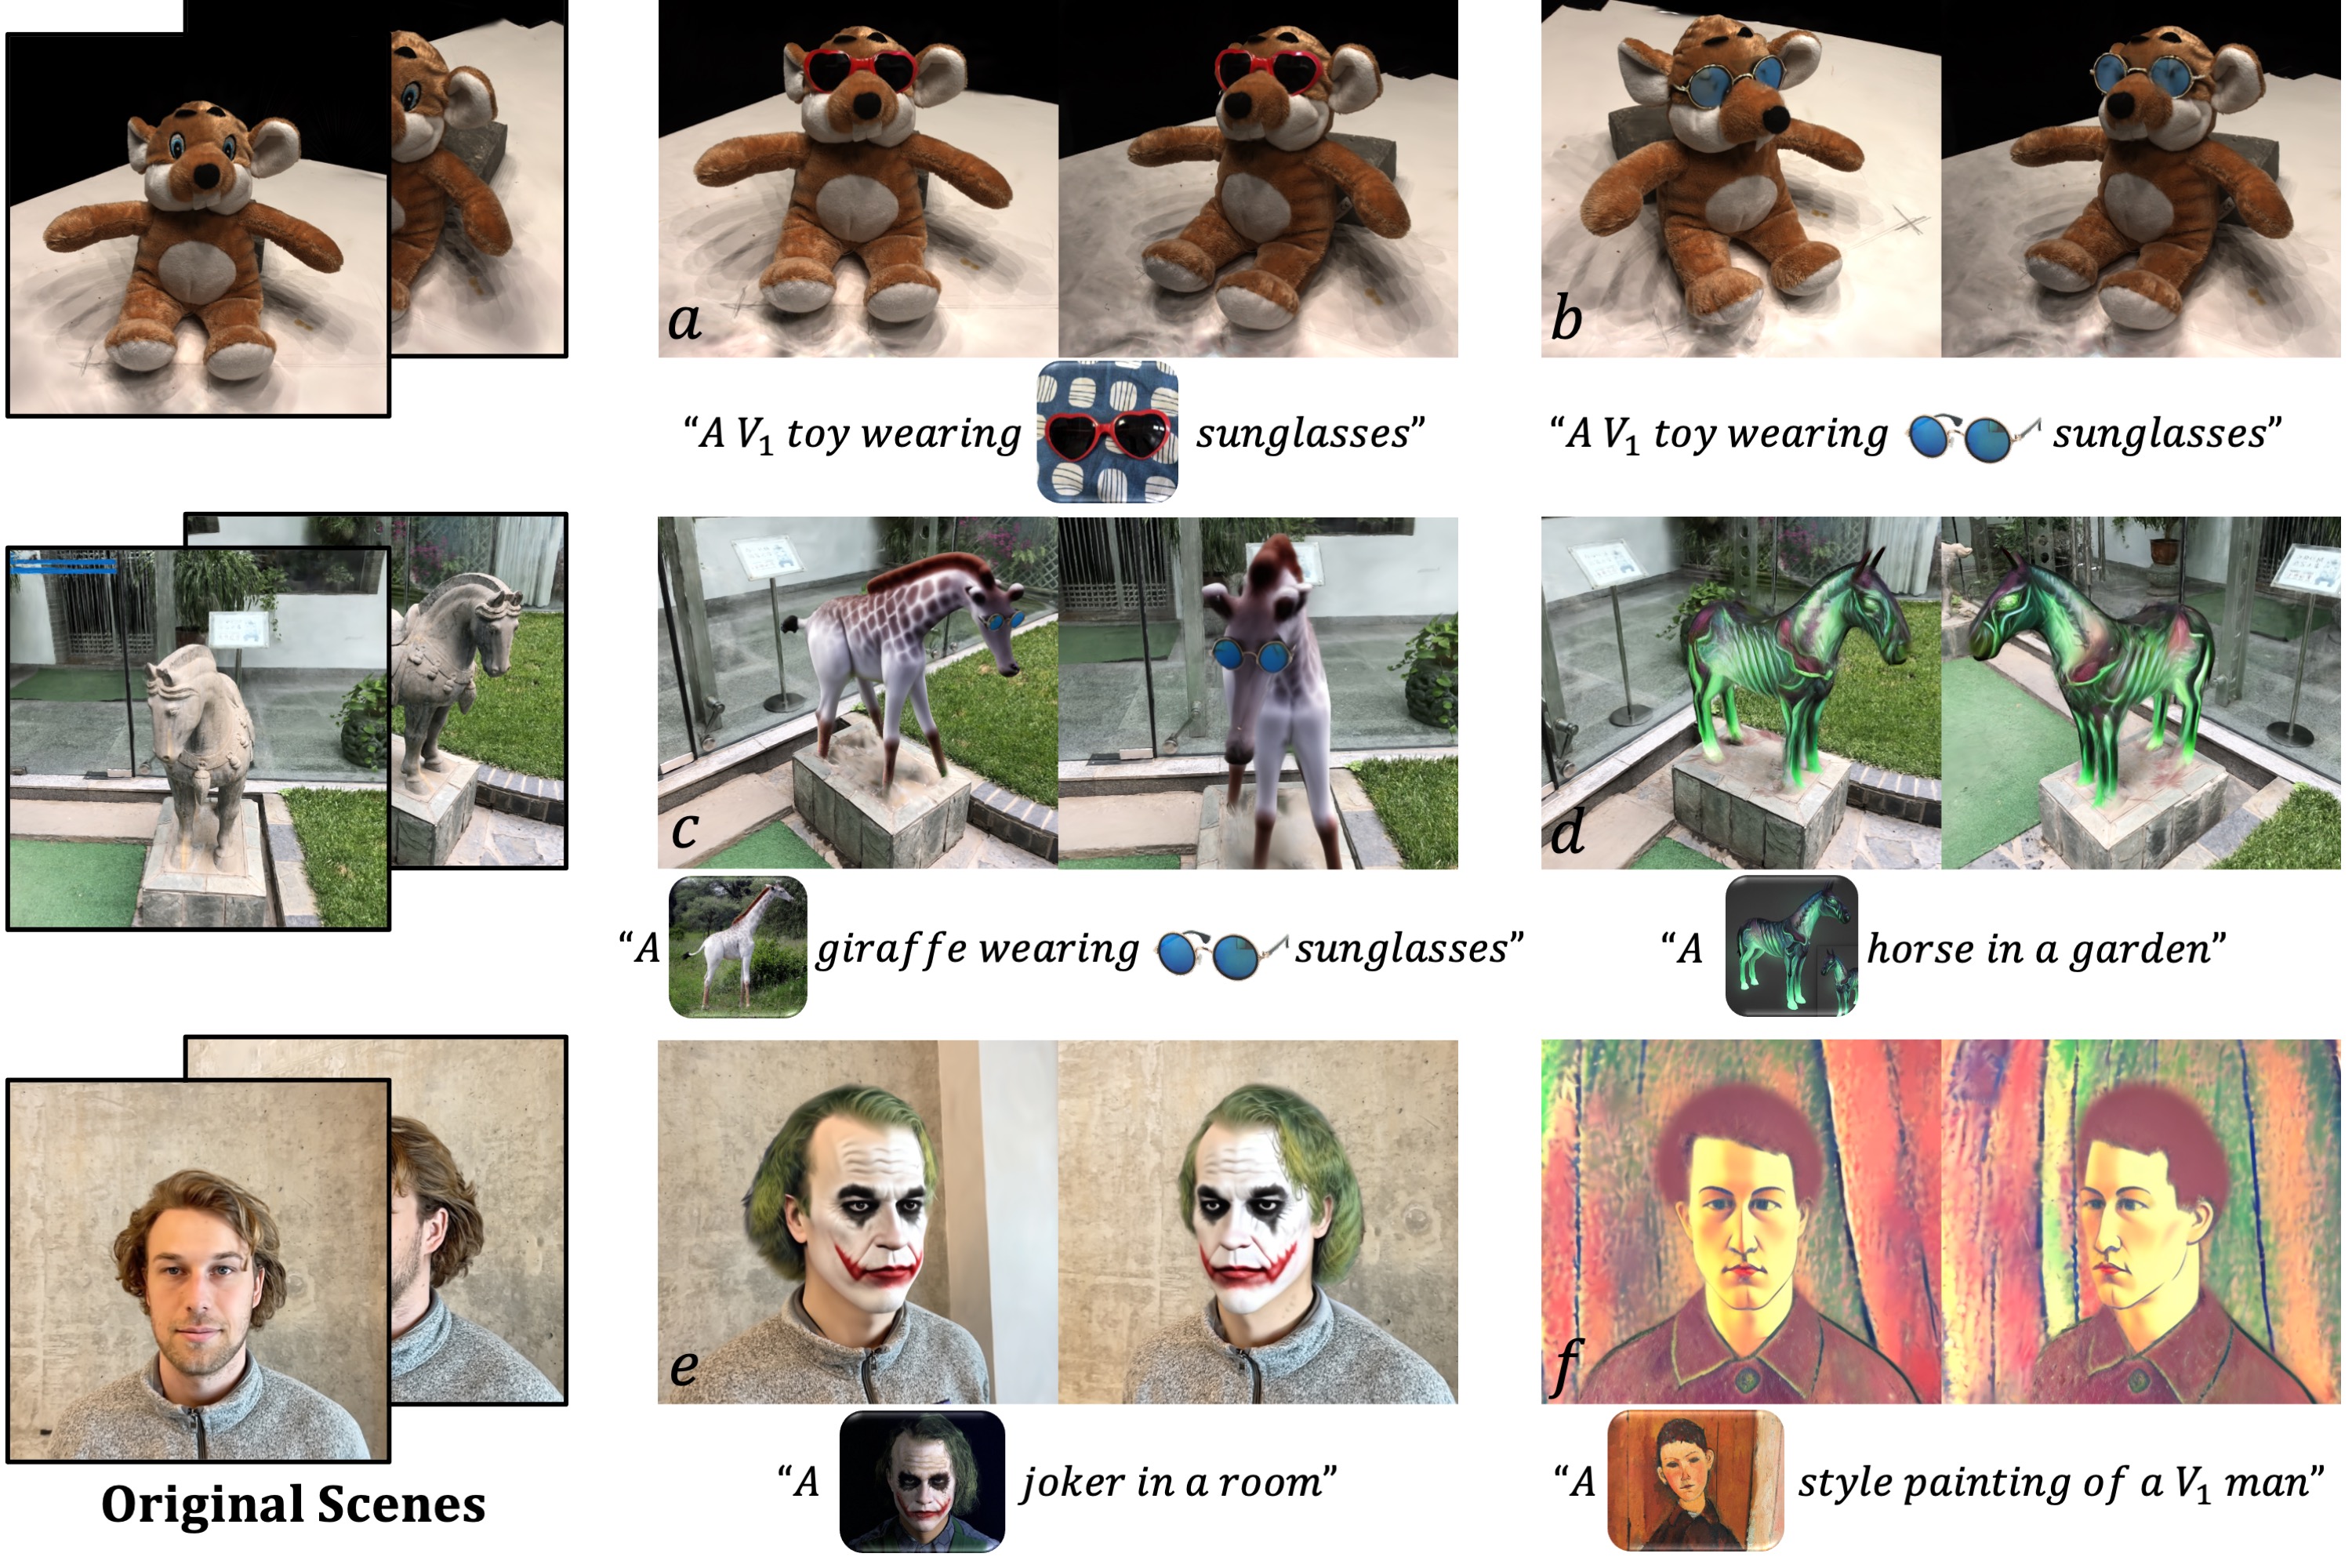
TIP-Editor: An Accurate 3D Editor Following Both Text-Prompts And Image-Prompts (SIGGRAPH 2024 & TOG)
- Release training code of step 1,2,3
- Release all editing samples reported in the paper
Install with pip:
    pip install torch==1.12.1+cu116 torchvision==0.13.1+cu116 torchaudio===0.12.1+cu116
    pip install git+https://github.com/NVlabs/tiny-cuda-nn/#subdirectory=bindings/torch
    pip install diffusers==0.22.0.dev0
    pip install huggingface_hub==0.16.4
    pip install open3d==0.17.0 trimesh==3.22.5 pymeshlab

    # install gaussian rasterization
    git clone --recursive https://github.com/ashawkey/diff-gaussian-rasterization
    pip install ./diff-gaussian-rasterization

    # install simple-knn
    git clone https://github.com/camenduru/simple-knn.git
    pip install ./simple-knn
Training requirements
- Stable Diffusion. We use diffusion prior from a pretrained 2D Stable Diffusion 2.0 model. To start with, you may need a huggingface token to access the model, or use
huggingface-cli logincommand.
Run COLMAP to estimate camera parameters. Our COLMAP loaders expect the following dataset structure in the source path location:
<./data/filename>
|---images
|   |---<image 0>
|   |---<image 1>
|   |---...
|---sparse
    |---0
        |---cameras.bin
        |---images.bin
        |---points3D.bin
Extract sparse points
python colmap_preprocess/extract_points.py ./data/filename/
Align the scene with coordinate system. Get Orient_R.npy.
We use meshlab to align the scene with coordinate system. Click Filters->Normals,Curvatures and Orientation->Matrix: Set from translation\rotation\scale. Make sure the Y-axis is vertical and upward to the ground, and the object is oriented in the same direction as the z-axis.
We provided some intermediate results:
Download editing scene data in the paper from Data
Download Initial 3D-GS
Download Finetuned SD models from baidunetdisk, password 8888
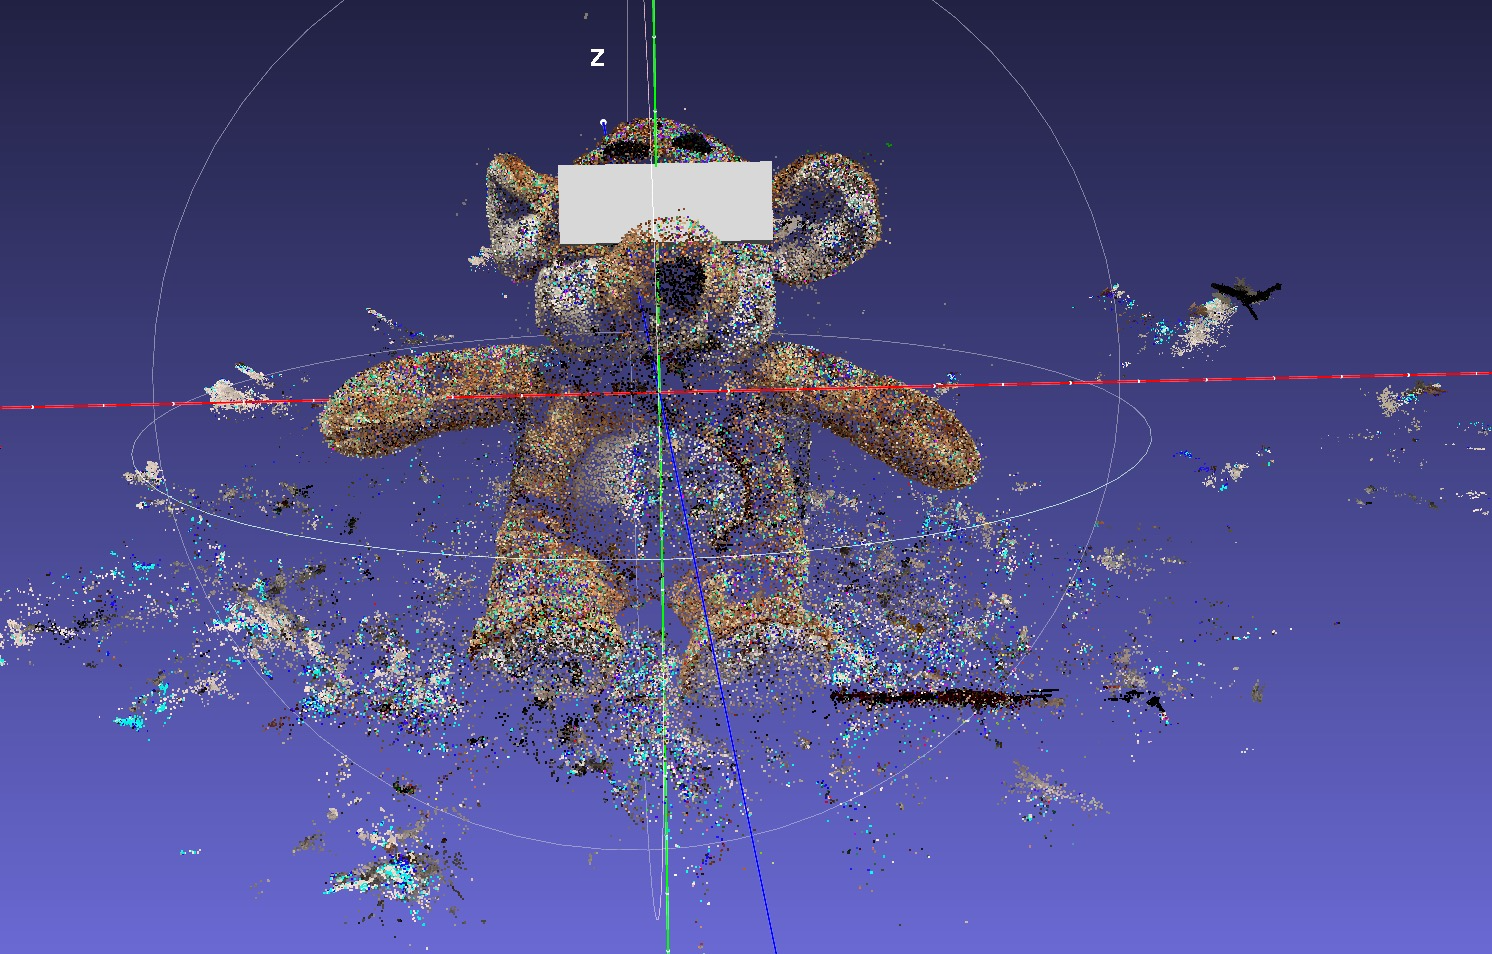
Users can extract the colored points of the scene from the trained 3D-GS for visualization as following:
python save_scene_points.py --pth_path .../xx.pth
Then Users can add a cube to the sparse points scene through meshlab or blender, scale and drag it to the desired position, and save it in .ply format.
bash run_doll_sunglasses1.sh
Download Edited 3D-GS and unzip in res file
bash test.sh
If you find this code helpful for your research, please cite:
@inproceedings{zhuang2023dreameditor,
  title={Dreameditor: Text-driven 3d scene editing with neural fields},
  author={Zhuang, Jingyu and Wang, Chen and Lin, Liang and Liu, Lingjie and Li, Guanbin},
  booktitle={SIGGRAPH Asia 2023 Conference Papers},
  pages={1--10},
  year={2023}
}
@article{zhuang2024tip,
  title={TIP-Editor: An Accurate 3D Editor Following Both Text-Prompts And Image-Prompts},
  author={Zhuang, Jingyu and Kang, Di and Cao, Yan-Pei and Li, Guanbin and Lin, Liang and Shan, Ying},
  journal={arXiv preprint arXiv:2401.14828},
  year={2024}
}
This code based on 3D-GS,Stable-Dreamfusion, Dreambooth, DAAM.


