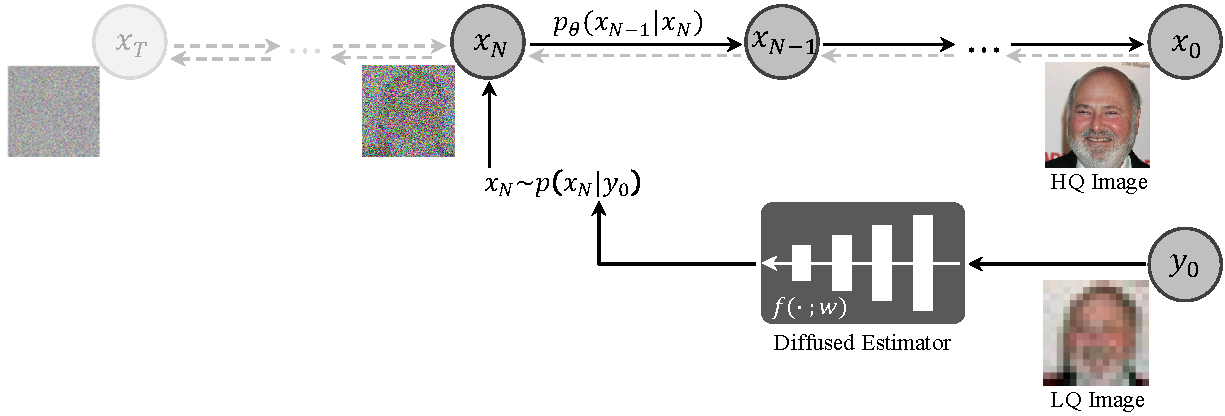
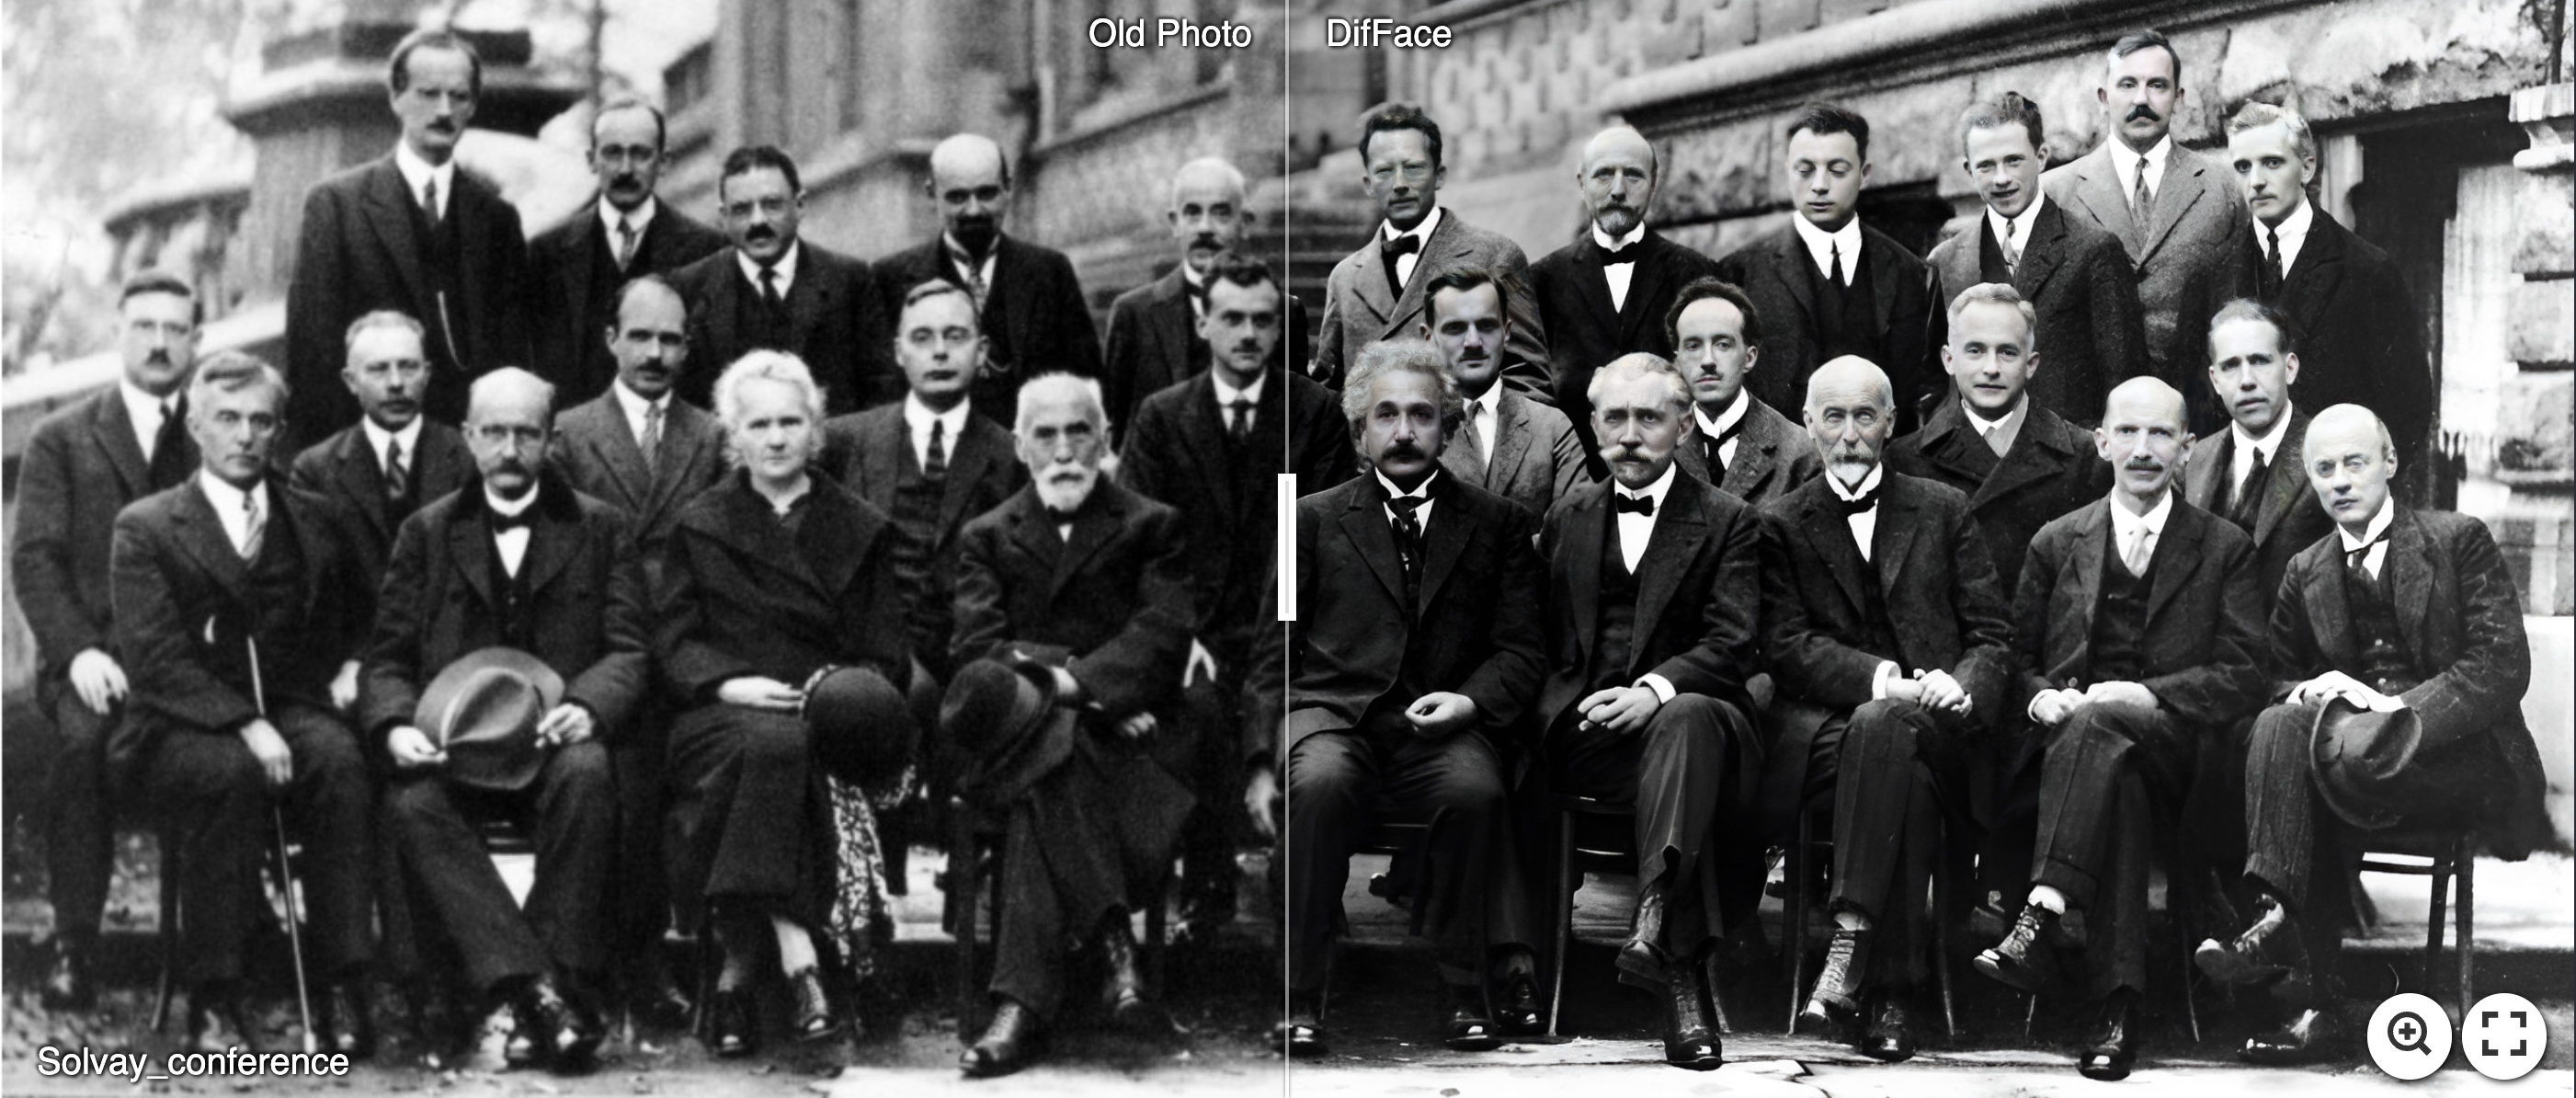
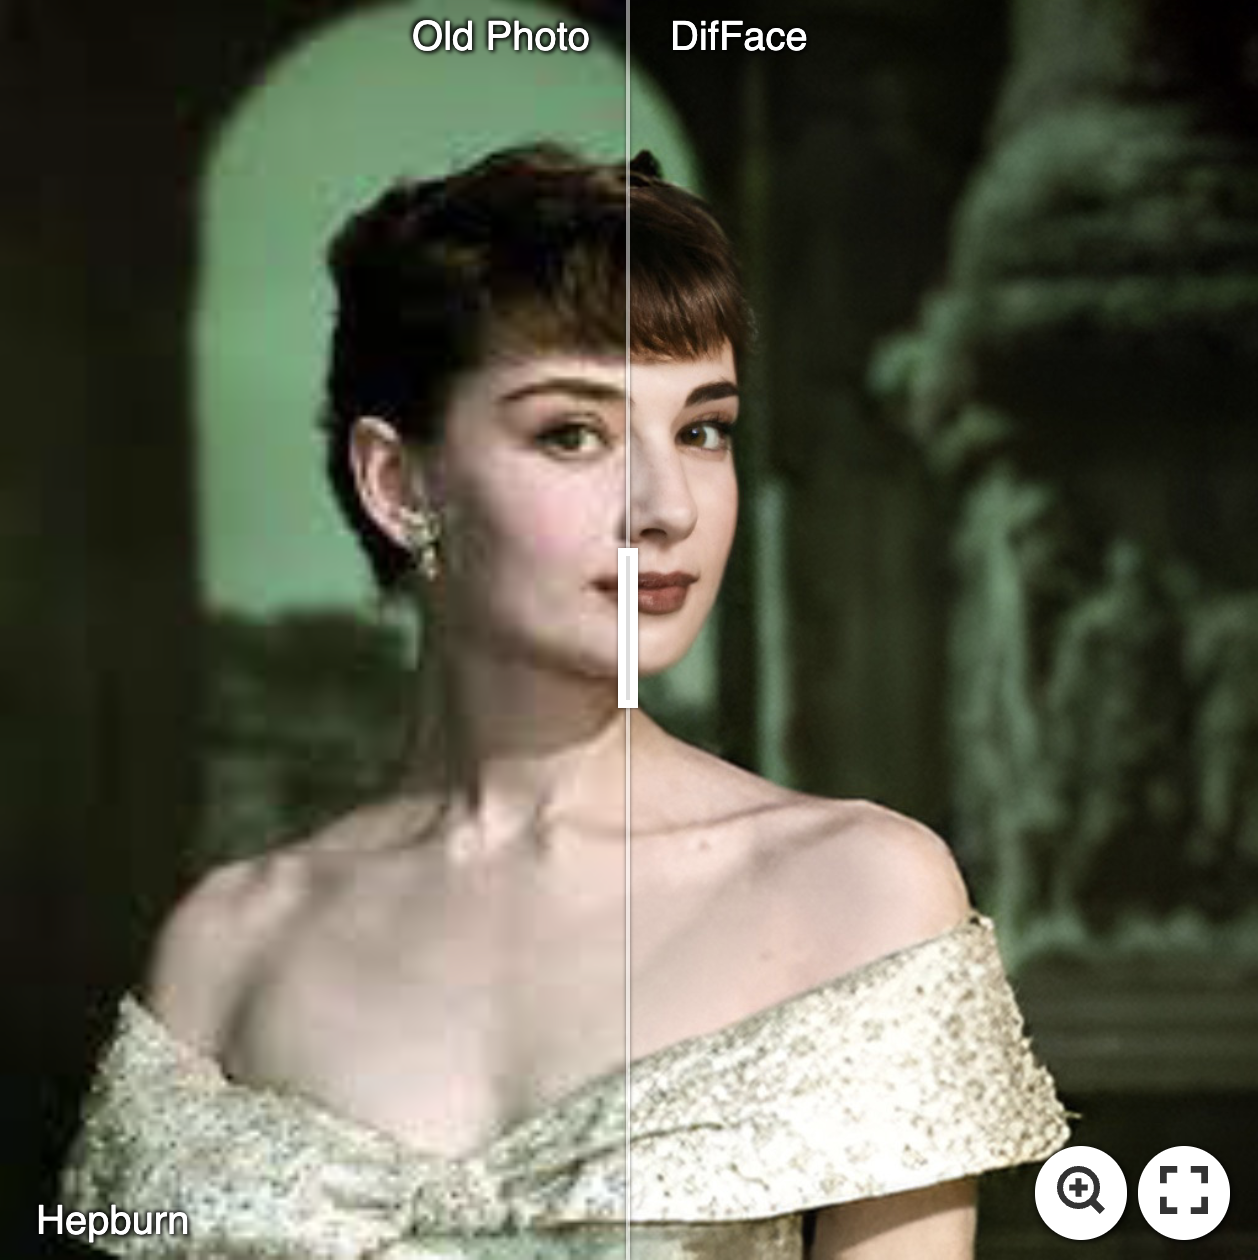
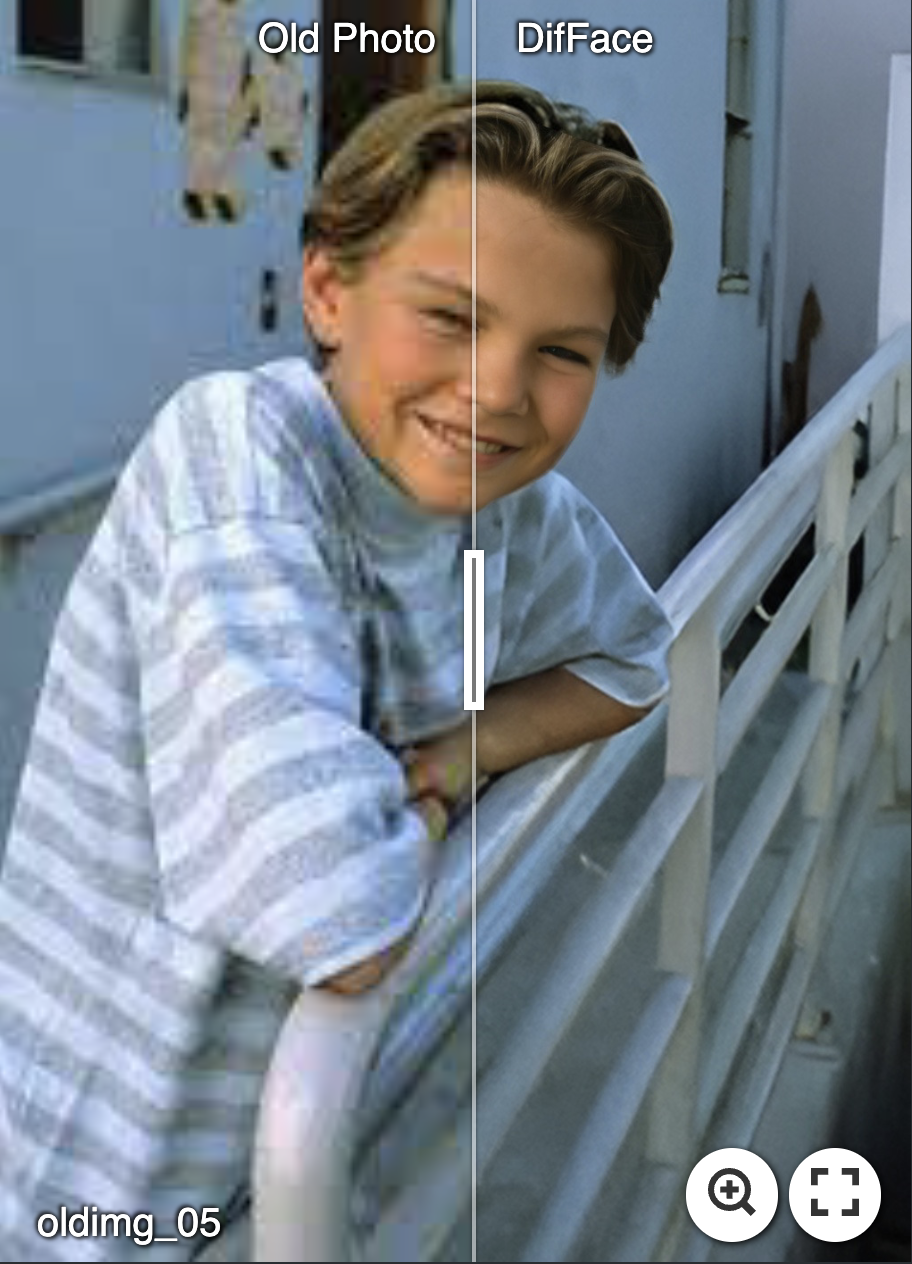
Zongsheng Yue, Chen Change Loy
⭐ If DifFace is helpful to your images or projects, please help star this repo. Thanks! 🤗
- 2023.12.11: Add the code for image inpainting.
- 2022.12.19: Add Colab demo
.
- 2022.12.17: Add the
.
- 2022.12.13: Create this repo.
A suitable conda environment named DifFace can be created and activated with:
conda env create -f environment.yaml
conda activate DifFace
python inference_difface.py -i [image folder/image path] -o [result folder] --task restoration --eta 0.5 --aligned --use_fp16
Note that the hyper-parameter eta controls the fidelity-realness trade-off, you can freely adjust it between 0.0 and 1.0.
python inference_difface.py -i [image folder/image path] -o [result folder] --task restoration --eta 0.5 --use_fp16
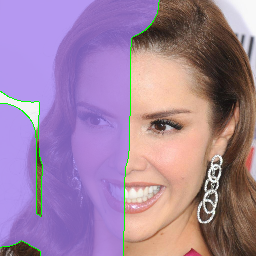
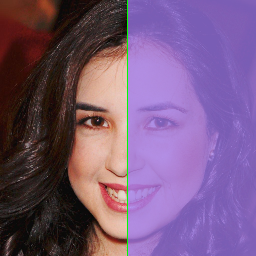
python inference_difface.py -i [image folder/image path] -o [result folder] --task inpainting --use_fp16
We assume that the masked area is filled with zeros in the low quality image. Based on such an assumption, the image mask is automatically deteced in our code.
To reproduce the results in our paper, please follow the following guidelines to prepare the testing data.
- Download the FFHQ dataset, and resize them into size 512x512(or 256x256).
python scripts/big2small_face.py -i [Face folder(1024x1024)] -o [Saving folder(512x512)] --pch_size 512
- Make the testing dataset for restoration
python scripts/prepare_testing_restoration.py -i [CelebA folder(512x512)] -o [Saving folder]
- Make the testing dataset for inpainting
python scripts/prepare_testing_inpainting.py -i [CelebA folder(256x256)] -o [Saving folder]
- Modify the data path in data.train and data.val according to your own settings.
- Adjust the batch size based on your GPU devices.
- train.batchsize: [A, B] # A denotes the batch size for training, B denotes the batch size for validation
- train.microbatch: C # C denotes the batch size on each GPU, A = C * num_gpus * num_grad_accumulation
torchrun --standalone --nproc_per_node=8 --nnodes=1 main.py --cfg_path configs/training/diffsuion_ffhq512.yaml --save_dir [Logging Folder]
torchrun --standalone --nproc_per_node=4 --nnodes=1 main.py --cfg_path configs/training/swinir_ffhq512.yaml --save_dir [Logging Folder]
torchrun --standalone --nproc_per_node=4 --nnodes=1 main.py --cfg_path configs/training/estimator_lama_inpainting.yaml --save_dir [Logging Folder]
This project is licensed under NTU S-Lab License 1.0. Redistribution and use should follow this license.
This project is based on Improved Diffusion Model. Some codes are brought from BasicSR, YOLOv5-face, and FaceXLib. We also adopt Real-ESRGAN to support background image enhancement. Thanks for their awesome works.
If you have any questions, please feel free to contact me via zsyzam@gmail.com.

