Continuous Delivery is a pattern language used in software development to automate and improve the process of software delivery. Techniques such as automated testing, continuous integration and continuous deployment allow software to be developed to a high standard and easily packaged and deployed to test environments.

Continuous delivery treats the commonplace notion of a deployment pipeline: a set of validations through which a piece of software must pass on its way to release. Code is compiled if necessary and then packaged by a build server every time a change is committed to a source control repository, then tested by a number of different techniques before it can be marked as releasable. It is important to understand that any code commit may be released to customers at any point.
The article Using a Raspberry PI to control an extreme feedback device has inspired me to buy a traffic light in the Cleware Shop.
berndzuther@Bernds-MacBook-Pro ~/Downloads$ tar xvf buildlight-0.1-DEV.zip
berndzuther@Bernds-MacBook-Pro ~/Downloads$ cd buildlight-0.1-DEV/bin
berndzuther@Bernds-MacBook-Pro ~/Downloads$ ./buildlightpi@raspberry ~$ sudo apt-get install libusb-1.0-0 openjdk-7-jdk
pi@raspberry ~/Downloads$ tar xvf buildlight-0.1-DEV.zip
pi@raspberry ~/Downloads$ cd buildlight-0.1-DEV/bin
pi@raspberry ~/Downloads$ sudo ./buildlightCreate buildlight.properties in /bin - folder.
➜  bin  cat buildlight.properties
build.server=Jenkins
jenkins.server.url=http://localhost:8080/build-server
jenkins.build.name=Build-Light-Test-Build
buildlight.driver.factorybean=com.github.zutherb.buildlight.application.driver.ClewareDriverFactoryBean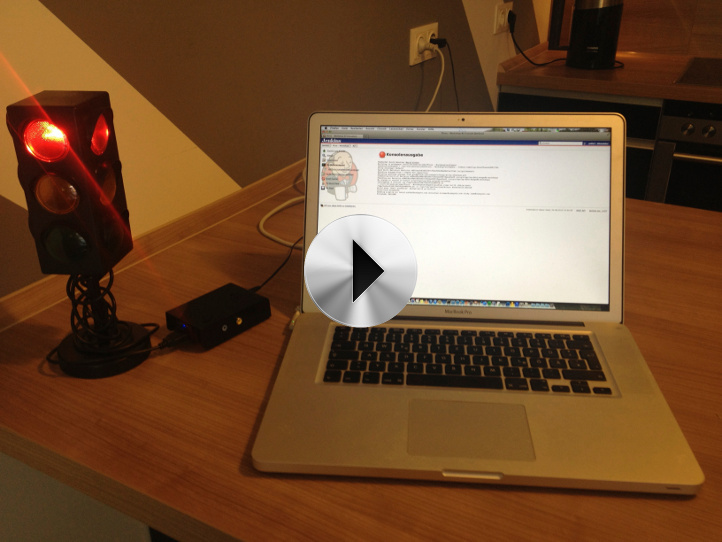
Create buildlight.properties in /bin - folder.
➜  bin  cat buildlight.properties
build.server=Bamboo
bamboo.server.url=http://localhost:8080/build-server
bamboo.build.key=BUILDLIGHT_JOB
bamboo.username=zutherb
bamboo.password=t0ps3cr3t
buildlight.driver.factorybean=com.github.zutherb.buildlight.driver.BlinkStickDriverFactoryBean
Step 1: Shut off all Serial Action going on with the Pi.
You have to edit two places. The first ‘/boot/cmdline.txt’ - delete
console=ttyAMA0,115200 kgdboc=ttyAMA0,115200Then bounce over to /etc/inittab and we have to comment out the last line by adding the # to the beginning.
#T0:23:respawn:/sbin/getty -L ttyAMA0 115200 vt100Step 2: Install Oracle Java und RXTX JNI Library.
sudo apt-get install oracle-java7-jdk librxtx-javaStep 3: Create buildlight.properties in /bin - folder.
➜  bin  cat buildlight.properties
build.server=Jenkins
jenkins.server.url=http://localhost:8080/build-server
jenkins.build.name=Build-Light-Test-Build
buildlight.driver.factorybean=com.github.zutherb.buildlight.application.driver.ArduinoDriverFactoryBean
#buildlight.arduino.port=/dev/ttyACM0 [Default]
#buildlight.arduino.switch.on.level=HIGH [Default - Choose LOW ,e.g. when relays switch on low pegal]

<dependency>
  <groupId>com.github.zutherb.buildlight</groupId>
  <artifactId>cleware-driver</artifactId>
  <version>1.0</version>
</dependency>compile "com.github.zutherb.buildlight:cleware-driver:1.0"public class TrafficLightFactoryTest {
public static void main(String[] args) {
TrafficLight light = TrafficLightFactory.createNewInstance();
light.switchOn(Led.RED);
light.switchOffAllLeds();
light.close();
}
}