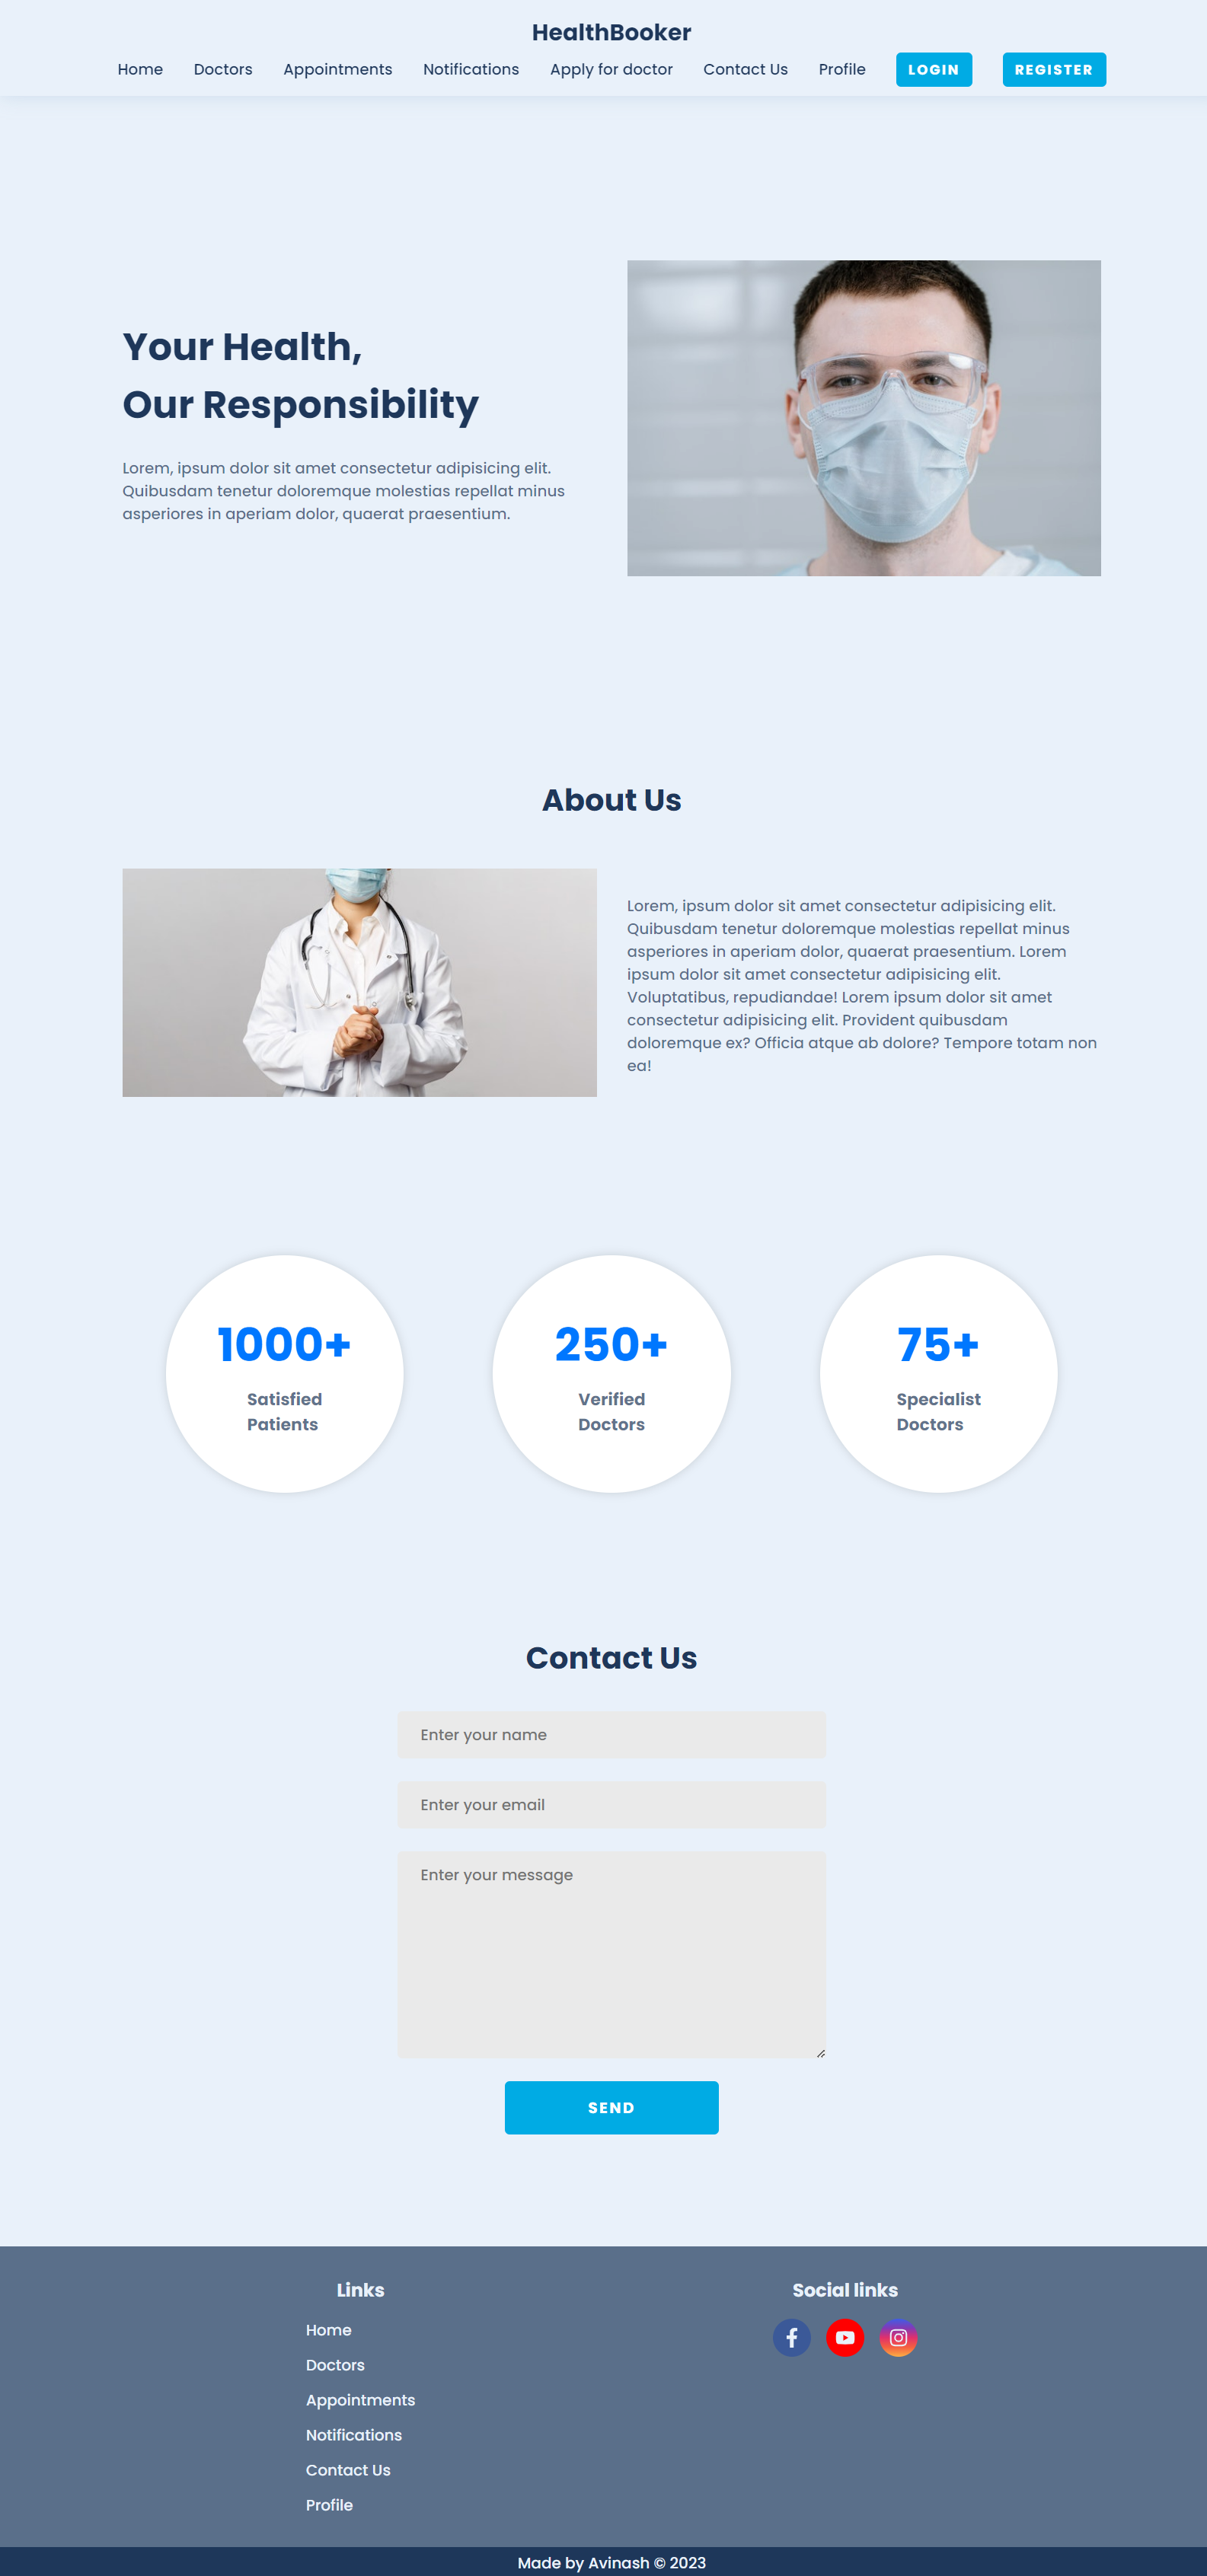
Welcome to our comprehensive healthcare platform! Our website offers a seamless experience for users and doctors alike. Sign up or log in to unlock a range of features. Easily browse through a list of available doctors, manage your profile, and submit queries effortlessly. Stay updated with notifications and enjoy secure access to your information. Aspiring doctors can apply through our user-friendly system. Book appointments with your preferred doctors and track their completion status. Admin features ensure smooth operations, including approval of doctor applications and user management. Rest assured, all data is stored securely. Join us to experience a new era of convenient and efficient healthcare interactions.
Live Site: https://healthbooker.onrender.com/
- User Registration and Login: Enabling user registration and login functionality is the foundation of any user-oriented platform.
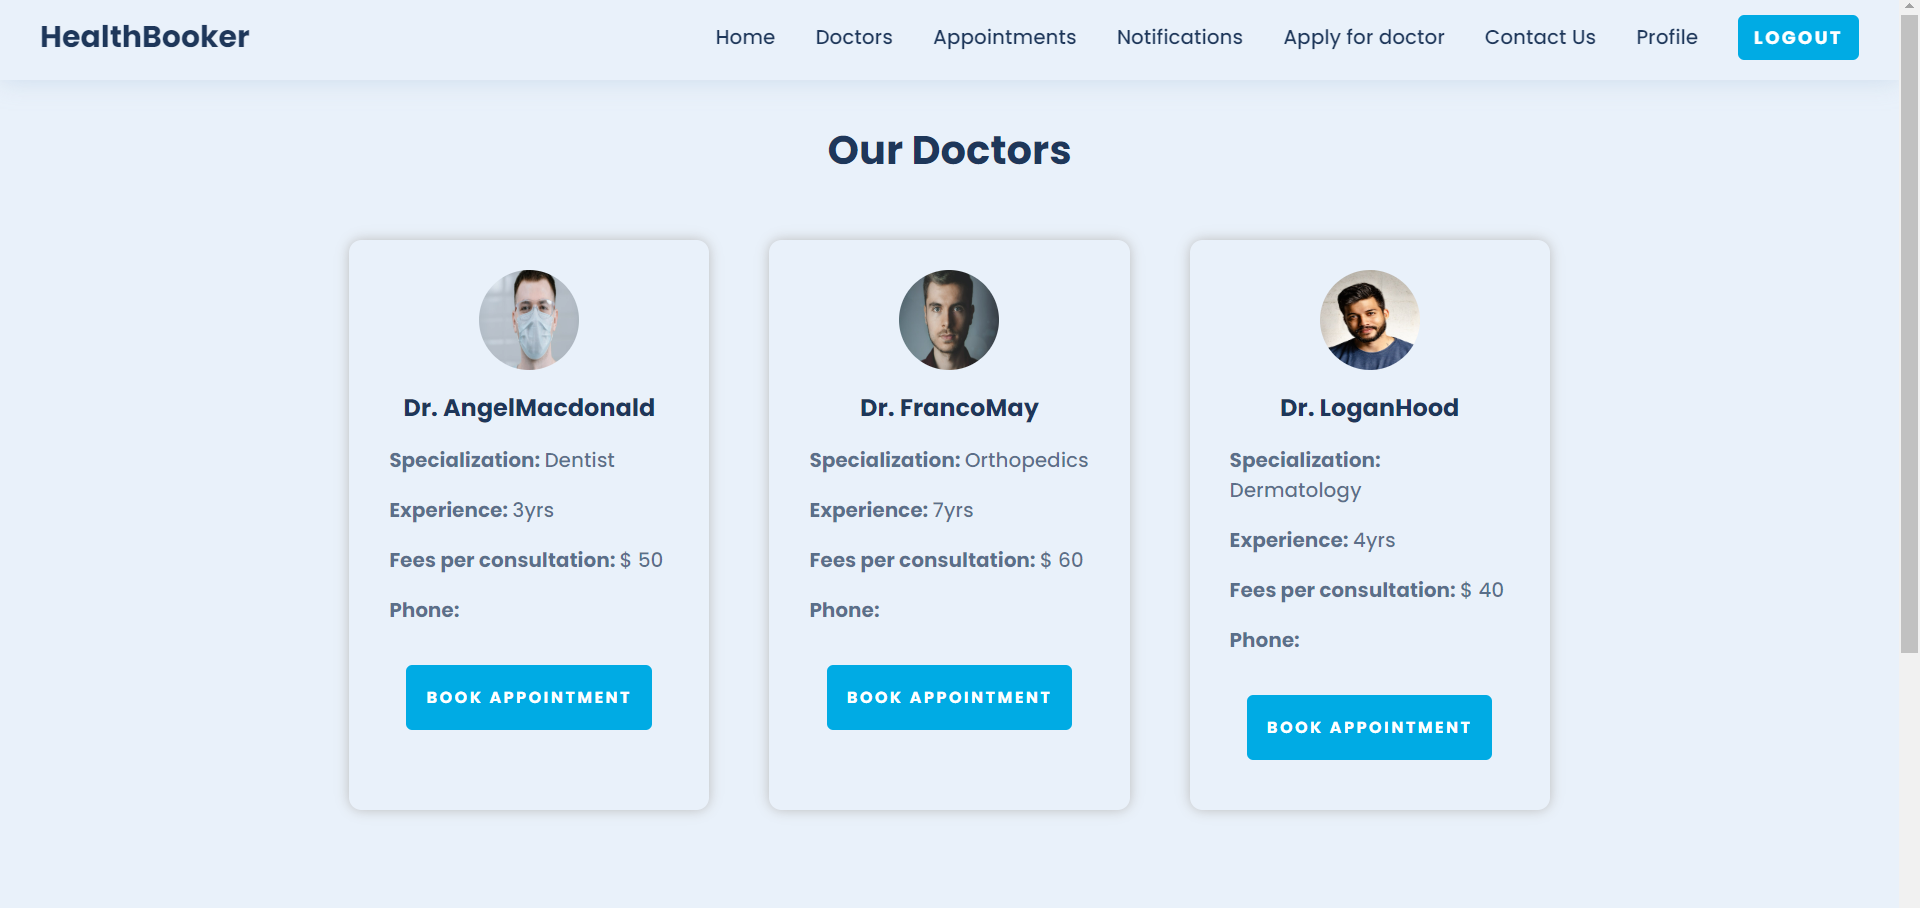
- View Available Doctors: Allowing users to easily view the list of available doctors helps them find the right medical professional for their needs.
- Update Profile: Providing users with the ability to update their profiles keeps their information accurate and up to date.
- Contact Section for Queries: Including a contact section for user queries enhances user engagement and customer support.
- Notifications Tab: A notifications tab helps users stay informed about updates, appointments, and application statuses.
- Admin Management System: An admin management system is crucial for overseeing users, appointments, and doctor applications.
- Access Control: Restricting access to certain sections like notifications, profile, appointments, and doctor applications to logged-in users ensures data privacy and security.
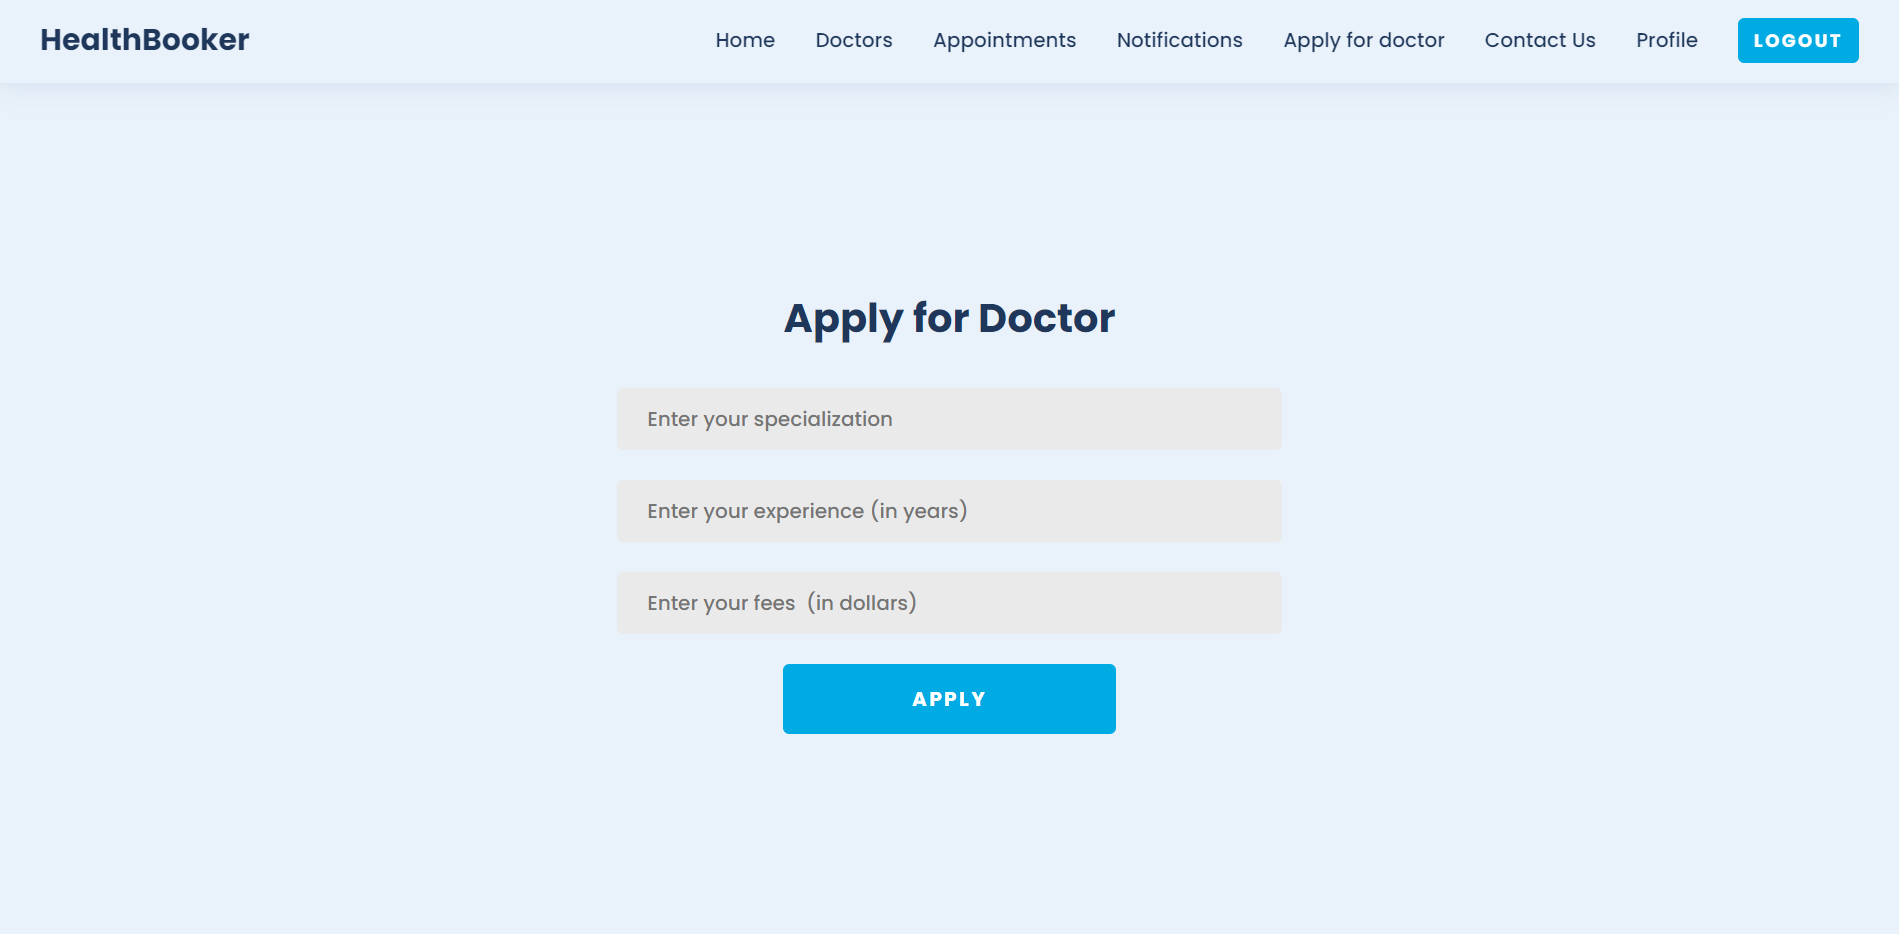
- Doctor Application: Allowing users to apply to become a doctor on the site expands the pool of medical professionals and adds value to the platform.
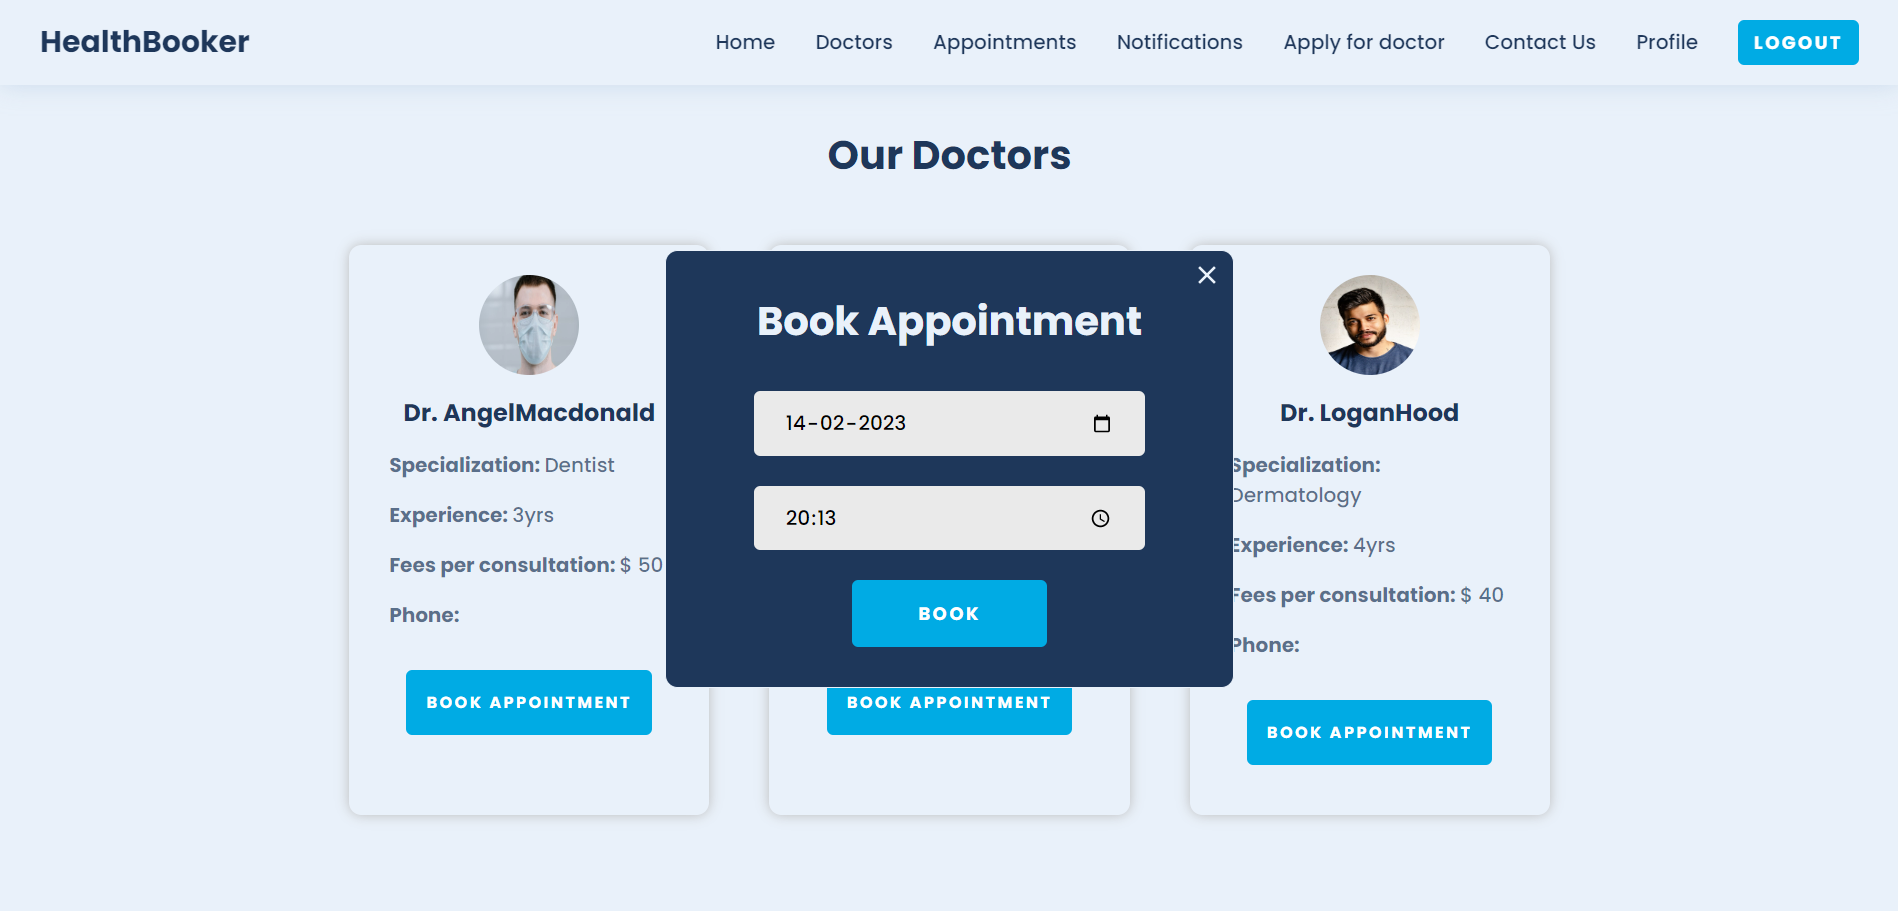
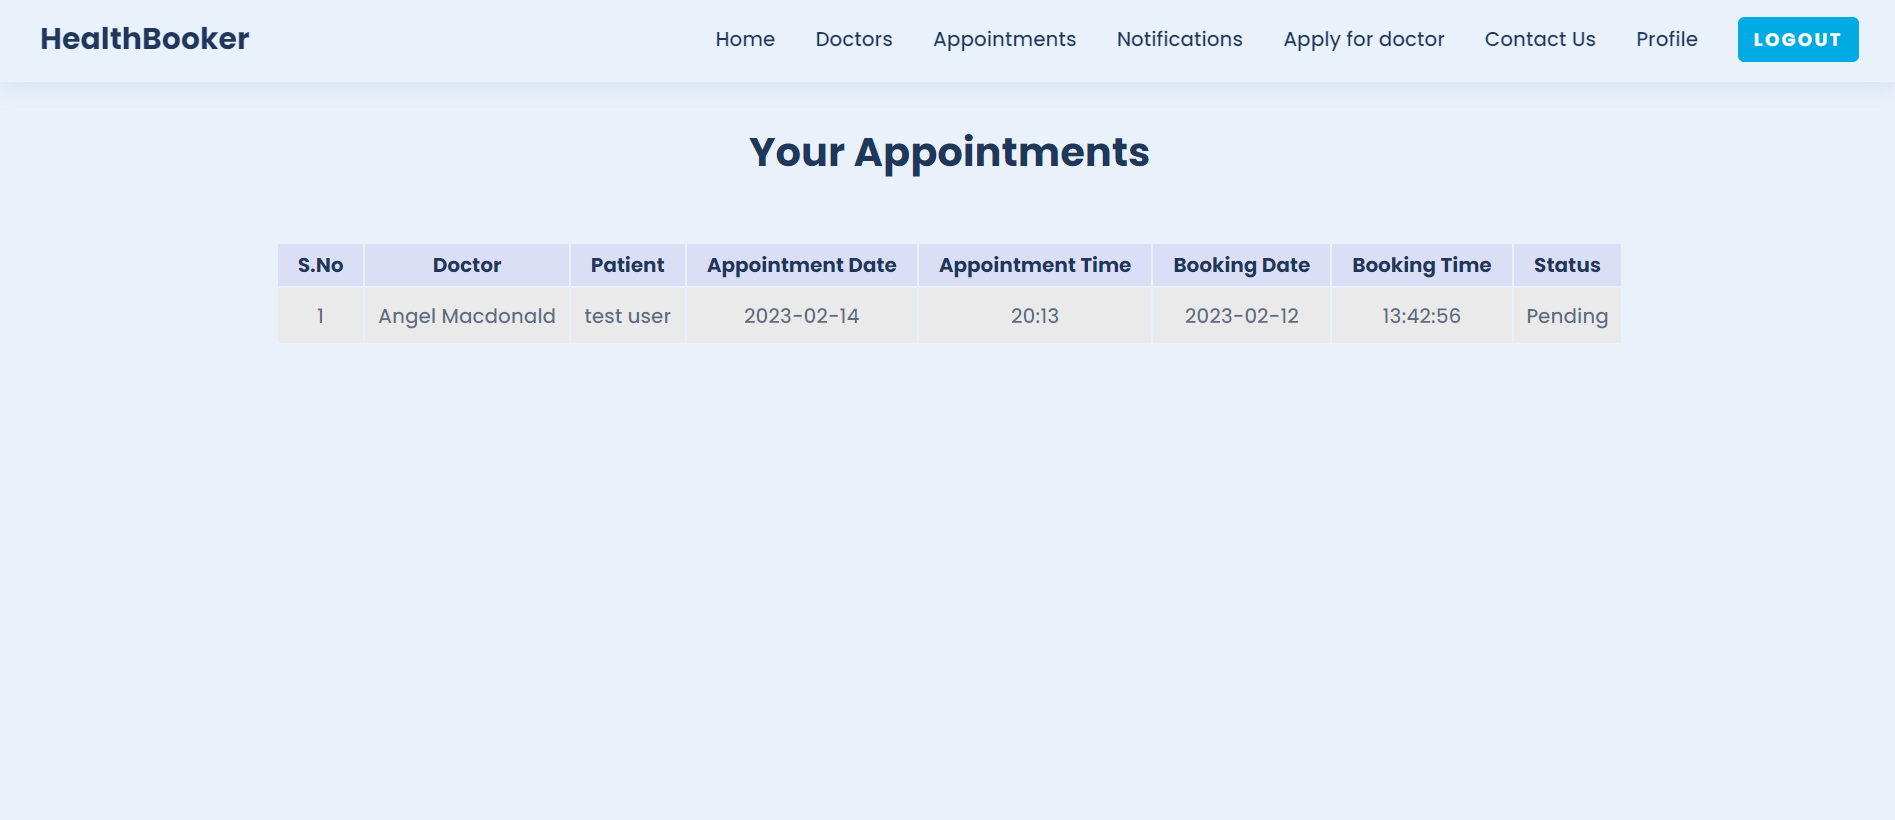
- Book Appointments: Enabling users to book appointments with their preferred doctors streamlines the process of accessing medical services.
- Admin Approval for Doctor Requests: Admin approval for doctor applications ensures that only qualified professionals are listed on the platform.
- User and Doctor Removal: Admin's ability to remove users or doctors from the site is crucial for maintaining the platform's integrity.
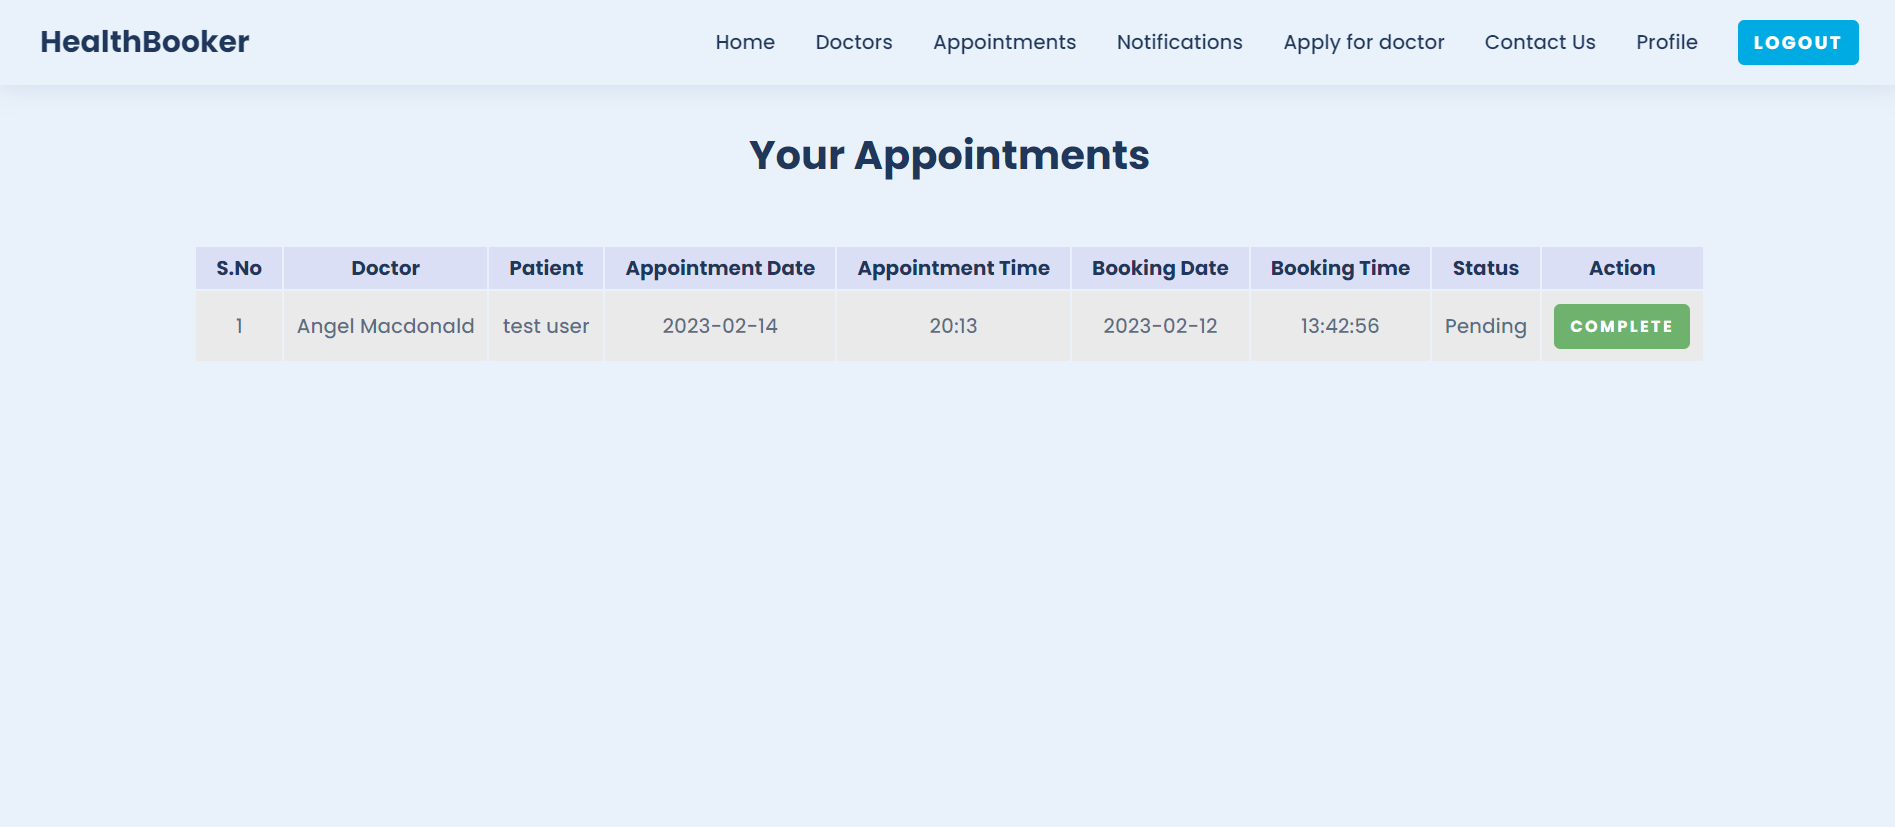
- Appointment Marking: Allowing doctors and admin to mark appointments as completed ensures proper record-keeping.
- Application and Appointment Notifications: Sending notifications to users, doctors, and admins about application statuses and appointment updates enhances communication.
- Data Storage and Security: Storing all data in a database ensures data integrity, security, and easy retrieval of information.
- Fork this repository
- Open terminal or command prompt on your local machine. Run the following command to clone the repository:
- Open the project and rename .env.example files to .env in both client and root directory.
- Add your own environment variables to these both files.
- To run the backend, open a new terminal and execute:
- To run the frontend, open a new terminal and run 'cd client/' to go to client directory and execute:
git clone https://github.com/your-username/your-repo.git
Replace your-username with your GitHub username and your-repo with the name of your repository.
npm start
npm start
- Download the project from the git repository
- You need to create your own MongoDB instance and add the MongoDB url to the .env file
- Register on the website and go to your MongoDB and manually change the 'isAdmin' field of the account you want to make admin in the DB to 'true' and then log in back on the site
- Now you will be able to access the admin dashboard





Terms and conditions for use, reproduction and distribution are under the MIT License.


