Creating Autonomous vehicle Lecture materials, MEN491 (2023, UNIST)
clone this repository into your workspace and install required packages:
mkdir -p ~/yourworkspace_name/src
cd ~/yourworkspace_name/src
git clone https://github.com/HMCL-UNIST/MEN491_2021.git
sudo apt-get install python3-pip
pip3 install --upgrade --ignore-installed pip setuptools
apt-get install unixodbc-dev
pip3 install pyodbc
pip3 install llvmlite==0.34.0
cd ~/yourworkspace_name/src/MEN491_2021/f1tenth-riders-quickstart
pip3 install --user -e gym
cd ~/yourworkspace_name
catkin_make
If you do not have "pip"
sudo apt update
sudo apt install python3-pip
if you face the "Could not find SDL" error, download the followings
sudo apt-get install libsdl-image1.2-dev
sudo apt-get install libsdl-devSimple ROS example package for hands-on sesssions
Autonomous vehicle simulation package
To run the simulation, launch gym_bridge_rviz.launch file.
source ~/yourworkspace_name/devel/setup.bash
roslaunch f1tenth_gym_ros gym_bridge_rviz.launch
There are two maps, one with obstacle-free and the another has obstacles on the road. The maps are saved in map
To change the map, we need to edit environment variables which can be done in gym_bridge_rviz.launch. Edit the "RACE_MAP_PATH" value.
To add opponent vehicle in the race, set "1" for "RACE_SCENARIO". If you simulate with opponent, you need to implement how they will drive in simulation (like your ego-vehicle). This can be easily done by just initiate your algorithm for ego-vehicle to the opponent vehicle as well.
<?xml version="1.0"?>
<launch>
  <!-- Launch a map from the maps folder-->
  <arg name="map" default="$(find f1tenth_gym_ros)/maps/SILVERSTONE.yaml"/>
   <env name="RACE_MAP_PATH" value="$(find f1tenth_gym_ros)/maps/SILVERSTONE.yaml"/>
   <env name="RACE_MAP_IMG_EXT" value=".png"/>
   <env name="RACE_SCENARIO" value="0"/>
   <env name="EGO_ID" value="ego"/>
   <env name="OPP_ID" value="opp"/>

  <!-- <arg name="map" default="$(env RACE_MAP_PATH)"/> -->
  <node pkg="map_server" name="map_server" type="map_server" args="$(arg map)"/>

  <!-- Launch robot model -->
  <include file="$(find f1tenth_gym_ros)/launch/racecar_model.launch"/>

  <!-- Launch gym bridge node -->
  <rosparam command="load" file="$(find f1tenth_gym_ros)/params.yaml"/>
  <param name="map_path" value="$(arg map)"/>
  <node pkg="f1tenth_gym_ros" name="gym_bridge" type="gym_bridge_bare.py" output="screen" required="true"/>
</launch>
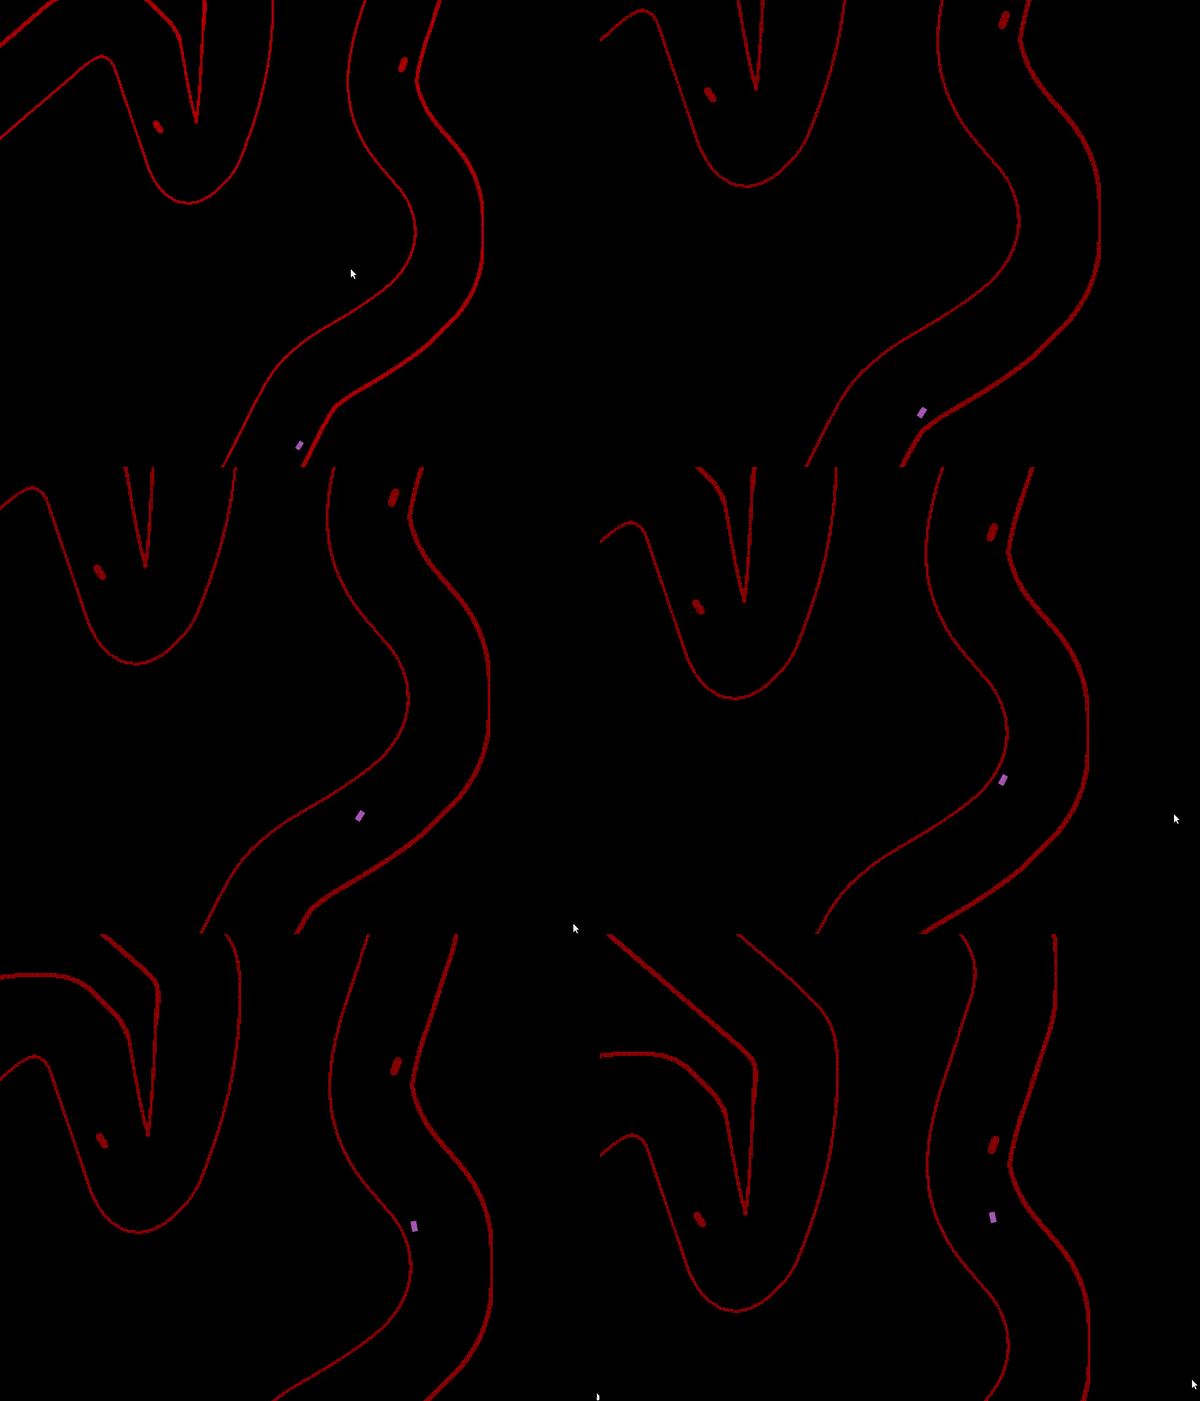
Once you launch the above simulation, you will see the image like below, and vehicle will not move at all.
To control the vehicle, you need to implement your own algorithms (which you will do it during Practical sessions).
There are two skeleton codes to help you start.
Once you fill and complete the skeleton codes, you can start to drive by launch f1tenth_gym_agent.launch **Remember to initiate the simulation first before you initiate the agent launch file.
roslaunch pkg f1tenth_gym_agent.launchFrom the launch file, you can select which algorithm to run by changing the type of the node.
For wall following module
<?xml version="1.0"?>
<launch>
   <arg name="F1TENTH_AGENT_NAME" value="ego"/>
  <env name="F1TENTH_AGENT_NAME" value="ego"/>
   <node pkg="pkg" type="wall_follow_agnet.py" name="gym_agent_$(arg F1TENTH_AGENT_NAME)" output="screen"/>
</launch>
For gap following module
<?xml version="1.0"?>
<launch>
   <arg name="F1TENTH_AGENT_NAME" value="ego"/>
  <env name="F1TENTH_AGENT_NAME" value="ego"/>
   <node pkg="pkg" type="gap_follow_agent.py" name="gym_agent_$(arg F1TENTH_AGENT_NAME)" output="screen"/>
</launch>

