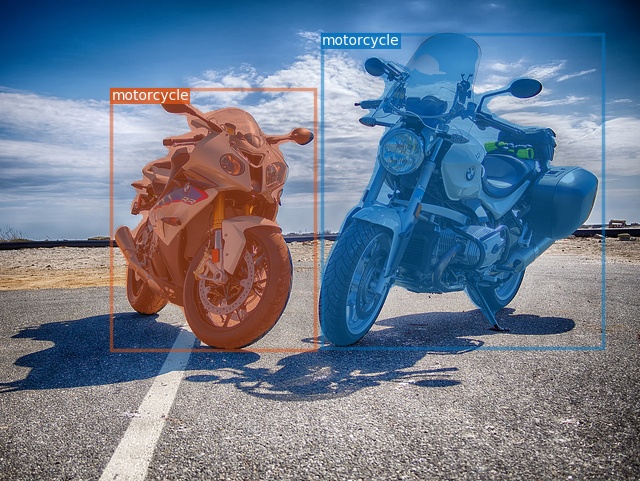
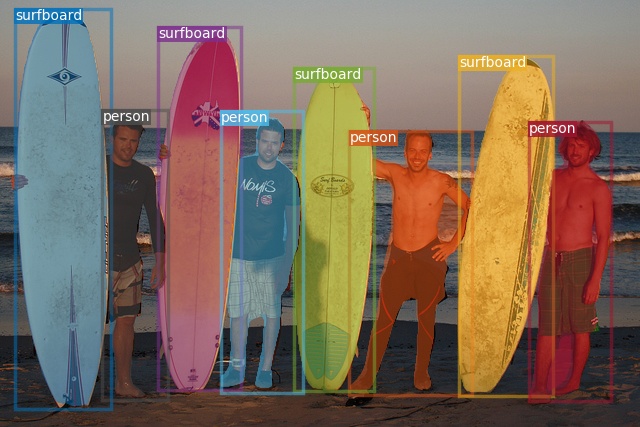
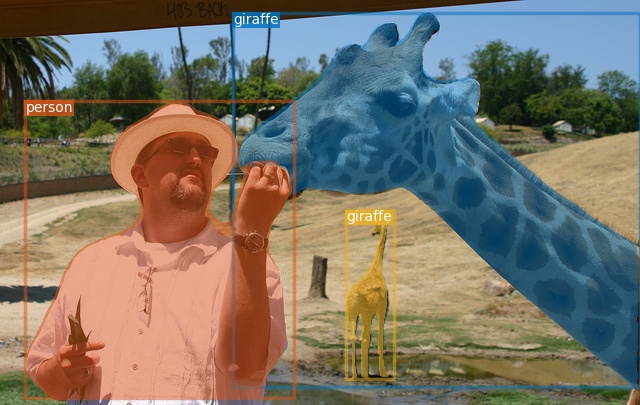
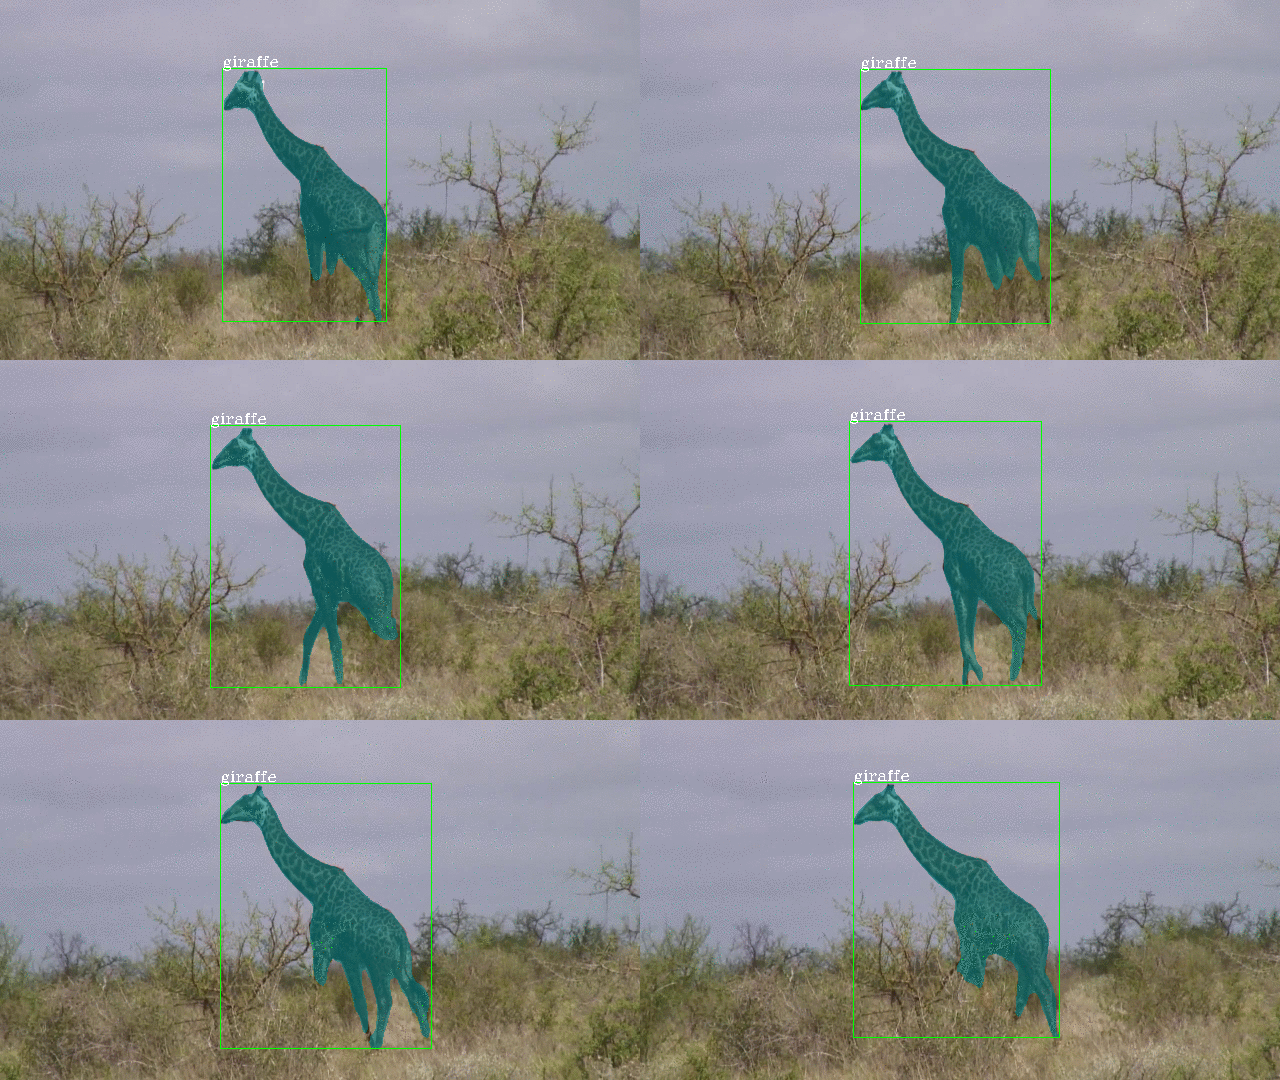
This is the official implementation of "SipMask: Spatial Information Preservation for Fast Image and Video Instance Segmentation (ECCV2020)" built on the open-source mmdetection and maskrcnn-benchmark.
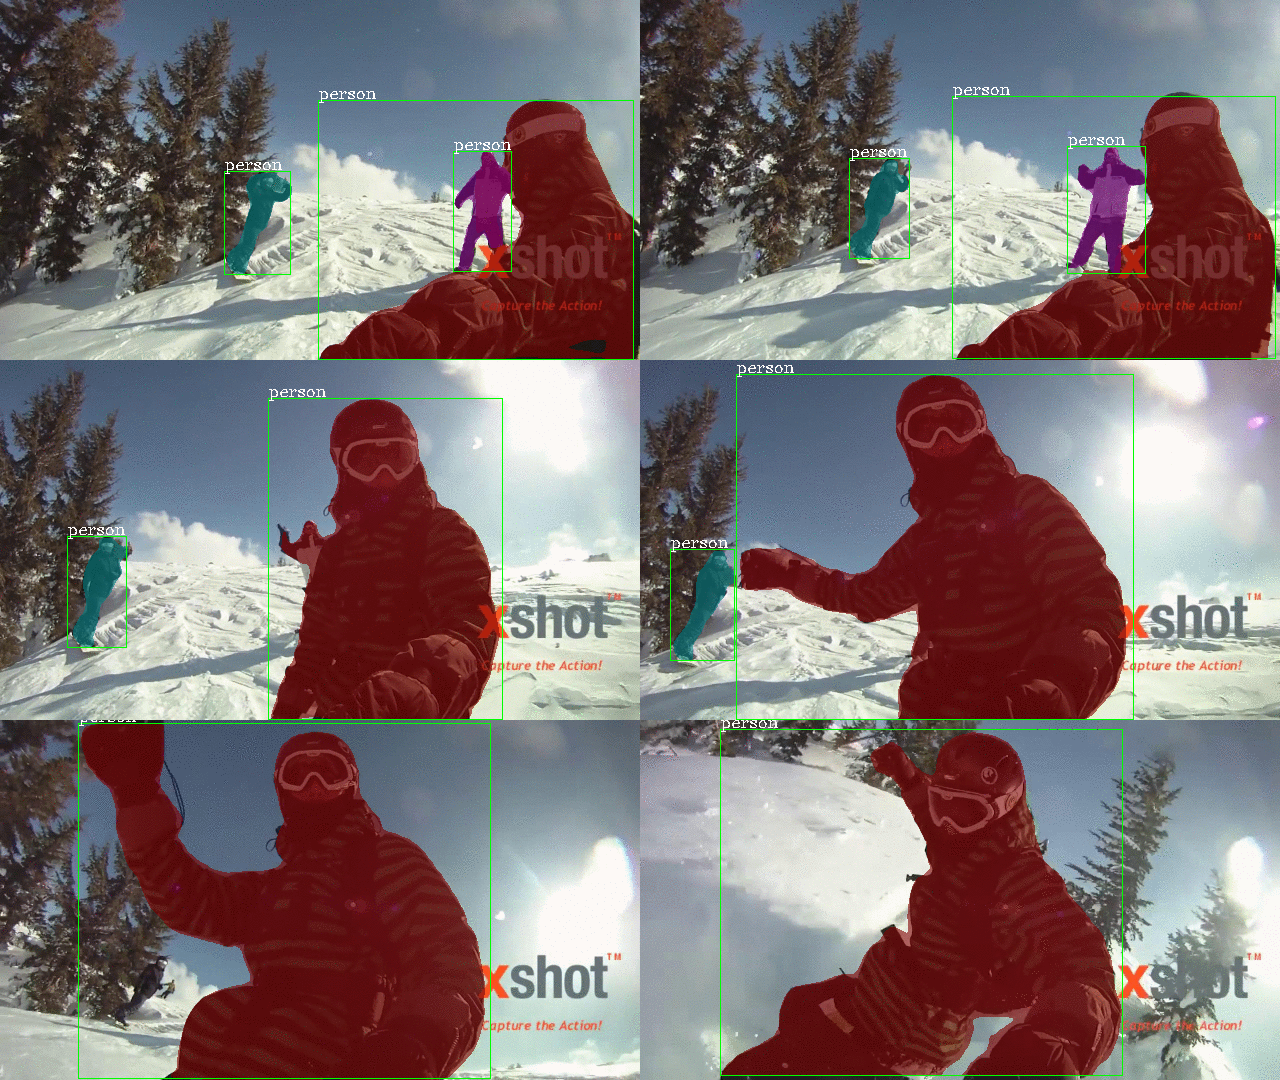
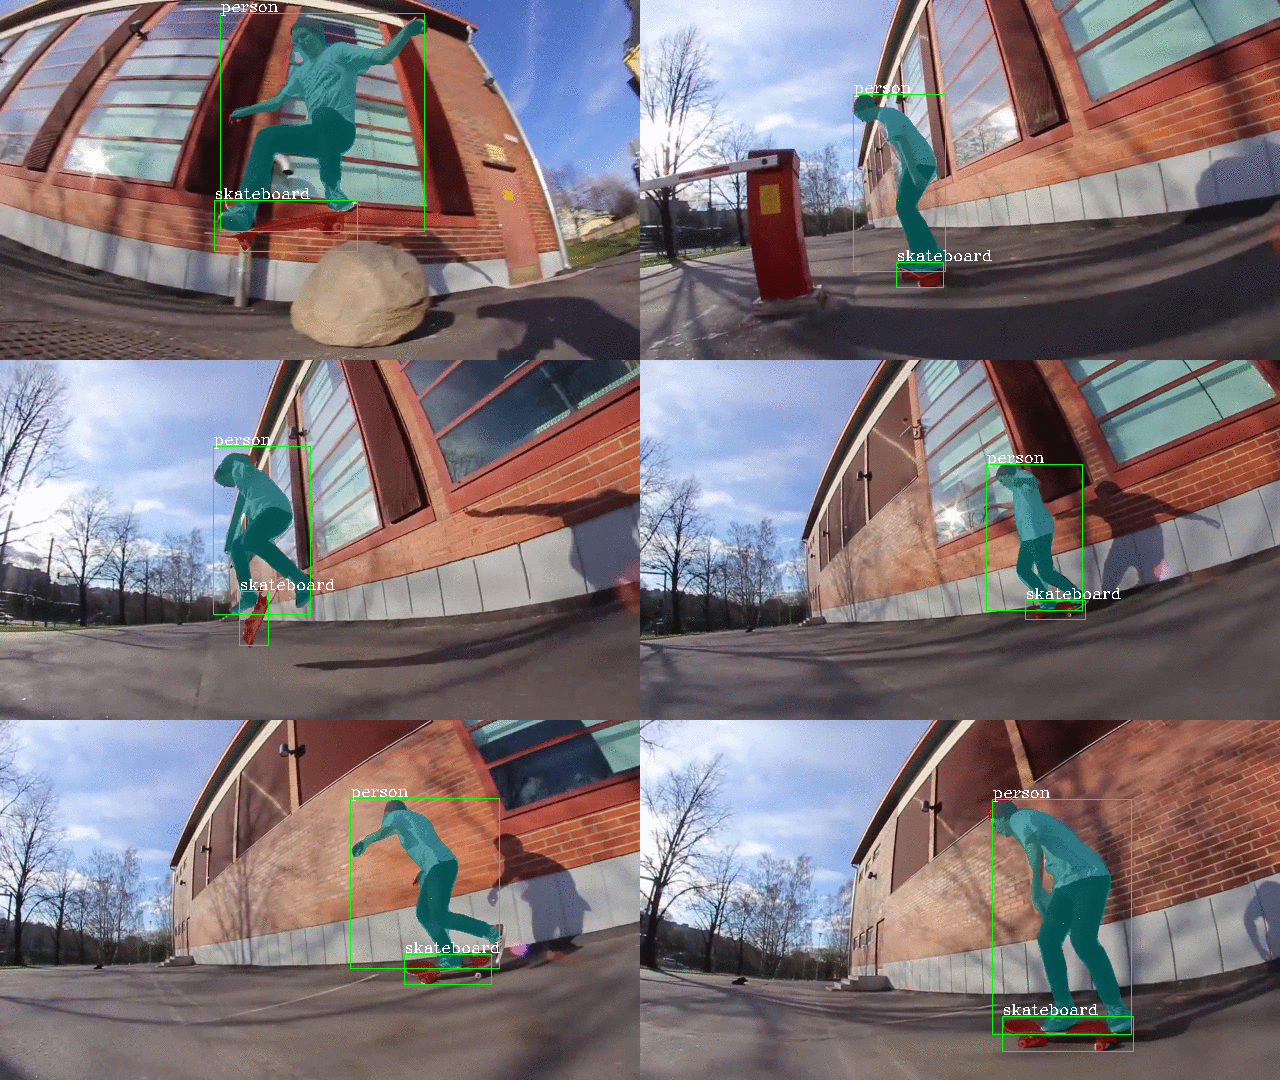
- Single-stage method for both image and video instance segmentation.
- Two different versions are provided: high-accuracy version and real-time (fast) version.
- Image instance segmentation is built on both mmdetection and maskrcnn-benchmark.
- Video instance segmentation is built on mmdetection.
- Datasets: MS COCO for image instance segmentation and YouTube-VIS for video instance segmentation.
- Json results of SipMask+ResNet50 on YouTube-VIS: Single-scale training (32.5) and Multi-scale training (33.7)
 |
 |
 |
 |
 |
 |
Single-stage instance segmentation approaches have recently gained popularity due to their speed and simplicity, but are still lagging behind in accuracy, compared to two-stage methods. We propose a fast single-stage instance segmentation method, called SipMask, that preserves instance-specific spatial information by separating the mask prediction of an instance to different sub-regions of a detected bounding-box. Our main contribution is a novel light-weight spatial preservation (SP) module that generates a separate set of spatial coefficients for each sub-region within a bounding-box, leading to improved mask predictions. It also enables accurate delineation of spatially adjacent instances. Further, we introduce a mask alignment weighting loss and a feature alignment scheme to better correlate mask prediction with object detection.
- This project is built on the official implementation of FCOS, which is based on maskrcnn-benchmark.
- High-quality version is provided.
- Please use SipMask-benchmark and refer to INSTALL.md for installation.
- PyTorch1.1.0 and cuda9.0/10.0 are used by me.
python -m torch.distributed.launch --nproc_per_node=4 --master_port=$((RANDOM+10000)) tools/train_net.py --config-file ${CONFIG_FILE} DATALOADER.NUM_WORKERS 2 OUTPUT_DIR ${OUTPUT_PATH}
e.g.,
python -m torch.distributed.launch --nproc_per_node=4 --master_port=$((RANDOM+10000)) tools/train_net.py --config-file configs/sipmask/sipmask_R_50_FPN_1x.yaml DATALOADER.NUM_WORKERS 2 OUTPUT_DIR training_dir/sipmask_R_50_FPN_1xpython tools/test_net.py --config-file ${CONFIG_FILE} MODEL.WEIGHT ${CHECKPOINT_FILE} TEST.IMS_PER_BATCH 4
e.g.,
python tools/test_net.py --config-file configs/sipmask/sipmask_R_50_FPN_1x.yaml MODEL.WEIGHT training_dir/SipMask_R50_1x.pth TEST.IMS_PER_BATCH 4 - CONFIG_FILE of Sipmask is under the folder of SipMask-benchmark/configs/sipmask.
| name | backbone | input size | epoch | ms-train | val. box AP | val. mask AP | download |
|---|---|---|---|---|---|---|---|
| SipMask | R50 | 800 × 1333 | 1x | no | 39.5 | 34.2 | model |
| SipMask | R101 | 800 × 1333 | 3x | yes | 44.1 | 37.8 | model |
- This project is built on mmdetection.
- High-quality version and real-time version are both provided.
- Please use SipMask-mmdetection and refer to INSTALL.md for installation.
- PyTorch1.1.0, cuda9.0/10.0, and mmcv0.4.3 are used by me.
./tools/dist_train.sh ${CONFIG_FILE} ${GPU_NUM} [optional arguments]
e.g.,
CUDA_VISIBLE_DEVICES=0,1,2,3 ./tools/dist_train.sh configs/sipmask/sipmask_r50_caffe_fpn_gn_1x_4gpu.py 4 --validatepython tools/test.py ${CONFIG_FILE} ${CHECKPOINT_FILE} [--out ${RESULT_FILE}] [--eval ${EVAL_METRICS}] [--show]
e.g.,
python tools/test.py ./configs/sipmask/sipmask_r50_caffe_fpn_gn_1x_4gpu.py ./work_dirs/sipmask_r50_caffe_1x.pth --out results.pkl --eval bbox segmWith our trained model, detection results of an image can be visualized using the following command.
python ./demo/sipmask_demo.py ${CONFIG_FILE} ${CHECKPOINT_FILE} ${IMAGE_FILE} [--out ${OUT_PATH}]
e.g.,
python ./demo/sipmask_demo.py ./configs/sipmask/sipmask_r50_caffe_fpn_gn_1x_4gpu.py ./sipmask_r50_caffe_1x.pth ./demo/demo.jpg --out ./demo/aa.jpg- CONFIG_FILE of Sipmask is under the folder of SipMask-mmdetection/configs/sipmask.
| name | backbone | input size | epoch | ms-train | GN | val. box AP | val. mask AP | download |
|---|---|---|---|---|---|---|---|---|
| SipMask | R50 | 800×1333 | 1x | no | yes | 38.2 | 33.5 | model |
| SipMask | R50 | 800×1333 | 2x | yes | yes | 40.8 | 35.6 | model |
| SipMask | R101 | 800×1333 | 4x | yes | yes | 43.6 | 37.8 | model |
| SipMask | R50 | 544×544 | 6x | yes | no | 36.0 | 31.7 | model |
| SipMask | R50 | 544×544 | 10x | yes | yes | 37.1 | 32.4 | model |
| SipMask | R101 | 544×544 | 6x | yes | no | 38.4 | 33.6 | model |
| SipMask | R101 | 544×544 | 10x | yes | yes | 40.3 | 34.8 | model |
| SipMask++ | R101-D | 544×544 | 6x | yes | no | 40.1 | 35.2 | model |
| SipMask++ | R101-D | 544×544 | 10x | yes | yes | 41.3 | 36.1 | model |
- GN indicates group normalization used in prediction branch.
- Model with the input size of 800×1333 fcoses on high accuracy, which is trained in RetinaNet style.
- Model with the input size of 544×544 fcoses on fast speed, which is trained in SSD style.
- ++ indicates adding deformable convolutions with interval of 3 in backbone and mask re-scoring module.
- This project is an implementation for video instance segmenation based on mmdetection.
- Please use SipMask-VIS and refer to INSTALL.md for installation.
- PyTorch1.1.0, cuda9.0/10.0, and mmcv0.2.12 are used by me.
Please note that, to run YouTube-VIS dataset like MaskTrackRCNN, install the cocoapi for youtube-vis instead of installing the original cocoapi for coco as follows.
pip install git+https://github.com/youtubevos/cocoapi.git#"egg=pycocotools&subdirectory=PythonAPI"
or
cd SipMask-VIS/pycocotools/cocoapi/PythonAPI
python setup.py build_ext install./tools/dist_train.sh ${CONFIG_FILE} ${GPU_NUM}
e.g.,
CUDA_VISIBLE_DEVICES=0,1,2,3 ./toools/dist_train.sh ./configs/sipmask/sipmask_r50_caffe_fpn_gn_1x_4gpu.py 4python tools/test_video.py ${CONFIG_FILE} ${CHECKPOINT_FILE} [--out ${RESULT_FILE}] --eval segm
e.g.,
python ./tools/test_video.py configs/sipmask/sipmask_r50_caffe_fpn_gn_1x_4gpu.py ./work_dirs/sipmask_r50_fpn_1x.pth --out results.pkl --eval segmIf you want to save the results of video instance segmentation, please use the following command:
python tools/test_video.py ${CONFIG_FILE} ${CHECKPOINT_FILE} [--out ${RESULT_FILE}] --eval segm --show --save_path= ${SAVE_PATH}- CONFIG_FILE of SipMask-VIS is under the folder of SipMask-VIS/configs/sipmask.
- The model pretrained on MS COCO dataset is used for weight initialization.
| name | backbone | input size | epoch | ms-train | val. mask AP | download |
|---|---|---|---|---|---|---|
| SipMask | R50 | 360 × 640 | 1x | no | 32.5 | model |
| SipMask | R50 | 360 × 640 | 1x | yes | 33.7 | model |
- The generated results on YouTube-VIS should be uploaded to codalab for evaluation.
If the project helps your research, please cite this paper.
@article{Cao_SipMask_ECCV_2020,
  author =       {Jiale Cao and Rao Muhammad Anwer and Hisham Cholakkal and Fahad Shahbaz Khan and Yanwei Pang and Ling Shao},
  title =        {SipMask: Spatial Information Preservation for Fast Image and Video Instance Segmentation},
  journal =      {Proc. European Conference on Computer Vision},
  year =         {2020}
}
Many thanks to the open source codes, i.e., FCOS, mmdetection, YOLACT, and MaskTrack RCNN.