Traffic Light Classifier - My part for Udacity's "Self-Driving Car Engineer Nanodegree" Capstone project.
Introduction
During Udacity's "Self-Driving Car Engineer Nanodegree" Capstone project, my part of the project was to design the two Traffic Light Classifier models for the two modes (simulator and site).
Files
This repo contains instructions of how I trained the models, my results, comments on the results, tips and of course the model .pb files.
Training Process -- Instructions
Choice of the pre-trained model and the model's technique:
For our models, I used the Tensorflow object detection API as described in the tutorial below:
https://pythonprogramming.net/introduction-use-tensorflow-object-detection-api-tutorial/
After seaching on the web, I've decided that a good compromise of accuracy and execution time is the SSD_mobilnet and for that reason I chose the ssd_mobilenet_v1_coco_2017_11_17 pre-trained model.
To get started clone the Tensorflow API repo:
https://github.com/tensorflow/models/tree/master/research/object_detection
--------------Datasets------------------:
To train the model, I used the train dataset and to test it the test dataset. More accurately, I used the TFRecord files on each data set as described in the tutorial.
-----------------Training---------------:
Set up:
- Go to models - > research -> object_detection
- In the data folder put the train.record and test.record files you want to use
- In the training folder configure the pipeline (basically the number of steps and learning rate)
- Go to models - > research -> object_detection ->legacy
- In the data folder put the train.record and test.record files you want to use
- In the training folder configure the pipeline (basically the number of steps and learning rate)
Train:
- Open terminal
- Navigate to models -> research (cd models -> cd research)
- Execute the following:
protoc object_detection/protos/*.proto --python_out=.
export PYTHONPATH=$PYTHONPATH:`pwd`:`pwd`/slim
- Go to object_detection folder (cd object_detection) and the to legacy (cd legacy)
- Execute the folllowing:
python3 train.py --logtostderr --train_dir=training/ --pipeline_config_path=training/pipeline.config
After the model is trained:
- Move the three last saved files from the training folder in legacy to the training file in training folder in object_detection.
- Open terminal
- Navigate to models - > research -> object_detection
- Execute to save the graph:
        python3 export_inference_graph.py \
            --input_type image_tensor \
            --pipeline_config_path training/pipeline.config \
            --trained_checkpoint_prefix training/YOUR-LAST-SAVE-MODEL(eg model.ckpt-20000)\
            --output_directory A-NEW-NAME-DIRECTORY
--------------Test the model------------------:
- Open the Jupyter notebook in the object_detection folder
- Change the models name
- Run all cells
--------------Important notes------------------------:
- I trained the simulation model for 40000 steps tried to make it work for both simulator but I did not succeed that. The reason seems to be the training data are completely different since we have on the one hand real data and on the other hand digitally created data. Generally, the model serve their purpose really well and trying to generalize them is beyond the scope of this project although completely possible.
The final results are both trained for 20000 steps. 10000 steps were enough for both models but I did an extra 10000 steps for better results.
Simulation model is stored in sim_v4 Carla model is stored in carla_v4
(Please use the correct name if you want to run them in your program)
- The Udacity's Carla car runs only Tensorflow v3. It is important to export the frozen graph in Tensorflow v4 in order to the .pb files to be compatible with the Carla's version. To do that use the tensorflow API for v4 by navigating to the file models and execute:
git checkout f7e99c0
- The models were trained in Amazon AWS g3.4 large instance. Visit:
You may find it useful to use FileZilla to transfer your data in the instance. Visit:
Results for the two modes
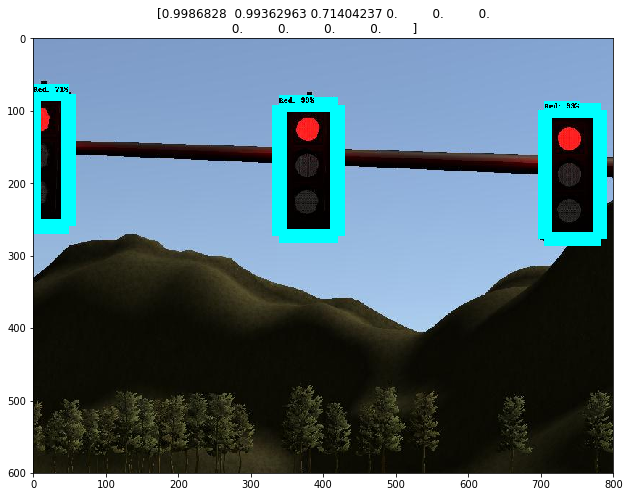
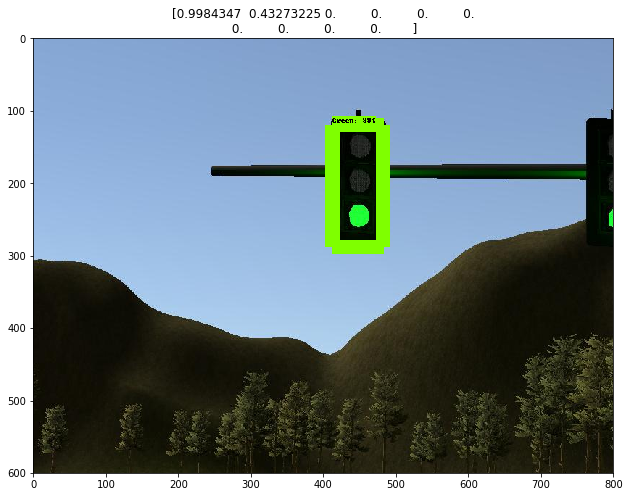
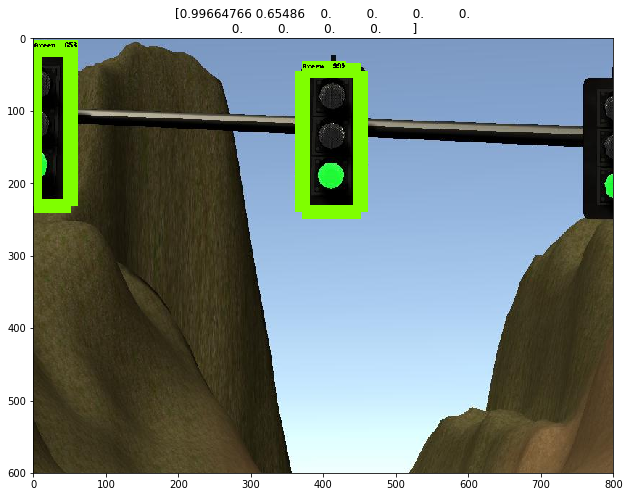
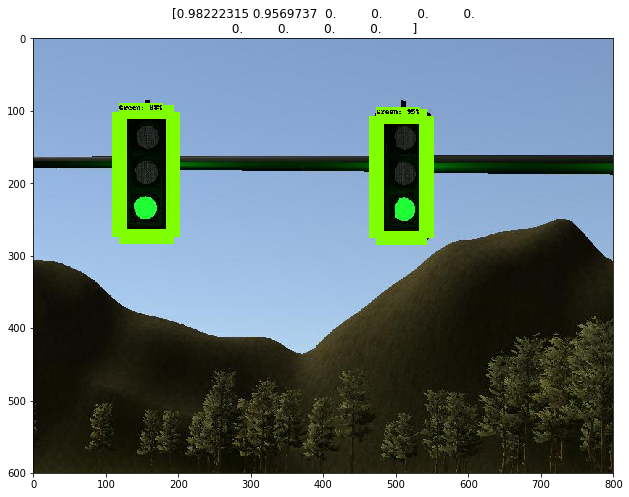
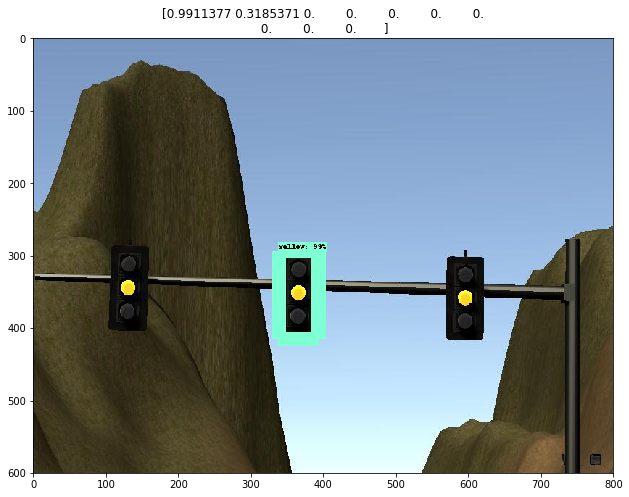
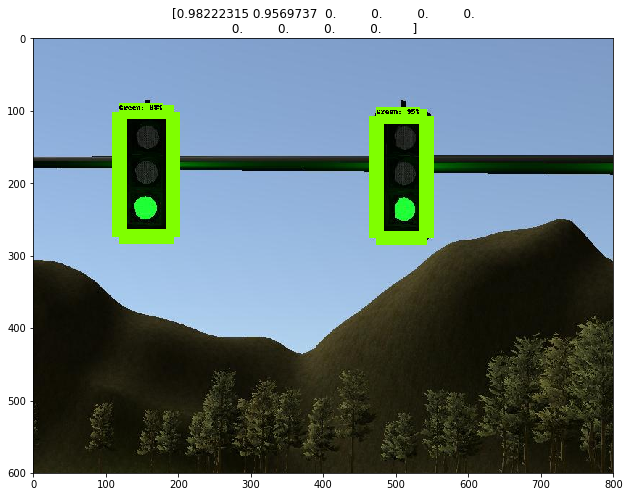
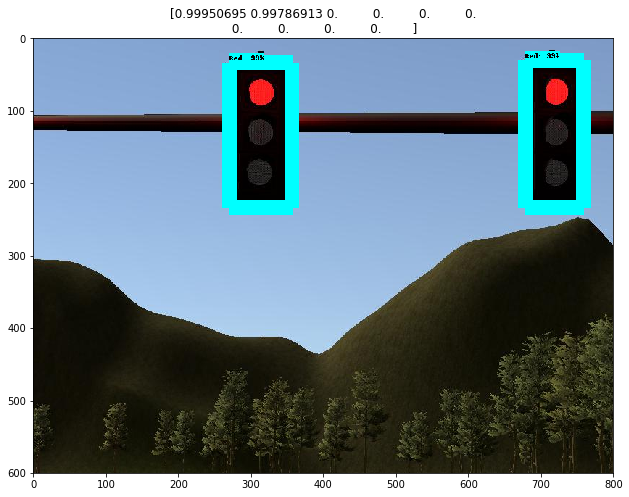
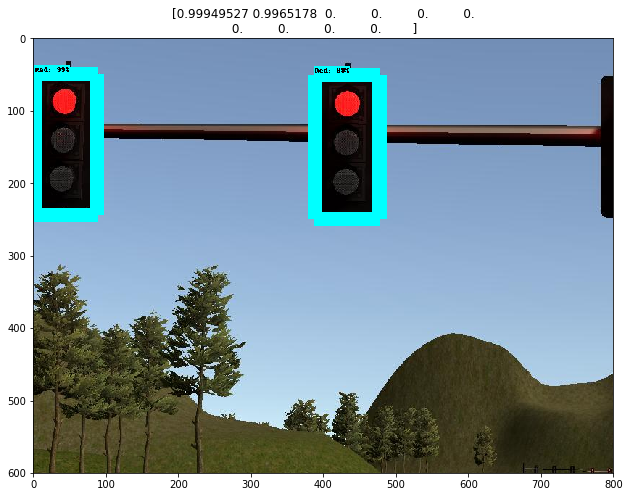
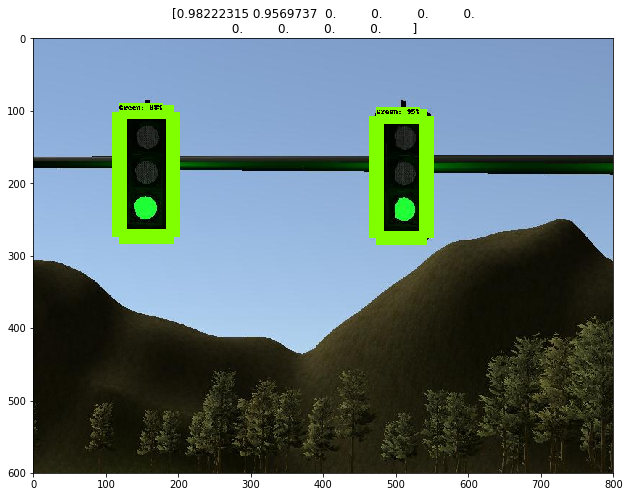
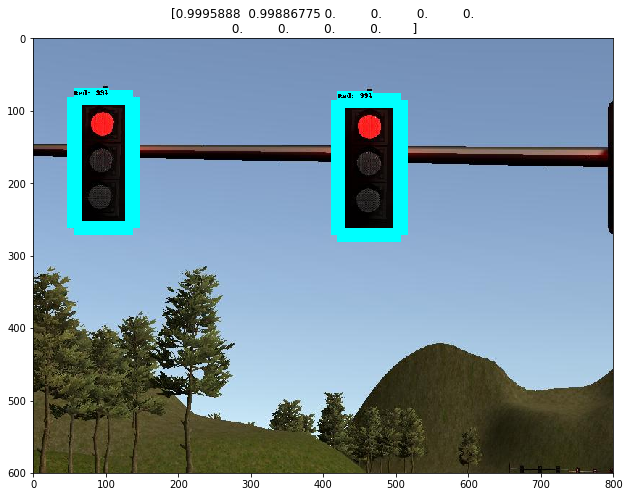
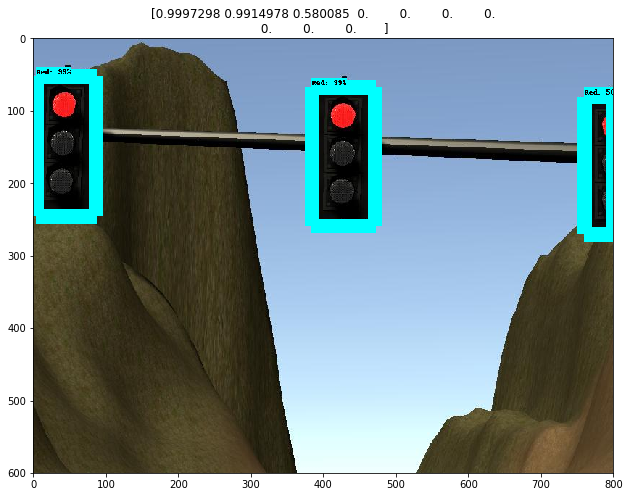
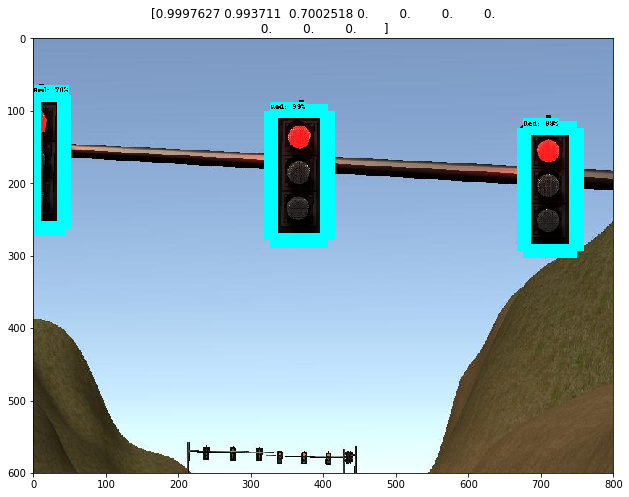
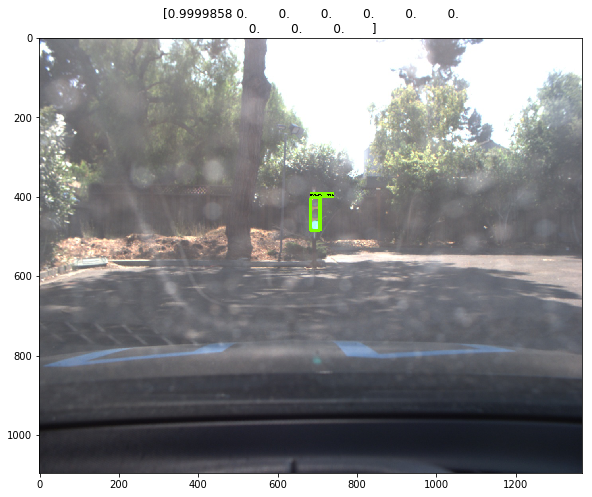
Successful results of sim_v4:
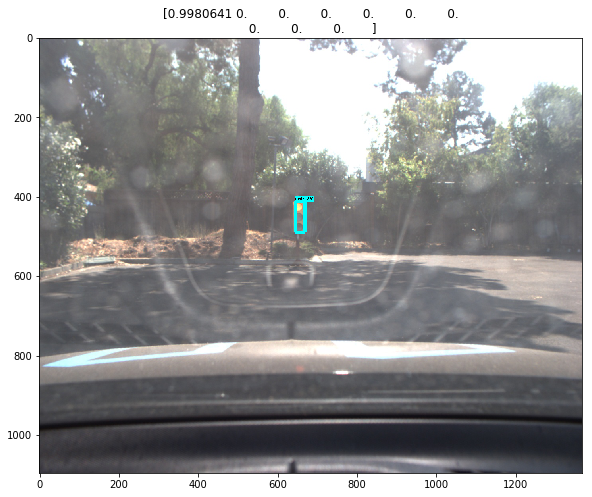
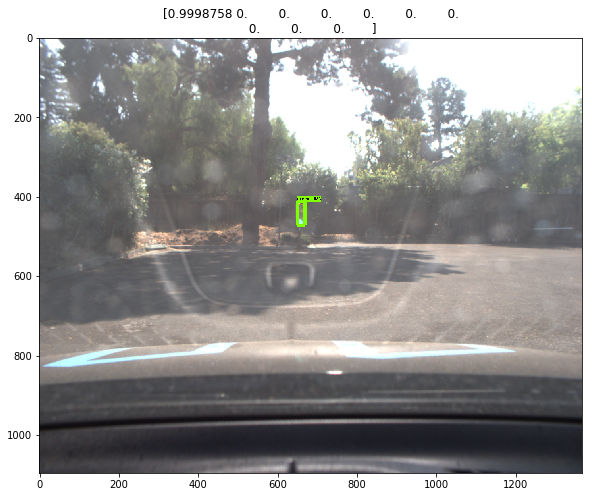
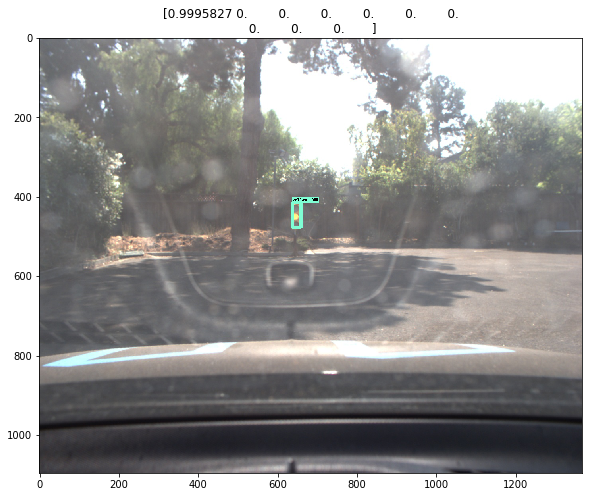
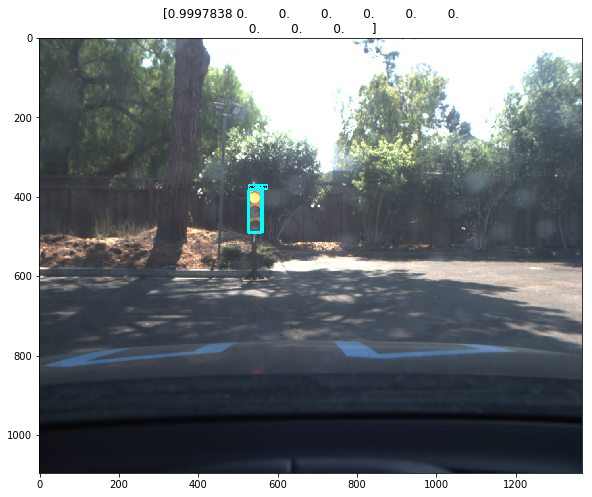
Successful results of carla_v4:
Results for other images
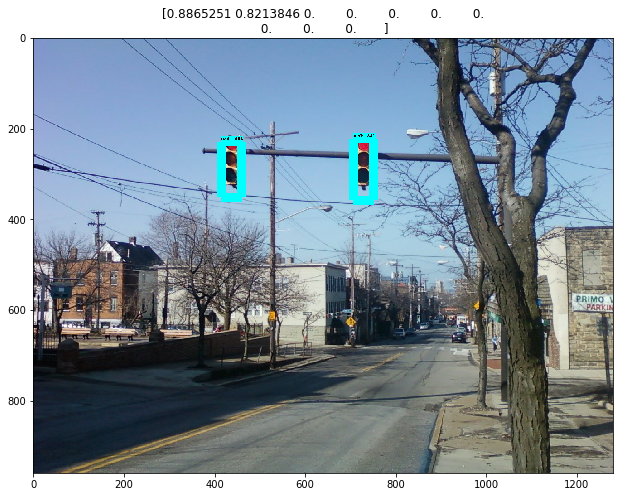
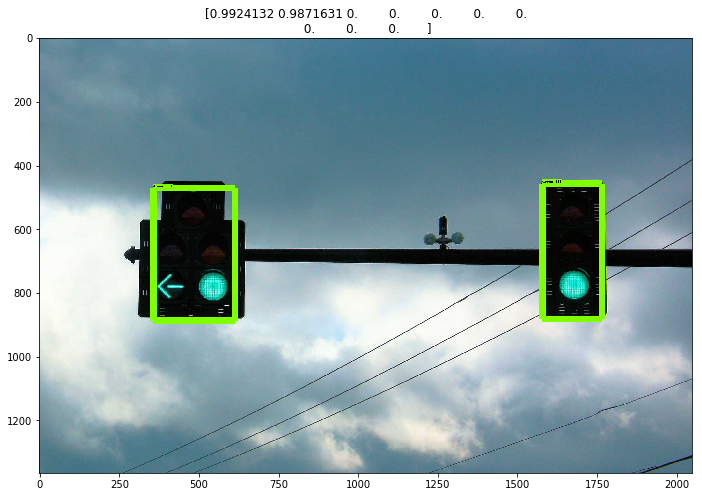
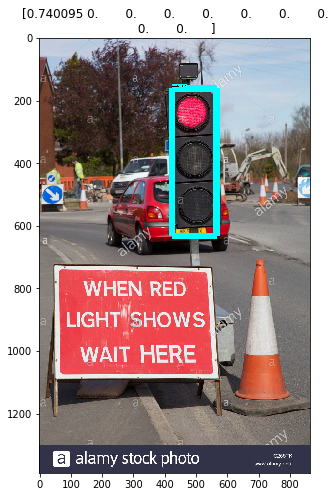
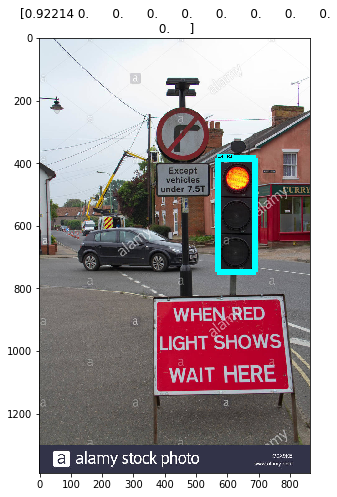
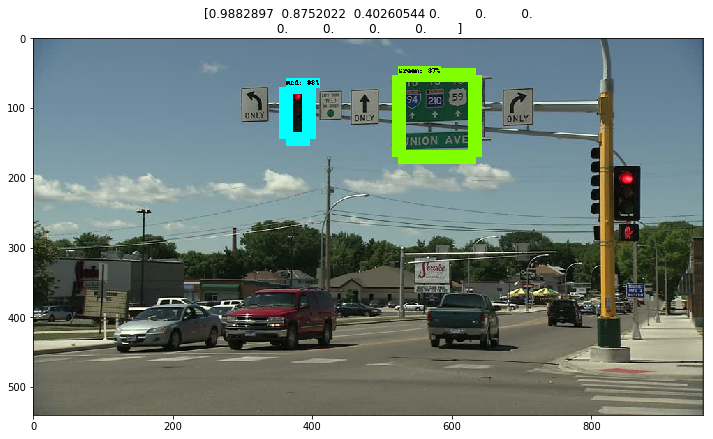
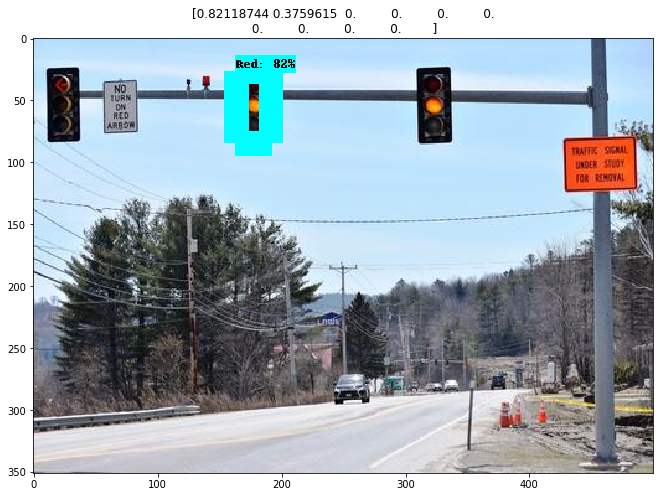
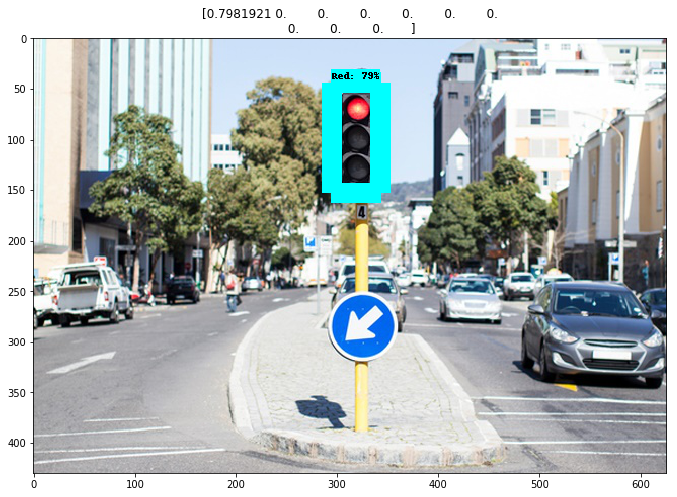
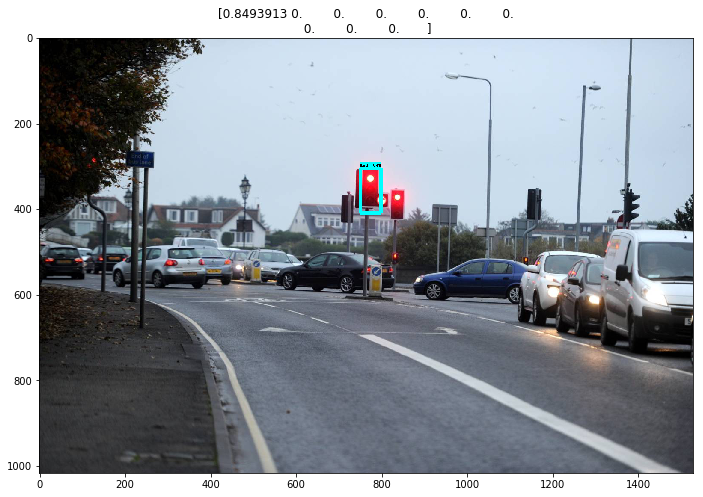
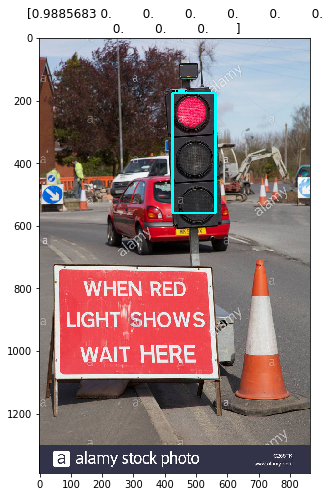
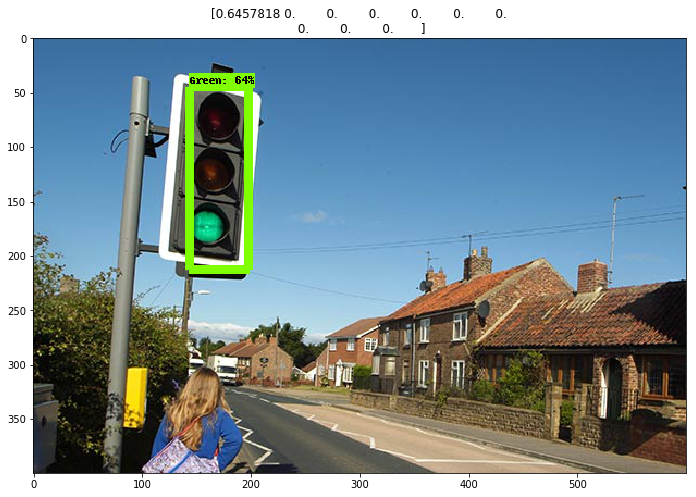
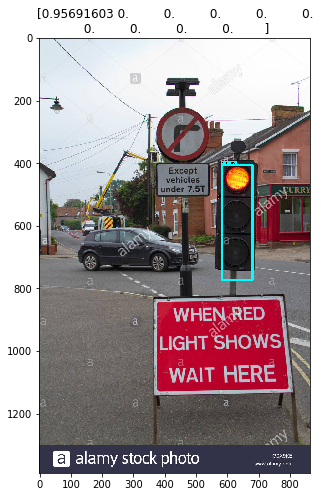
I tested the two models in images unrelated to the two models. The two models although they had trained with no general data could recognize large amount of them with the sim_v4 model to be better.
Here are some successful results of sim_v4:
Here are some successful results of carla_v4:

