- Make sure tracking is working
- Drone can Arm (Use RC)
- Battery is ok
- Drone's Lipo (use mavros)
- Laptop
- RC
- Check Tracking again (UAV's local pose should be over the vive's TF)
- Arm drone (Use RC)
- Send setpoint poses
- Go offboard
These instructions are for Ros Noetic on Ubuntu 20.04.
Setup keys, update apt, and install ros desktop:
    sudo sh -c 'echo "deb http://packages.ros.org/ros/ubuntu $(lsb_release -sc) main" > /etc/apt/sources.list.d/ros-latest.list'
    sudo apt install curl # if you haven't already installed curl
    curl -s https://raw.githubusercontent.com/ros/rosdistro/master/ros.asc | sudo apt-key add -
    sudo apt update
    sudo apt install ros-noetic-desktop-full
    echo "source /opt/ros/noetic/setup.bash" >> ~/.bashrc
    source ~/.bashrc
Now we need to install some additional dependencies, and rosdep.
    sudo apt install python3-rosdep python3-rosinstall python3-rosinstall-generator python3-wstool build-essential
    sudo rosdep init
    rosdep update
    sudo sh     -c 'echo "deb http://packages.ros.org/ros/ubuntu `lsb_release -sc` main" \
         > /etc/apt/sources.list.d/ros-latest.list'
    wget http://packages.ros.org/ros.key -O - | sudo apt-key add -
    sudo apt-get update
    sudo apt-get install python3-catkin-tools
Now we create our ros workspace. There will be errors and warnings, this is fine as our catkin_ws/src is empty so there is nothing to build.
    mkdir catkin_ws
    cd catkin_ws/
    catkin init --workspace .
    catkin build
There may be some red errors from catkin build which inform us that our directory does not have any packages in it yet.
We need more dependencies:
    sudo apt install software-properties-common apt-transport-https wget
    sudo apt install python3-rosdep python3-rosinstall python3-rosinstall-generator python3-wstool build-essential -y
    sudo apt-get install python-catkin-tools python-rosinstall-generator -y
    rosinstall_generator --rosdistro noetic mavlink | tee /tmp/mavros.rosinstall
    rosinstall_generator --upstream mavros | tee -a /tmp/mavros.rosinstall
    sudo apt install ros-noetic-mavros
    sudo apt-get install python3-rosdep
The final set of dependencies:
   rosdep install --from-paths src --ignore-src -r -y
   sudo apt install geographiclib-tools -y
   install_geo=$(wget https://raw.githubusercontent.com/mavlink/mavros/master/mavros/scripts/install_geographiclib_datasets.sh -O -)
   catkin build
   sudo apt-get install protobuf-compiler libeigen3-dev libopencv-dev -y
Note that we do not clone the PX4-autopilot in catkin/src as it is not really a ROS package.
Now we can download and install the PX4 firmware simulator:
    git clone https://github.com/PX4/PX4-Autopilot.git --recursive
    bash ./PX4-Autopilot/Tools/setup/ubuntu.sh
Next we need to build the simulator, sitl refers to "software in the loop". The following lines of code need to be run in the PX4 Firmware's directory, which on you machine is likely: ~/catkin_ws/PX4-Autopilot.
DONT_RUN=1 make px4_sitl_default gazebo
source ~/catkin_ws/devel/setup.bash    # (optional)
source Tools/simulation/gazebo/setup_gazebo.bash $(pwd) $(pwd)/build/px4_sitl_default
export ROS_PACKAGE_PATH=$ROS_PACKAGE_PATH:$(pwd)
export ROS_PACKAGE_PATH=$ROS_PACKAGE_PATH:$(pwd)/Tools/sitl_gazebo
roslaunch px4 mavros_posix_sitl.launch
make clean May be needed if build fails or you need to rebuild, this will clean previously built code.
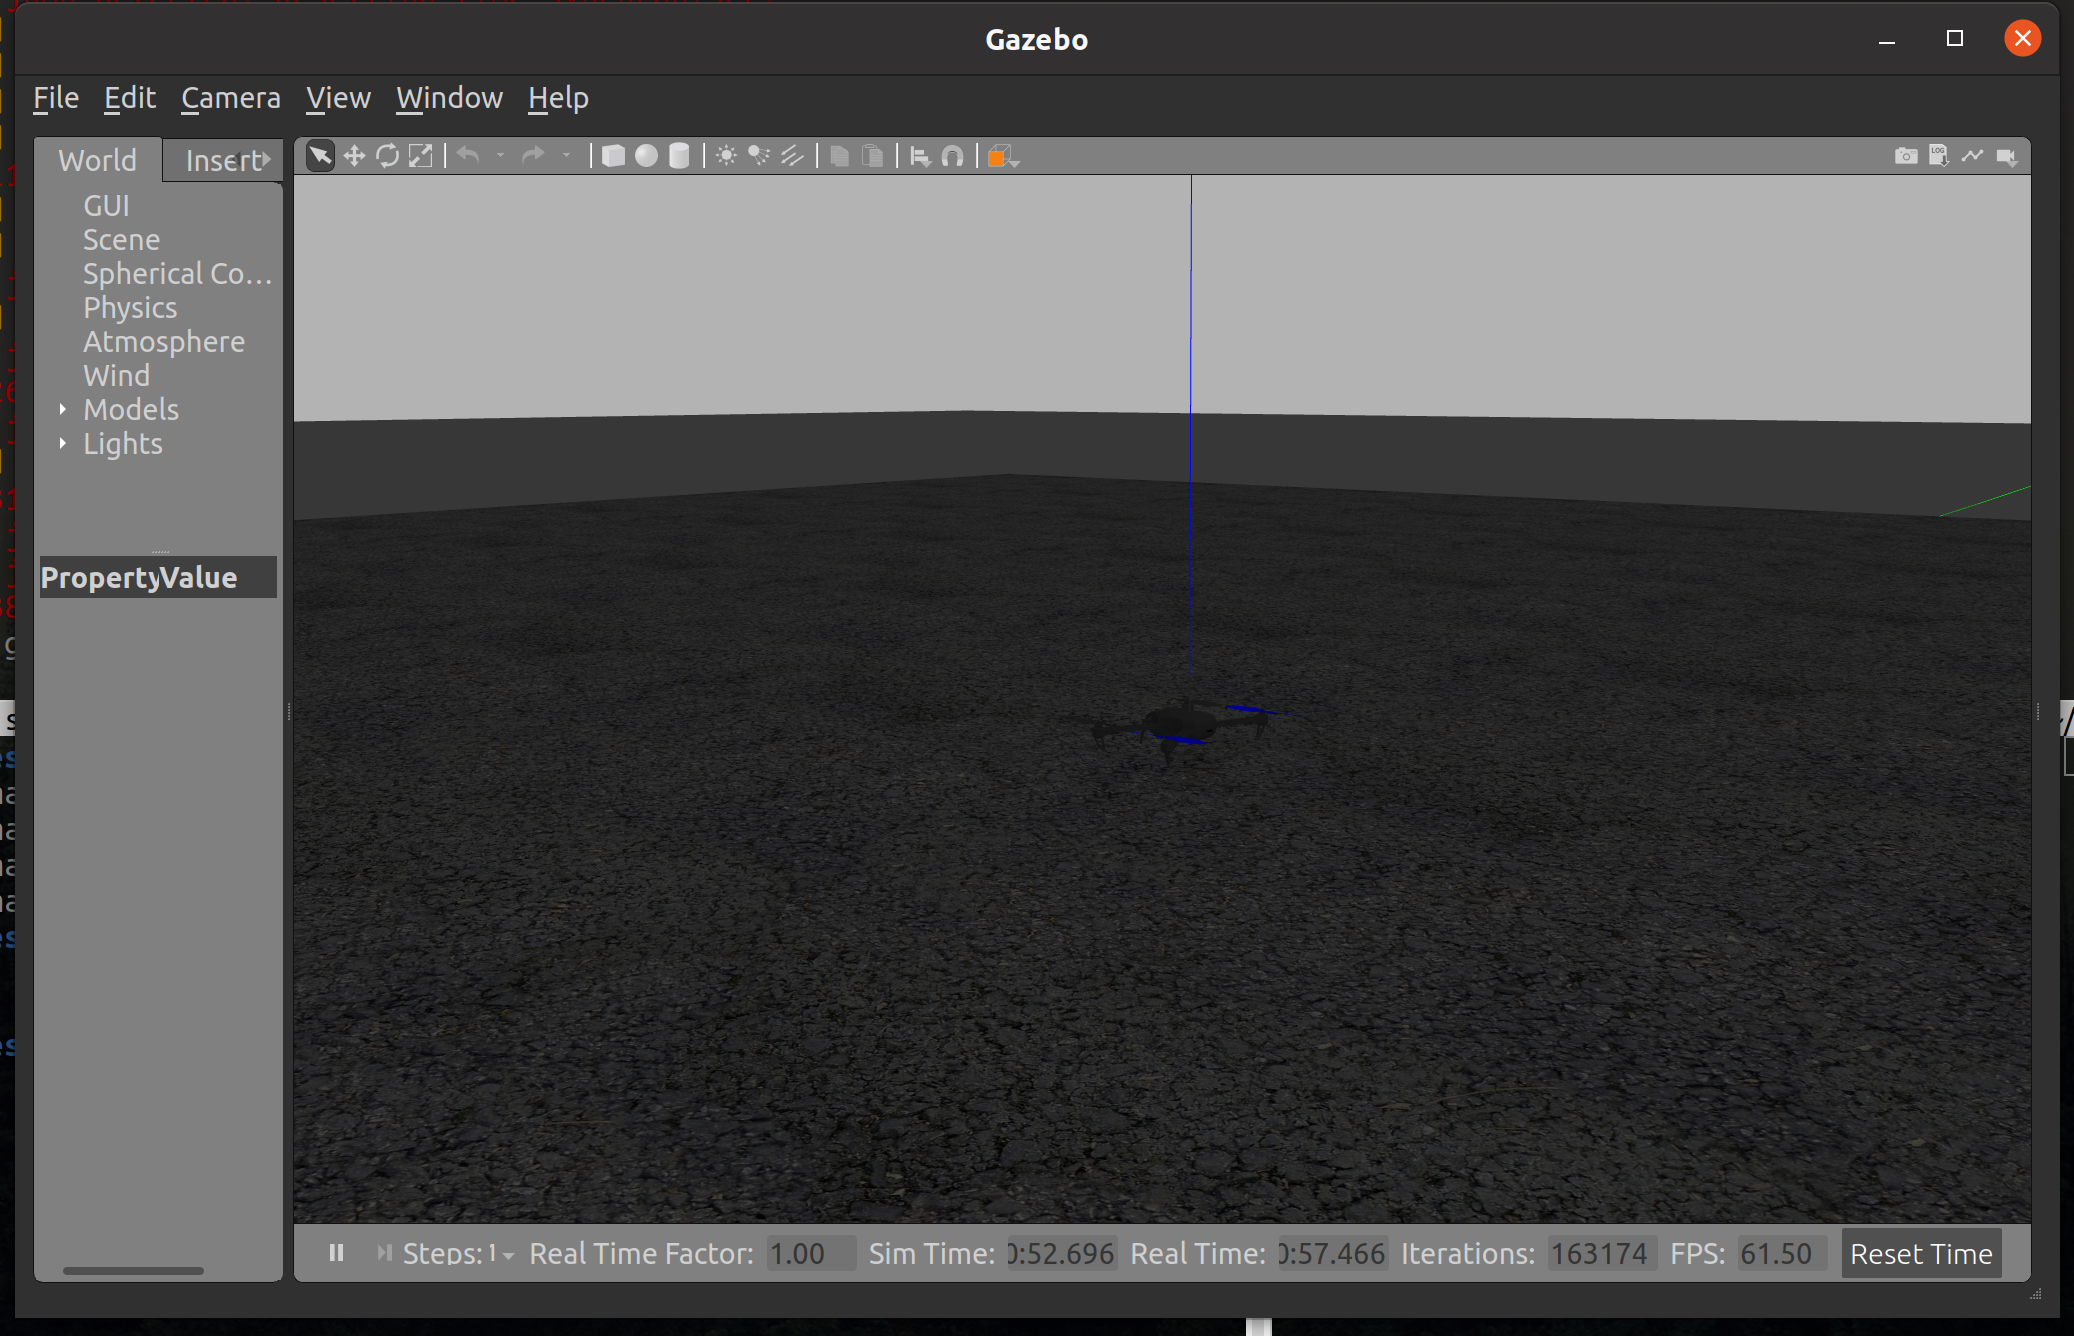
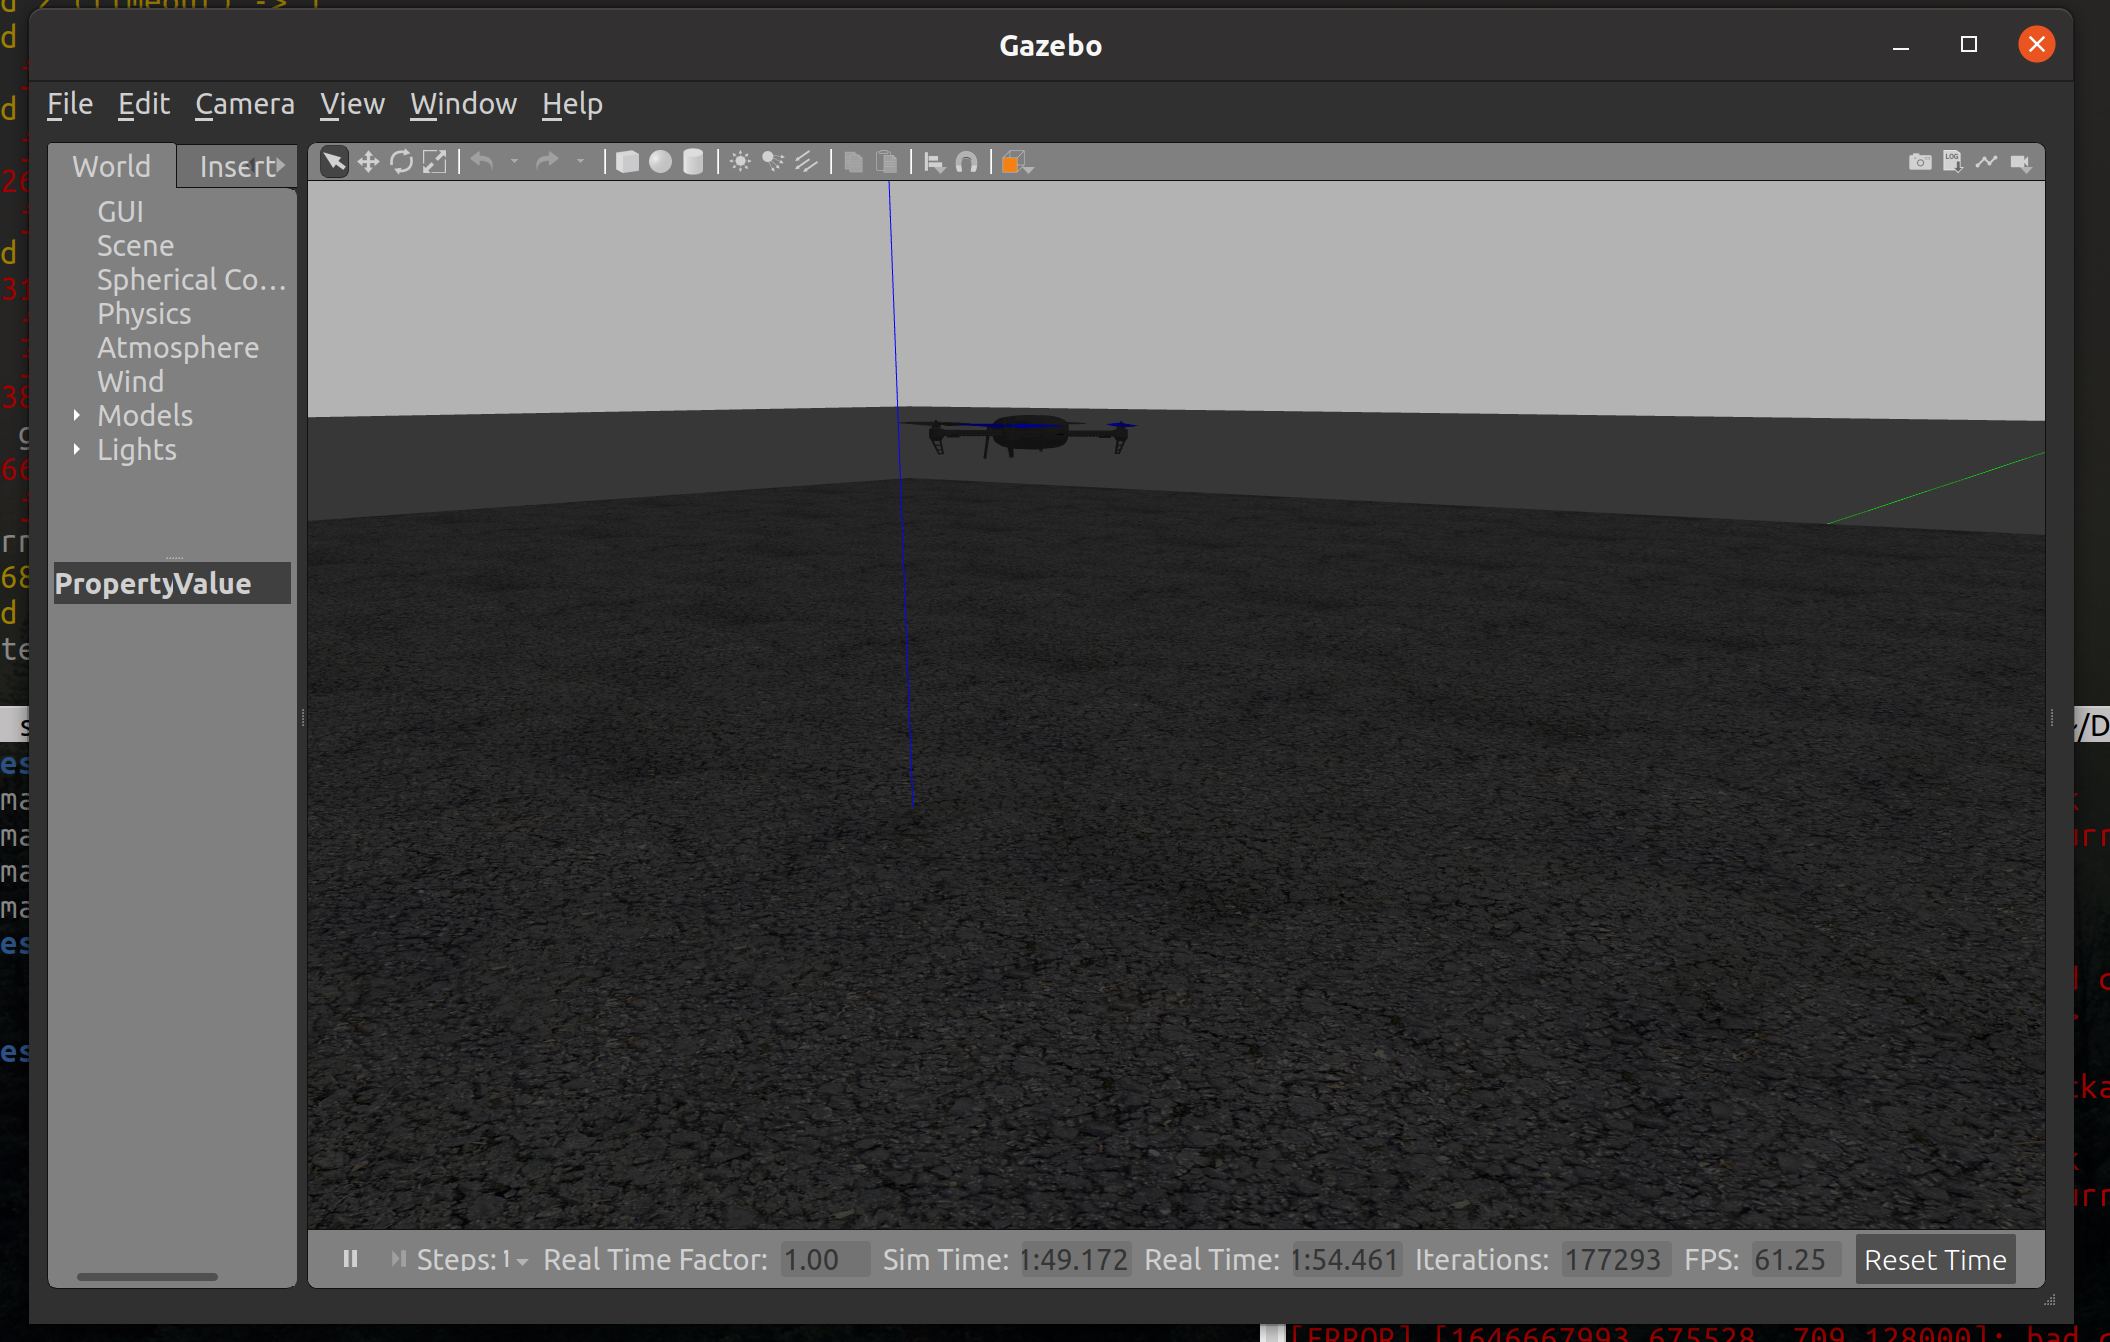
If everything went well we should see Gazebo opening with a UAV on the ground.
The first time you run mavros it will have an error about geographic libs not being setup. There is a script to install these stored in /opt/ros/noetic/lib/mavros called install_geographiclib_datasets.sh. Run this script sudo ./install_geographiclib_datasets.sh and the geographic lib data will be installed.
Mavros should already be installed. You can check by finding its installation location with roscd mavros and you will find yourselves in the Mavros directory.
Check everything is ok by subscribing to a topic. Note not all topics are used, but either of the following should be active, check using rostopic echo followed by either /mavros/local_position/pose or /mavros/imu/data_raw.
you need to download and install QGroundControl.
Set user permissions:
sudo usermod -a -G dialout $USER
sudo apt-get remove modemmanager -y
sudo apt install gstreamer1.0-plugins-bad gstreamer1.0-libav gstreamer1.0-gl -y
sudo apt install libqt5gui5 -y
Download by (or look for the latest version yourself):
wget https://d176tv9ibo4jno.cloudfront.net/latest/QGroundControl.AppImageOpen QGroundControl:
./QGroundControl.AppImage
Your simultion needs to be running to connect to QGroundControl
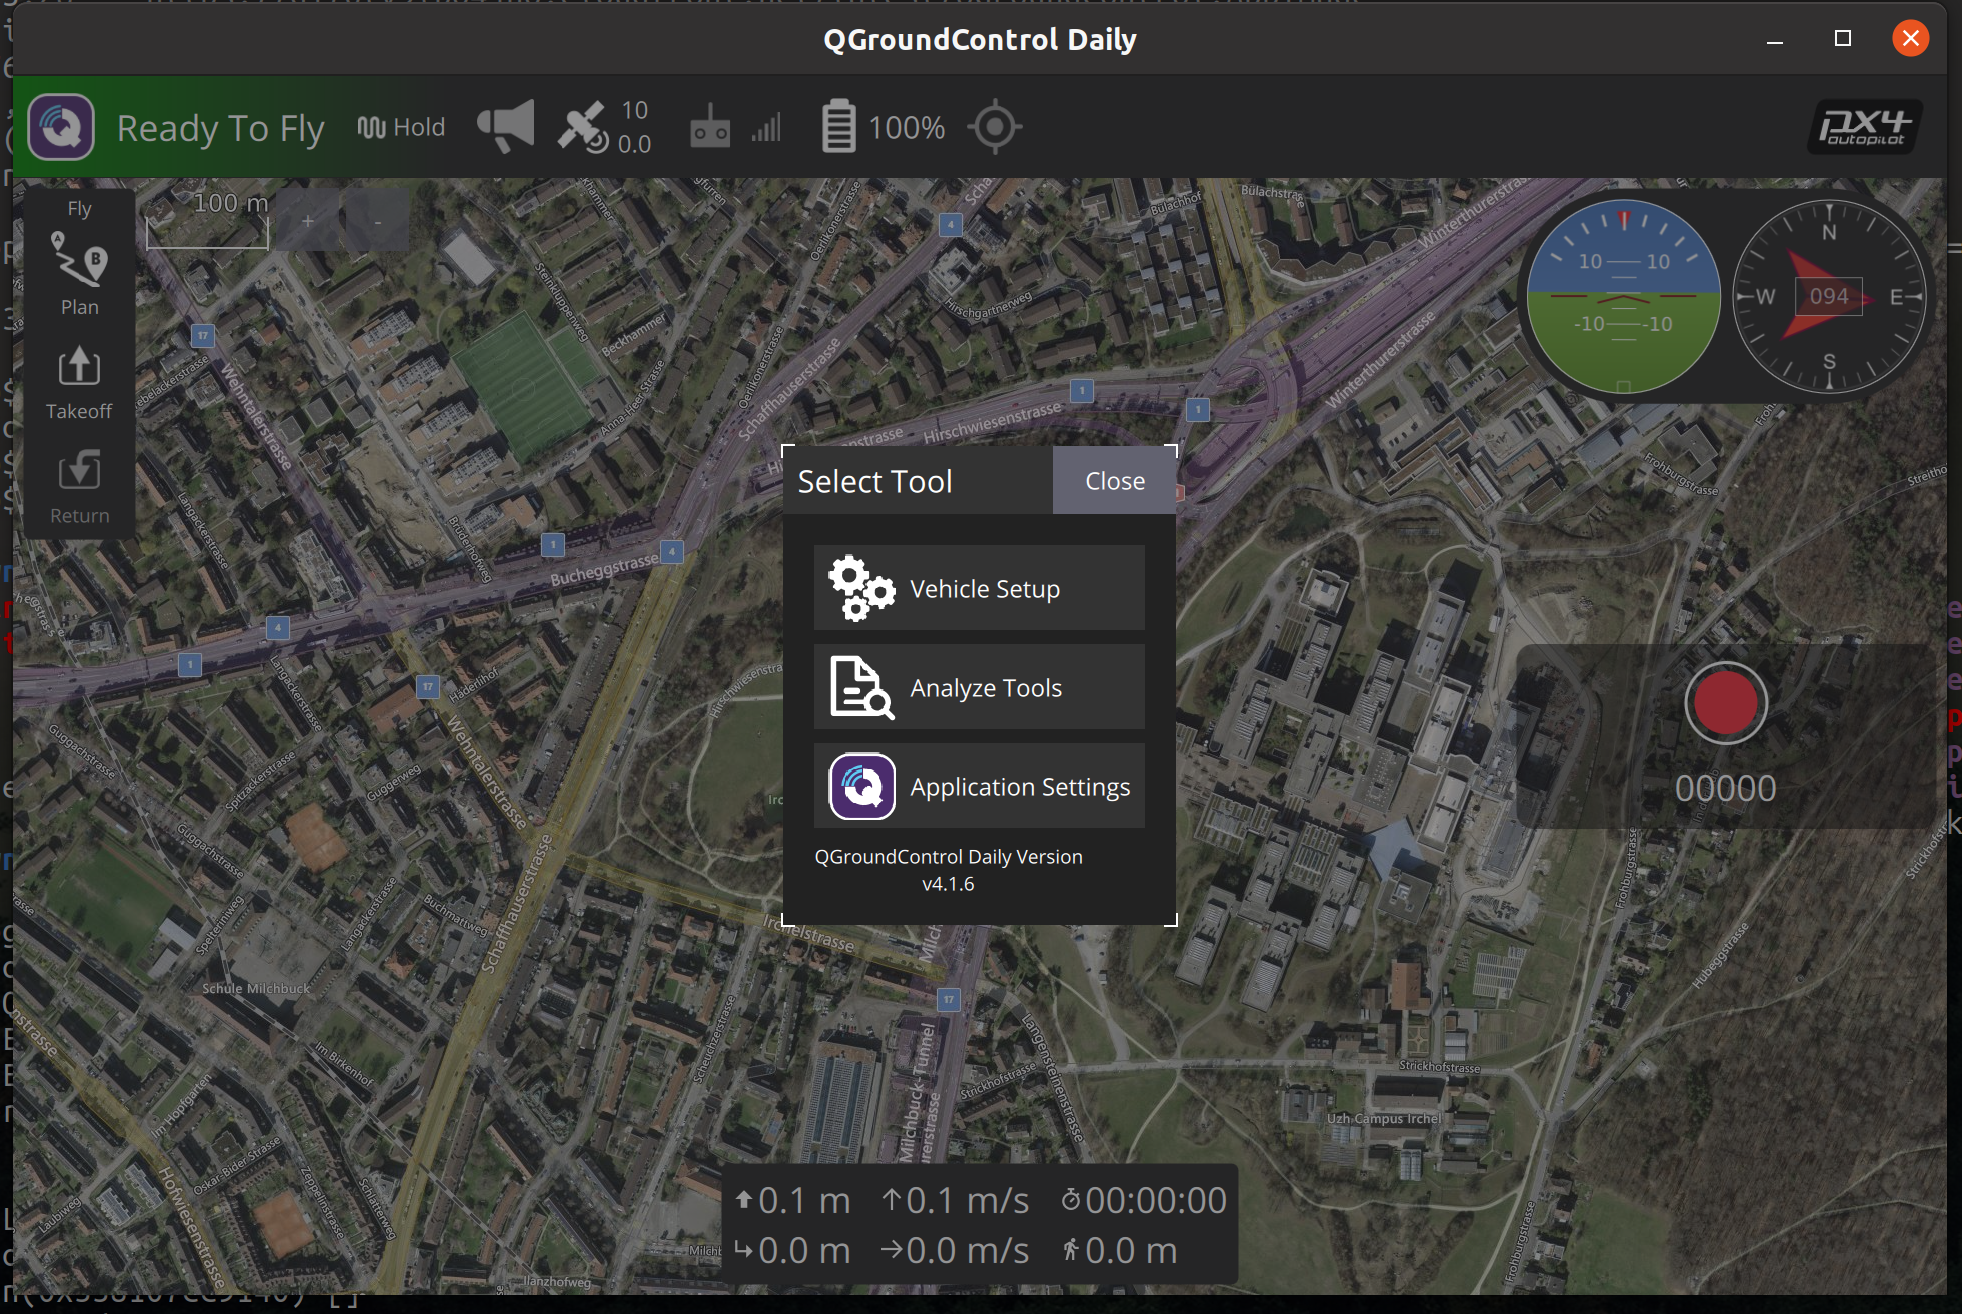
A connected QGroundControl will look like:
Click the "Q" in the corner,
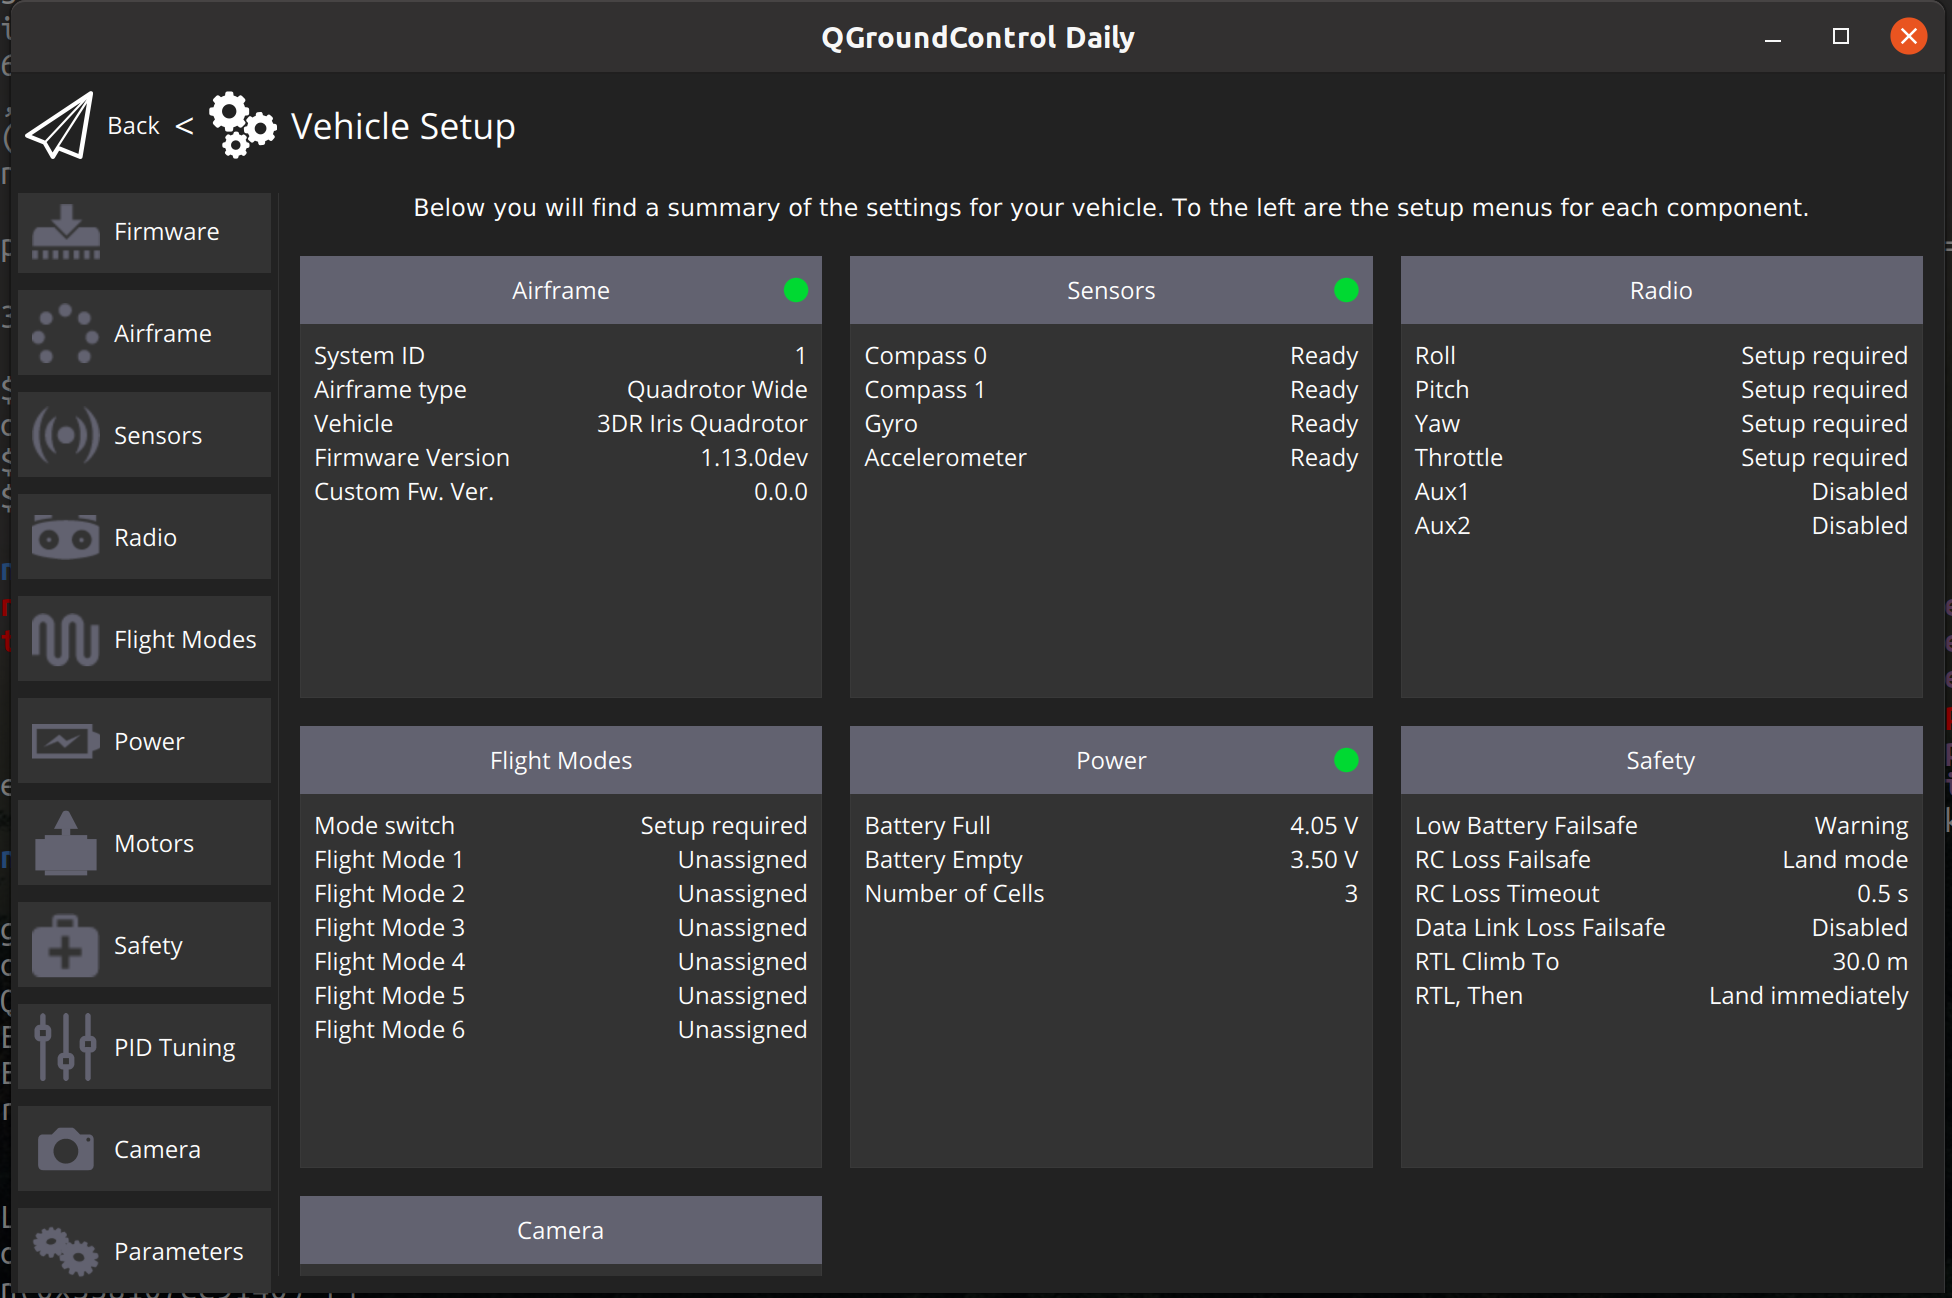
Select Vehicle Setup
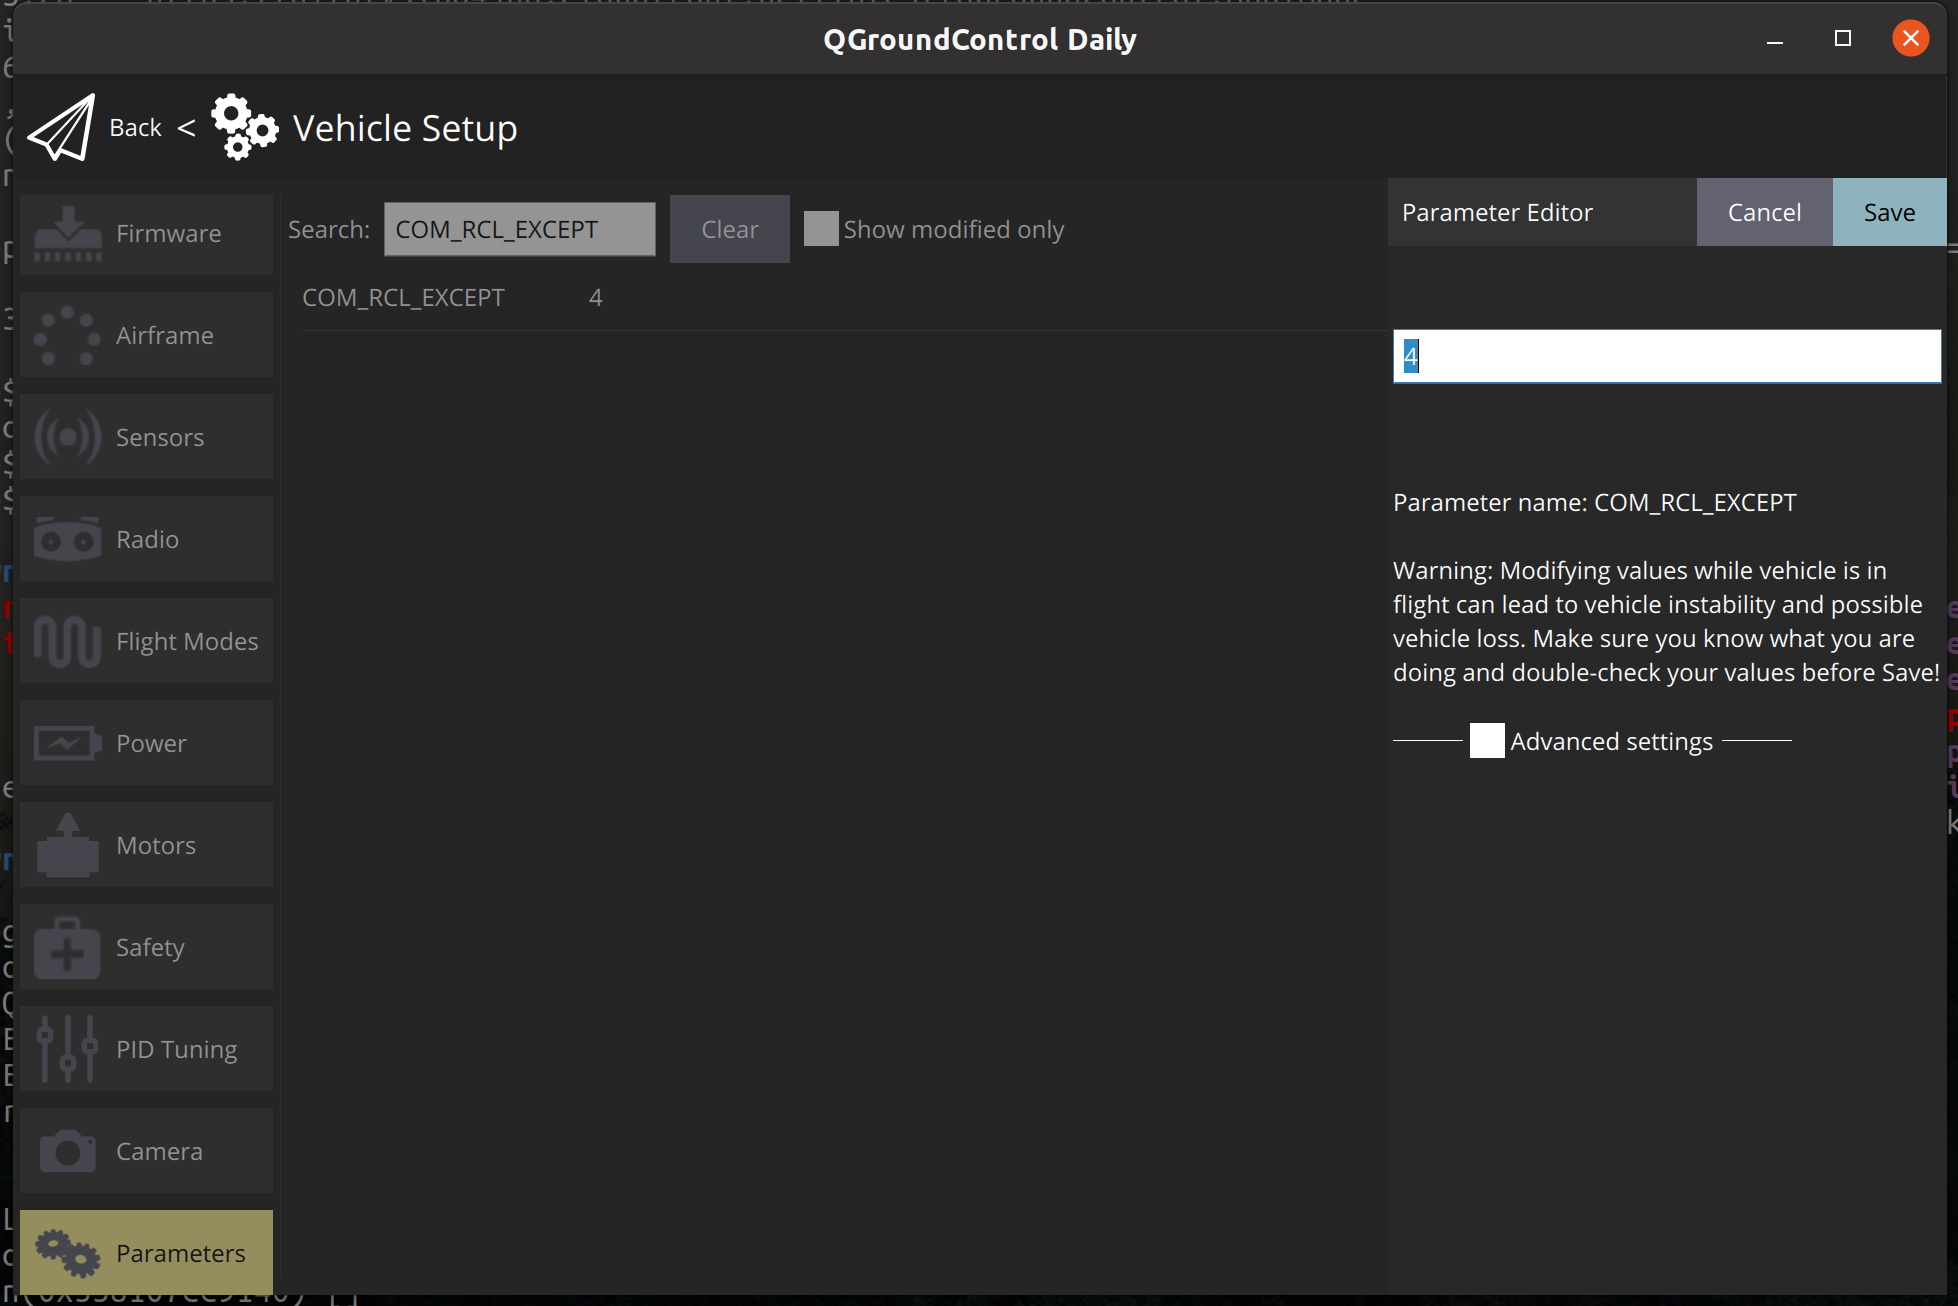
Select Parameters from the bottom of the left hand tool bar
Search for COM_RCL_EXCEPT and set value to 4.
We are now ready to fly!
In src folder there are python scripts for fake_mocap.py and to control pose. This is needed to move to "OFFBOARD" mode. Python files are run by:
python3 fake_mocap.pyTo successfully go offboard we need to publish a target position,
python3 simple_pose_publisher.pyWe can arm and go "OFFBOARD" either calling MAVROS services:
ARM:
rosservice call /mavros/cmd/arming "value: true" rosservice call /mavros/set_mode "base_mode: 0
custom_mode: 'OFFBOARD'" rosservice call /mavros/cmd/arming "value: true" in src there is a script pose_demo.py this program will move the UAV in a square, as well as automatically arming and go offboard. Check out this file to consider more complicated control methods.
In the folder worlds there is an alternate world mrac_world.world. If you copy this to PX4-Autopilot/Tools/sitl_gazebo/worlds, you will need to update the world arg in the launch file, PX4-Autopilot/launch.
<arg name="world" default="$(find mavlink_sitl_gazebo)/worlds/mrac_world.world"/>
Not needed initially
Download github repo: git@github.com:IntelRealSense/realsense-ros.git
Make sure you use a good quality cable, and some laptops may have issues with supplying enough power through their USB ports.

