This code base to deploy Jupyter Notebooks using JupyterHub is based on the open source reference implementation from https://github.com/jupyterhub/jupyterhub-deploy-docker.
It also uses Docker (https://www.docker.com/) containers to manage the three pieces of software needed to run this set up:
- JupyterHub - takes care of authentication and spawning of single-user notebook servers (containers)
- Jupyter Notebooks - notebook environment with Python 3.6 kernel
- PostgreSQL database backend to store notebook user data (or one can use SQLite instead)
- Install
Docker,docker-compose,git. (...or runsudo install-docker-bionic.sh- be sure to change$INSTALL_USERvariable to your local username.) - Open terminal app and
cdto preferred workspace directory git clonethis repository:git clone https://github.com/PHI-Toolkit/jupyterhub-deploy-docker-localhost.gitcd jupyterhub-deploy-docker-localhost, locatebuildhub.sh, make sure it is executable and run this script on command line.- Wait for the
buildhub.shscript to finish, watch for build errors. Then locatestarthub.sh, make sure it is executable, then run./starthub.shon a terminal. You will see container logs being displayed as the containers start up. Before running./starthub.shyou may want to check: 5.1 Built Docker containers: rundocker imageson the terminal. 5.2 Running containers (after running./starthub.sh: rundocker pson the terminal. - Open Chrome, Chrome-based Edge, Safari, or Firefox browser and proceed to https://localhost. (Look up default login credentials on .env file.)
JupyterLab is the default user interface. You can easily switch from the JupyterLab user interface to Jupyter Notebook Classic:
- Temporarily by editing the URL, and replacing
labwithtree. - Permanently by switching the
.envfile entryJUPYTER_UI=/labwithJUPYTER_UI=notebook(slash is important forlab).
Follow steps 1-6 above and replace localhost with IP address of remote server. See also Four Steps below. If you get a NET::ERR_CERT_INVALID error on Chrome, use Firefox instead or see this Stack Overflow solution for Chrome.
The .env is automatically created after the first run of the buildhub.sh script. It contains configurable parameters for this application, including:
- Authentication - includes
dummy_authenticator(default),github_authenticator - SSL Certificate - self-signed (default) or LetsEncrypt
- Database for user data - SQLite or PostGreSQL
- Custom logo (filename pointer to image)
- Jupyter Notebook UI or JupyterLab
- Versions of JupyterHub, JupyterLab, Jupyter Notebook, and PostGRESQL Hub backend
- OAuth, Notebook and Hub, PostGreSQL Authentication Credentials
- Single-user Notebook server timeout (when idle servers are culled or stopped)
The userlist file is automatically created from userlist-template after the first run of the buildhub.sh script. For GitHub autentication, follow the template entry for recording GitHub username in the userlist file and assigning admin status. This can also be done through the Admin interface of JupyterHub.
cdto the folder where you didgit cloneof the GitHub repository. (This is important to do before running any of the shell scripts below.)- To start containers, run
./starthub.sh. Running this script also displays the logs for the running containers as they boot up and/or encounter any launch errors. - To stop containers, press
ctrl-Cif you see log file display on your terminal. When you see the terminal prompt, run./stophub.sh. - You can also use
./restarthub.shfor stopping and restarting containers.
Recommended four steps for remote server install (unmodified .env file to full LetsEncrypt SSL certificate)
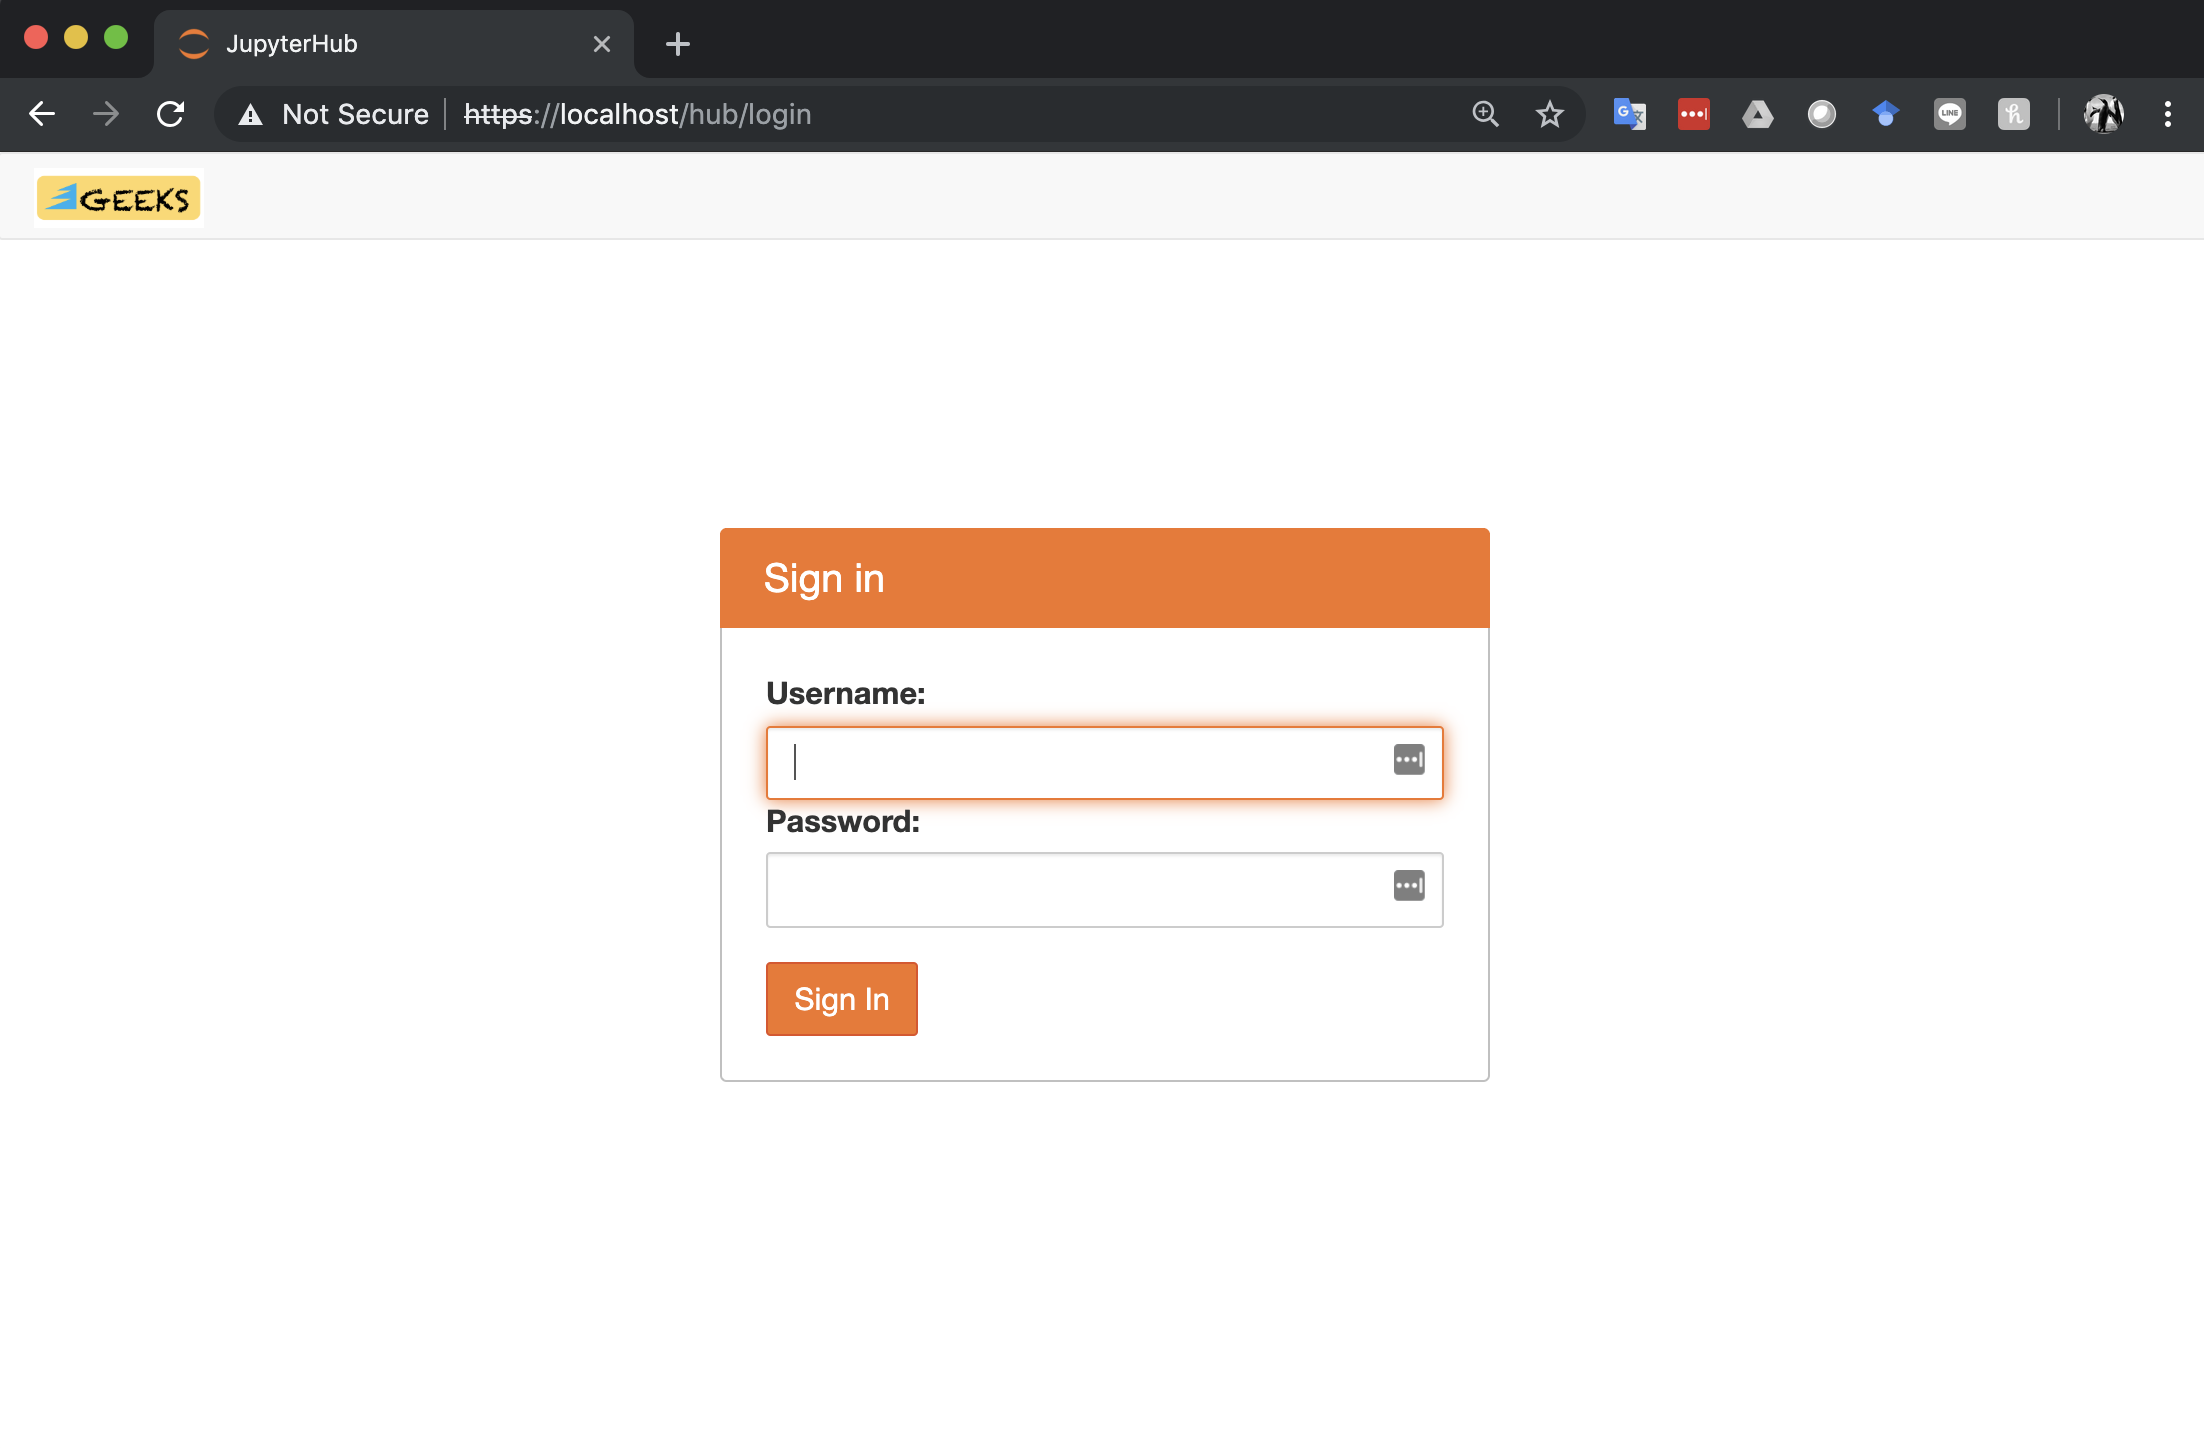
Follow steps for first install (step 1-6, unmodified .env file after git clone) then test if the JupyterHub server can be accessed at https://<server IP address> using a Chrome or Firefox browser. First install uses default settings - dummy_authenticator, self-signed SSL certificates for running on localhost machine. The localhost IP address can be replaced with the server IP address.
Figure 1. JupyterHub signin page using dummy_authenticator and self-signed SSL certificate

Obtain a domain name and assign it to the JupyterHub server IP address. Test if the JupyterHub server can be accessed through the fully qualified domain name (FQDN) using https. Test the domain name by running ./restarthub.sh at the terminal after exiting from logs display with ctrl-C.
Obtain GitHub OAuth credentials and record these in the .env file (around line 67), replacing the GITHUB_CLIENT_ID, GITHUB_CLIENT_SECRET and GITHUB_CALLBACK_URL with the correct entries from GitHub. In the .env file (around line 37) make sure you replace JUPYTERHUB_AUTHENTICATOR=dummy_authenticator with this entry, JUPYTERHUB_AUTHENTICATOR=github_authenticator. For high volume access, make sure you also obtain an access token from https://help.github.com/articles/creating-a-personal-access-token-for-the-command-line/ and record the access token using the .env file GITHUB_ACCESS_TOKEN environment variable (around line 73). Other important edits to do at this step:
- Make sure you add your GitHub username to the
userlistfile as described above, especially if you see the403 : Forbiddenerror in your browser. - Run
docker-compose build hubto include the reviseduserlistfile in the JupyterHub container. If you have already selecteduse_ssl_lein the.envfile, rundocker-compose -f docker-compose-letsencrypt.yml build hubinstead. - Test GitHub OAuth by restarting the containers using
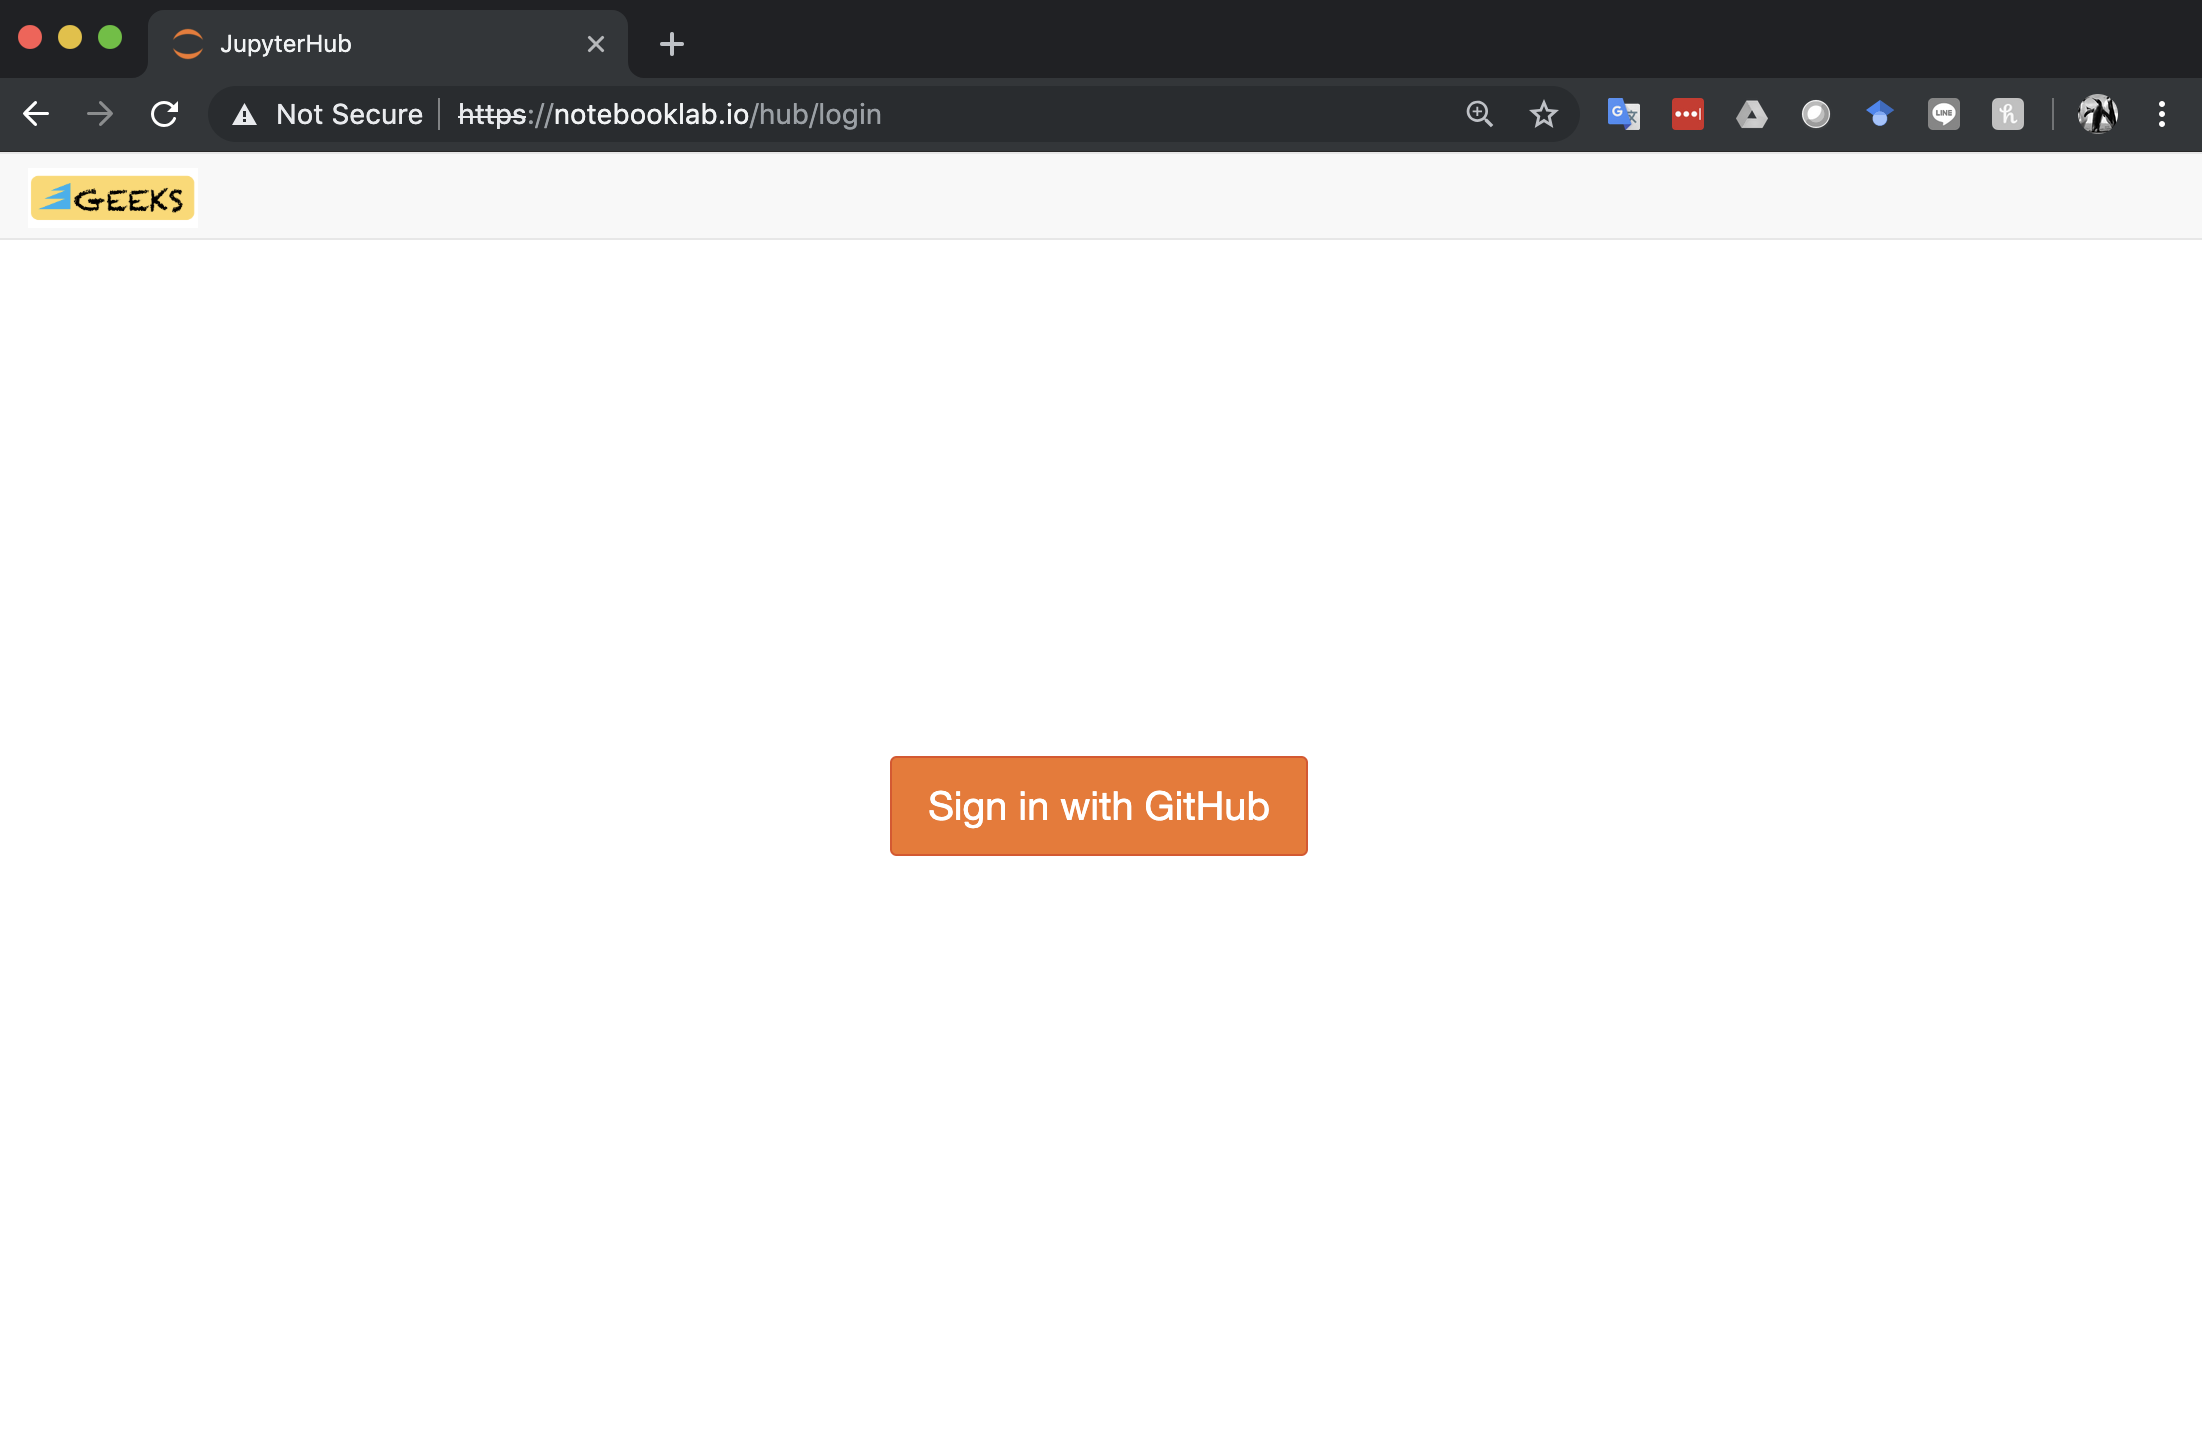
./restarthub.sh. The display should be similar to Figure 2 below.
Figure 2. JupyterHub sign in page after launching containers.

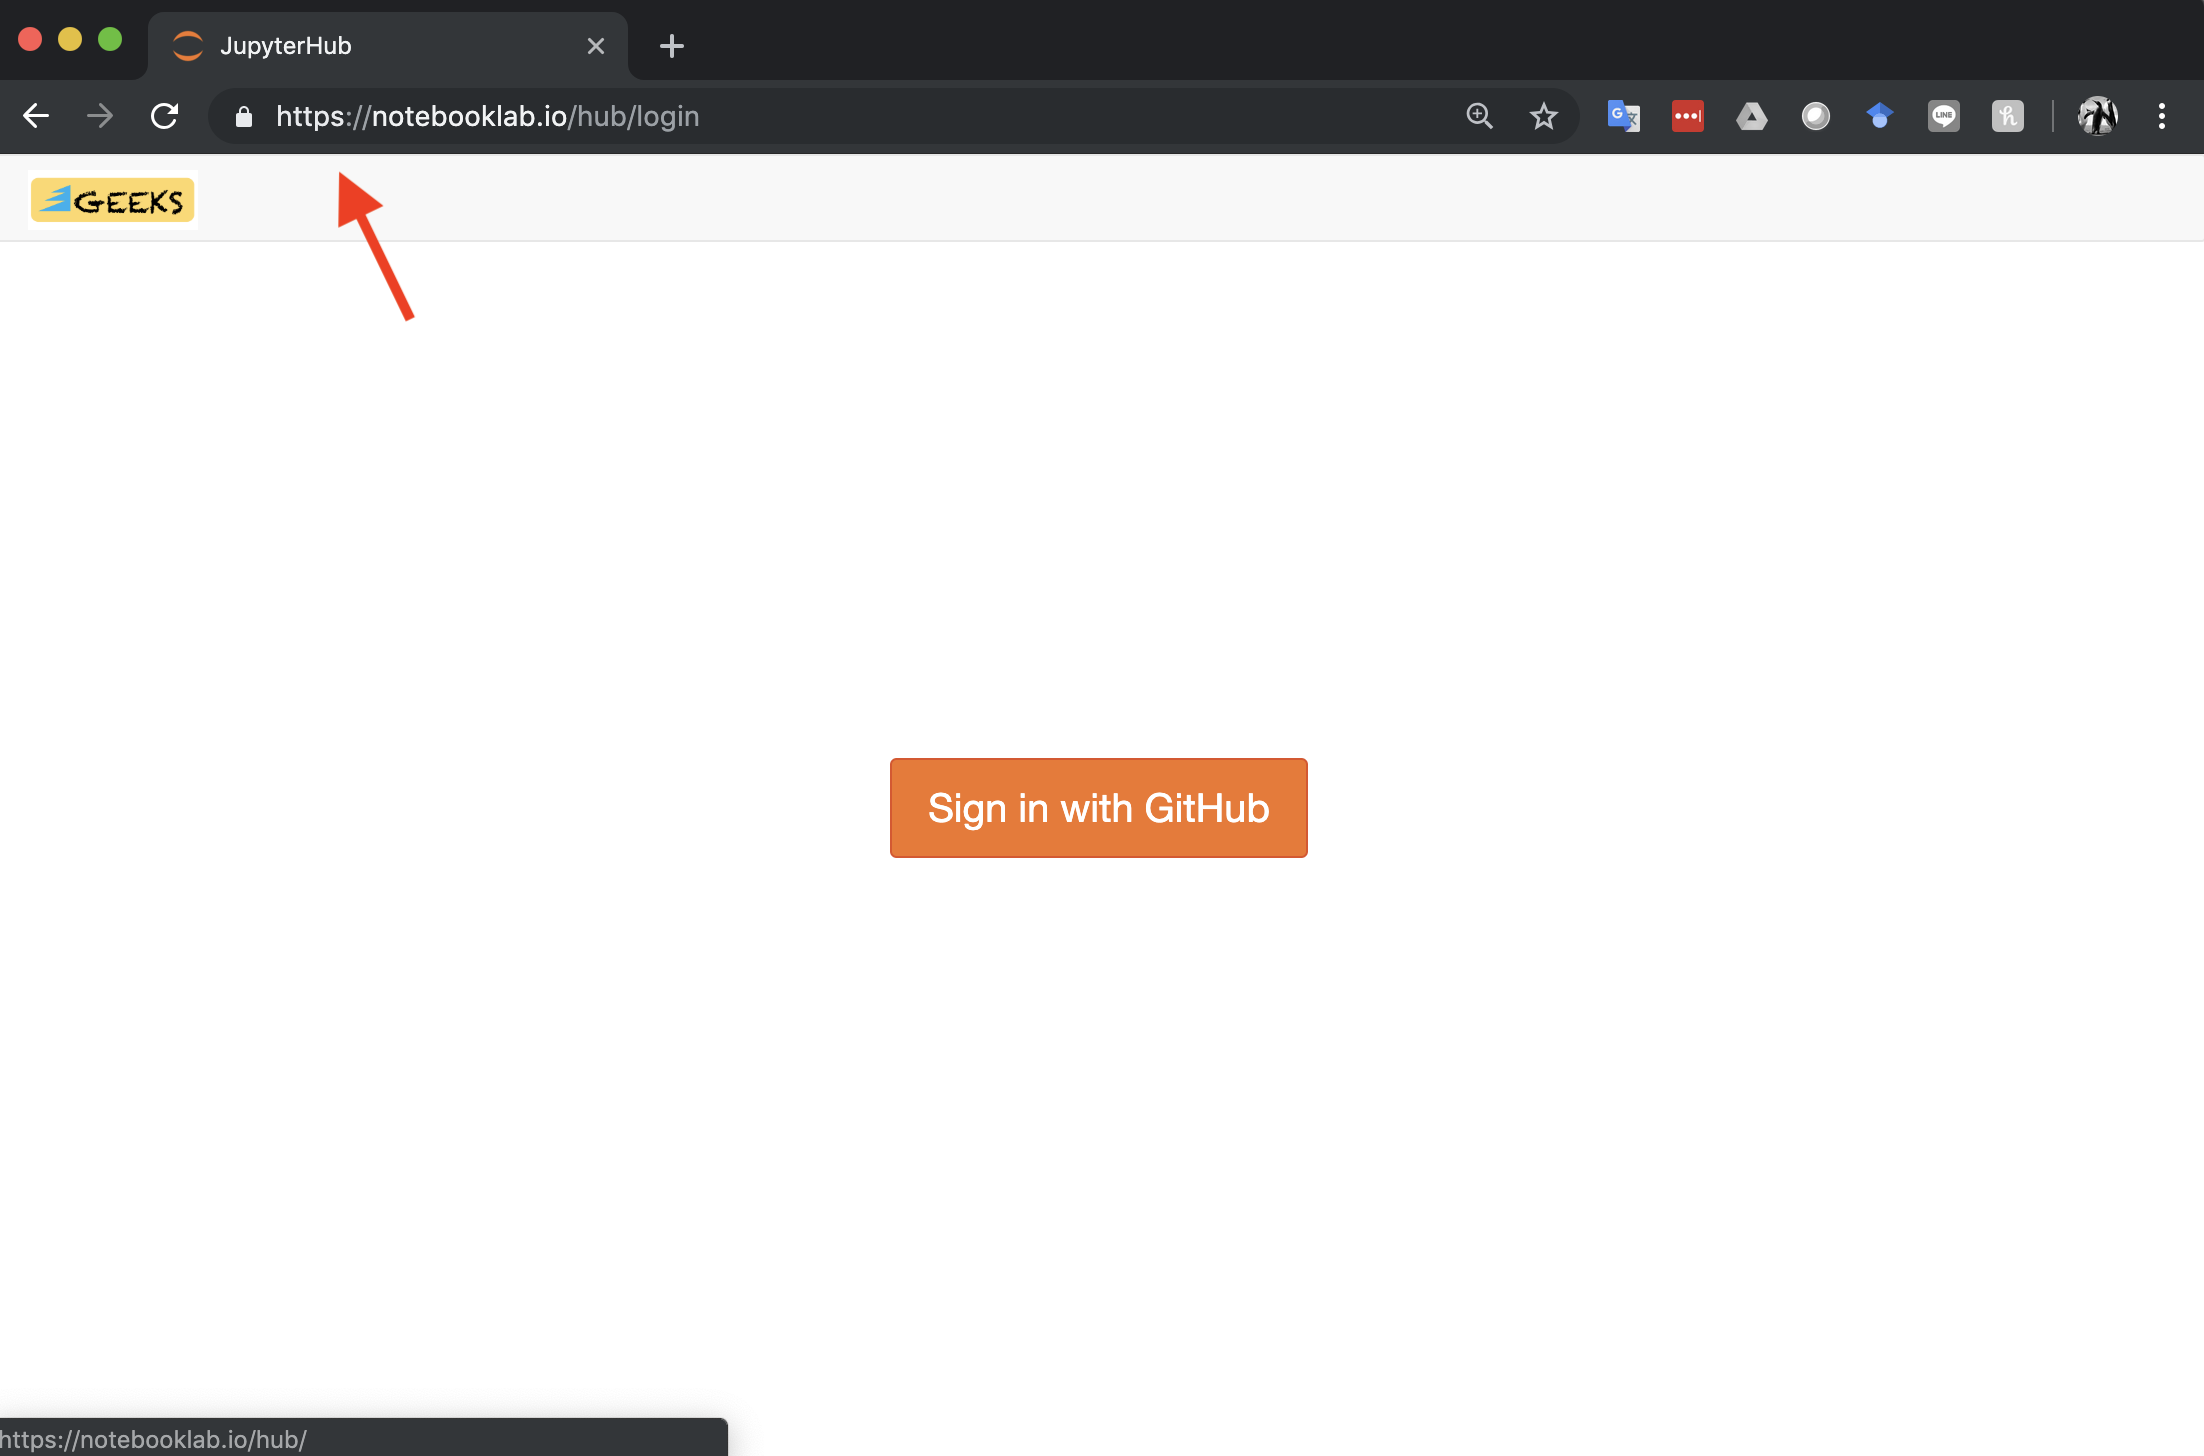
To replace the self-signed SSL certificate with LetsEncrypt certificates, replace the .env file entry JUPYTERHUB_SSL=use_ssl_ss with JUPYTERHUB_SSL=use_ssl_le (around line 86), as well as the JH_FQDN, JH_EMAIL and CERT_SERVER variables in the .env file (around line 92). Leave CERT_SERVER blank for production. Then run ./restarthub.sh on a terminal. The browser display should be similar to Figure 3 below.
Figure 3. JupyterHub sign in page with LetsEncrypt SSL certificate installed.

Git clone https://github.com/PHI-Toolkit/jupyterhub-deploy-docker-localhost. Change to the jupyterhub-deploy-docker-localhost folder and run the steps below.
This build of JupyterHub has three options for Authentication. Go to about Line 18 of the .env file and set the environment variable JUPYTERHUB_AUTHENTICATOR to the selected option.
- tmp_authenticator
- dummy_authenticator (default, see
.env-templatefor details) - github_authenticator (thru OAuth, requires obtaining GitHub credentials, see below)
- hash_authenticator
- native_authenticator (new)
There is no need to change or update any .env settings for initial one-user (you) launch and testing from a localhost machine. The default setting dummy_authenticator uses the default user jovyan whose password you can set in the .env file before running buildhub.sh.
If you will be using GitHub Oauth to authenticate users to JupyterHub, you need to sign up for a GitHub Account:
- Go to https://www.github.com and create an account if you do not have one yet.
- Remember your GitHub user name. You will use this for #3 below.
- Open the file
userlistwith your text editor and add your GitHub user name below "jovyan admin" as below:
<github user name> admin
- Log in to GitHub
- Go to Developer Settings (https://github.com/settings/developers) - create new Oauth App
- Record the following information:
- GitHub Client ID
- GitHub Client Secret
- GitHub Callback URL: This should be of the form https://"mydomain.com"/hub/oauth_callback if with a domain name (remember to replace "mydomain.com" with your domain name, as obtained from the step above, "Using a Domain Name".)
- Copy-paste each of these to right
.envsection (about Line 23):
GITHUB_CLIENT_ID=<github client id>
GITHUB_CLIENT_SECRET=<github client secret>
OAUTH_CALLBACK_URL=https://mydomain.com/hub/oauth_callback
If using localhost, replace "mydomain.com" in OAUTH_CALLBACK with "localhost" (i.e., "https://localhost/hub/oauth_callback").
jovyanis the default admin user. You can change this setting in the.envfile.- On first launch, do not sign in with
jovyanand default password. This only works fordummy_authenticator. Instead, go to https://localhost/hub/signup (changelocalhostto your fully qualified domain name) to sign up as a user. jovyanis the default admin user inuserlistand, after sign up, will be authorized by default after log in. Be sure to change the admin user in production. Admin user also needs to sign up.- To authorize non-admin users, go to https://localhost/hub/authorize (change
localhostto your fully qualified domain name)
For more information, go to the native authentication documentation.
The letsencrypt container automatically checks if the LetsEncrypt certificate is about to expire (at 60 days old) and automatically downloads a new certificate as needed.
Upon runnng starthub.sh, if you see an error message saying you need to run jupyterhub upgrade-db, you can do the following:
- Run
stophub.sh. - Comment option 1 of the
command:section of thedocker-compose.yml(if running without LetsEncrypt) ordocker-compose-letsencrypt.yml(if running with LetsEncrypt), and uncommenting option 2 lines (this runsjupyterhub upgrade-db) - Run
docker-compose build. - After running the database upgrade, run
stophub.shagain, uncomment comment out option 2 lines, uncomment option 1 lines and then rundocker-compose buildagain. - Run
starthub.sh.
(This is based on https://jupyterhub.readthedocs.io/en/stable/reference/upgrading.html)
Windows 10 users should do the following:
- To run the bash scripts in a bash shell on Windows 10, install the Linux Subsystem on Windows 10 here: https://docs.microsoft.com/en-us/windows/wsl/install-win10
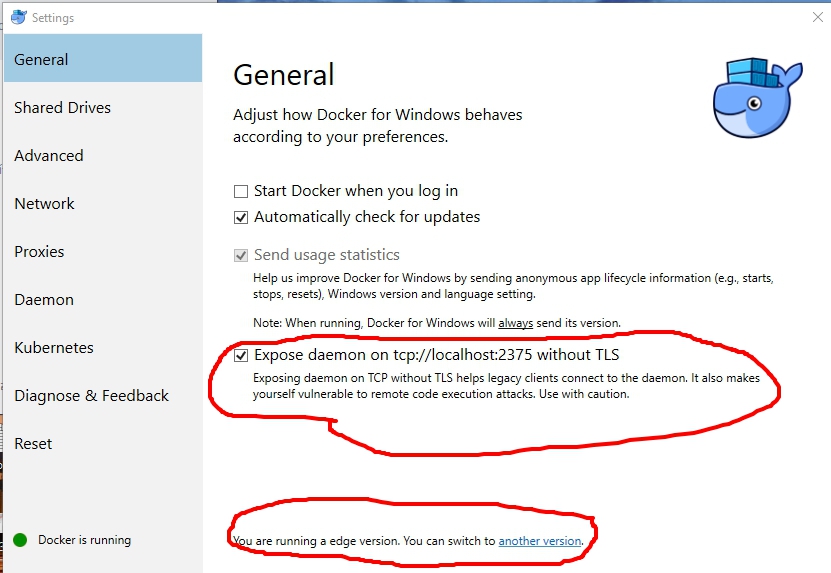
- Use "Edge Channel" Docker version for Windows 10: https://download.docker.com/win/edge/Docker%20for%20Windows%20Installer.exe
- Check "Expose daemon on tcp://localhost:2375 without TLS as follows:

- Delete the
miniconda.shfile from the cloned directory. Runbuildhub.shto download an updated Miniconda3 version to be included in theDockerfile.jupyterhubimage.
- While jupyterhub is running, type the following commands:
$ docker exec -it jupyterhub /bin/bash
- This brings you to the jupyterhub bash prompt. Type the following command to regenerate a new cookie secret:
# openssl rand -hex 32 > "/data/jupyterhub_cookie_secret"
- Add your GitHub username to the
userlistfile as described above.
- If you see this error in the logs it means the JUPYTERHUB_SERVICE_HOST_IP is misconfigured.
- There may be slight differences in how Chrome or Firefox behaves compared to installations on Linux or Mac (YMMV).
If you get the error:
An HTTP error occurred when trying to retrieve this URL. HTTP errors are often intermittent, and a simple retry will get you on your way. ConnectionError(ReadTimeoutError("HTTPSConnectionPool(host='conda.anaconda.org', port=443): Read timed out.",),)
...and the buildhub.sh script is building the user container image (running Dockerfile.custom), just run make notebook_base, then make notebook_body, and lastly make notebook_image to resume rebuilding the Jupyter Notebook singleuser container image (shows up as jupyterhub-user if you run docker images on the terminal).
[Errno 111] Connection Refused or in the JupyterHub logs after running starthub.sh you see the error message error: [ConfigProxy] Proxy error: Error: connect EHOSTUNREACH 172.18.0.3:8080 or tornado.curl_httpclient.CurlError: HTTP 599: Failed to connect to 172.18.0.X port 8080: Connection refused
This error could be due to JUPYTERHUB_SERVICE_HOST_IP changing value after restarting Docker server (after server reboot). To address this error, run the script get_service_host_ip.sh at the command line, which will provide you with the new JUPYTERHUB_SERVICE_HOST_IP value. This script automatically replaces the old value in the .env file with this new IP address.
500 : Internal Server Error, Error in Authenticator.pre_spawn_start: ImageNotFound 404 Client Error: Not Found ("pull access denied for phitoolkit/jupyterhub-user, repository does not exist or may require 'docker login': denied: requested access to the resource is denied"), You can try restarting your server from the home page.
This error could be due to failed execution of buildhub.sh, specifically the section that takes care of building the notebook containers (Docker build commands through Makefile). Check if the notebook server image phitoolkit/jupyterhub-user exists. You can also check the Docker build logs (visible during execution) to see which specific Docker build step failed. Execute any of the following or in sequence:
make notebook_basemake notebook_bodymake notebook_image
if not, run make notebook_base, make notebook_body, and make notebook_image, before running starhub.sh.
This Docker-related error may be encountered during execution of the last make command in buildhub.sh (see #3 make above). To enable experimental features in Docker:
- At the command line:
sudo nano /etc/docker/daemon.json - Enter the following, then save the file:
{experimental:true} - At the command line:
sudo systemctl restart docker - At the command line:
docker version