This is an example of how to use NetPrints inside Unity3D for visual programming. It replicates part of the roll-a-ball tutorial where we make a ball roll with user input. For further information on how the example works please visit the link. The completed project is contained in this repository.
Requires version 0.0.6 of NetPrints.
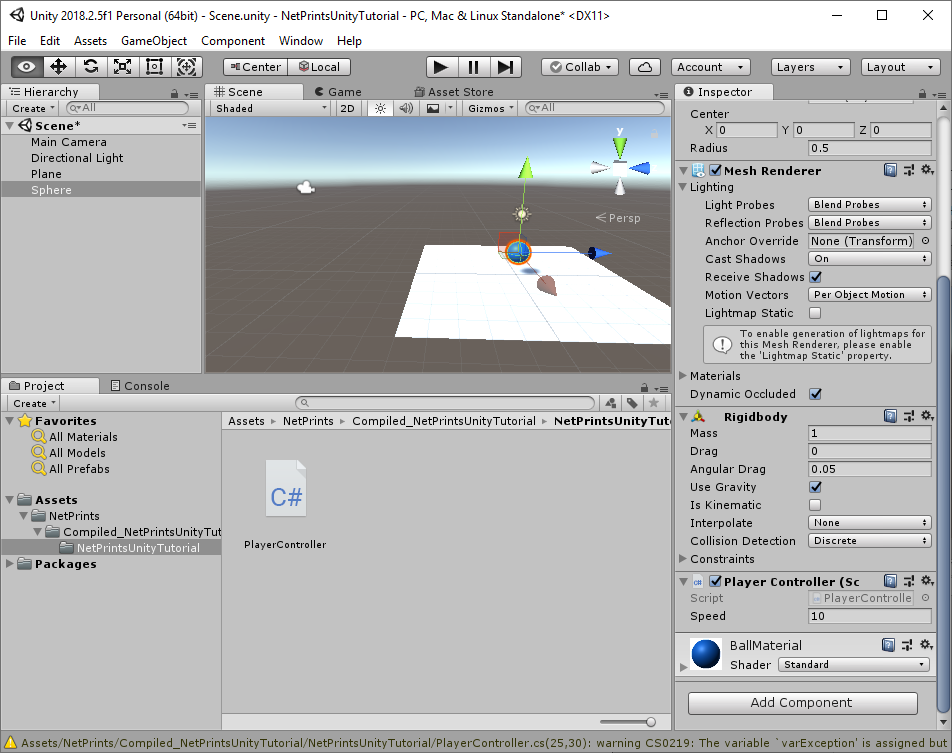
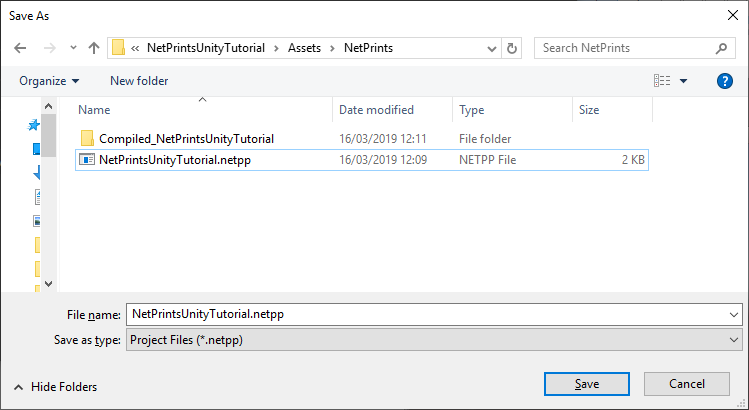
- Create a new NetPrints project within your unity project by clicking Project and Create New Project in the NetPrints editor. The exact path does not matter. Unity will automatically find the generated scripts. Create a plane for the floor and a sphere in Unity. Add a
Rigidbodycomponent to the sphere.
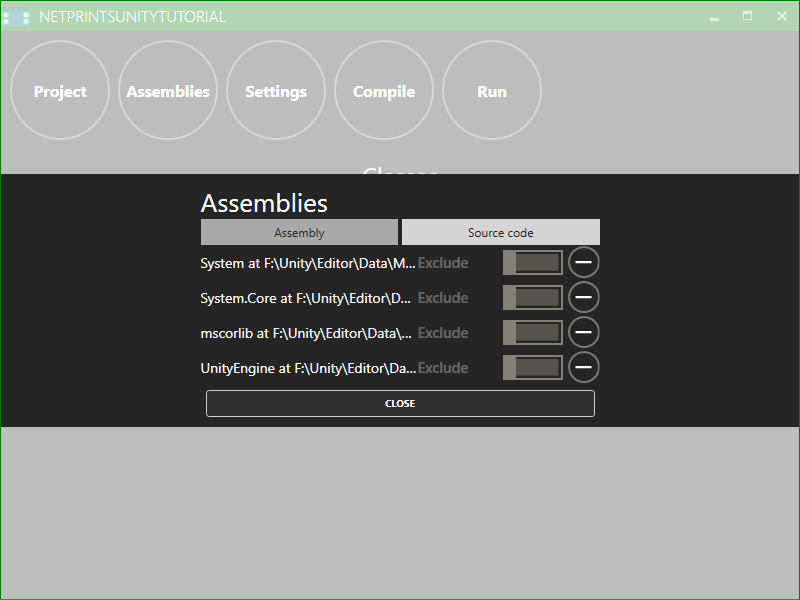
- Click assemblies in the main menu. Remove all existing items and add new Assembly references for Unity's .NET libraries (
mscorlib.dll,System.dll,System.Core.dll) which can be found in<UnityDirectory>/Editor/Data/Mono/lib/mono/unity/as well asUnityEngine.dllinF:/Unity/Editor/Data/Managed. You can also add a source code reference to your C# scripts and exclude them in the NetPrints compilation process (which is the default) to refer to them in NetPrints. We have not done that here as we don't have any existing C# scripts.
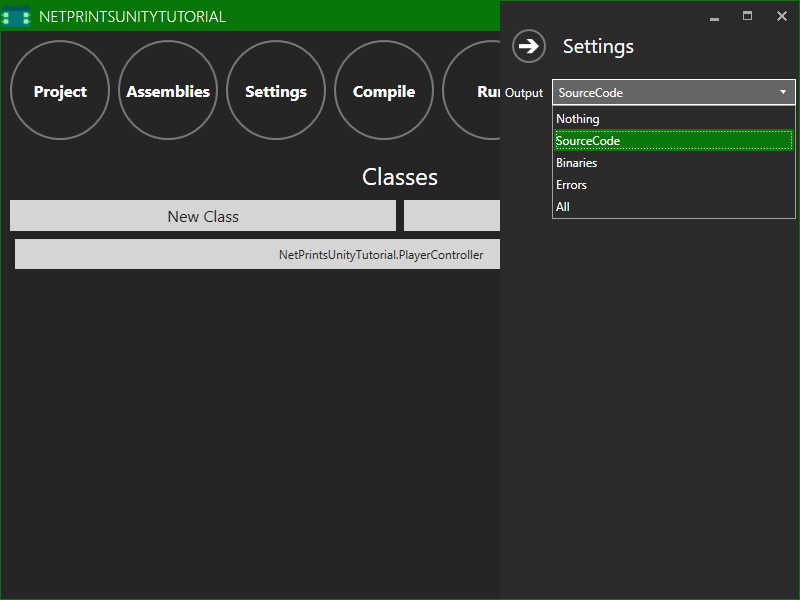
- Unity can use either our generated .NET binary or C# source code. The source code has the advantage that we can debug our generated code. Furthermore there are some bugs in Unity with generated .NET binaries and
MonoBehaviourinheritance. Open the settings and set the output mode toSourceCodewhich will output only the source code. Then pressNew Classwhich will add a new empty class to our project. You can open it by clicking on it. In the class settings it is possible to change the class name, its namespace and some other interesting properties. Set the base class toUnityEngine.MonoBehaviour.
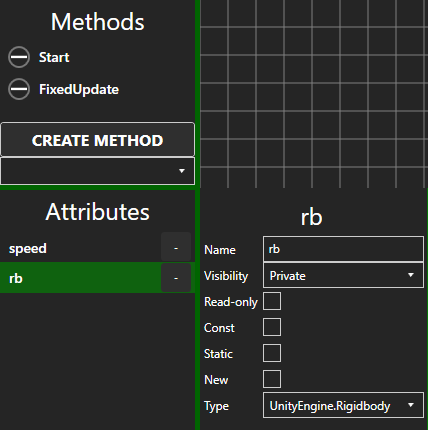
- Add the
FixedUpdate()andStart()methods. Also create therb(typeUnityEngine.Rigidbody) andspeed(typeSystem.Single, which is the same asfloat) attributes. Mark thespeedattribute as public by clicking on the method and selectingPublicfor visibility on the right side of the editor.
- Implement the
Start()method. We can use any of Unity's methods as one would expect. Here we just set therbattribute to theRigidbodycomponent.

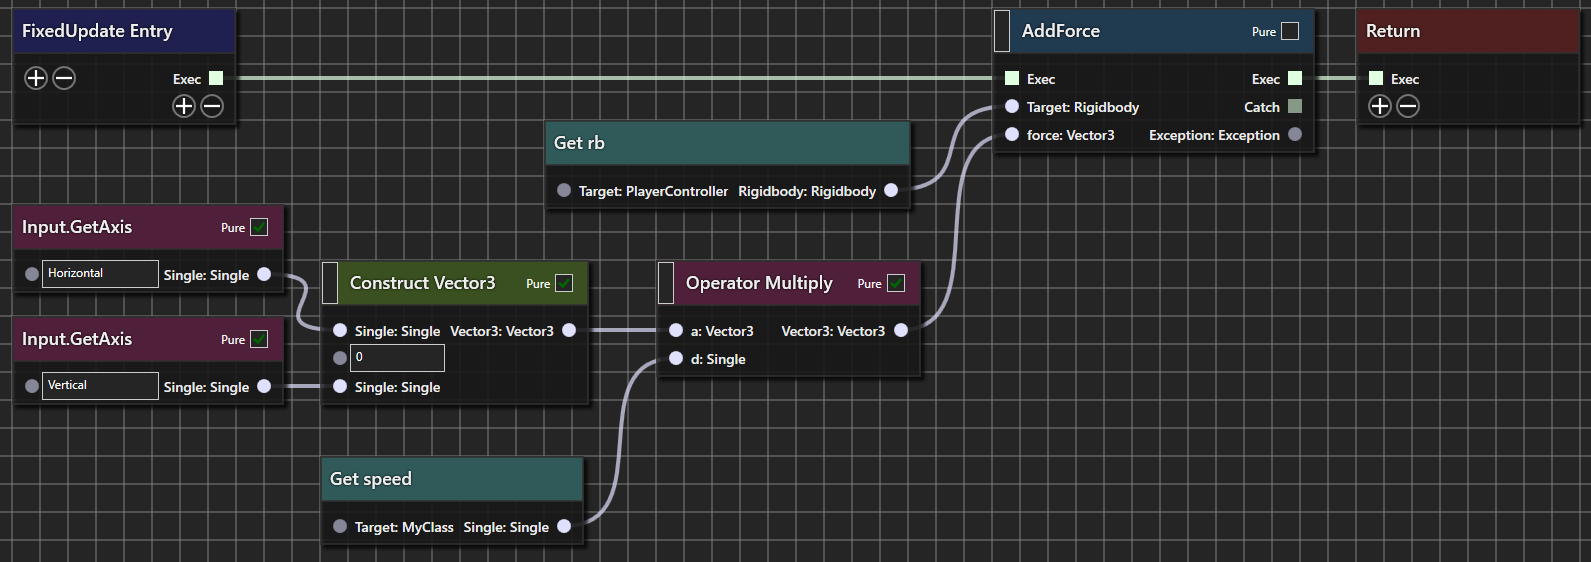
- Implement the
FixedUpdate()method which adds a force in the input direction torb.
- Press compile. This will generate the source code in the
Compiled_<ProjectName>directory within the NetPrints project's directory. The script can now be dragged onto our sphere like any other C# script. The sphere should now move when we press WASD in play mode.