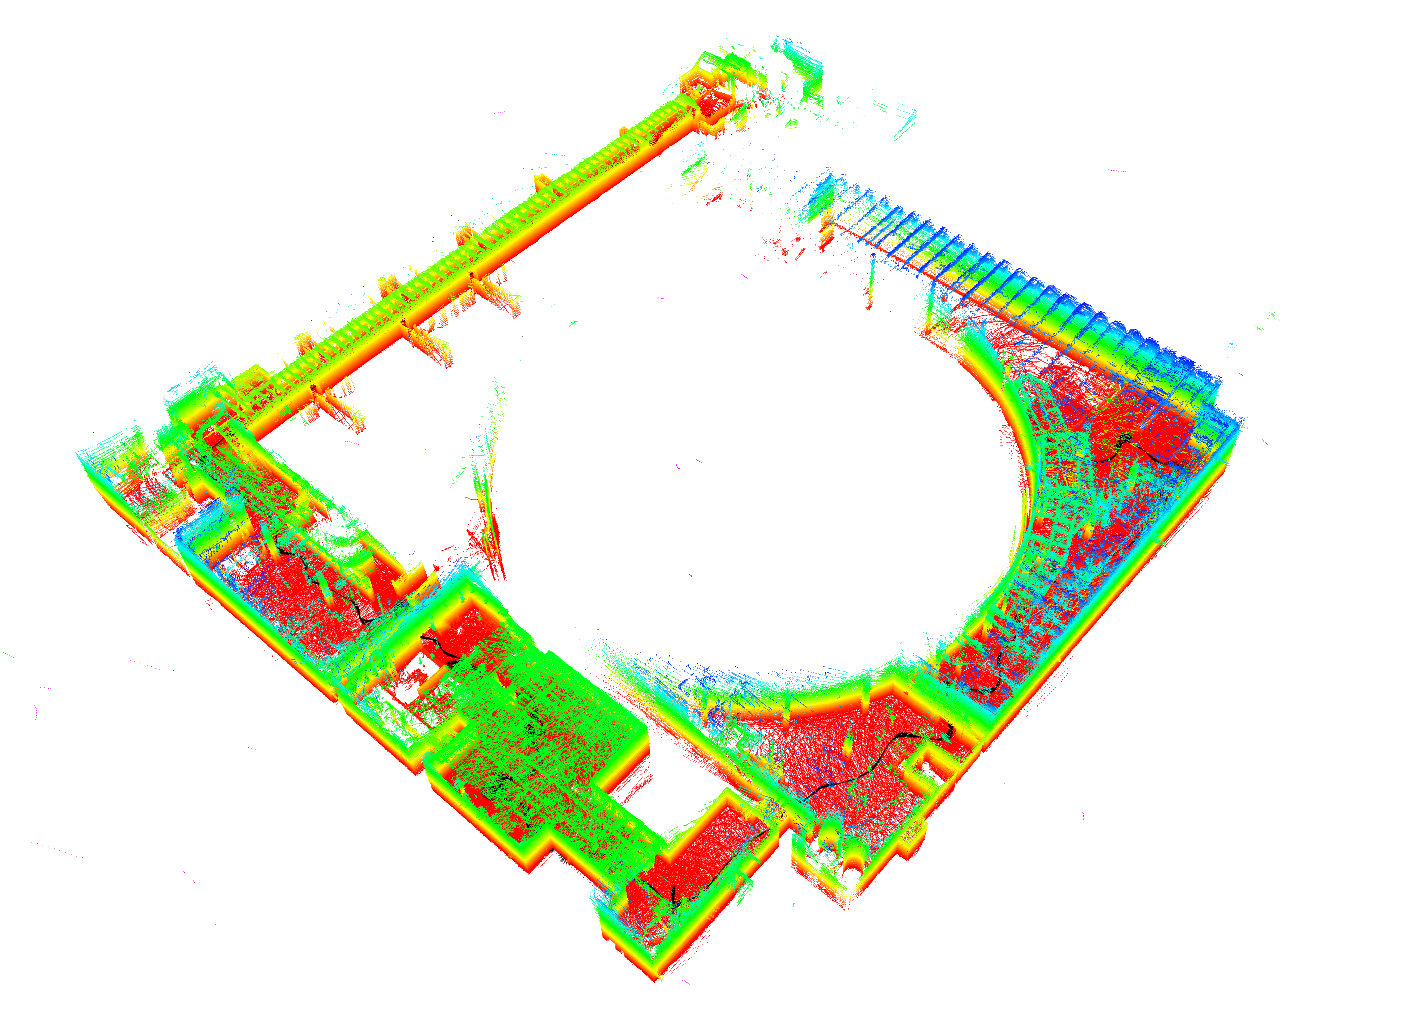
LOCUS (Lidar Odometry for Consistent operation in Uncertain Settings) is a Multi-Sensor Lidar-Centric Solution for High-Precision Odometry and 3D Mapping in Real-Time.
See YouTube video
Install ROS
Install catkin tools
sudo apt-get install ros-melodic-catkin python-catkin-tools python3-catkin-tools # for the melodic distro - Ubuntu 18.04
sudo apt-get install ros-noetic-catkin python3-catkin-tools # for the noetc distro - Ubuntu 20.04
Install PCL_ROS
sudo apt-get install ros-melodic-pcl-ros # for the melodic distro - Ubuntu 18.04
sudo apt-get install ros-noetic-pcl-ros # for the noetc distro - Ubuntu 20.04
Install tf2_sensor_msgs, tf2_geometry_msgs and eigen_conversions
# for the melodic distro - Ubuntu 18.04
sudo apt install ros-melodic-tf2-sensor-msgs
sudo apt install ros-melodic-tf2-geometry-msgs
sudo apt install ros-melodic-eigen-conversions
# for the noetic distro - Ubuntu 20.04
sudo apt install ros-noetic-tf2-sensor-msgs
sudo apt install ros-noetic-tf2-geometry-msgs
sudo apt install ros-noetic-eigen-conversions
Install tmuxp (for our running scripts) tmuxp is a python wrapper for tmux allowing easy launching of multi-window, multi-tile tmux sessions.
sudo apt install tmux
sudo apt install tmuxp
Build this package in a catkin workspace, e.g.
mkdir -p catkin_ws/src
cd catkin_ws
catkin init
# For melodic install
catkin config -DCMAKE_BUILD_TYPE=Release --extend /opt/ros/melodic
# For noetic install
catkin config -DCMAKE_BUILD_TYPE=Release --extend /opt/ros/noetic
cd src
# With ssh
git clone git@github.com:NeBula-Autonomy/LOCUS.git
# With https
git clone https://github.com/NeBula-Autonomy/LOCUS.git
cd..
catkin build locus
Add the workspace sourcing to your bashrc (changing the filepath to match where your catkin workspace is)
echo "source ~/catkin_ws/devel/setup.bash" >> ~/.bashrc
source ~/.bashrc
rostest/gtest style unit tests are set up in numerous packages (not all) - run them all to check your install with:
cd ~/catkin_ws/src
catkin run_tests
For development, setup clang formatting for the repo
cd locus
./scripts/clang_setup/clang_setup.sh
This will install clang and put a pre-commit hook to maintain clang formatting. To force clang formatting on edited files, use:
git clang-format -f
This example is given for our open source datasets that come with ground truth: https://github.com/NeBula-Autonomy/nebula-odometry-dataset
There are many datsets there to test on, across a range of environments and with data from different robotic platforms.
Here, we give an example from dataset C, from a Husky Robot in the Statsop Power Plant, but the same steps apply for any other dataset we have released. The datset is large (45.8 GB), but to do a quick test, you can download just the first few lidar bags, and all non-lidar bags.
Note: the steps for running LOCUS live on the robot is no different from running on a dataset - the datasets are run and processed in real-time.
Download data from nebula-odometry-dataset
- Download the rosbag data for dataset C (optionally just the first few lidar bags for a small test)
- Download the Extras configuration files for dataset C.
Place the data in a common folder, e.g.
mkdir -p ~/data/C_Husky4_Urban_Alpha1
mv ~/Downloads/C_Husky4_Urban_Alpha1_rosbag ~/data/C_Husky4_Urban_Alpha1/rosbag
mv ~/Downloads/C_Husky4_Urban_Alpha1_extra/* ~/data/C_Husky4_Urban_Alpha1/
i.e. have a root folder, with the bagfiles in a rosbag folder, and the other files in the root folder. The result should look something like:
/home/nebula/data/
└── C_Husky4_Urban_Alpha1
    ├── fiducial_calibration_husky4.yaml
    ├── h4_a1_gt_map.pcd
    ├── h4_a1_gt_map.ply
    ├── husky4_sensors.yaml
    ├── odometry.bag
    └── rosbag
        ├── imu.bag
        ├── odometry.bag
        ├── husky4_lidar_2020-02-21-15-04-16_0.bag
        ├── husky4_lidar_2020-02-21-15-04-50_1.bag
        ├── ...
See here for an explanation of what each file is.
Edit our tmux running script LOCUS/tmuxp_config/run_locus.yaml and modify the filepaths for your system. From the main branch, you should only need to modify the DATA_PATH
DATA_PATH- to point do your data folder, e.g./home/nebula/data/C_Husky4_Urban_Alpha1
For other datasets, you will need to modify other parameters, such as:
ROBOT_NAMEandROBOT_TYPEto match the dataset, e.g.husky4andhuskyRUN_NUMBERto create a unique folder name for the output data to be stored
Other parameters are explaing in the yaml file.
To run locus with tf tree run python script from locus/scripts
rosrun locus odom_to_map_tf.py <robot_ns>
i.e. for Nebula-costar-odometry datasets
rosrun locus odom_to_map_tf.py husky4
(it visualizes the path as well)
Start a roscore in one terminal
roscore
Run the tumxp script in another terminal
tmuxp load {path_to_locus}/LOCUS/tmuxp_config/run_locus.yaml
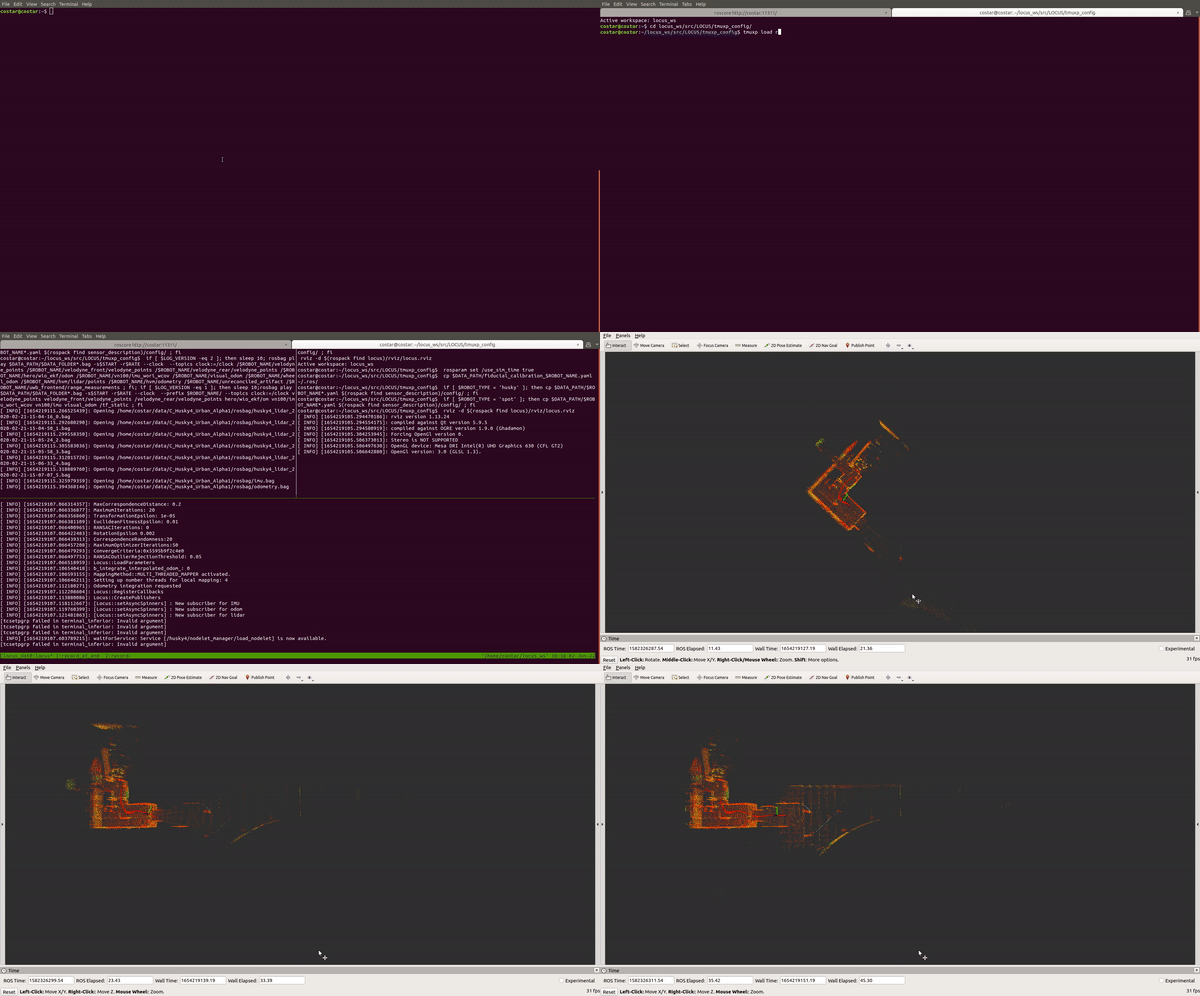
The whole process should run something like:
At the end of the run, go to the third tmux window (ctrl + b, then n to cycle windows) and hit enter on the last pane (ctrl + b then arrow keys to navigate panes) to execute rosnode kill -a to stop all the bag recordings (will also kill RViz and locus).
To kill the tmux session, enter tmux kill-session.
The tmux script will store output odometry, map and stats in a new folder locus_$RUN_NUMBER in the root folder of the dataset. For example, the resulting folder should look like:
└── C_Husky4_Urban_Alpha1
    ├── fiducial_calibration_husky4.yaml
    ├── h4_a1_gt_map.pcd
    ├── h4_a1_gt_map.ply
    ├── husky4_sensors.yaml
    ├── locus_test_01
    ├── odometry.bag
    │   ├── delay.txt
    │   ├── lidar_callback_duration.bag
    │   ├── odometry.bag
    │   ├── rate.txt
    │   ├── scan_to_map_duration.bag
    │   ├── scan_to_scan_duration.bag
    │   └── stationary.bag
    └── rosbag
        ├── husky4_lidar_2020-02-21-15-04-16_0.bag
        ├── ...
See other tmuxp configs for each of our datasets in the LOCUS/tmux_config/run_nebula_odometry_dataset folder.
Note that the sensor configurations are not the same for every dataset (they are included in the extra folder), even if the robot name is the same. The tmuxp script handles copying the sensor config (e.g. husky4_sensors.yaml) into LOCUS. Having the wrong sensor config will lead to poor results.
The tmuxp script also copies the fiducial calibration file (e.g. fiducial_calibration_husky4.yaml), which gives the correct initial position to match the ground truth odometry. If this is not updated, the initial pose will be wrong. If it does not exist in your ~/.ros folder, the robot will start at the origin with zero rotation. This only matters if you want to compare to our ground truth.
Note: if you want to have locus end automatically after the dataset is finished, uncomment line 109 of the tmuxp config files.
There are four main parts to change in LOCUS to set up for your own robot
- Sensor calibration (mainly lidar to IMU, lidar to base_link calibrations)
- Body filter dimensions
- Scan to map parameters
- Launch parameters
In general, it is recommended to start with an example of a Spot or Husky, and modify it to suit your needs - i.e. just call your robot husky1 for the purposes of testing with LOCUS.
You can see the sensor calibration files in LOCUS/sensor_description/config, e.g. husky4_sensors.yaml. There are multiple transfers there, but the main frames we care about for LOCUS are:
base_link- this is the frame assumed for all odometry inputs, and is the frame in which we compute odometry (lidar and IMU is transformed to this frame)arch- for husky this is an interim frame from which the sensor poses are describedvelodyne,velodyne_frontandvelodyne_rear- the frames for each of the velodynesvn100- the frame of the IMU
Other frames are defined in the URDF in LOCUS/sensor_description/urdf (e.g. arch to base_link).
Change these transforms for your robot to get the correct lidar to IMU transform, and those respective frame transforms to base_link. The same frame names are expected (e.g. {robot_name}/base_link)
The body filter removes points from around the robot (e.g. self-occlusion). These parameters are found in LOCUS/locus/config: body_filter_params_husky.yaml and body_filter_params_spot.yaml. Modify one of these to create a box appropriate for your robot.
It is not essential to change these parameters, but you can see two different versions in LOCUS/point_cloud_localization/config for Spot and Husky. The main adjustment to consider is the number of ICP iterations.
Go to the launch file in LOCUS/locus/launch/locus.launch. Modify the following:
ODOMETRY_TOPIC- to match your input odometry (optional)b_integrate_interpolated_odom- choosetrueorfalseto match your needs. This will interpolate the prior input odom to compute the transforms and is recommended for low rate odom inputs (e.g. 20 Hz) - for inputs of 50 Hz and above it is recommended to usefalse.- Number of threads - for
localization/num_threads,icp/num_threads,mapper/num_threadsand the voxel filternum_threads- based on your computational capability (e.g. Spot uses 1 core, Husky uses 4)
As of now, our motion distorition correction (MDC) is in our velodyne driver, hence is not internal to LOCUS at this stage. If your datasets has large rate rotations, this will result in a reduction in accuracy for data without separate MDC.
We are working on releasing a way to run our MDC on velodyne packets for those running on their own data.
If you use this code, or compare to it in your work, please cite the following:
@ARTICLE{reinke2022iros,
  author={Reinke, Andrzej and Palieri, Matteo and Morrell, Benjamin and Chang, Yun and Ebadi, Kamak and Carlone, Luca and Agha-Mohammadi, Ali-Akbar},
  journal={IEEE Robotics and Automation Letters},
  title={LOCUS 2.0: Robust and Computationally Efficient Lidar Odometry for Real-Time 3D Mapping},
  year={2022},
  volume={},
  number={},
  pages={1-8},
  doi={10.1109/LRA.2022.3181357}}
See examples of an earlier verison of LOCUS running here: https://www.youtube.com/watch?v=b2lBQ-q5rOE
@article{LOCUS,
  title={{LOCUS} - {A} {M}ulti-{S}ensor {L}idar-{C}entric {S}olution for {H}igh-{P}recision {O}dometry and 3{D} {M}apping in {R}eal-{T}ime},
  author={Palieri, Matteo and Morrell, Benjamin and Thakur, Abhishek and Ebadi, Kamak and Nash, Jeremy and Chatterjee, Arghya and Kanellakis, Christoforos and Carlone, Luca and Guaragnella, Cataldo and Agha-mohammadi, A.},
  journal={IEEE Robotics and Automation Letters},
  volume={6},
  number={2},
  pages={421--428},
  year={2020},
  publisher={IEEE}
}

