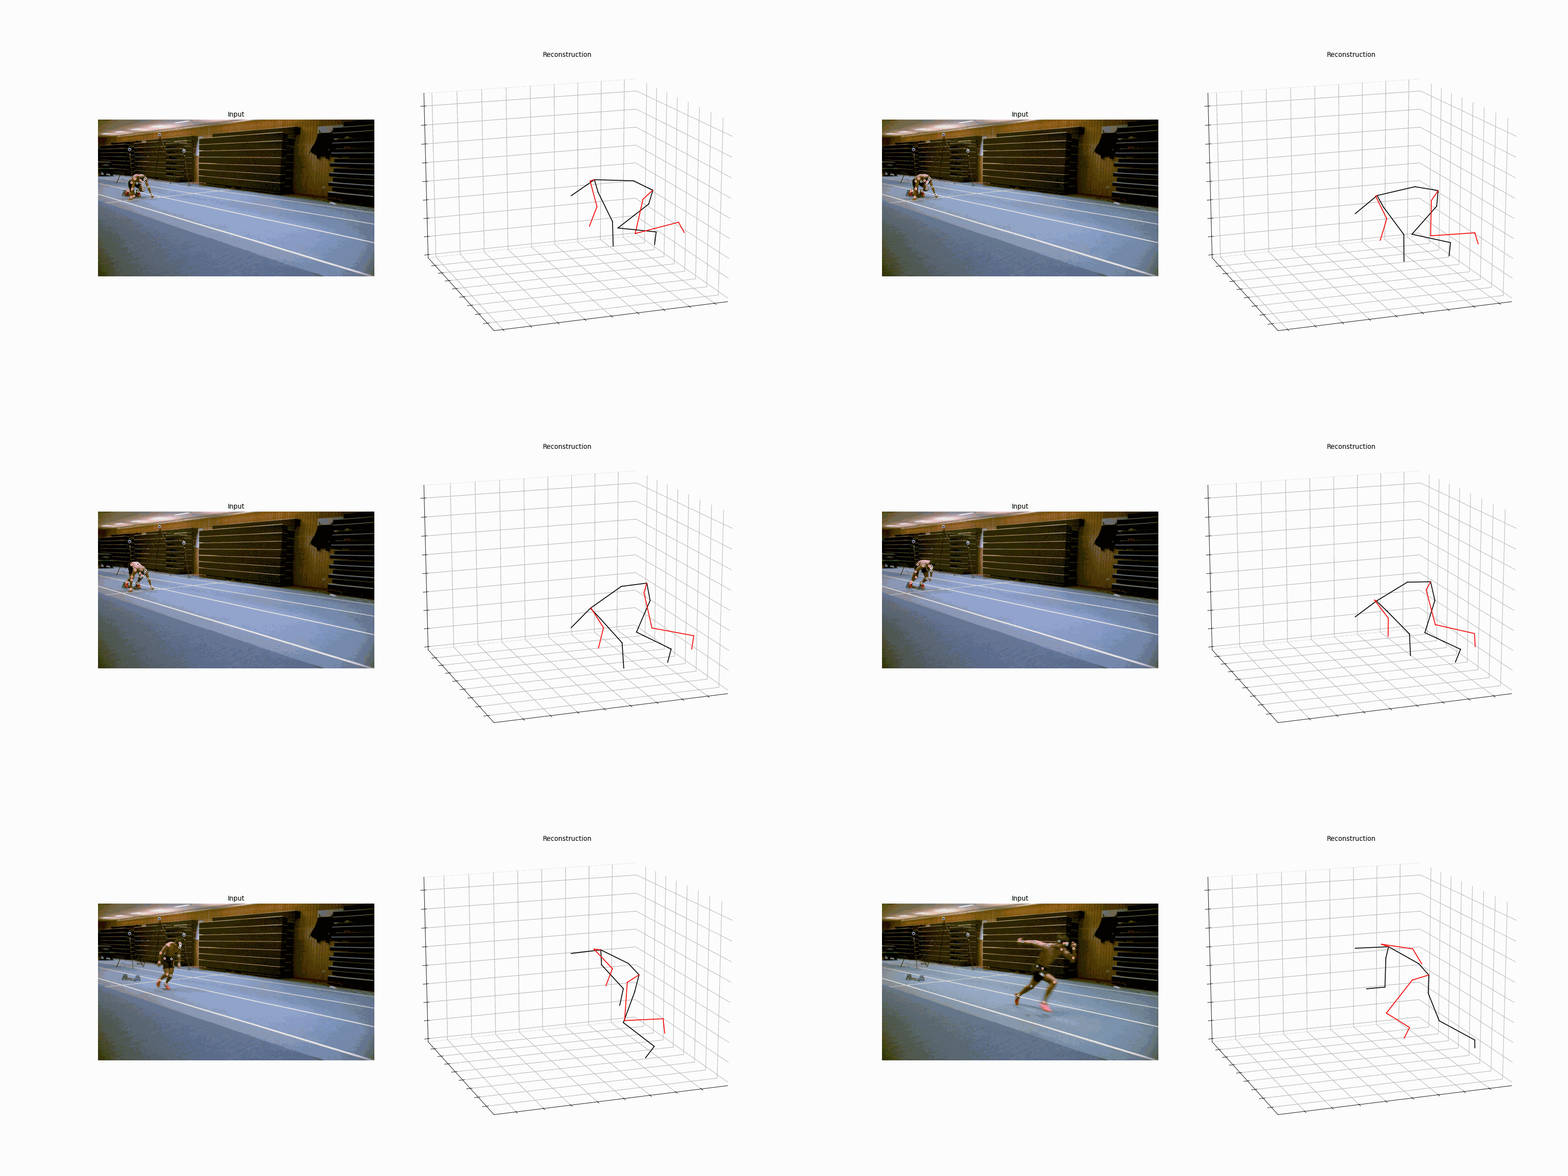
We introduce a new 3D pose estimator and model designed for runners.
This is the implementation of the approach used for 3D pose estimation in the bachelor thesis project TIFX04-22-10 at Chalmers University of Technology. The approach is described in the bachelor thesis. It is an adaption of the approach used for VideoPose3D made by Meta Research.
Runningpose predicts keypoints in 3D, and is especially made to be used for gait analysis on running humans using monocular vision. To predict 3D keypoints Detectron2 is first used to predict 2D keypoints. A temporal convolution network (TCN) is then used for lifting, that is predicting 3D keypoints from the 2D keypoints.
Transfer learning with a pretrained architecture for VideoPose3D was used for a architecture for 3D predictions, RunningPose architecture. It was then trained with a custom dataset, RunningPose dataset. The dataset was made in collaboration with Qualisys and Swedish Athletics Association.
The model predicts keypoints that has been identified as especially important regarding gait analysis for running humans. One main difference between this model and the pretrained model for VideoPose3D is that a keypoint on each foot is predicted, which the VideoPose3D model does not do.
Note: Runningpose was written with nbdev.
The model was trained on only 6426 frames of data for 100 epochs and showed high variance as a result. See the lossplot in nbs. The mean per-joint position error (MPJPE) is shown in the table below:
| Training | Validation | Test |
|---|---|---|
| 45.11 mm | 115.03 mm | 90.09 mm |
To get started quickly, follow these instructions. This will allow you to do inference on in the wild and produce basic visualizations. For more detailed instructions, please refer to our documentation: docs.
Make sure you have the following dependencies installed before proceeding:
- Python 3+ distribution
- PyTorch >= 0.4.0
Optional:
- Matplotlib, if you want to visualize predictions. Additionally, you need ffmpeg to export MP4 videos, and imagemagick to export GIFs.
Videos used for inference should only contain one person. The instructions below show how to prepare the trained model, do optional video processing, infer 2D keypoints, create a custom dataset for the videos, and then do the inference and visualize the results.
Download the pretrained model for generating 3D predictions. Put this model in the checkpoint directory of this repo.
Since the script expects a single-person scenario, you may want to extract a portion of your video. This is very easy to do with ffmpeg, e.g.
ffmpeg -i input.mp4 -ss 1:00 -to 1:30 -c copy output.mp4
extracts a clip from minute 1:00 to minute 1:30 of input.mp4, and exports it to output.mp4.
Optionally, you can also adapt the frame rate of the video. Most videos have a frame rate of about 25 FPS, but our runningpose model was trained on 85-FPS videos. Since our model is robust to alterations in speed, this step is not very important and can be skipped, but if you want the best possible results you can use ffmpeg again for this task:
ffmpeg -i input.mp4 -filter:v "minterpolate='fps=85'" -crf 0 output.mp4
Set up Detectron2 and use the script runningpose/data/inference/infer_video.py (no need to copy this, as it directly uses the Detectron2 API). This script provides a convenient interface to generate 2D keypoint predictions from videos without manually extracting individual frames.
To infer keypoints from all the mp4 videos in input_directory, run
cd runningpose/data/inference
python infer_video.py \
    --cfg COCO-Keypoints/keypoint_rcnn_R_101_FPN_3x.yaml \
    --output-dir output_directory \
    --image-ext mp4 \
    input_directory
The results will be exported to output_directory as custom NumPy archives (.npz files). You can change the video extension in --image-ext (ffmpeg supports a wide range of formats).
Run the dataset preprocessing script from the runningpose/data directory:
python prepare_data_2d_custom.py -i output_directory -o myvideos
This creates a custom dataset named myvideos (which contains all the videos in output_directory, each of which is mapped to a different subject) and saved to data_2d_custom_myvideos.npz. You are free to specify any name for the dataset.
You can finally use the visualization feature to render a video of the 3D joint predictions. You must specify the runningpose dataset (-d runningpose), the input keypoints as exported in the previous step (-k myvideos), the correct architecture/checkpoint, and the action runningpose (--viz-action custom). The subject is the file name of the input video, and the camera is always 0.
To use the trained RunningPose architecture, specify the checkpoint as runningpose_100.bin
python run.py -d runningpose -k myvideos -arc 3,3,3,3,3 -c checkpoint --evaluate runningpose_100.bin --render --viz-subject input_video.mp4 --viz-action custom --viz-camera 0 --viz-video /path/to/input_video.mp4 --viz-output output.mp4 --viz-size 6
You can also export the 3D joint positions (in camera space) to a NumPy archive. To this end, replace --viz-output with --viz-export and specify the file name.
