RoboMaster AI Challenge (2.0.0)
Table of contents
Introduction
This project is to enhance the capabilities of the robot to be competitive in the RoboMaster AI Challenge. The two main objectives are to enable the robot to locate and identify different types of enemies' armour in the images captured by our robot's camera and the outpost camera.
According to the rules of the competition, robots shoot at enemy robots' armour to score points. Robots score different points depending on which enemy robots' armour they hit: front, side or back. Therefore, granting our robot the capabilities of locating and identifying enemies' armour automatically will significantly increase the chance of winning in the competition. After implementing the two algorithms, An interface displaying the outcome of location and identification will be created to examine the performance of the algorithms.
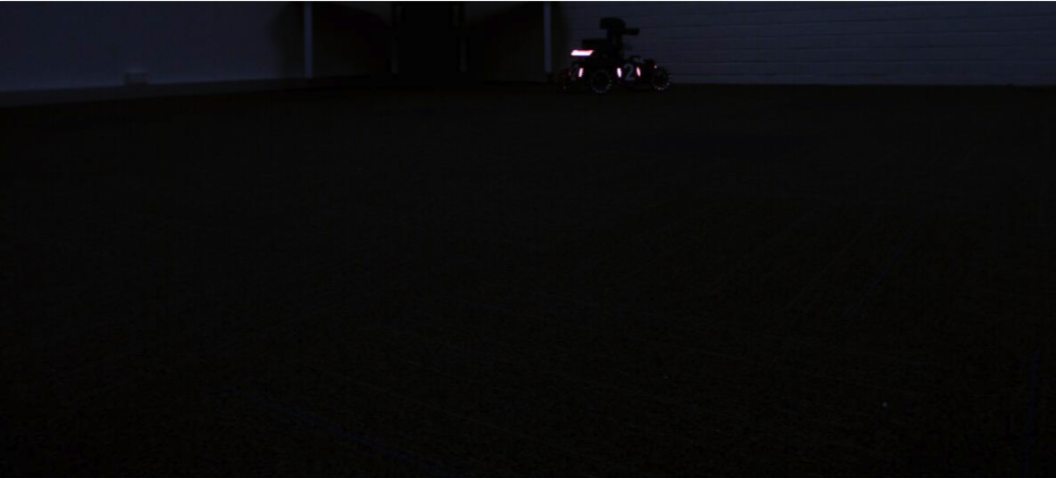
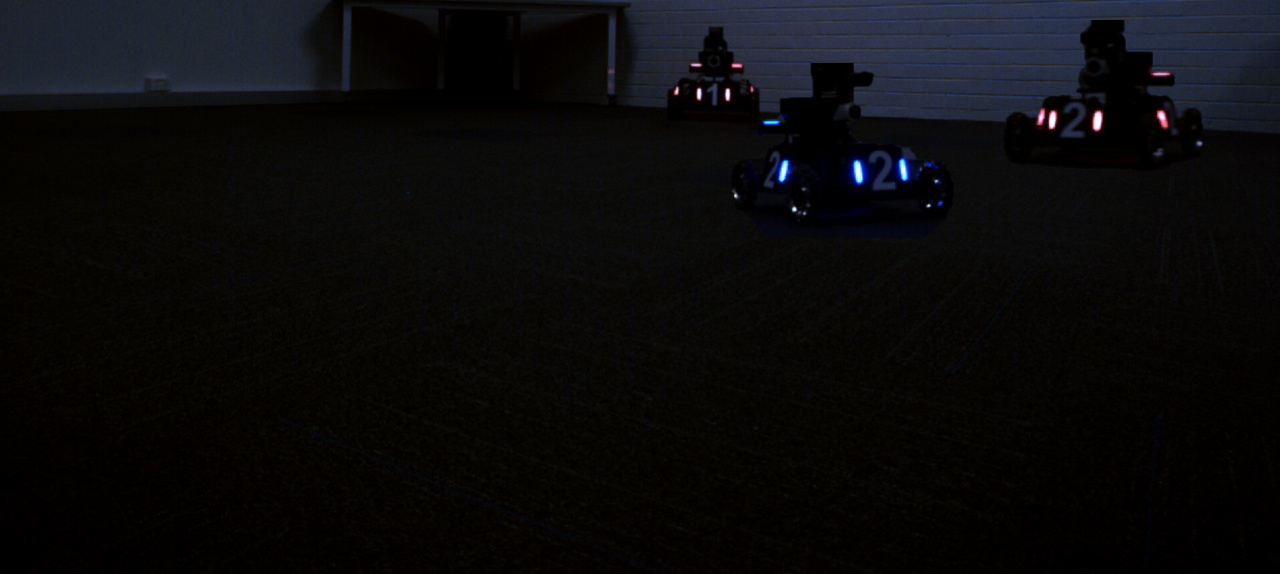
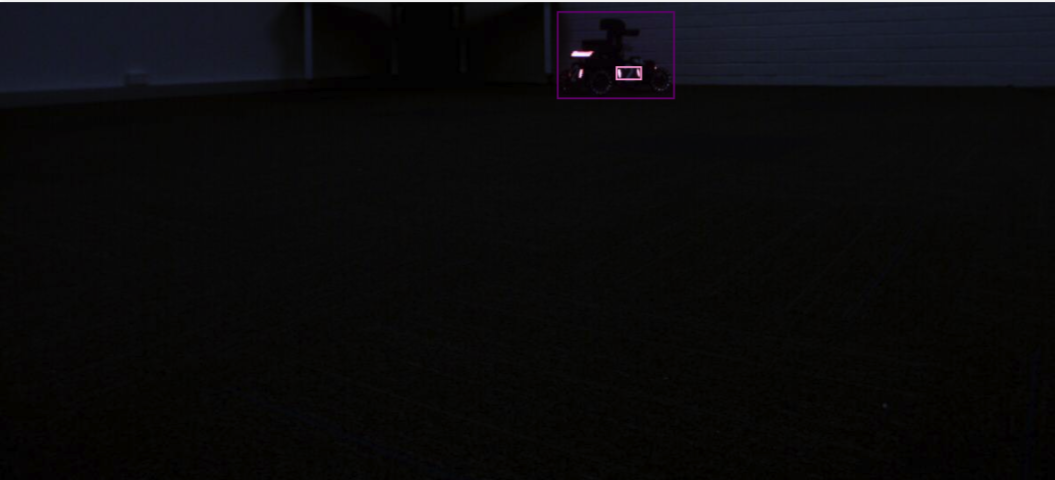
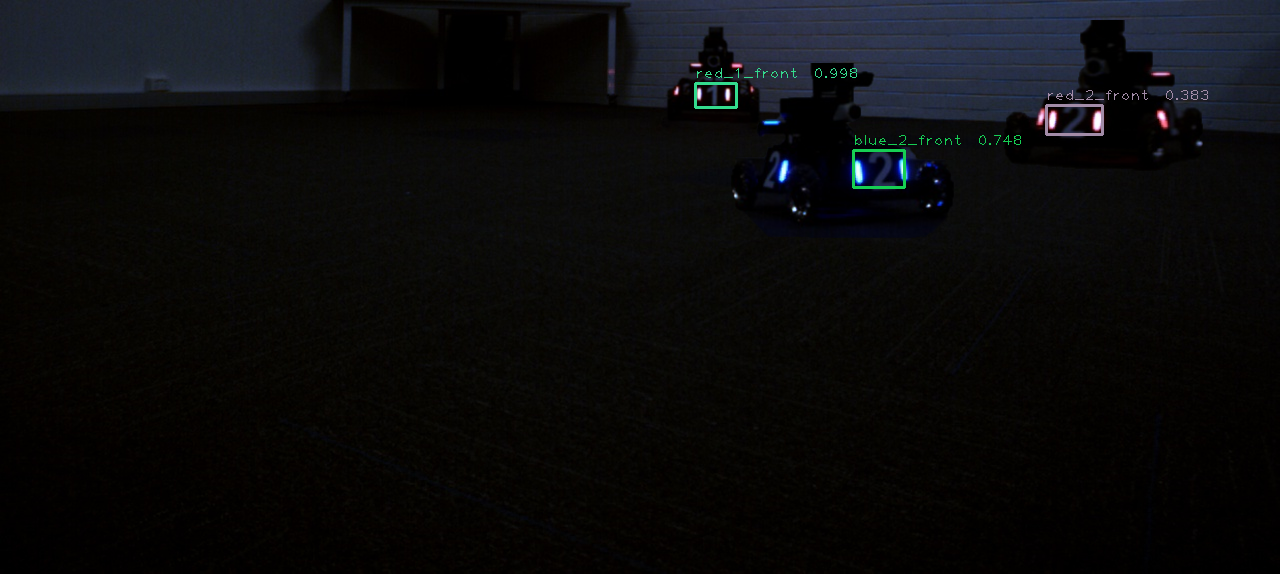
Sample Input Image
unlabelled image
unlabelled image (updated for sprint2)
labelled image
labelled image (updated for sprint2)
System Components
YOLO (You only look once) is used for both the armour location and identification algorithms. It's a state-of-the-art real-time object detection system, which can process images fast and achieve a high mAP. CVAT is used for labelling images, and Google Colab is used for training.
User Stories
Product Backlog
(Find the product backlog here)
Sprint 1
(Find the Sprint 1 documentation here)
- [US1] locate the opponent robot’s armour in the pictures
- [US2] recognize the type of the armour pad the enemy is showing
Sprint 2
(Find the Sprint 2 documentation here)
- [US3] to have GUI of softrware to use/evaluate computer vision algorithm more easily
- [US4] to make armour location and armour identification algorithms work in conjunction to make product works faster
- [US7] to make product locate multiple armours in the image
- [US8] to make product identify types of multiple armours located in the input
Change Logs
[Released]
[v1.0]
Added
Commits on Sep 9
- Update README.md @af-kurniawan
Commits on Sep 14, 2020
- Add resource @cchia790411
- Compress dataset @cchia790411
Commits on Sep 15, 2020
- Add colab notebook @cchia790411
- Update README.md @cchia790411
Commits on Sep 18, 2020
- add files via upload @cchia790411
Commits on Sep 24, 2020
- added readme file @Jia Yin
- updated README @jiaywill
- update image paths @jiaywill
Commits on Sep 25, 2020
-
update notebook
-
Add trained weight and update notebook
-
update user guide
-
Add: red1 200-249 labelled images. @isaacpedroza
changed
Commits on Sep 18, 2020
- Merge branch 'dev' of https://github.com/cchia790411/rm_ai_challenge_… @cchia790411
- notebook modified @cchia790411
commits on Sep 25, 2020
- Refonfigurate for 2 separate model (armour/pose)
- Merge branch 'develop' of https://github.com/cchia790411/rm_ai_challe…
Commits on Sep 26, 2020
- Delete: requirements.txt not needed anymore @isaacpedroza
Commits on Sep 27, 2020
- Merge branch 'feature/us1_us2' into develop @isaacpedroza
- Merge branch 'develop' into master @ isaacpedorza
[v1.1]
Added
Commits on Sep 28, 2020
- @isaacpedroza Update README.md
- @isaacpedroza Update README.md
Commits on Sep 29, 2020
- @cchia790411 Reconfig network structure & update latest training result
- @cchia790411 Merge pull request #5 from cchia790411/develop … Reconfig network structure & update latest training result
- @cchia790411 Add Sprint 1 product notebook
- @cchia790411 Merge pull request #6 from cchia790411/develop … Add Sprint 1 product notebook
- @s-kim333 s-kim333 released release tag v1.1 29 Sep
[v1.2]
Added
Commits
- @cchia790411 Add test cases
- @cchia790411
- Merge pull request #7 from cchia790411/develop
Test Cases
Sprint 1
Find the Test Case document for Sprint 1 here
Sprint 2
Find the Test Case document for Sprint 2 here
Traceability matrix
User Guide (Release v1.2)
- Sign in to Google Colab using a Google account (https://colab.research.google.com/)
- Upload the notebook to Google Colab
notebook location: rm_ai_challenge_2020s2_koala/build/colab_notebook/RM_Koala_YOLO_approach.ipynb - Run all the cells.
- Scroll down to the bottom of the notebook to view results.
User Guide (Release 2.0.0)
step 1. to get pre-trained weight file to use in GUI
- Sign in to Google Colab using a Google account (https://colab.research.google.com/)
- Upload the notebook to Google Colab
notebook location: https://github.com/cchia790411/rm_ai_challenge_2020s2_koala/blob/master/yolo_opencv.ipynb - Run all the cells.
- Save weight file.
- make zip file with yolo-v4-tiny config file, saved weight file, name file
step 2. Use Application to test the Objct Detection Model
-
Upload images Click ‘File’ menu and select ‘Select Images’ Navigate to the directory where the images to upload Select a image/ multiple images and click ‘open’ button
-
Upload configuration files in zip Click ‘File’ menu and select ‘Upload weights, names and config files as a .zip file’ Navigate to the directory where the compressed configuration file to upload Select a configuration file in .zip format and click ‘open’ button
NOTE: this is a MUST DO thing before hitting the ‘run’ button. If a user didn’t supply configuration files or the compressed file doesn’t have sufficient files needed(.cfg file, weight file and name file), he/she would get the following error.
Once a user uploaded a proper configuration file, he/she would get the following message.

-
Hit run button
-
Use slider to get a ‘slide show’ view of images(optional) This applies only when the user uploaded multiple images to do the object detection.
-
Check result on output panel & export results Once a user hits the run button and the application finishes predicting, the user would get labeled image on image displaying panel as a result and text form of output for clearer view and detailed information. This is an example output on the output panel of the application.
A user can export this result to a local machine in .txt format as well. To do this, click ‘File’ menu and click ‘Export Output’ option Navigate to the directory wish to save the output Set a name of the output file and click the ‘save’ button.


