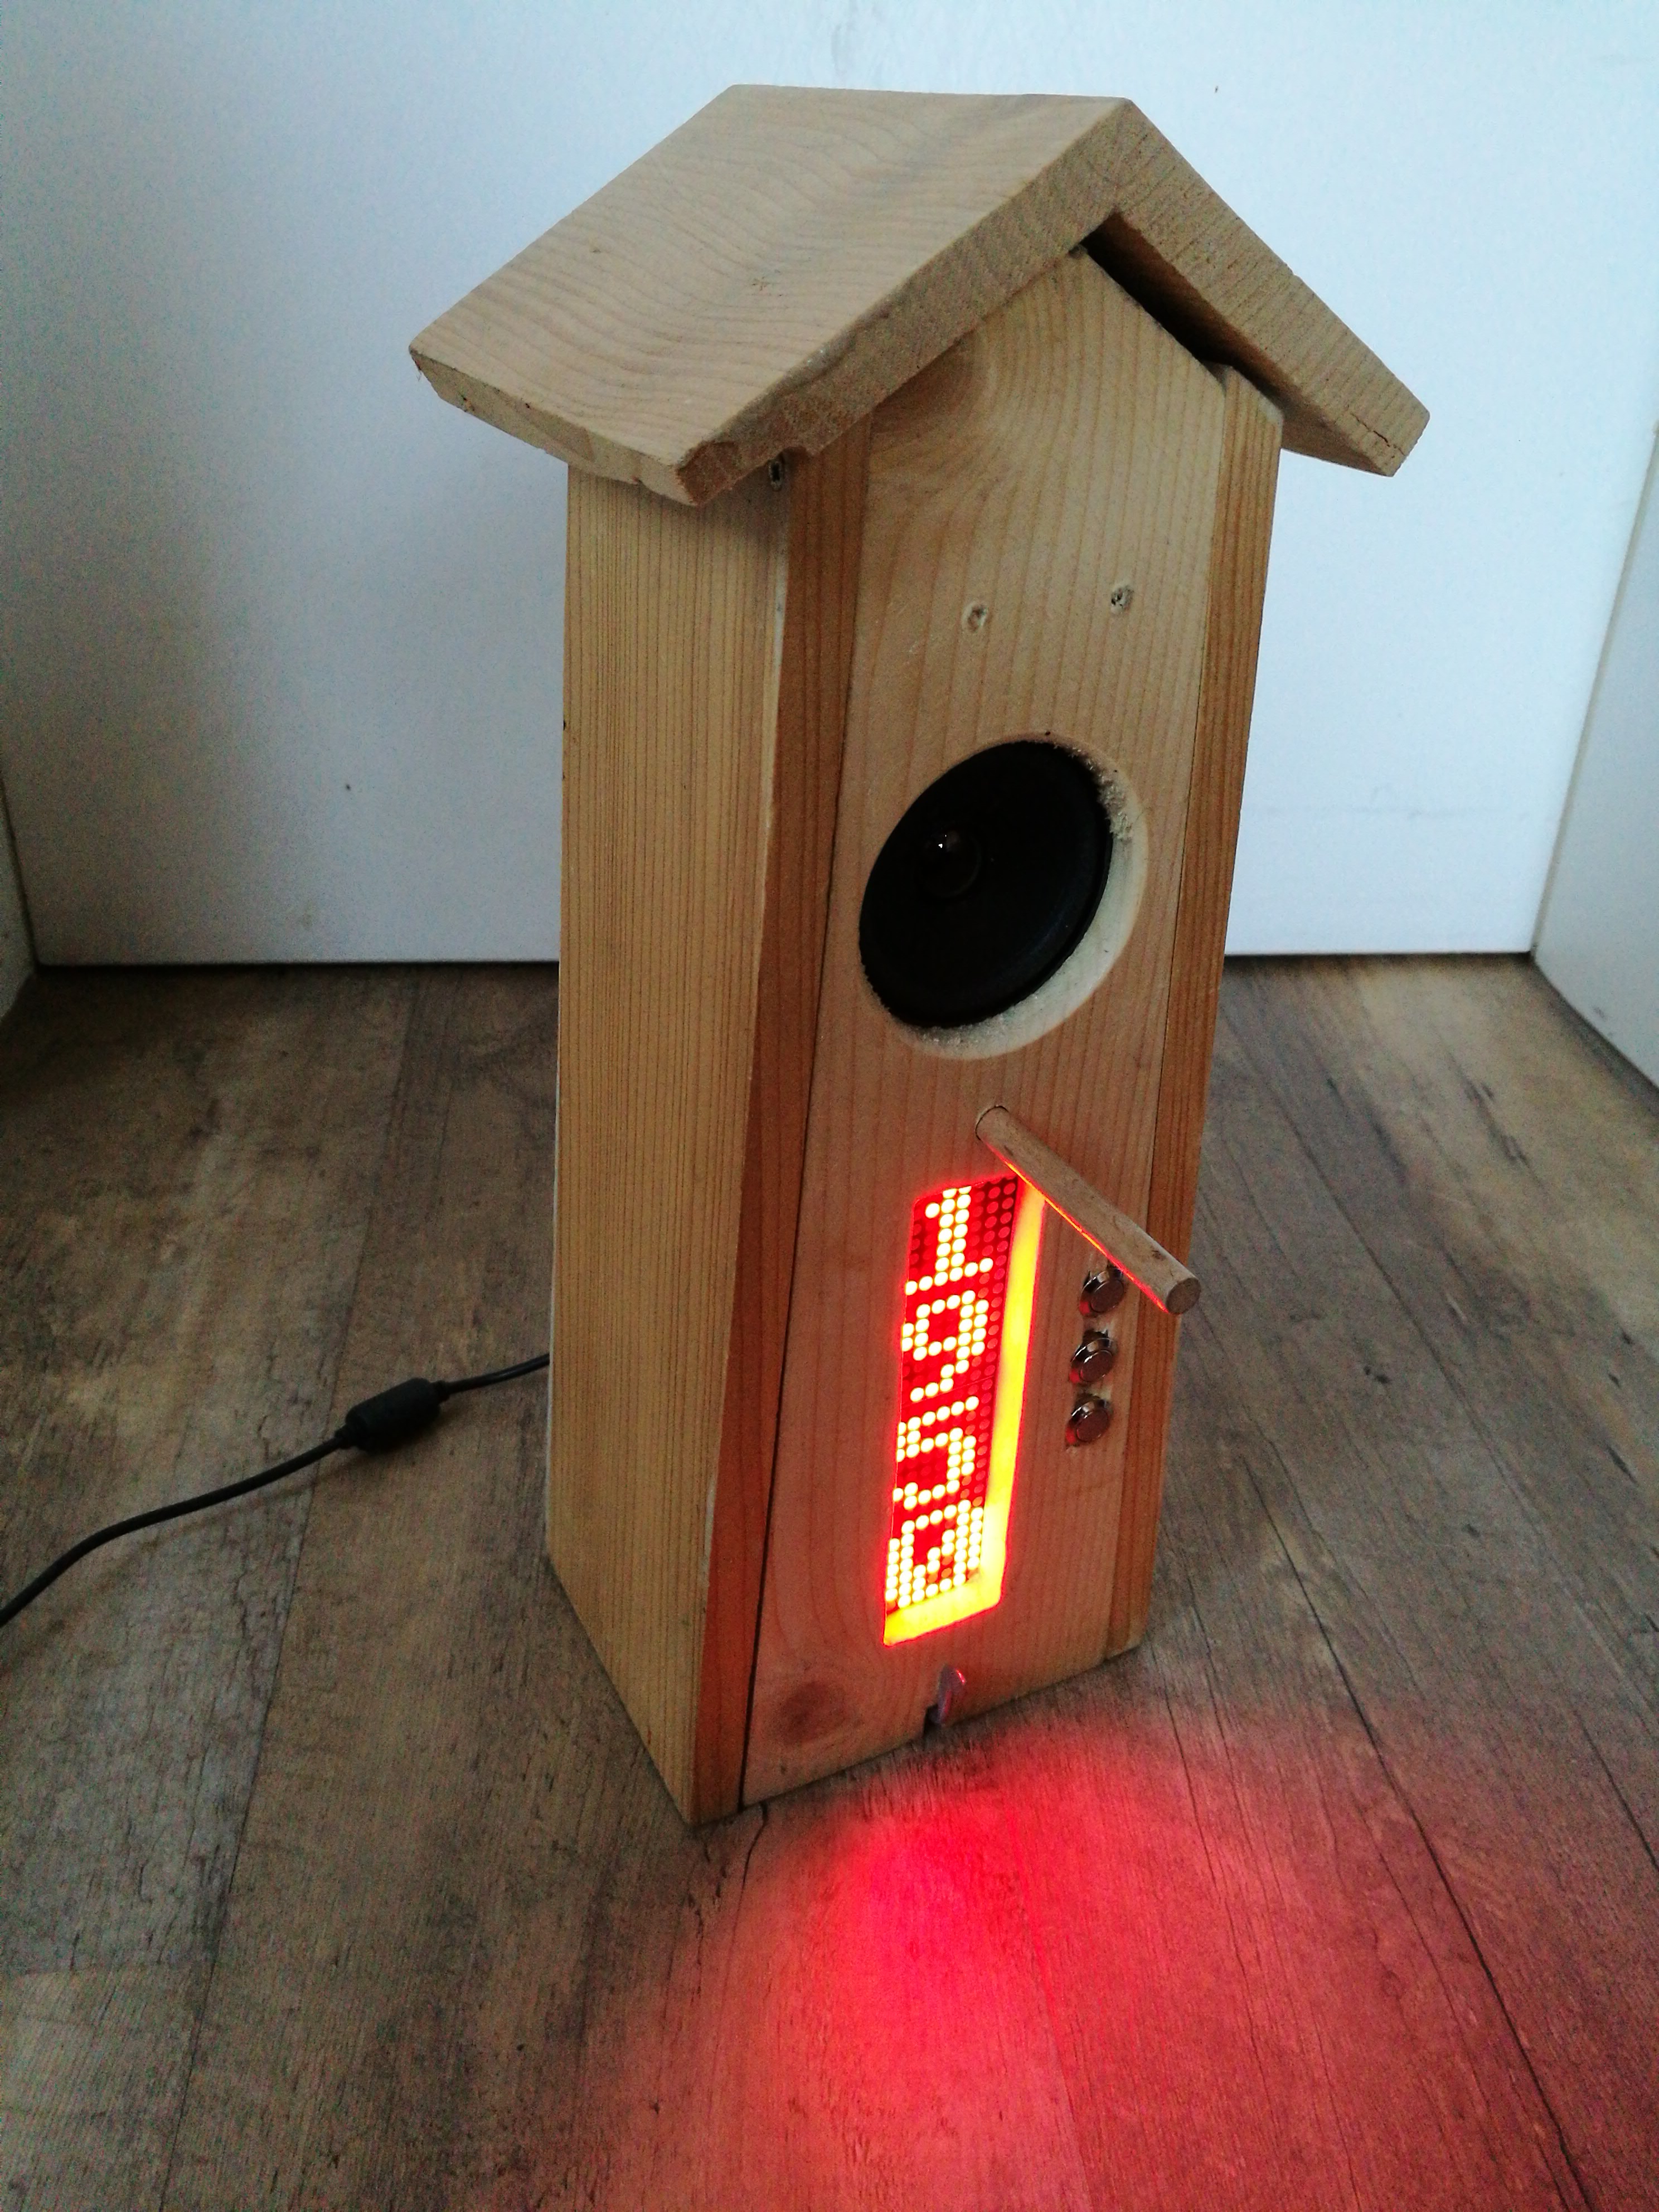
Raspberry Pi Alarm Clock
Components
Simple alarm clock using the following components:
- Raspberry Pi 4
- 8x32 LED Matrix
- 3 Push Buttons
- Loudspeaker
- Sound Amplifier
- Level shifter for SPI
- 5V power supply
- USB Soundcard
- AUX to 3 pin adapter
- Buck Boost converter
Dependencies
For the LED matrix programming, the luma library is used, for installation instructions see here
For the sound output the pygame library is used.
For the text to speech output, the pyttsx3 library is used
For volume changing, the python3-alsaaudio library is used.
Wiring
Wiring is done according to the individual component pinout diagrams. Important is that the raspberry pi has its own power supply because when using the same as the LED matrix there is an undervoltage issue and the pi will not start up. Another option is to use a boost DC-DC converter to power everything from the same power supply.
Power Supply
The power supply supplies power to all components using their respective 5V and GND pins. The raspberry pi gets power through the USB power port. However, instead of directly connecting it to the power supply, they power lines are led through the buck boost converter to ensure that the pi is always supplied with the correct voltage.
Raspberry Pi
| RPi Pin | connected component | pin on component |
|---|---|---|
| 6 (GND) | level shifter | GND |
| 19 (MOSI) | level shifter | LV 1 |
| 23 (SCLK) | level shifter | LV 2 |
| 24 (CE0) | level shifter | LV 3 |
| 29 (GPIO) | mode button | left |
| 31 (GPIO) | increase button | left |
| 33 (GPIO) | decrease button | left |
| 9 (GND) | mode button | right |
| 25 (GND) | increase button | right |
| 39 (GND) | decrease button | right |
Additionally, a capacitor with 1 uF is connected across the buttons to smooth the voltage. The USB soundcard is plugged into a USB port of the raspberry pi.
LED Matrix
| LED matrix pin | connected component | pin on component |
|---|---|---|
| 5V | power supply | 5V |
| GND | power supply | GND |
| DIN | level shifter | LV 1 |
| CLK | level shifter | LV 2 |
| CS | level shifter | LV 3 |
Sound Amplifier
If only one loudspeaker is connected (as in my case) the pi can be configured to output mono channel audio. The loudspeaker is then connected to one of the two output terminals of the PCB.
| sound amplifier pin | connected component | pin on component |
|---|---|---|
| 5V | power supply | 5V |
| GND | power supply | GND |
| + | loudspeaker | + |
| - | loudspeaker | - |
| L- | USB Soundcard (AUX adapter) | GND |
| R- | USB Soundcard (AUX adapter) | GND |
| R+ | USB Soundcard (AUX adapter) | R |
| L+ | USB Soundcard (AUX adapter) | L |
Sound File
The sound file can be set in Alarm.py with the attribute alarm_sound_file
Alarm Time File
For the code to work, it is assumed that there is a file containing the alarm
time. The format of the content is simply <hours(with possible leading zero)><minutes(with possible leading zero)>. For example for an alarm at 8:05
the content needs to be 0805. The file location and name can be set in
Alarm.py with the attribute filename
Buttons
The three buttons work such that the state button changes the state, the increase button increases the hours/minutes and the decrease button decreases them when in the correct state. The states are:
- 0: showing current time
- 1: changing the hour value of the alarm time
- 2: changing the minute value of the alarm time
- 3: sounding the alarm
- 4: Change volume
Note that state 3 is reached automatically when sounding the alarm and state 4 is reached by pressing the increase button, when in state 0. Both of these states can be left by pressing the state button. Additionally, the decrease button, when used in state 0, turns the alarm on or off.
