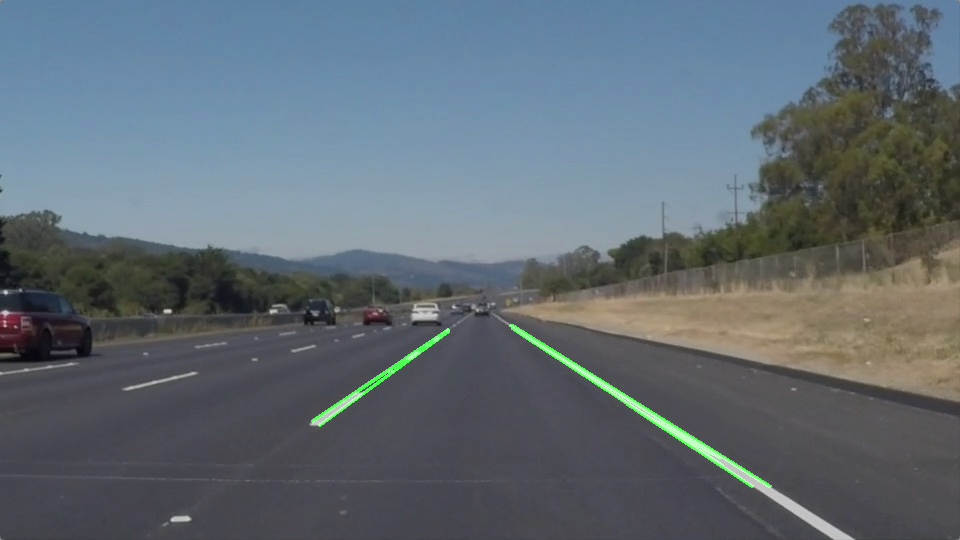
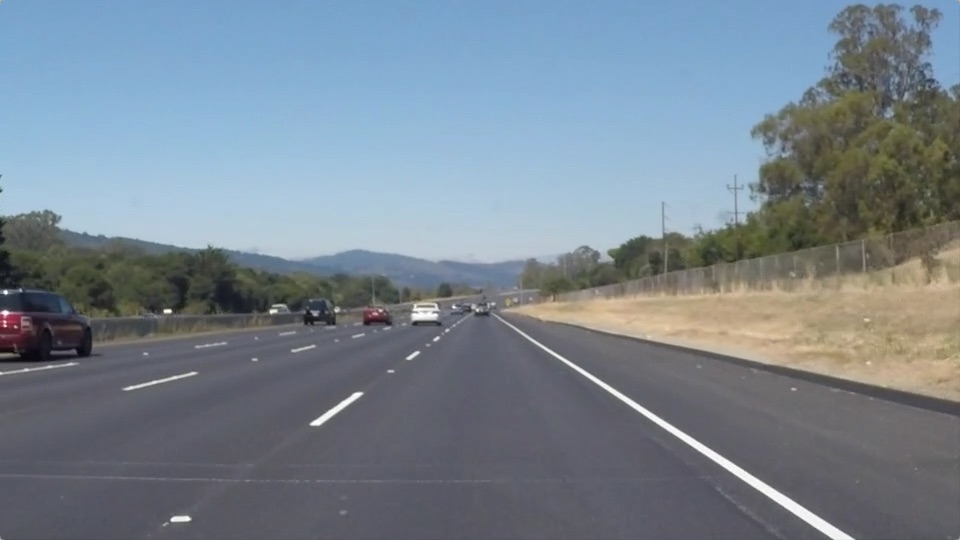
When we drive, we use our eyes to decide where to go. The lines on the road that show us where the lanes are act as our constant reference for where to steer the vehicle. Naturally, one of the first things we would like to do in developing a self-driving car is to automatically detect lane lines using an algorithm.
In this project you will detect lane lines in images using Python and OpenCV. OpenCV means "Open-Source Computer Vision", which is a package that has many useful tools for analyzing images.
The Project
The goals of this project are the following:
- Make a pipeline that finds lane lines on the road under changing light conditions and different lane mark colors.
---
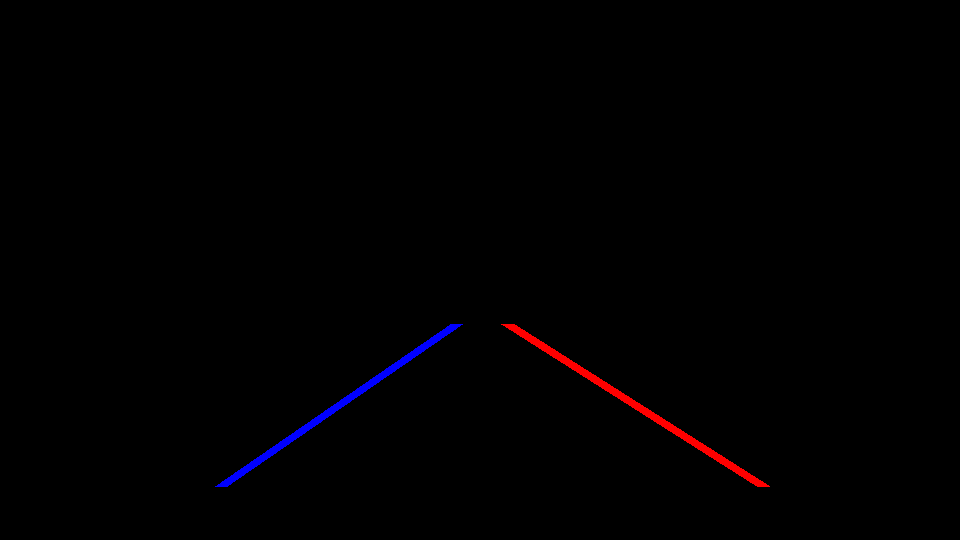
I divided my pipeline in 3 major steps. The first step is raw data processing. Second step is finding lanes in the preprocessed data and the last step is the visualisation of the data.
I converted the image into HSV color space to pick the yellow and white lanes easier.

After that i reduced the region of interest to the typical area where lanes can possibly be seen by the camera.
By applying a canny filter to the binary image of the lanes the image data is reduced to the edges only.

With the Hough transformation function I find possible lane candidates.

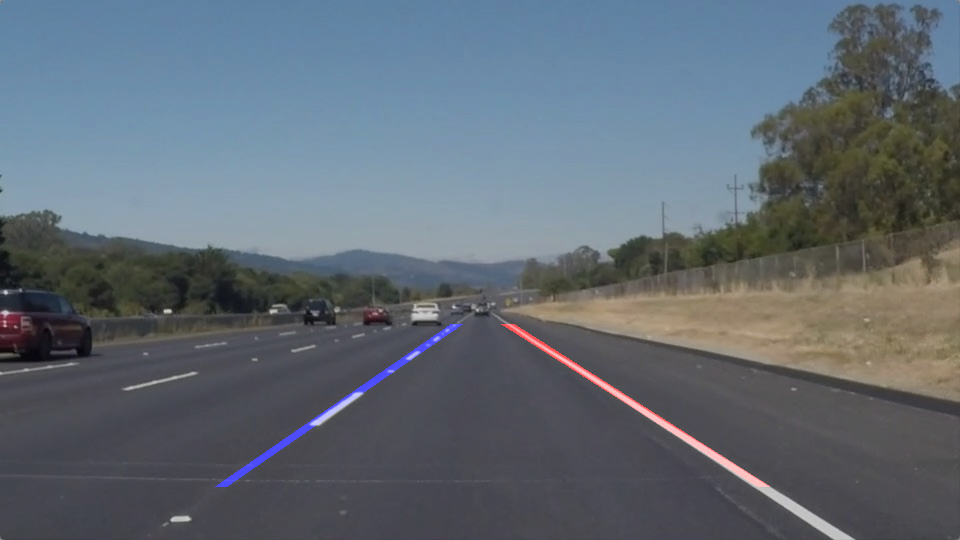
My next goal was to distinguish between right and left lanes. To make this decision i use the start and end point of each line which is detected by the Hough transformation and calculate the slope. Lines with negative slopes are possibly right lanes, lines with positive slope possibly left lanes. Until this point there are still several left and right lane candidates. To reduce all candidates down to one left and one right lane I take all start and end points of the "left" Hough lines/lanes and use the polyfit function (degree 1 in this simple case). The same approach is used for the right lines. After this I have one defined right lane and a defined left lane. In case no lanes are detected at all I added exeption handling in this step so the program continues in any case.

Both Lanes are finally combined with the original image to show the most likely course of the lanes.

My pipeline is also able to detect the lanes of the challenge video. At least most of the time. To achieve this, I had to change the hard coded ROI to an image size independent ROI and changed the color picker function to HSV colormap as well.
-
Big changes in the lighting conditions could lead to problems since the color picking approach depends on hard coded color values. The light conditions during cloudy weather or twilight are not shown in any of the test videos.
-
Each frame is handled individually. Jumps of the detected lanes due to misinterpretation are easily possible.
-
The use of histogramm equation could help to handle different lighting conditions.
-
Since one can assume that there are no sudden changes if the lane slope on a normal road one could create a integral element / buffer where the slope of the previous 1 or 2 frames is averaged with the current one. Big jumps of the detected lane caused by misinterpretation could be avoided or at least the effect could be watered down.
If you have already installed the CarND Term1 Starter Kit you should be good to go! If not, you should install the starter kit to get started on this project. ##
Step 1: Set up the CarND Term1 Starter Kit if you haven't already.
Step 2: Open the code in a Jupyter Notebook
You will complete the project code in a Jupyter notebook. If you are unfamiliar with Jupyter Notebooks, check out Udacity's free course on Anaconda and Jupyter Notebooks to get started.
Jupyter is an Ipython notebook where you can run blocks of code and see results interactively. All the code for this project is contained in a Jupyter notebook. To start Jupyter in your browser, use terminal to navigate to your project directory and then run the following command at the terminal prompt (be sure you've activated your Python 3 carnd-term1 environment as described in the CarND Term1 Starter Kit installation instructions!):
> jupyter notebook
A browser window will appear showing the contents of the current directory. Click on the file called "P1.ipynb". Another browser window will appear displaying the notebook. Follow the instructions in the notebook to complete the project.
