Spring 整合 MyBatis 非常麻烦 需要手动配置大量文件。
在 Spring Boot 工程中,开发者无需手动配置,Spring Boot 会自动完成 MyBatis 的集成配置,并且这套自动配置的方案是由 MyBatis 提供的,Spring Boot 只需要介入即可,省去了 XML 文件中繁琐的配置,只需要在 application 文件中添加个性化设置,就可以实现 MyBAtis 的整合。
- 1、创建 Maven 工程,pom.xml 中添加相关依赖。
    <!-- 继承父包 -->
    <parent>
        <groupId>org.springframework.boot</groupId>
        <artifactId>spring-boot-starter-parent</artifactId>
        <version>2.2.4.RELEASE</version>
        <relativePath/> <!-- lookup parent from repository -->
    </parent>

    <dependencies>

        <!-- web启动jar -->
        <dependency>
            <groupId>org.springframework.boot</groupId>
            <artifactId>spring-boot-starter-web</artifactId>
        </dependency>

        <dependency>
            <groupId>org.mybatis.spring.boot</groupId>
            <artifactId>mybatis-spring-boot-starter</artifactId>
            <version>1.3.1</version>
        </dependency>

        <dependency>
            <groupId>mysql</groupId>
            <artifactId>mysql-connector-java</artifactId>
        </dependency>

        <dependency>
            <groupId>org.projectlombok</groupId>
            <artifactId>lombok</artifactId>
        </dependency>

    </dependencies>
-
2、创建数据表
-
3、创建实体类 Student

package xyz.fusheng.entity;

import java.sql.Date;

public class Student {
    private Long id;
    private String name;
    private  Double score;
    private Date birthday;
}- 4、创建 StudentRepository
package xyz.fusheng.repository;

import xyz.fusheng.entity.Student;

import java.util.List;

public interface StudentRepository {
    public List<Student> findAll();
    public Student findById(Long id);
    public int save(Student student);
    public int deleteById(Long id);
}- 5、在/resources/mapping 路径下创建 StudentRepository.xml,作为 StudentRepository 配套的 Mapper 文件,文件内容定义每个接口方法对应的SQL语句以及结果集解析。

<?xml version="1.0" encoding="UTF-8" ?>
<!DOCTYPE mapper PUBLIC "-//mybatis.org//DTD Mapper 3.0//EN" "http://mybatis.org/dtd/mybatis-3-mapper.dtd">
<mapper namespace="xyz.fusheng.repository.StudentRepository">

    <select id="findAll" resultType="Student">
        select * from student
    </select>

    <select id="findById" parameterType="java.lang.Long" resultType="Student">
        select * from student where id = #{id}
    </select>

    <insert id="save" parameterType="Student">
        insert into student(name,score,birthday) values(#{name},#{score},#{birthday})
    </insert>

    <update id="update" parameterType="Student">
        update student set name = #{name},score = #{score},birthday = #{birthday} where id = #{id}
    </update>

    <delete id="deleteById" parameterType="java.lang.Long">
        delete from student where id = #{id}
    </delete>

</mapper>
- 6、创建 StudentHandler,注入 StudentRepository。
package xyz.fusheng.controller;

import org.springframework.beans.factory.annotation.Autowired;
import org.springframework.web.bind.annotation.*;
import xyz.fusheng.entity.Student;
import xyz.fusheng.repository.StudentRepository;

import java.util.List;

@RestController
public class StudentHandler {

    @Autowired
    private StudentRepository studentRepository;

    @GetMapping("/findAll")
    public List<Student> findAll(){
        return studentRepository.findAll();
    }

    @GetMapping("/findById/{id}")
    public Student findById(@PathVariable("id") Long id){
        return studentRepository.findById(id);
    }

    @PostMapping("/save")
    public int save(@RequestBody Student student){
        return studentRepository.save(student);
    }

    @PutMapping("/update")
    public int update(@RequestBody Student student){
        return studentRepository.update(student);
    }

    @DeleteMapping("/deleteById/{id}")
    public int deleteById(@PathVariable("id") Long id){
        return studentRepository.deleteById(id);
    }
}- 7、创建配置文件 application.yml,添加 MySQL 数据源信息和 MyBatis 的相关配置信息。
spring:
  datasource:
    url: jdbc:mysql://localhost:3306/springboot5?useUnicode=true&characterEncoding=UTF-8&serverTimezone=Hongkong
    username: root
    password: sa123
    driver-class-name: com.mysql.cj.jdbc.Driver
mybatis:
  mapper-locations: classpath:/mapping/*.xml
type-aliases-package: xyz.fusheng.entity- 8、创建启动类。
package xyz.fusheng;

import org.mybatis.spring.annotation.MapperScan;
import org.springframework.boot.SpringApplication;
import org.springframework.boot.autoconfigure.SpringBootApplication;

@SpringBootApplication
// 通过扫包方式,将 MyBatis 相关对象交给 Spring 容器来管理。
@MapperScan("xyz.fusheng.repository")
public class  Application {
    public static void main(String[] args) {
        SpringApplication.run(Application.class,args);
    }
}
PS : 这里的注解@apperScan("xyz.fusheng.repository") 意在通过扫包方式,将 MyBatis 相关对象交给 Spring 容器来管理。指定 MyBatis Mapper 接口所在的包--xyz.fusheng.repository
- 9、Spring Boot 整合 MyBatis 简单项目搭建基本完成,后面用 Postman 工具进行业务逻辑访问。
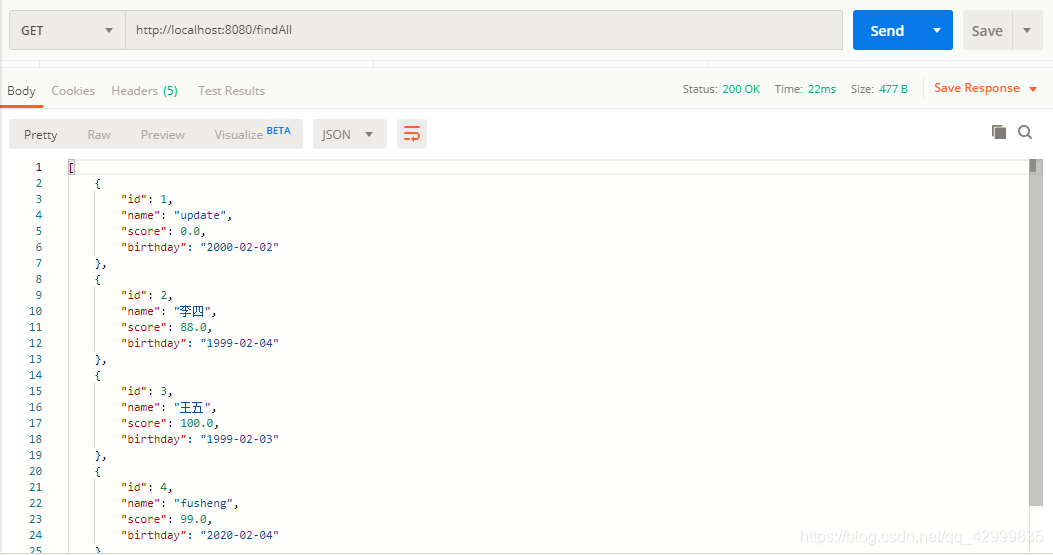
- findAll
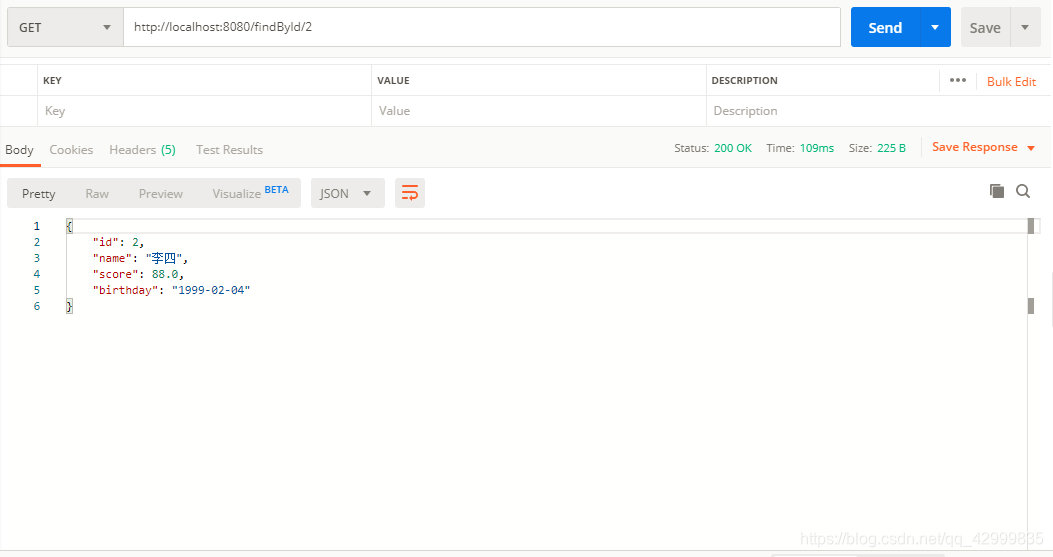
- findById
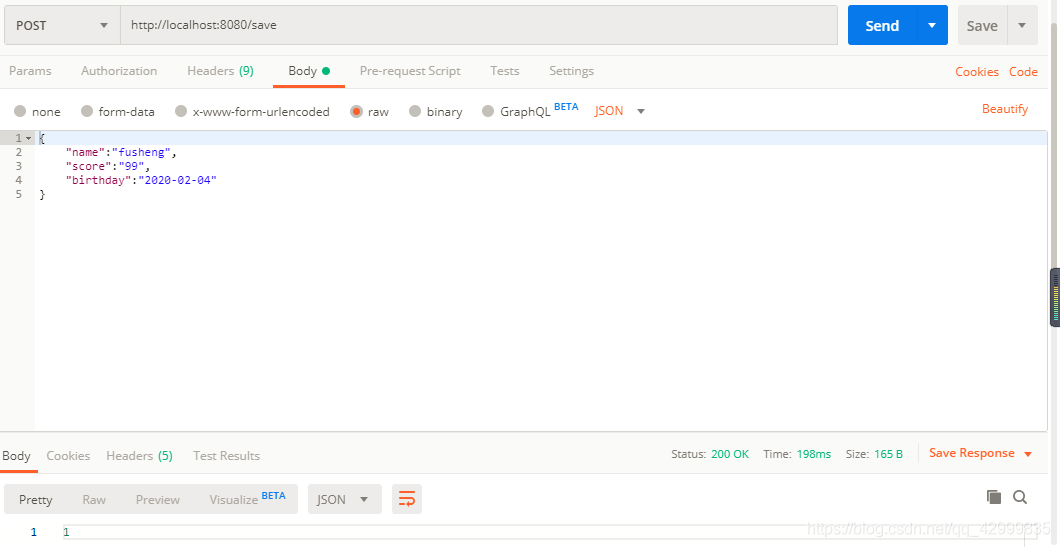
- save
PS : Postman 的操作,这里需要更改为 POST ,而且提交数据格式为 JSON
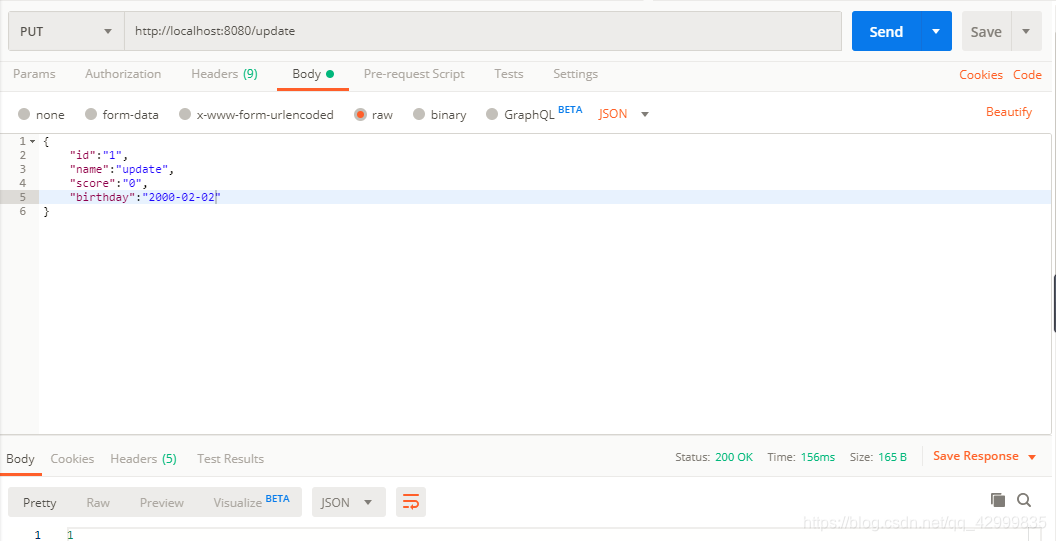
- update
- deleteById


MyBatis 作为当前的主流 ORM 框架,是 Java 开发的首选,同时 Spring Boot 很好的继承了 Mybatis