CarND-Controls-MPC
Self-Driving Car Engineer Nanodegree Program
Summary
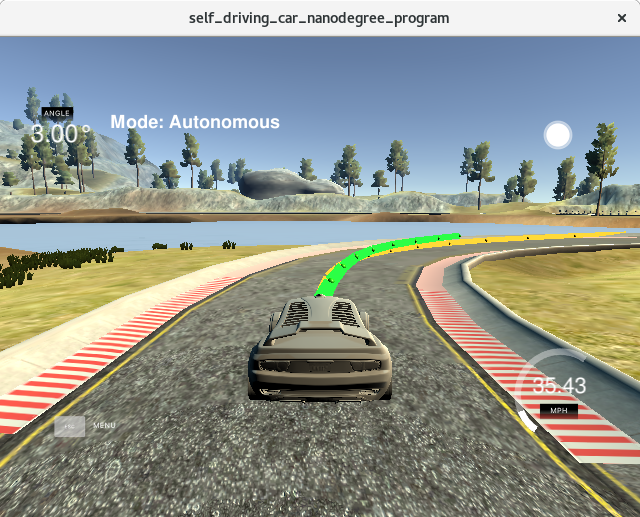
In this project we revisit the lake race track from the Behavioral Cloning Project. I implement the Model Predictive Control to drive the car around the track.
This time however you're not given the cross track error, you'll have to calculate that yourself! Additionally, there's a 100 millisecond latency between actuations commands on top of the connection latency.
The simulator will provide you the model state, cross track error (CTE) and the velocity (mph) in order to compute the appropriate steering angle.
The project rubric can be found here
Model
The model I used was the common bicycle motion model, but expressed as a dynamic model (via center of mass) with associated kinematics:

That includes 6 states variables and 2 actuator outputs: throttle and steering.
Processing
Using the lesson steps and the provided waypoints (i.e. expected path) from the simulator, I use the current state and fit a polynominal and create a requested path/line. Note I did this in the vehicle/inertia reference frame. I then run the MPC controller to generate a optimal path from the current state. From that I calculate the actuator outputs and account for latency.
Tuning
In tuning the MPC, I tried various steps (N) and time intervals (dt). I started with the lesson notes of N=25 and dt=0.05 and the result was a trajectory that the steering lagged too much. I ended up with N=10 and dt=0.1 to maintain steering smoothest and quick calculation. It was good to have dt=0.1s since it was stated that the latency was 100ms (so intervals were equal to the latency).
Reflection
A goal of this project was to evaluate the provided waypoints vs the calculated MPC trajectory, which was used to calculate the steering output.

Instead of the PID controller, which created control jerky-ness as the car tried to steering back onto the waypoint trajectory, the MPC controller provided a much smoother transistion of steering commands to keep the car on the waypoint trajectory.
Looking at zero cost, the steering was a bit high:

As recommended in the lesson, I added some cost gains, and was able to reduce the steering effort, maybe by 10%--of course the sharp turns were the same (cost had little effect):

Dependencies
-
cmake >= 3.5
-
All OSes: click here for installation instructions
-
make >= 4.1(mac, linux), 3.81(Windows)
- Linux: make is installed by default on most Linux distros
- Mac: install Xcode command line tools to get make
- Windows: Click here for installation instructions
-
gcc/g++ >= 5.4
- Linux: gcc / g++ is installed by default on most Linux distros
- Mac: same deal as make - [install Xcode command line tools]((https://developer.apple.com/xcode/features/)
- Windows: recommend using MinGW
-
- Run either
install-mac.shorinstall-ubuntu.sh. - If you install from source, checkout to commit
e94b6e1, i.e.Some function signatures have changed in v0.14.x. See this PR for more details.git clone https://github.com/uWebSockets/uWebSockets cd uWebSockets git checkout e94b6e1
- Run either
-
Ipopt and CppAD: Please refer to this document for installation instructions.
-
Eigen. This is already part of the repo so you shouldn't have to worry about it.
-
Simulator. You can download these from the releases tab.
-
Not a dependency but read the DATA.md for a description of the data sent back from the simulator.
Basic Build Instructions
- Clone this repo.
- Make a build directory:
mkdir build && cd build - Compile:
cmake .. && make - Run it:
./mpc.
Tips
- It's recommended to test the MPC on basic examples to see if your implementation behaves as desired. One possible example is the vehicle starting offset of a straight line (reference). If the MPC implementation is correct, after some number of timesteps (not too many) it should find and track the reference line.
- The
lake_track_waypoints.csvfile has the waypoints of the lake track. You could use this to fit polynomials and points and see of how well your model tracks curve. NOTE: This file might be not completely in sync with the simulator so your solution should NOT depend on it. - For visualization this C++ matplotlib wrapper could be helpful.)
- Tips for setting up your environment are available here
- VM Latency: Some students have reported differences in behavior using VM's ostensibly a result of latency. Please let us know if issues arise as a result of a VM environment.
Editor Settings
We've purposefully kept editor configuration files out of this repo in order to keep it as simple and environment agnostic as possible. However, we recommend using the following settings:
- indent using spaces
- set tab width to 2 spaces (keeps the matrices in source code aligned)
Code Style
Please (do your best to) stick to Google's C++ style guide.
Project Instructions and Rubric
Note: regardless of the changes you make, your project must be buildable using cmake and make!
More information is only accessible by people who are already enrolled in Term 2 of CarND. If you are enrolled, see the project page for instructions and the project rubric.
Hints!
- You don't have to follow this directory structure, but if you do, your work will span all of the .cpp files here. Keep an eye out for TODOs.
Call for IDE Profiles Pull Requests
Help your fellow students!
We decided to create Makefiles with cmake to keep this project as platform agnostic as possible. Similarly, we omitted IDE profiles in order to we ensure that students don't feel pressured to use one IDE or another.
However! I'd love to help people get up and running with their IDEs of choice. If you've created a profile for an IDE that you think other students would appreciate, we'd love to have you add the requisite profile files and instructions to ide_profiles/. For example if you wanted to add a VS Code profile, you'd add:
- /ide_profiles/vscode/.vscode
- /ide_profiles/vscode/README.md
The README should explain what the profile does, how to take advantage of it, and how to install it.
Frankly, I've never been involved in a project with multiple IDE profiles before. I believe the best way to handle this would be to keep them out of the repo root to avoid clutter. My expectation is that most profiles will include instructions to copy files to a new location to get picked up by the IDE, but that's just a guess.
One last note here: regardless of the IDE used, every submitted project must still be compilable with cmake and make./
How to write a README
A well written README file can enhance your project and portfolio. Develop your abilities to create professional README files by completing this free course.