The purpose of this mini-project is to show how to set up a data science project
It follows these steps:
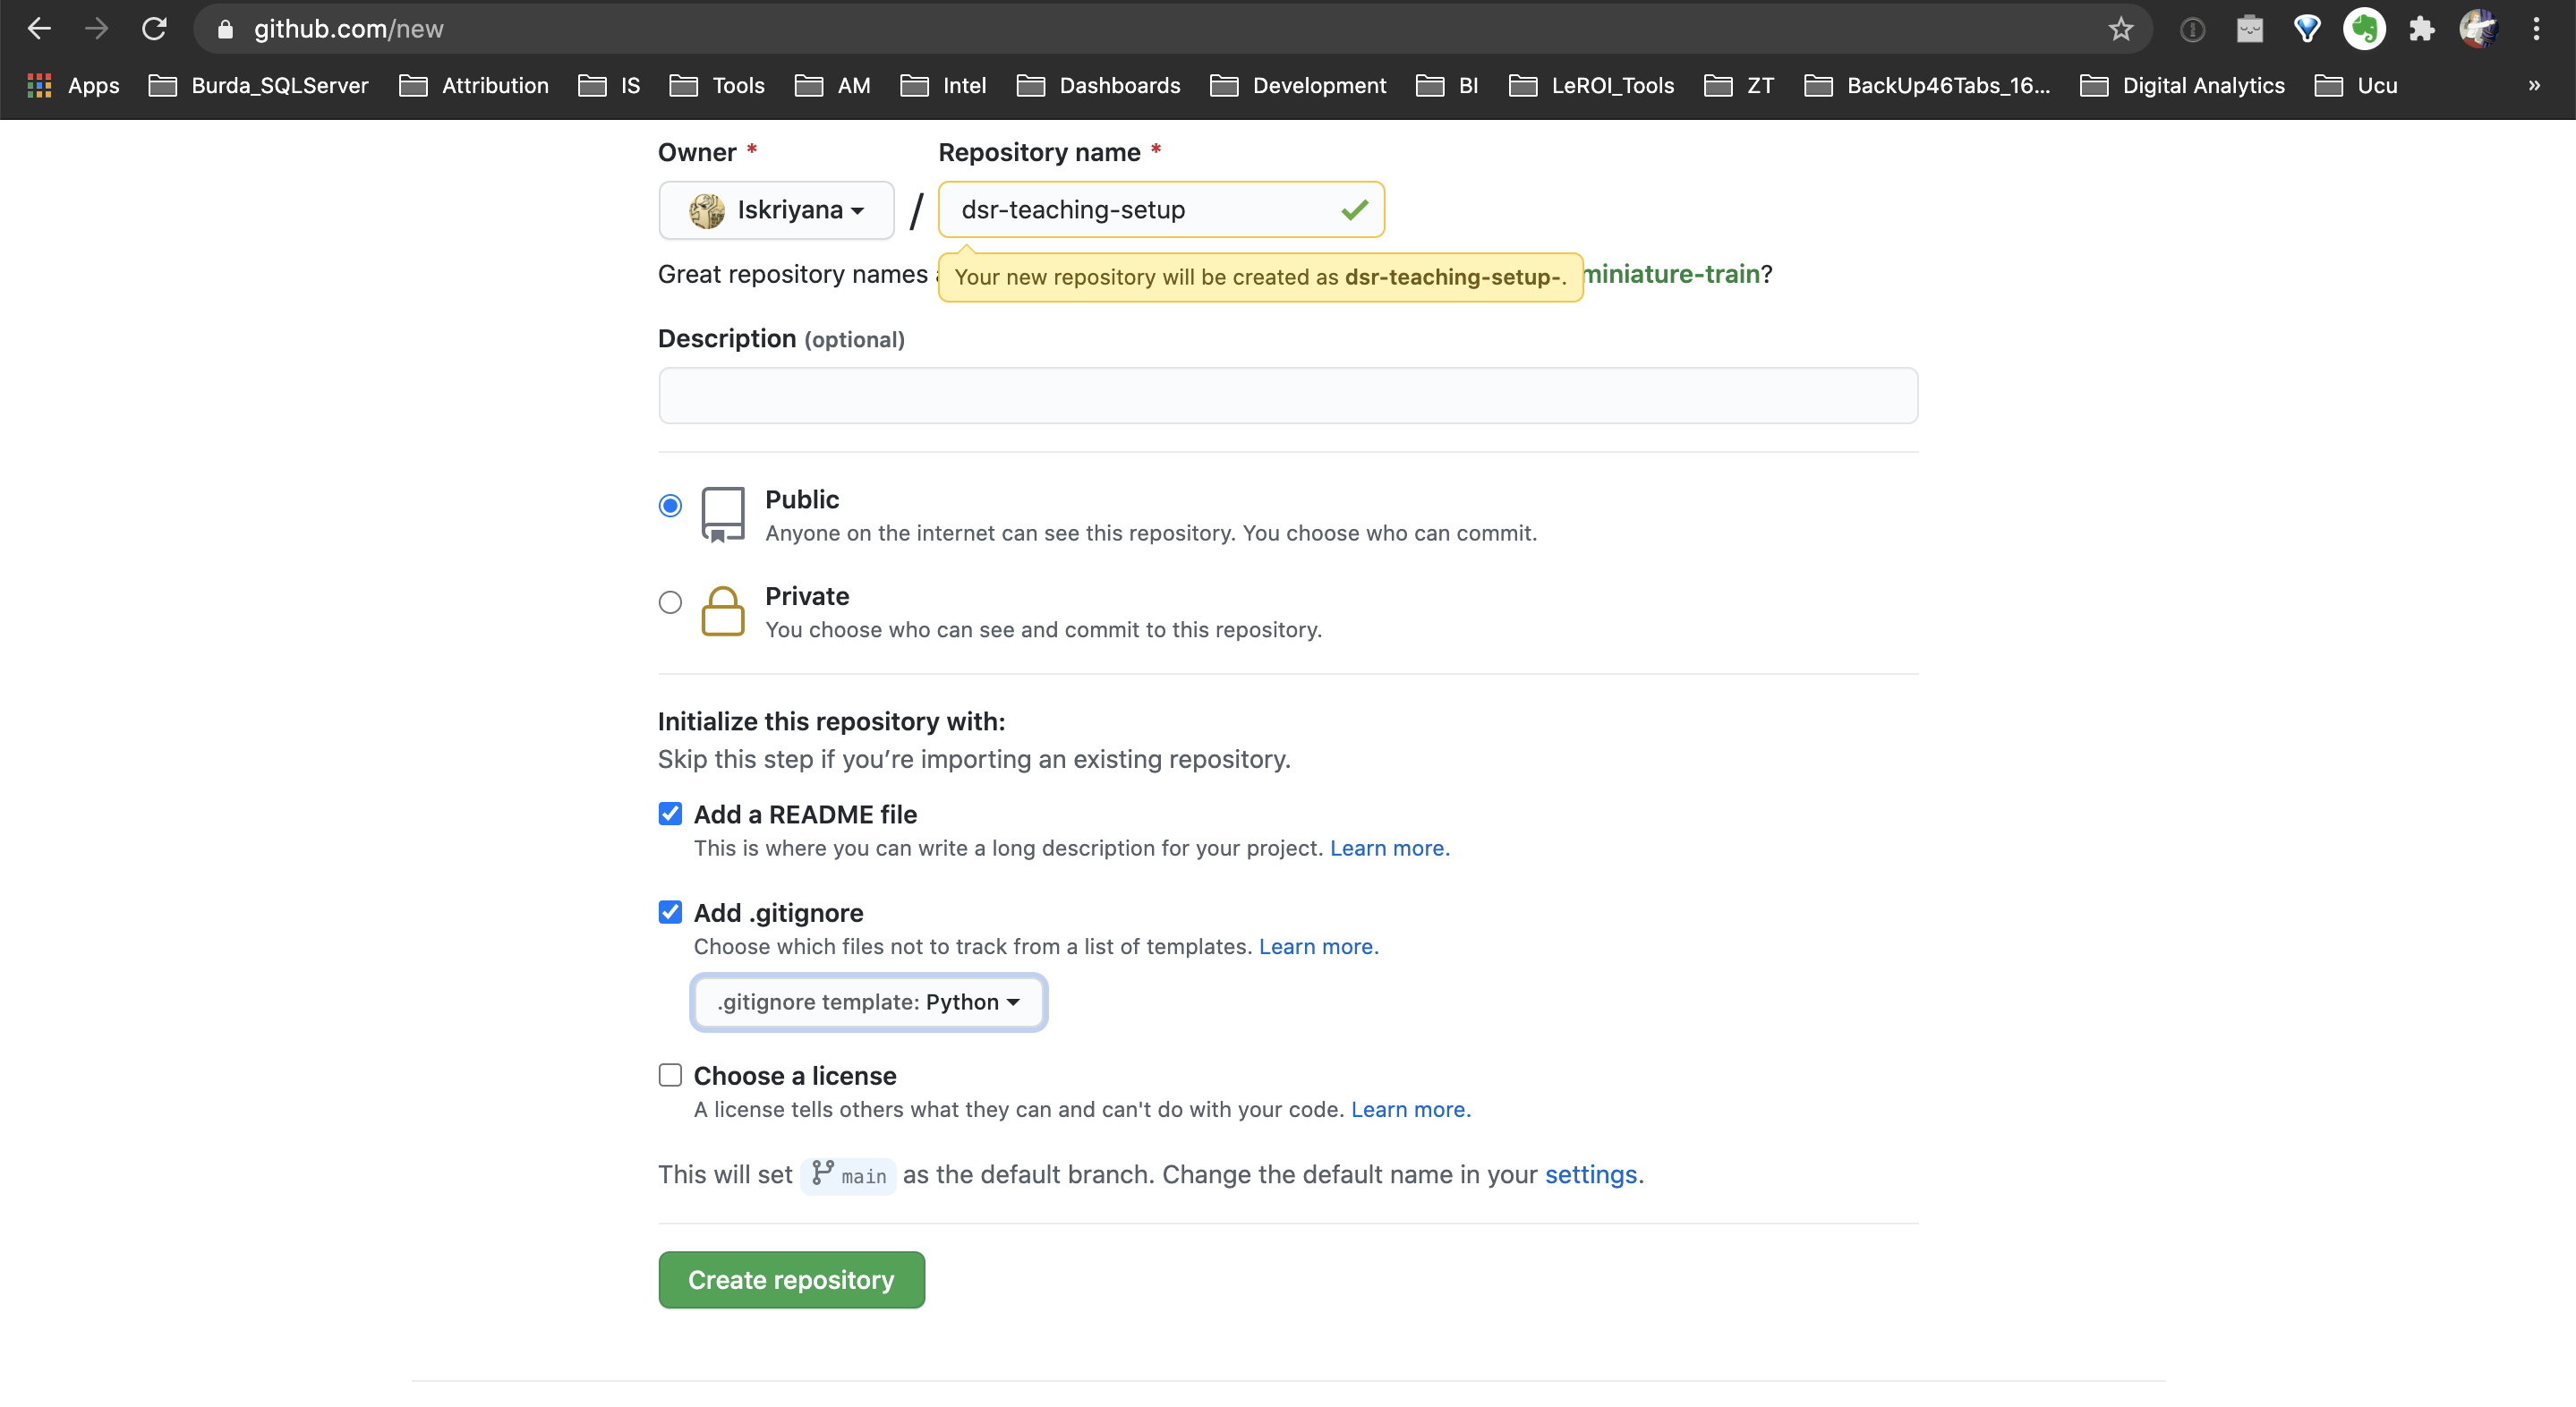
- Create a new repository in GitHub
- Clone the repository on your computer
- Set your Readme, .gitignore & requirements file ❗️Push your changes❗️
- Create a Conda environment
- Install needed packages
- Make the environment visible in Jupyter Notebook / Jupyter Lab
- Install a Code Formatter
- Start Jupyter Lab / Jupyter Notebook
- Python
- Jupyter Lab & Jupyter Notebook
- Visual Studio Code (download here) or PyCharm (installation instructions)
- Github
- Example for file structure - pipeline and project workflow template of DSSG.
- repo template
- You can create a repo in GutHub by following these instructions
- Initialise the repository with both a readme and a .gitignore file
- the README is what you are reading now 😉. It contains useful information about the project and how to set it up
- the .gitignore file contains all files and folders that should NOT be pushed to the repository, i.e. they should remain hidden. Examples are: files containing passwords, folders containing raw data. Select the template for Python.

In your terminal:
- Go to the folder, in which you keep your repositories. Use
cd <YOUR FOLDER NAME> - Execute
git clone https://github.com/<YOUR USERNAME>/dsr-setup.git- In general
git clone https://github.com/<YOUR USERNAME>/<YOUR REPO NAME>.git
- In general
- If you need any help, see this tutorial.
-
README
- Idea for structure
- Help for the formatting
- PyCharm comes in handy when creating the file
-
.gitignore
- documentation
- Collection of .gitignore templates. Relevant for you is the Python one
-
requirements.txt
- Create a simple empty
.txtfile - Every time you install a new package, add it with its version to this file in the format `package==version
- There are also automatic ways to create this file. However, they are some times either too detailed or do not include everything
- create with pip:
pip freeze > requirements.txt - create with PyCharm
- create with pip:
- For the exercise add the following:
numpy==1.26.3
pandas==2.1.4
seaborn==0.13.1
scikit-learn==1.3.2
- Create a simple empty
-
After setting the files, push to repository by typing in your terminal
git add .git commit -m '240108_repo_setup'git push origin main
In your terminal:
conda create -n dsr-setup python=3.12conda activate dsr-setup- conda cheat sheet
Still in your terminal and in the root folder of your repository execute
pip install -r requirements.txt
In your terminal make sure the environment is activated and execute:
pip install ipykernelpython -m ipykernel install --user --name dsr-setup --display-name "dsr-setup"- in general
python -m ipykernel install --user --name <YOUR ENVIRONMENT> --display-name "<YOUR ENVIRONMENT DISPLAY NAME>"
- in general
- Make sure the environment is activated
- Just type
jupyter laborjupyter notebook - NOTE: the folder, from which you started jupyter, will be your root folder.
- NOTE: if your tool of choice does not start, try first installing it by running
conda install jupyterorconda install jupyterlab
- It is best practice to format your Python code according to PEP 8
- Especially while learning, try to pay attention to it and correct yourself manually
- You can then automatically format your code by installing a code formatter
- Make sure your environment is activated
pip install jupyterlab_code_formatterjupyter server extension enable --py jupyterlab_code_formatterpip install autopep8- documentation
- Deactivate & activate the environment in order for the changes to take place:
conda deactivateconda activate dsr-setup
