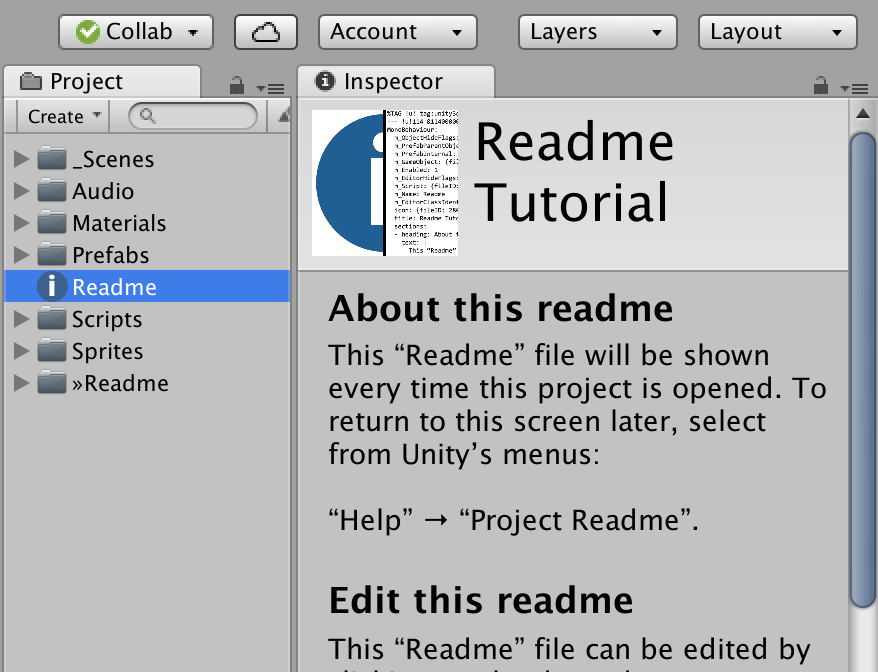
Add a Readme / Tutorial to the inspector tab of your Unity project.
Download this project’s Unity package.
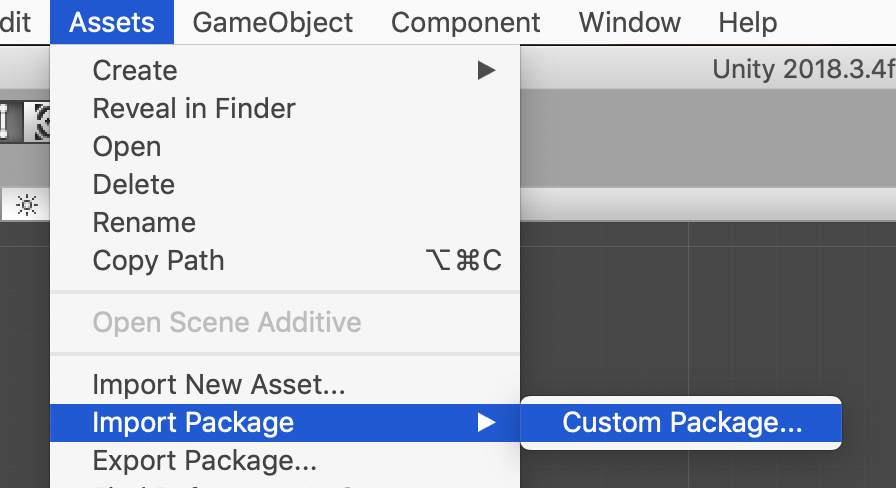
In your own Unity project, add the Readme by choosing “Assets” → “Import Package” → “Custom Package” from the Unity editor’s menus.
First make sure the Readme is shown in the Unity editor “Inspector” tab. Then the file can be edited by clicking on the drop-down menu to the right of the “Inspector” tab and picking the “Debug” option.
The Readme contents are divided into “Sections”. Each section has a “Heading” and a “Text” body.
Each section can have an optional “Link Text” and “Url” field. Adding both of these fields will allow a user to open your link in their web browser.
To add more sections to the Readme, change the “Size” field at the top of “Sections”.
The current icon used in this inspector is found at: »Readme / Icons / Readme_Builder.png
You can use any PNG file (and file name) for the icon.
- Add the new icon to the project.
- In the Unity inspector, change the icon’s “Texture Type” to “Editor GUI and Legacy GUI”.
- Then open the “debug” version of the Readme inspector and drag the new icon into the “Icon” field.
Adding long text to the “text” field in Unity’s “debug” screen is cumbersome.
The Readme file can also be edited by opening this project’s “Readme.asset” file in a text editor. The file is in Yaml syntax and can contain UTF-8 characters.
For example, this section was written using a text editor and uses the Yaml “|-” (pipe and dash) characters to add multi-line text to a single yaml value.
Read the license.

