A Full Stack Web Application that handles CSV data.
- React - Frontend View Framework.
- React Virtualized - Frontend library to render large lists and tabular data.
- Axios - Frontend Interface With a Backend REST API.
- BootStrap - Styling Pages.
- Flask-Restful - Object-Oriented Programming(OOP) Backend REST API.
- Flask-SQLAlchemy - Object-Relational Mappers(ORM), high-level abstraction that transfer database data into objects.
- SQLite or PostgreSQL - Setup to work with the Relational Database SQLite or PostgreSQL.
The application has the ability to:
- Upload a CSV file
- List uploaded CSV files
- Download the previously uploaded CSV file
- Display the CSV content showing at least all column headers and content
- Provide statistics on the number of people with the same year in the “date” field.
To upload a csv file go to the csvWeb tab and click on Choose File, then Upload button.

NOTE
When uploading a big csv file, wait until the message says Upload {yourFilename} Successfully
After a file is uploaded, a list of uploaded csv files is shown below the List of CSVs

To download any csv files click on the filename

NOTE
When downloading a big csv file, wait a few seconds. The file takes some time to be prepared.
To display a csv content, click on the Display button. Scroll down to see the rest of the file

NOTE
When displaying a big csv file, wait a few seconds. The file takes some time to render on the page.
To display the stats on the number of people with the same year, click on the Date Statistics button.
Scroll down to see the rest of the file.

src
├── app.py
├── config
│   └── config.yaml
├── dev
│   ├── db
│   │   └── db.py
│   ├── env
│   │   ├── base_env.py
│   │   ├── dev_postgres_db.py
│   │   └── dev_sqllite_db.py
│   ├── mgr
│   │   ├── display_mgr.py
│   │   ├── download_mgr.py
│   │   ├── get_files_mgr.py
│   │   ├── stats_manager.py
│   │   └── upload_mgr.py
│   ├── model
│   │   └── csv_web_model.py
│   ├── service
│   │   └── csv_web_service.py
│   ├── setup
│   │   └── app_setup.py
│   └── util
│       ├── helper
│       │   └── get_config.py
│       ├── logger
│       │   └── logger.py
│       └── yaml
│           └── yaml.py
├── temp
│ └── test.csv-
app.py: This file initializes and configures the Flask application and sets all API services. It is the entry point to the CsvWebApp -
config.config.yaml: This file contains various requirement which are defined in theconfig.yaml. These include:- App Release Version
- App URI Path
- Temp Download Folder
- Logging information
-
dev.db.db.py: This file creates this project database python object, so that other files can import it. All other files import the database variable from it. The reason for creating a separate file containing is to make it easier to import and to avoid python's circular imports. -
dev.env: This folder contains all the environment needed to run the CsvWebApp based on the.envfile. The behavior template method pattern is used to choose a different environment such as running the app with a SQLite database(included in this project) or Postgres(needs to be installed separately) -
dev.mgr: This folder contains all the business logic of each services and act as the middleman for the models(dev.model.csv_web_model) and services(dev.service.csv_web_service) -
dev.model.csv_web_model: This file contains definitions of what data our application deals with and ways to interact with that data. It contains theCsvWebAppFileModeland CsvWebAppCsvModel classes. A one-to-many relationship where a file(csv_web_app_filetable) is associate with one or more csv data(csv_web_app_csvtable). -
dev.service.csv_web_service: This file defines how clients interact with the CsvWebAPP REST API. It defines the endpoints where clients send requests, such as upload, download, display, get stats, and get files. -
setup.app_setup.py: This file sets the app config information base on theconfig/config.yaml. -
dev.util: This folder contains all the utilities that the CsvWebAbb needs to run. -
dev.temp: This folder contains all the prepare files that are set to be downloaded from the Download Service.

Tests are setup as system, integration and unit test.
test
├── base_test.py
├── integration
│   └── mgr
│       ├── display_mgr_test.py
│       ├── download_mgr_test.py
│       ├── get_files_mgr_test.py
│       ├── stats_mgr_test.py
│       └── upload_mgr_test.py
├── system
│   └── service
│       ├── csv_web_display_service_test.py
│       ├── csv_web_get_files_service_test.py
│       ├── csv_web_stats_service_test.py
│       └── csv_web_upload_service_test.py
├── test.sh
├── test_suite.py
└── unit
    └── util
        └── yaml_test.py
base_test: This file is the parent class for each non-unit tests. It allows for instantiation of the database dynamically and makes sure that it is a new, blank database each time.test.sh: Run this script to run all tests.test_suite: This file contains all the tests as a list and runs all of them.
frontend
├── package.json
└── src
    ├── App.js
    ├── Constants.js
    ├── components
    │   └── csvweb
    │       ├── CsvWebApp.jsx
    │       ├── CsvWebComponent.jsx
    │       ├── FooterComponent.jsx
    │       └── HeaderComponent.jsx
    ├── index.css
    ├── index.js
    ├── service
│ └── CsvWebService.js-
src.App.js: This file is the container that embeds all React components. -
src.Constants.js: This file contains the constant HTTP base Url -
src.components.csvweb.CsvWebComponent.jsx: This file contains the upload form, progress bar, display of list csv files with download url, display csv button, and display stats button. -
src.components.csvweb.CsvWebApp.jsx: This file brings all the App componentsHeaderComponent,FooterComponentandCsvWebComponenttogether. -
src.service.CsvWebService.js: This file provides the methods to upload, download, display, get stats, and get csv files using Axios.
To run the testing script, run the command below in the terminal.
$ cd src
$ chmod 777 ./test/test.sh
$ ./test/test.sh
The ./test.sh will run the test_suite.py which contains unit, integration and system tests. The results of these tests are reported in the Terminal.
You can test to see how much of the CsvWebApp code is run via test_suite.py by generating a coverage report.
First, install coverage in Terminal using
$ pip install coverageNext, run the following commands:
$ coverage run test/test_suite.py
$ coverage report
$ coverage html
coverage run test/test_suite.py will run all tests with coverage.
coverage report will print a coverage report in Terminal.
coverage html will create an interactive html file that you can open in a web browser. This html file is stored
in the path src/htmlcov/index.html. Find this in your file explorer and double-click it to open it in your
default browser. You can use this file to see exactly which lines of code have been run, and which have not.

To run the backend(Python 3.6 or higher), in the main directory run these command below in a terminal.
$ pip install -r requirements.txt
$ cd src
$ chmod 777 run.sh
$ ./run.sh
The ./run.sh will run the app.py with the information provided in .env . An SQLite database will be automatically created as soon as the backend
receive a request.
To run the frontend, open a new terminal, in the frontend directory, run these commands below in a terminal:
$ cd frontend
$ npm install
$ npm startNote: Make sure you have node.js installed to run npm
Open the app via Pycharm and set the project interpreter and structure located under Pycharm -> Preferences


Run the app.py by clicking on the run button(line 33) and then Edit Configuration with the information below


- Add more unit, integration, and system tests.
- Fix footer when big data is displayed.
- Frontend to accept negative request from the backend.
- Setup DevOps with Travis.
- Data Validation
- Use temp folder as a cache system for the download service
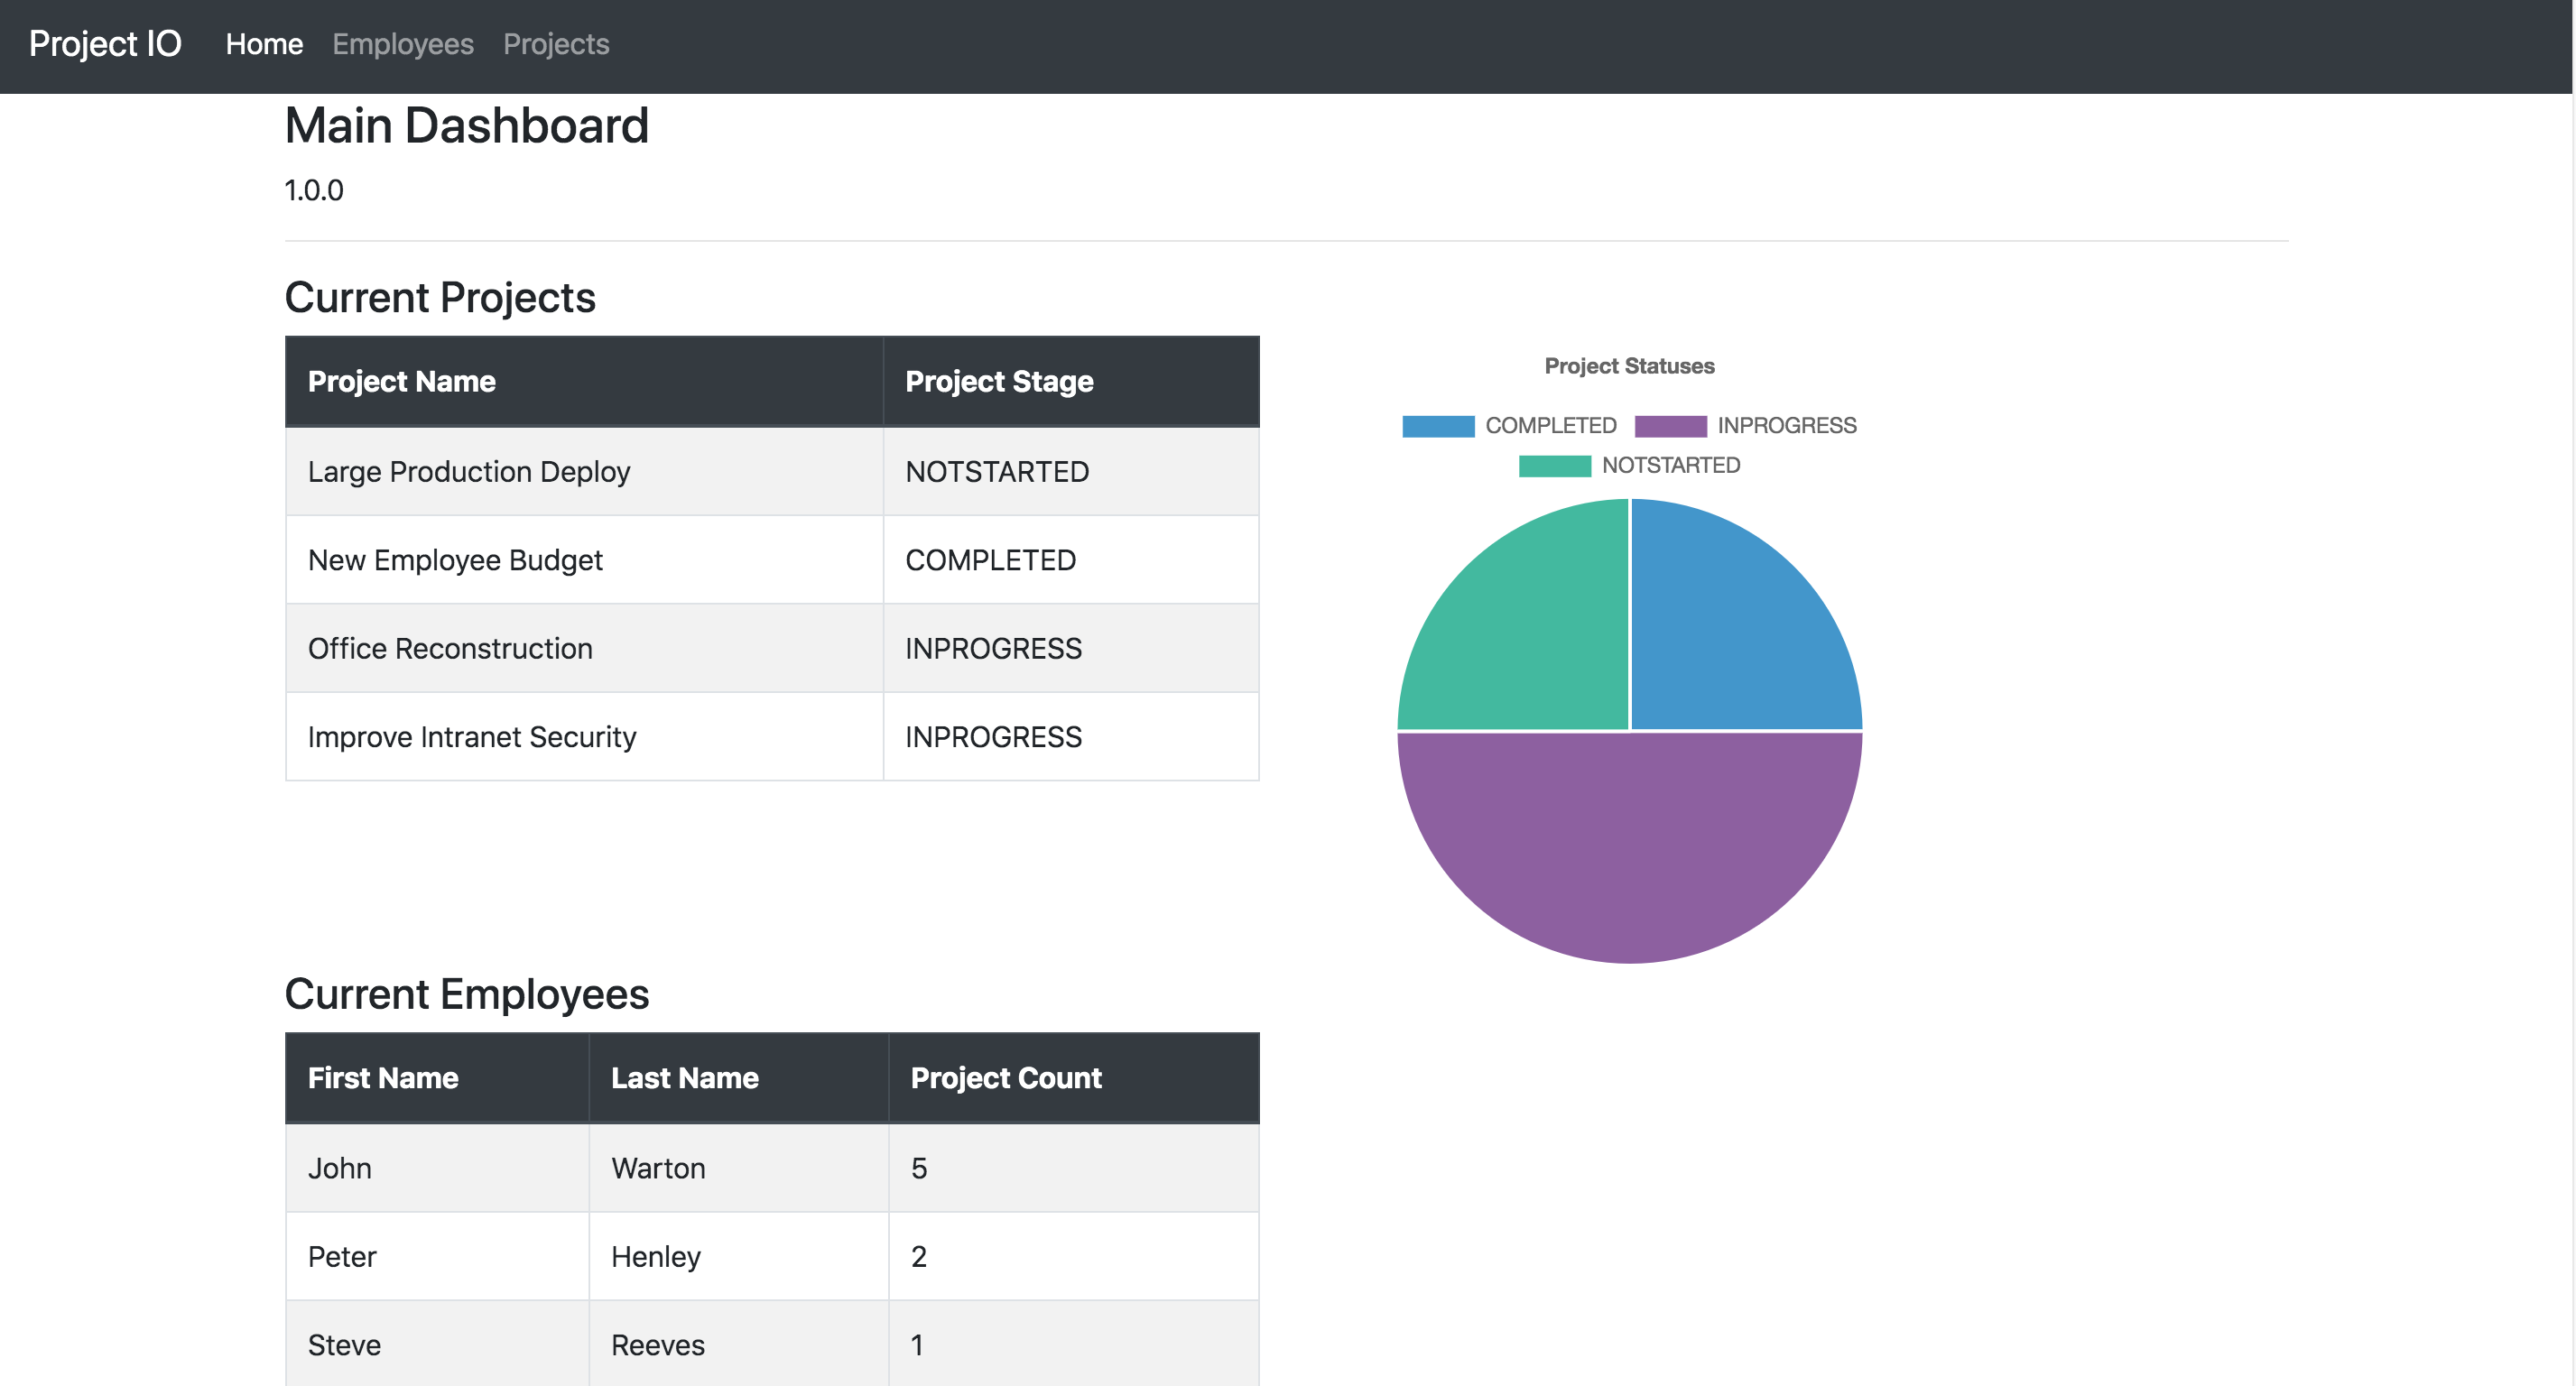
- ProjectManagementApp
- Backend: Spring Boot
- Frontend: Thymeleaf
- github: https://github.com/georgeerol/ProjectManagementApp
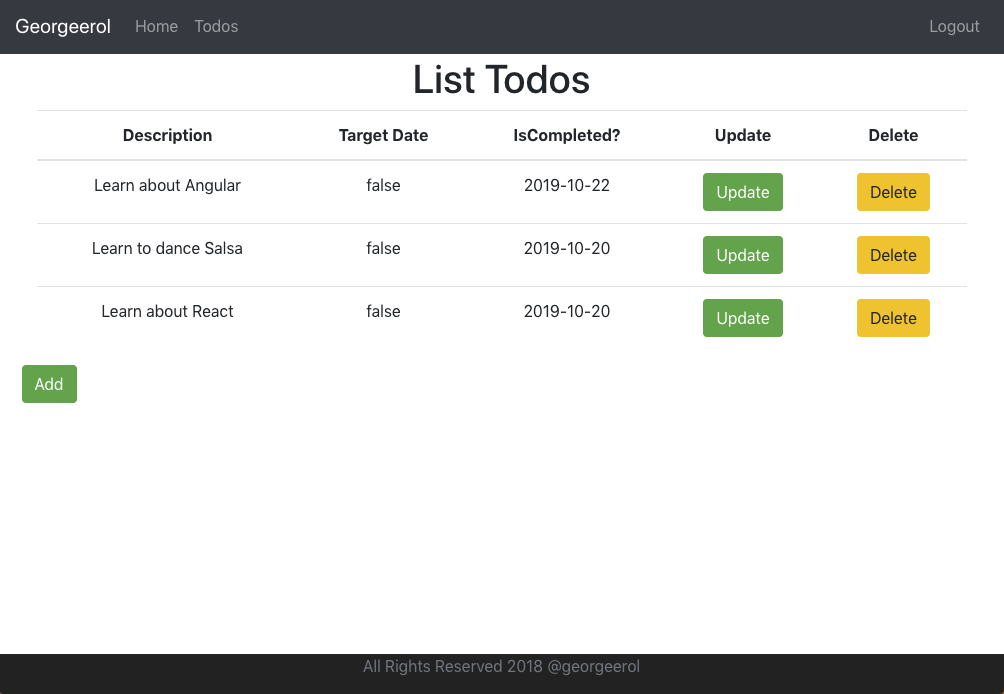
- TodoApp
- Backend: Spring Boot
- Frontend: React
- github: https://github.com/georgeerol/ToDoApp