See the changelog here
Hello there! yolov8-onnx-cpp is a C++ demo implementation of the YOLOv8 model using the ONNX library. This project is based on the YOLOv8 model by Ultralytics. I aimed to replicate the behavior of the Python version and achieve consistent results across various image sizes.
By the way, you don't need to specify names, img_size etc while initializing the model, since we can use ONNX metadata!
When you do export in python in onnx format, the following code executes
    self.metadata = {
        'description': description,
        'author': 'Ultralytics',
        'license': 'AGPL-3.0 https://ultralytics.com/license',
        'date': datetime.now().isoformat(),
        'version': __version__,
        'stride': int(max(model.stride)),
        'task': model.task,
        'batch': self.args.batch,
        'imgsz': self.imgsz,
        'names': model.names}  # model metadata
    if model.task == 'pose':
        self.metadata['kpt_shape'] = model.model[-1].kpt_shape
(ultralytics 8.0.160, ultralytics/engine/exporter.py lines 221-233))
We can use this parameters at least to define stride, task, names and image size as described in the schema below:
| Task | Supported |
|---|---|
| Detect | ✔️ |
| Segment | ✔️ |
| Pose | ✔️ |
| Classify |
| Hardware | Supported |
|---|---|
| CPU | ✔️ |
| GPU |
I exported yolov8n.pt, yolov8n-seg.pt, yolov8n-pose.pt to ONNX format with an input size of [480, 640] ([height, width]).
For the test I used some images from the COCO128 dataset with different image sizes than the specified input.
This difference in sizes triggered letterboxing. I maintained consistent parameters,
setting conf=0.3 and iou=0.5 for all models.
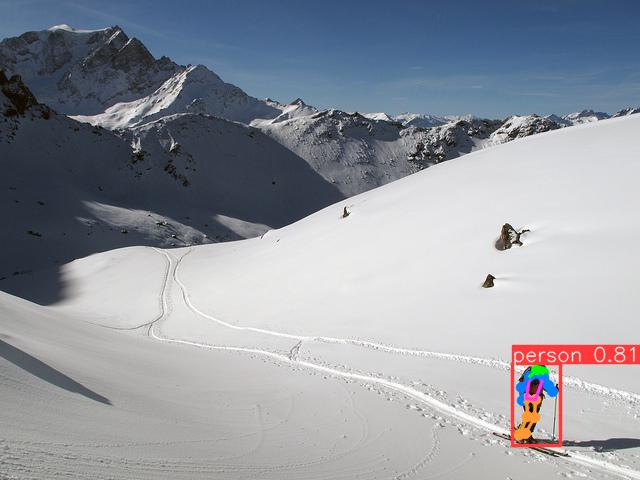
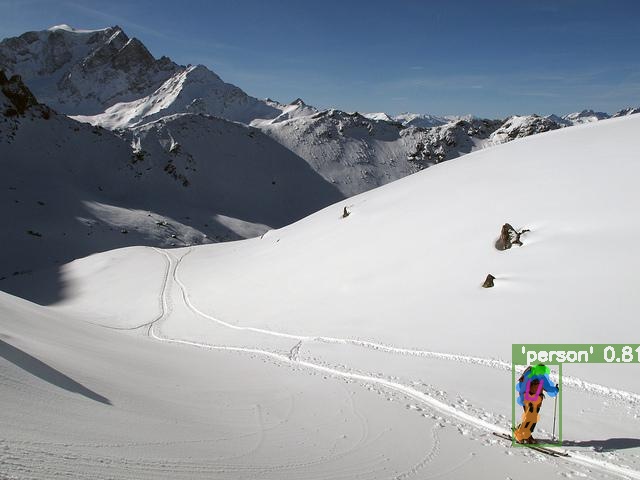
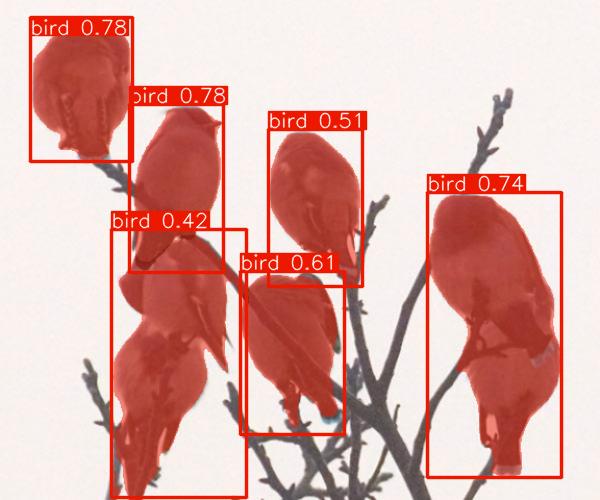
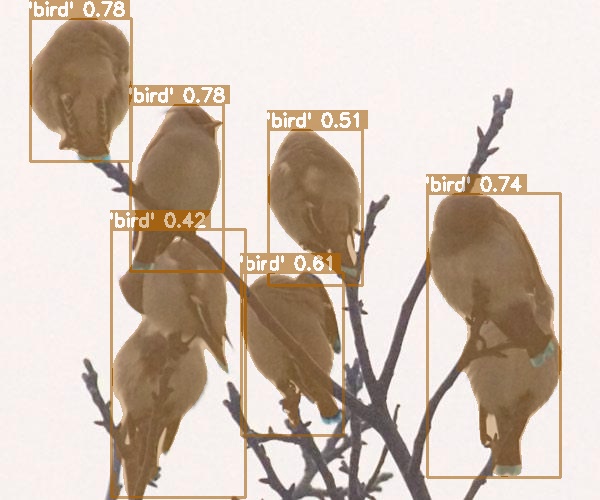
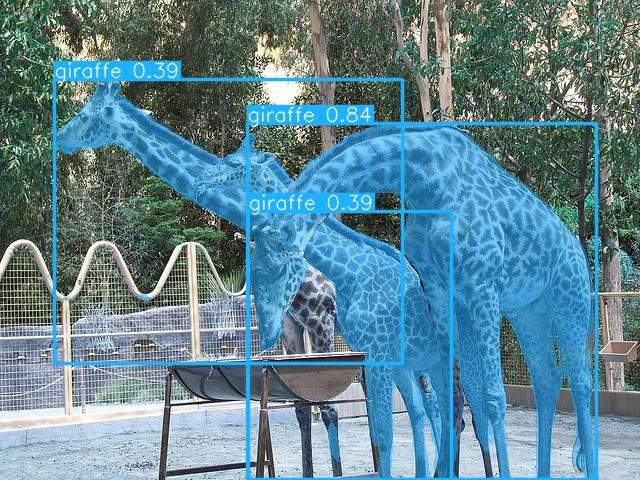
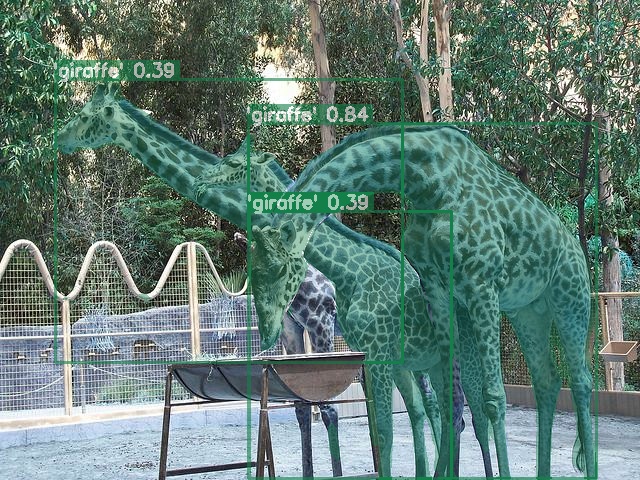
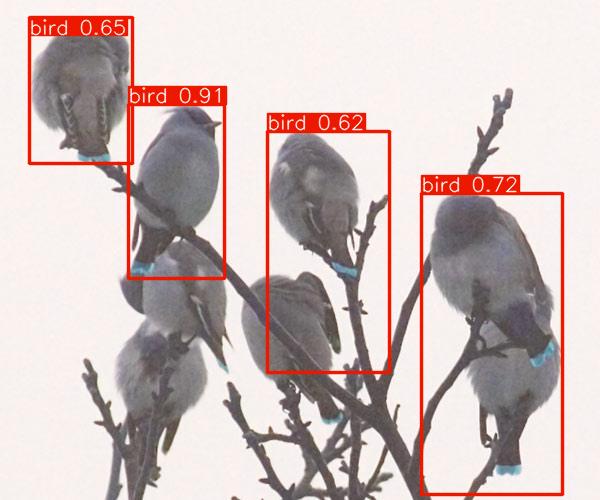
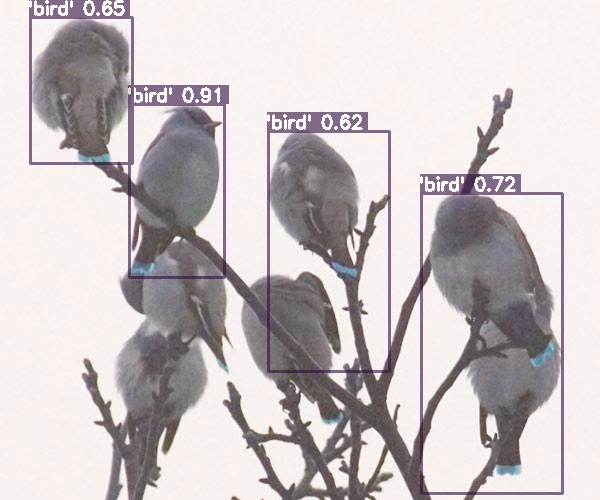
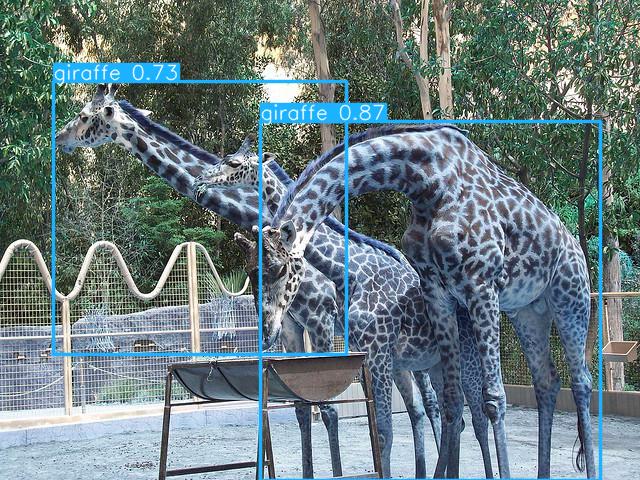
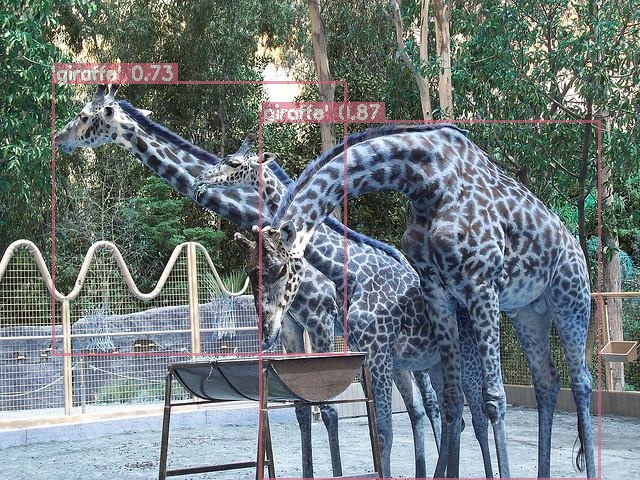
Here are the comparison results:
Python Result
C++ Result
Python Result 1
C++ Result 1
Python Result 2
C++ Result 2
Python Result 1
C++ Result 1
Python Result 2
C++ Result 2
To get started with yolov8-onnx-cpp, follow these steps:
- Clone the repository:
git clone https://github.com/FourierMourier/yolov8-onnx-cpp.git
- Setup additional libraries:
Download opencv here (4.80+)
- onnxruntime (1.50+) (nuget package)
Copy CMakeLists.example.txt as CMakeLists.txt (git-ignored) and edit the following lines:
SET (OpenCV_DIR your/path/to/opencv/build/x64/vc16/lib)  # opencv lib root
SET (OpenCV_BIN_DIR your/path/to/opencv/build/x64/vc16/bin)  #opencv bin root

SET (OpenCV_DEBUG_DLL_FILENAME opencv_world480d.dll)  # change filenames
SET (OpenCV_RELEASE_DLL_FILENAME opencv_world480.dll)  # change filenames

SET (ONNXRUNTIME_DIR your/path/to/onnxruntime-win-x64-1.15.1)  # onnxruntime root
Even though you'll find only a nuget package on the official page you can still download release for cmake file here for your platform: https://github.com/microsoft/onnxruntime/releases
If you're working in different IDE like Clion rather than visual studio you still have to do the following:
-
Install Visual Studio: If you haven't already, consider installing Visual Studio on your Windows system. You can download the Visual Studio Community edition for free from the official Microsoft website. Ensure that you select the components necessary for C++ development.
-
Configure CLion to Use Visual Studio: Open CLion, go to "File" > "Settings" > "Build, Execution, Deployment" > "Toolchains." In the "Environment" section, select the Visual Studio toolchain that you installed. Make sure it points to the correct Visual Studio installation directory.
-
CMake Configuration: Ensure that your CMake configuration in CLion specifies the Visual Studio generator (e.g., "Visual Studio 2022"). This can be set in "File" > "Settings" > "Build, Execution, Deployment" > "CMake" ( > "CMake options.")
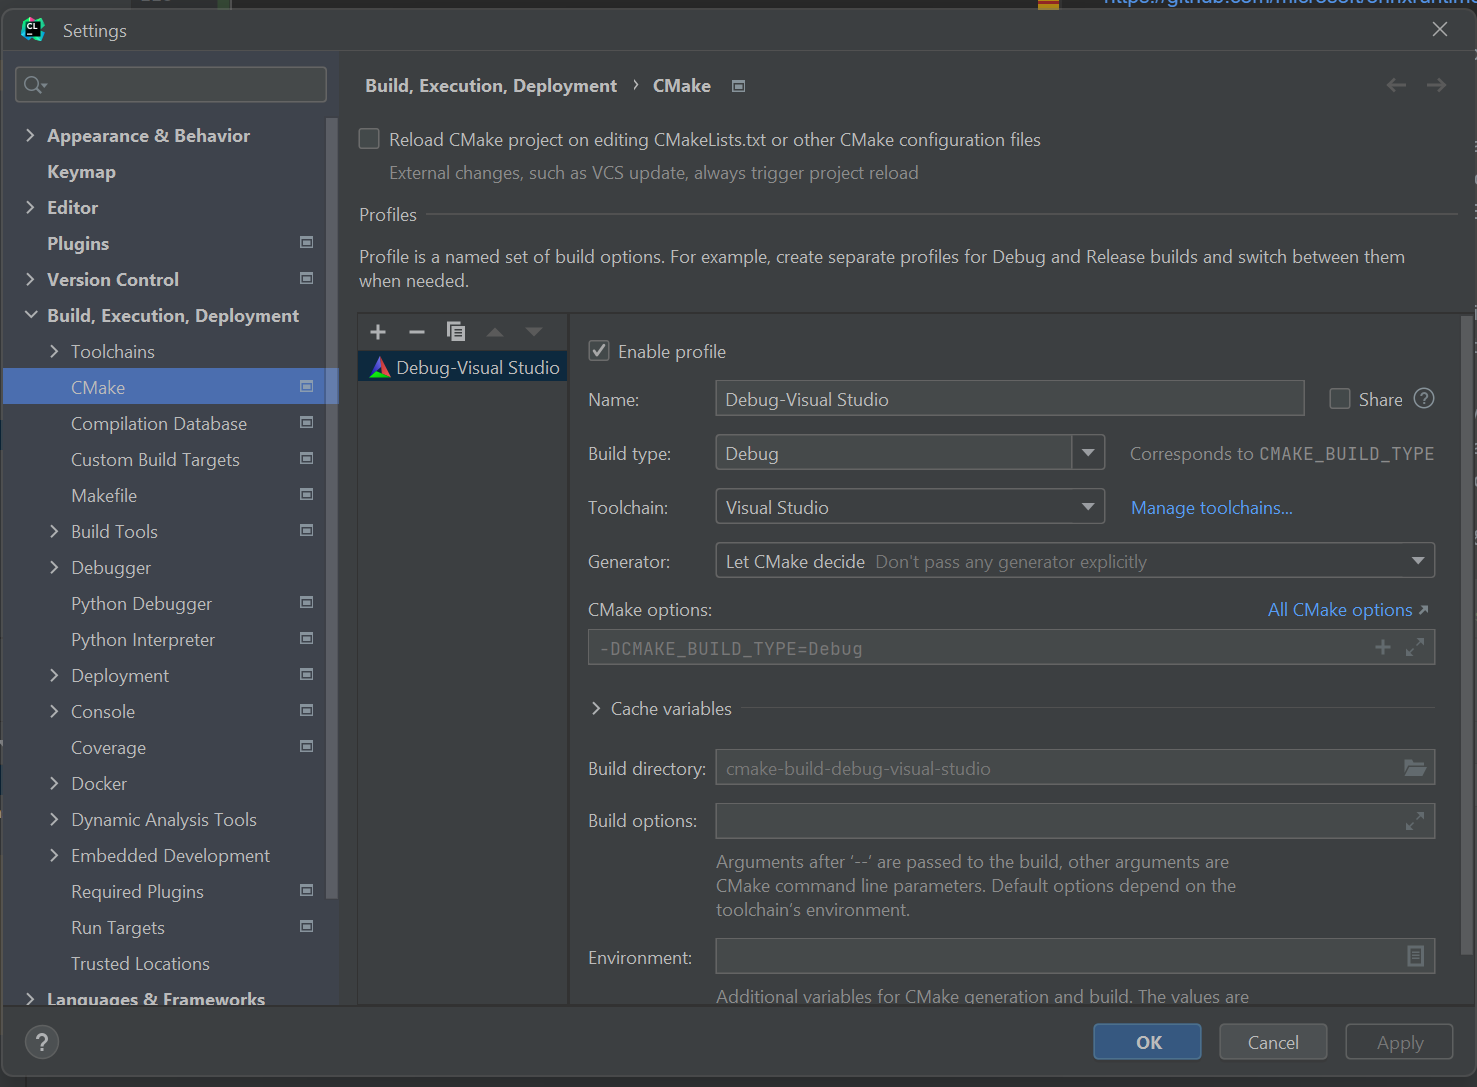
So the issues like
The issue like "The given version [15] is not supported, only version 1 to 10 is supported in this build="
microsoft/onnxruntime#11230
also should not occur since you configure dll in cmake
Hope that helps!
- edit in the ./src/main.cpp img_path/&modelPath:
std::string img_path = "./images/000000000143.jpg";
//const std::string& modelPath = "./checkpoints/yolov8n.onnx"; // detection
const std::string& modelPath = "./checkpoints/yolov8n-seg.onnx"; // instance segmentation
const std::string& onnx_provider = OnnxProviders::CPU; // "cpu";
Provide an input image to the application, and it will perform object detection using the YOLOv8 model. Customize the model configuration and parameters in the code as needed.
This project is licensed under the Apache 2.0 License - see the LICENSE file for details.
Some other cool repositories I found useful (and you might too):
- https://github.com/winxos/yolov8_segment_onnx_in_cpp - another project implementing yolov8 segmentation in cpp
- https://github.com/cyrusbehr/YOLOv8-TensorRT-CPP - tensorrt impelemntation in cpp
- https://github.com/itsnine/yolov5-onnxruntime/tree/master yolov5 onnx in C++
This README was created with the assistance of OpenAI's ChatGPT (August 3 Version), a large language model. You can learn more about it here

