python作为服务端使用udp发送数据,labview作为接受端接收数据。
import signal
import threading
import sys

import socket


# 创建Socket,SOCK_DGRAM指定了这个Socket的类型是UDP
s_pattern = socket.socket(socket.AF_INET, socket.SOCK_DGRAM)
s_fatigue = socket.socket(socket.AF_INET, socket.SOCK_DGRAM)
# 绑定端口:
s_pattern.bind(('127.0.0.1', 61556))
s_fatigue.bind(('127.0.0.1', 61555))
# 设置接收超时,此时间应大于服务端完成一次采样的时间
s_pattern.settimeout(1)
s_fatigue.settimeout(1)
print('Bind UDP on 61556...')

# 定义按下Ctrl+C时退出的处理
def client_exit(num, frame):
    print("退出数据收集")
    s_pattern.close()    # 关闭Socket
    s_fatigue.close()
    sys.exit(0)

signal.signal(signal.SIGINT, client_exit)    # 对于KeyboardInterrupt的handlder处理
exit = threading.Event()    # 创建一个event

while not exit.is_set():    # 当exit事件没有set时,循环运行
    s_pattern.sendto(b'3',('127.0.0.1', 61557))    # 向服务端发送模式数据
    s_fatigue.sendto(b'0.5',('127.0.0.1', 61558))    # 向服务端发送疲劳数据
在绑定端口时,是绑定本机的ipv4地址和端口,如果报错的话可以检查端口是否占用和增大接收超时数值。如果是同一个局域网下两个不同的机器之间进行通信,需要将bind绑定的ip地址改为本机的ip,sendto的地址改为接受电脑的ip地址。
labview接收程序是仿照simpleUDP官方示例修改的,程序框图如下:

在python发送数据中绑定了客户端ip地址,就不需要在labview客户端指定发送端的ip地址,注意上面框图中的receive port需要和python中sendto端口相同。
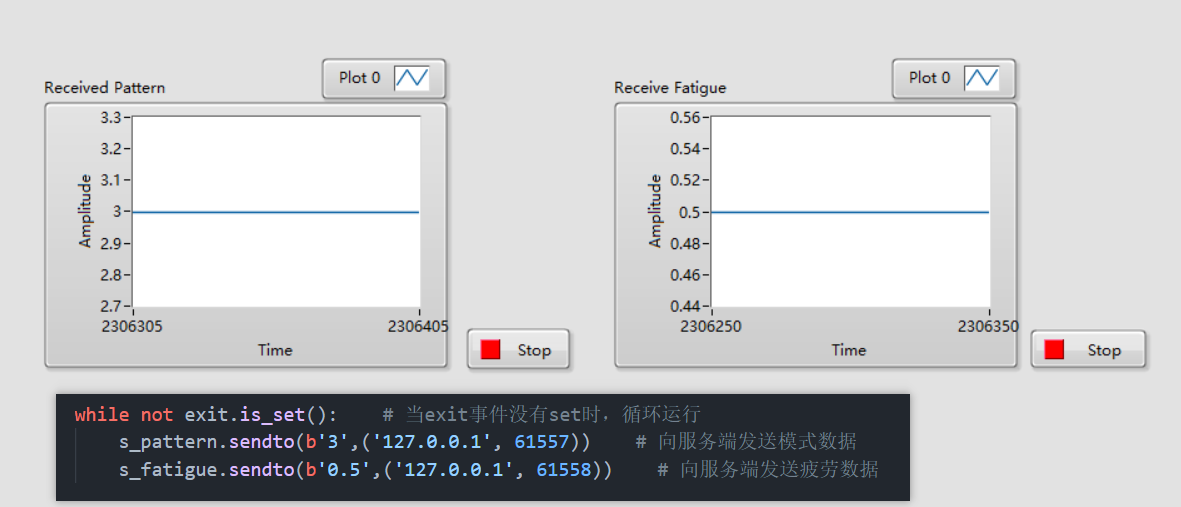
发送3和0.5:
Github仓库地址