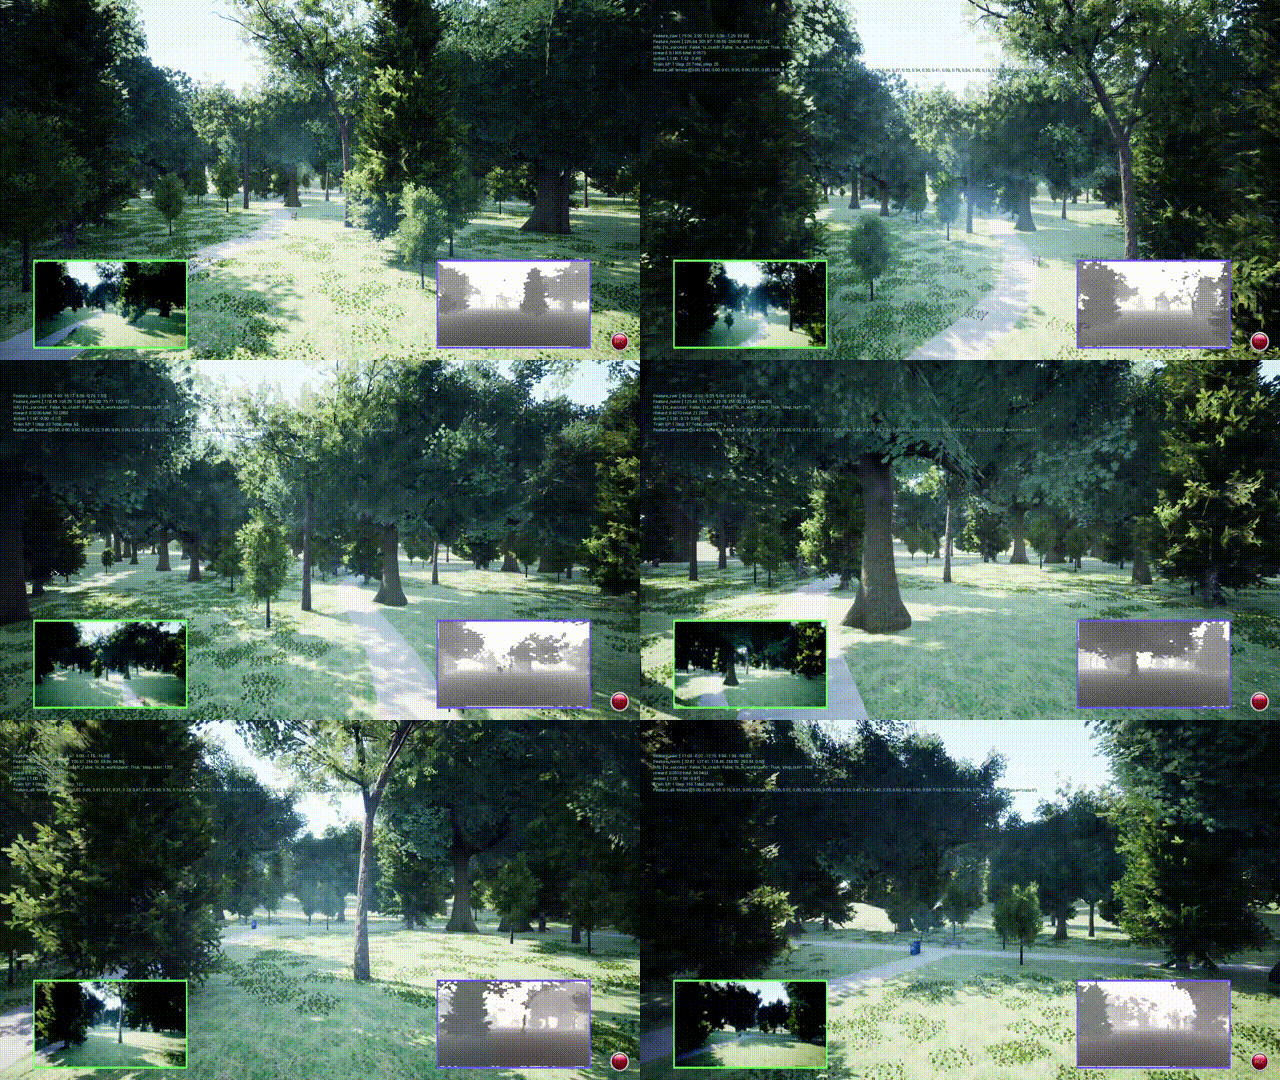
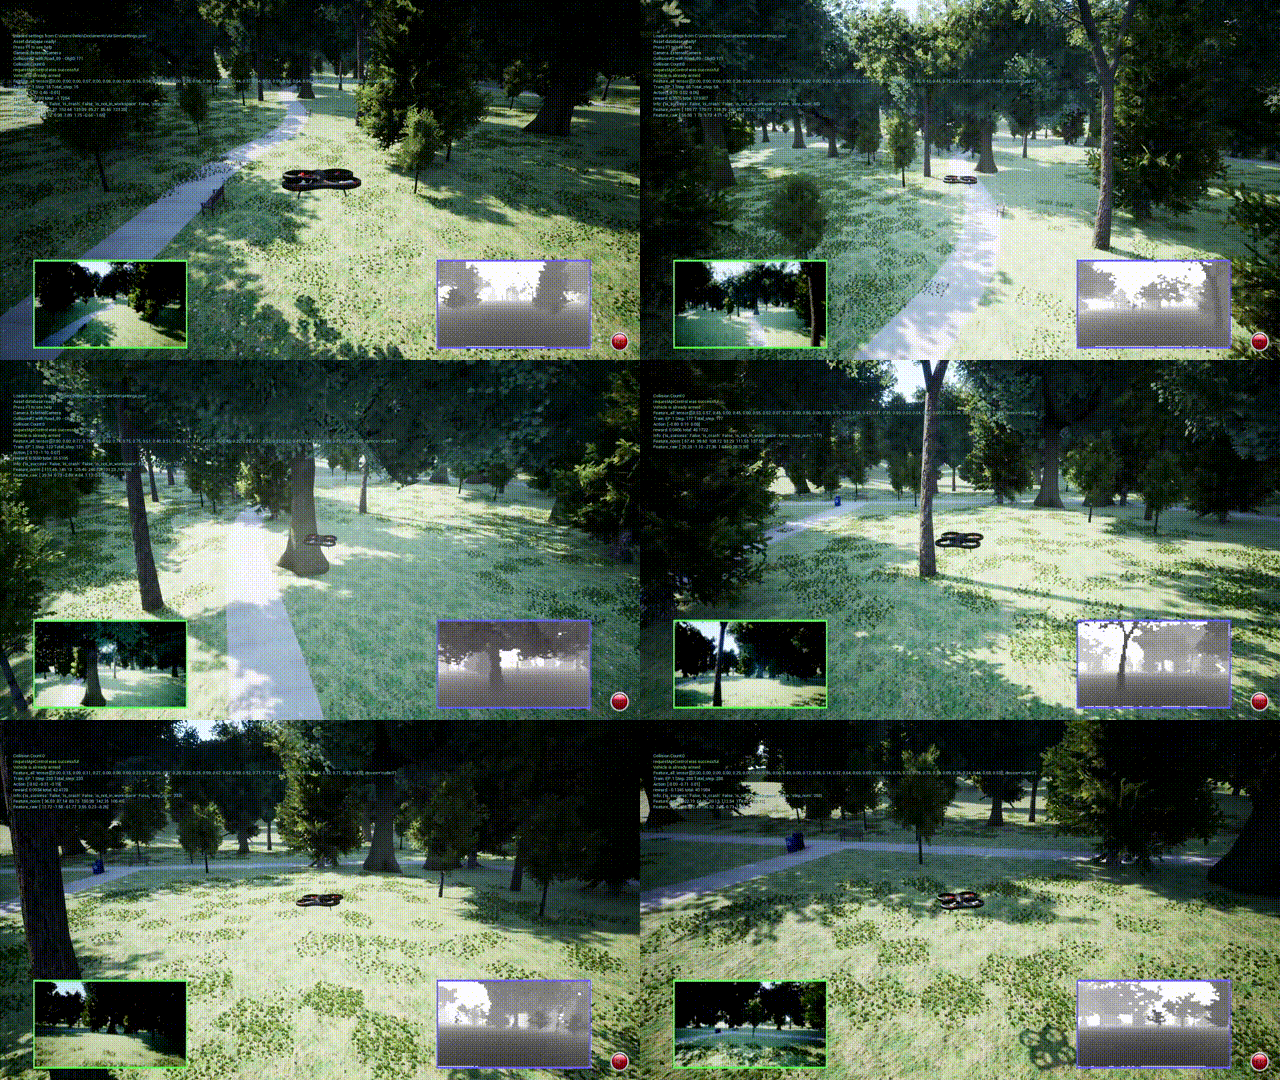
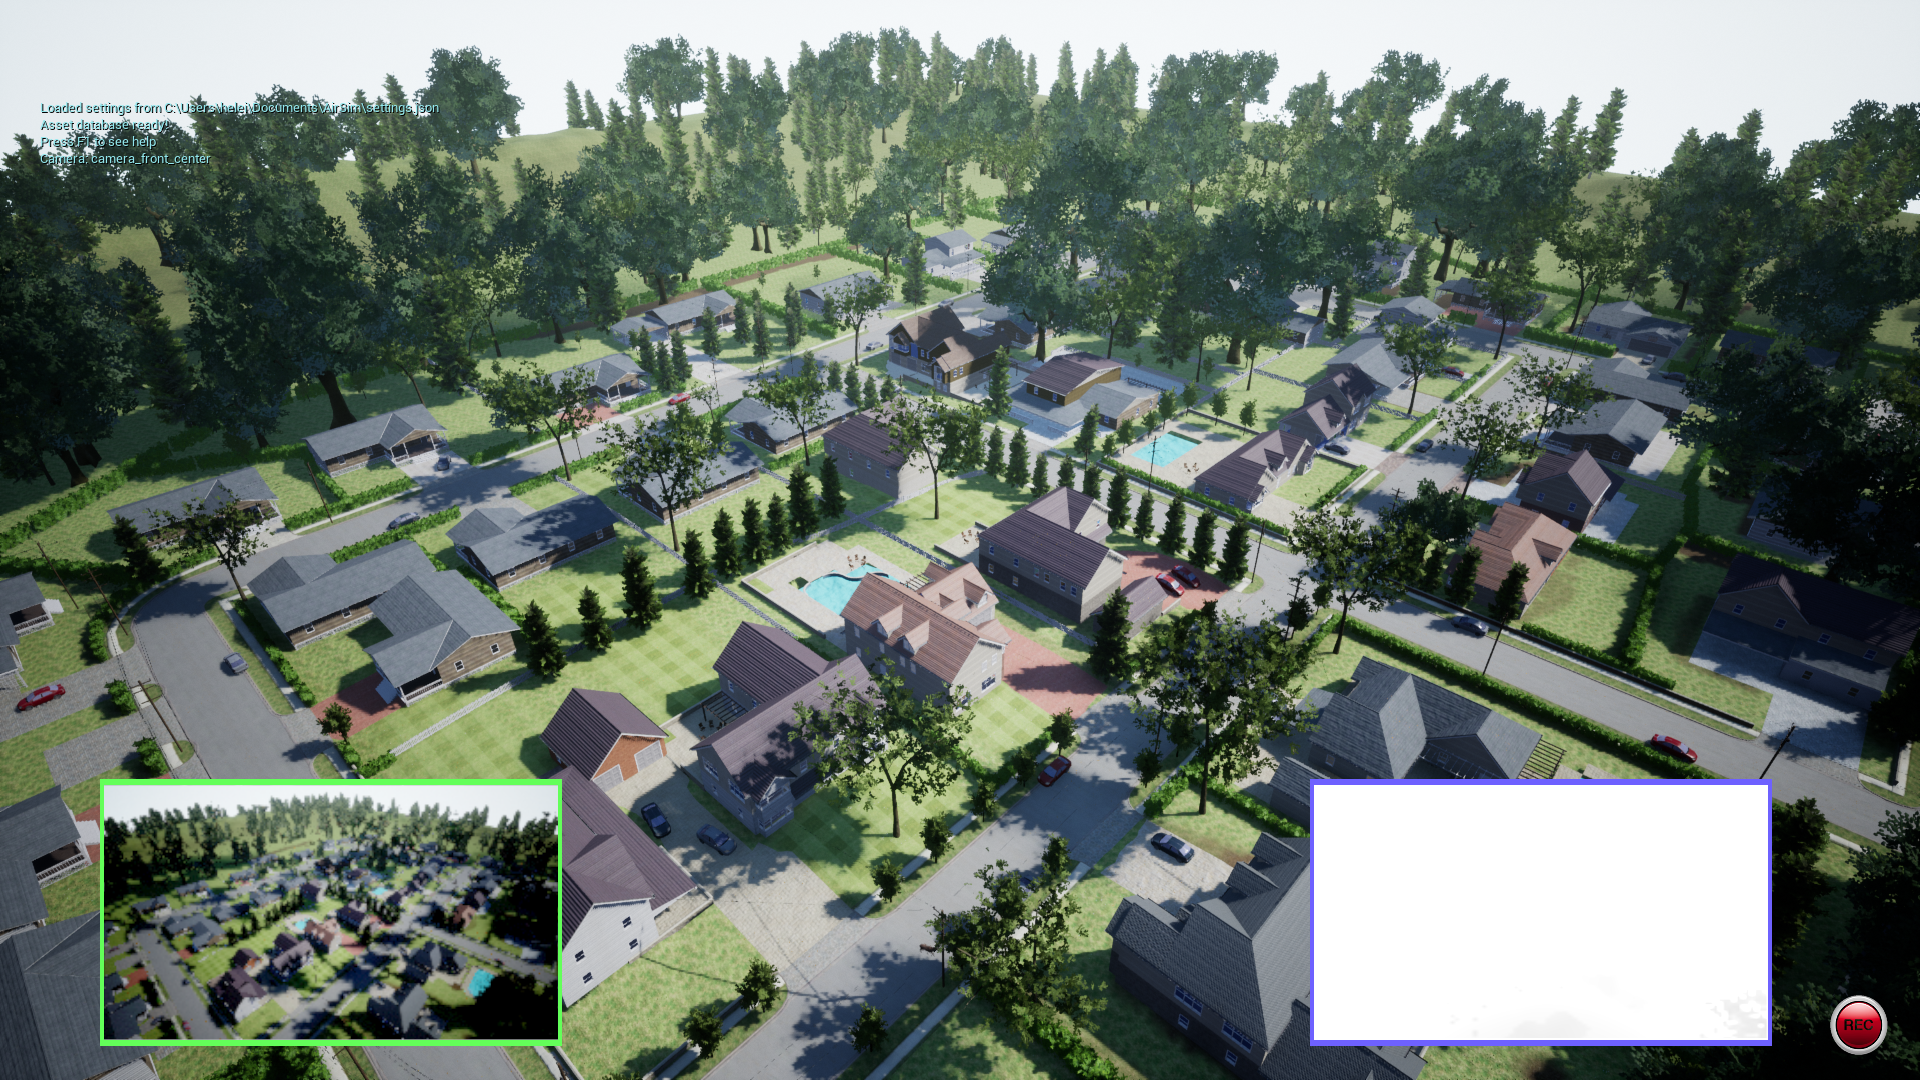
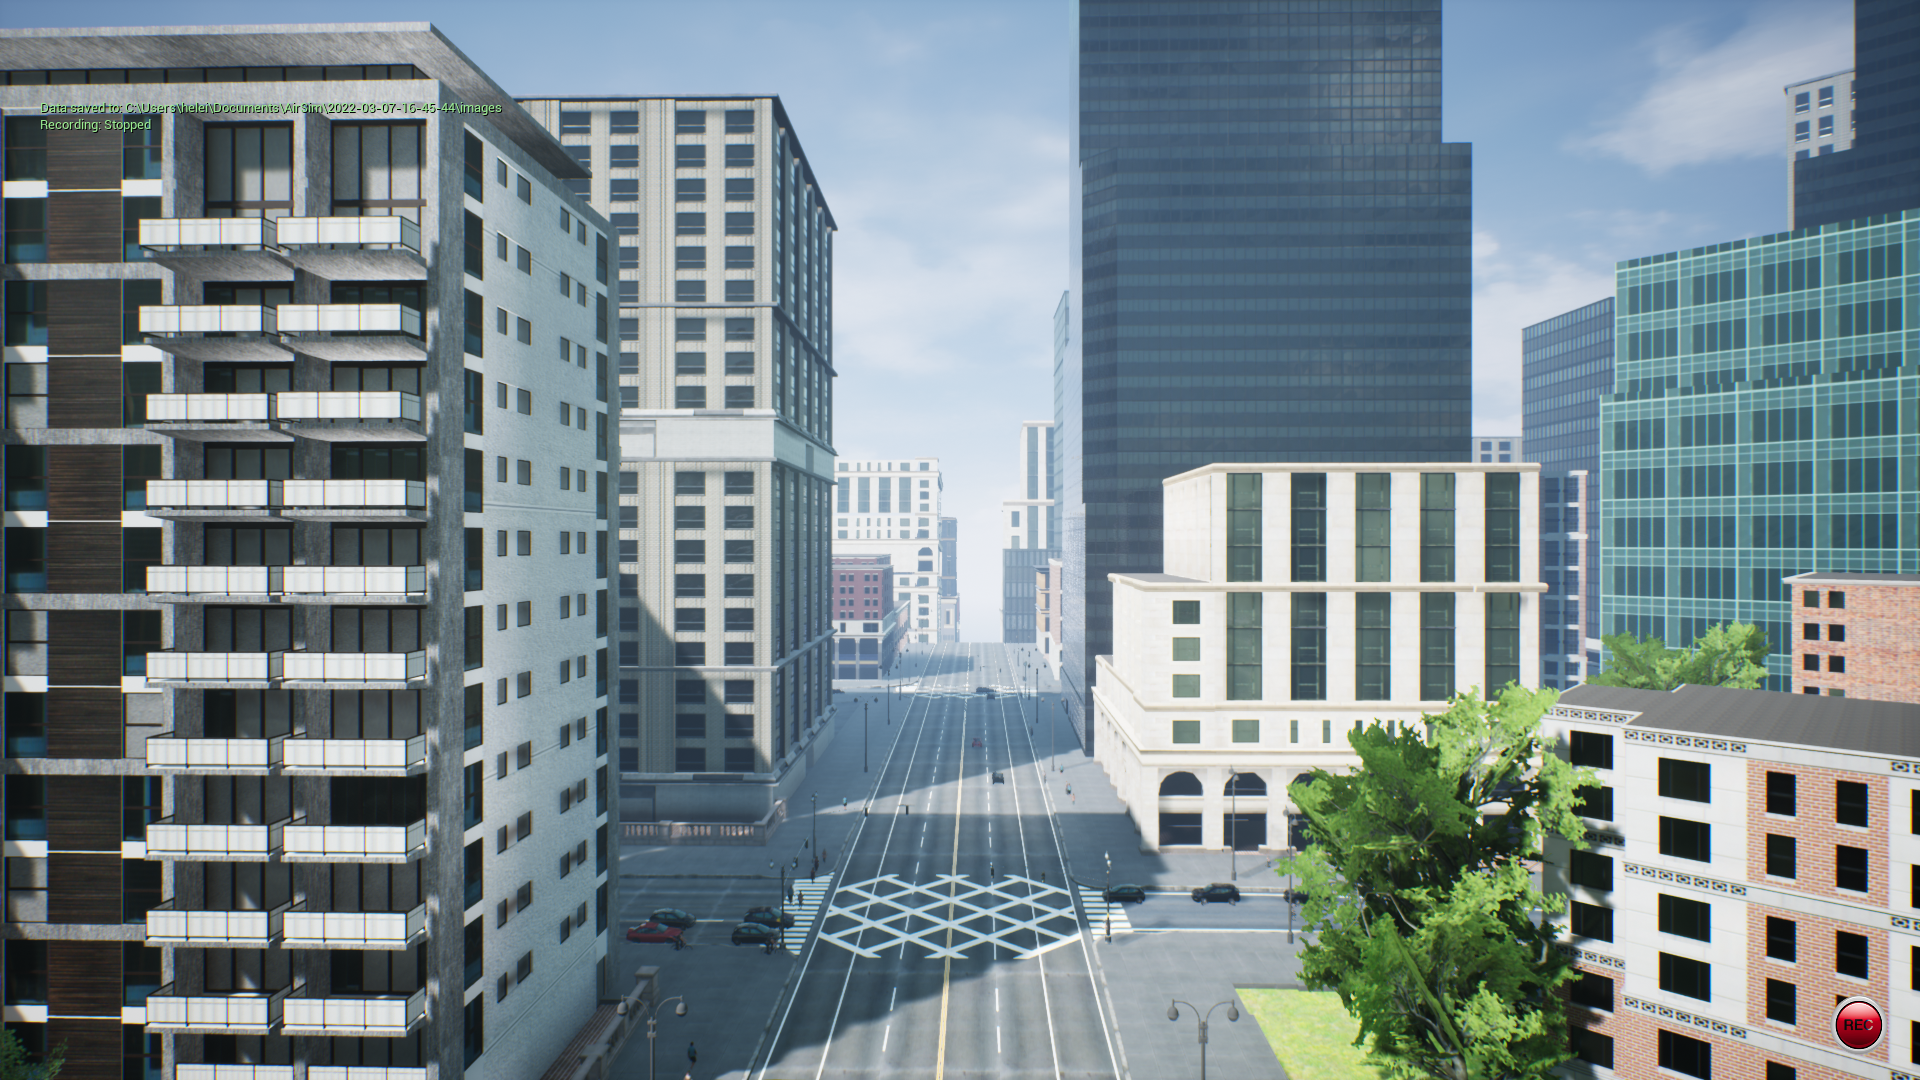
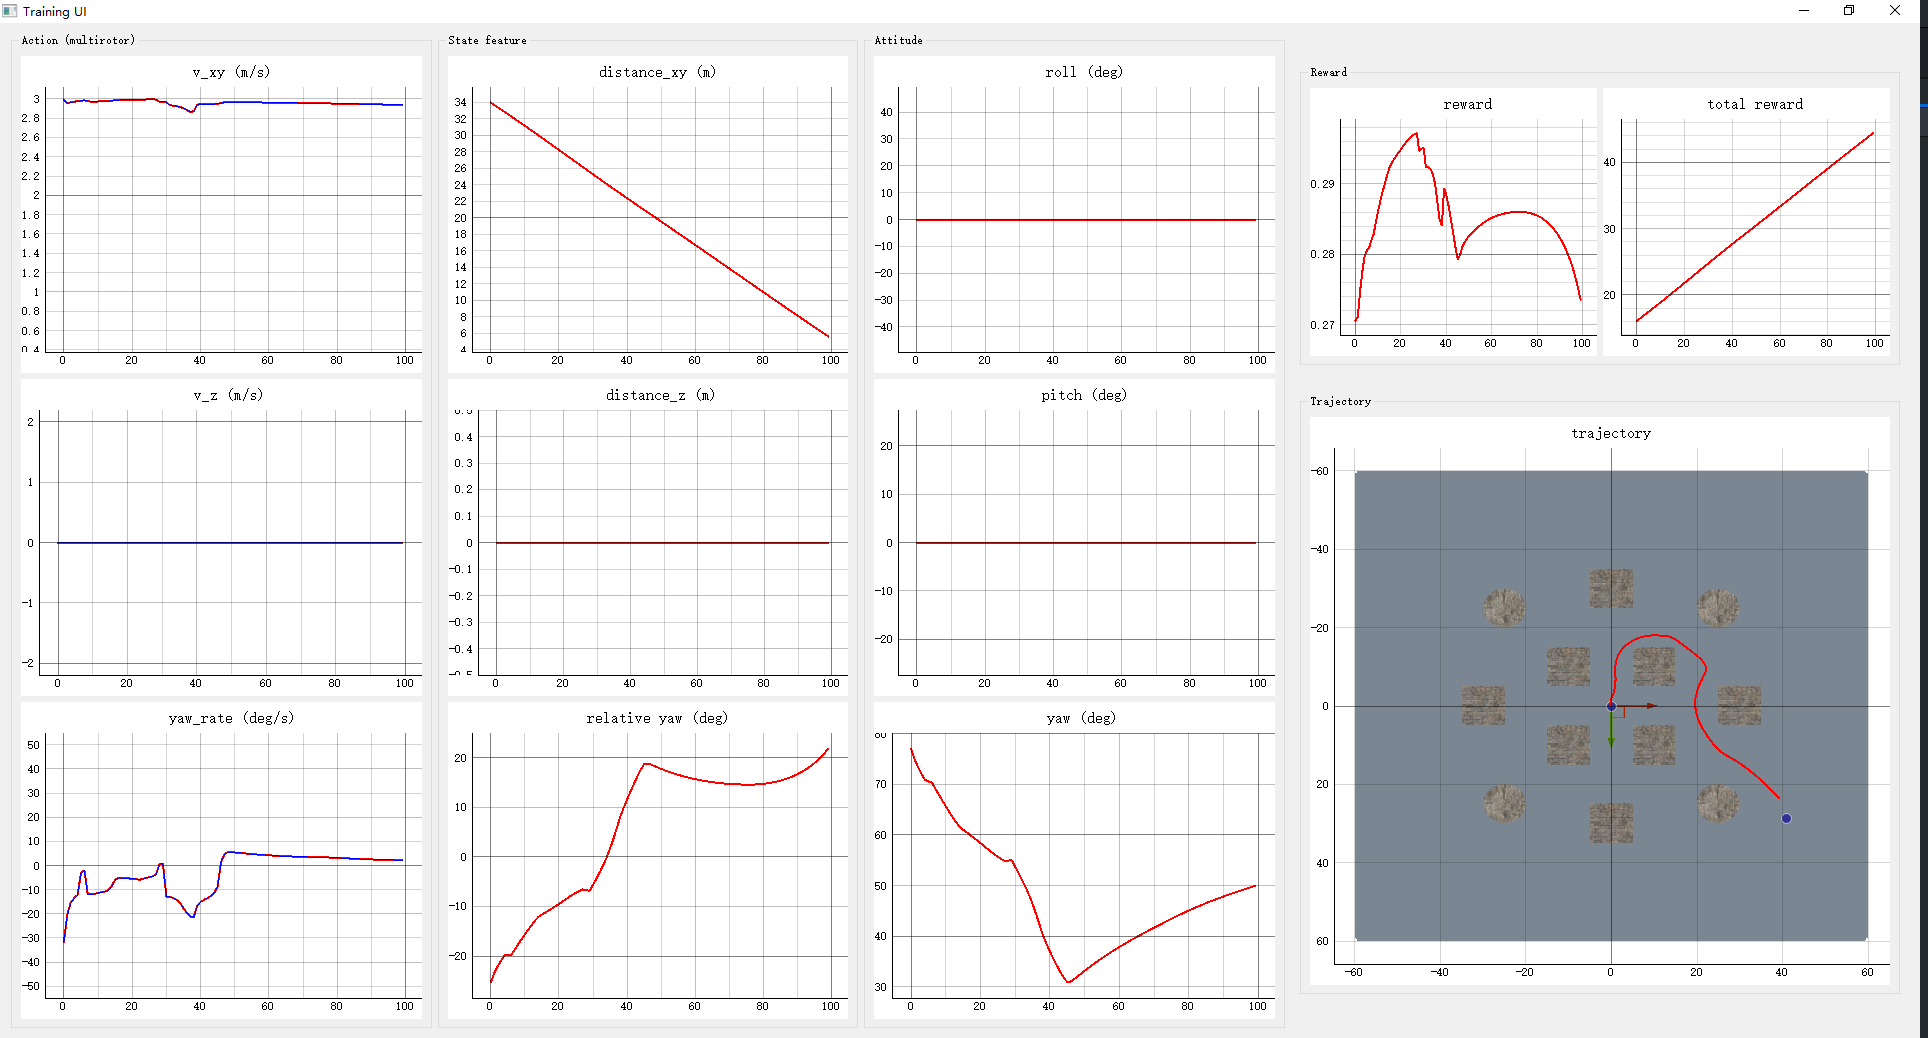
A platform for training UAV navigation policies in complex unknown environment.
- An Open AI Gym env is created include kinematic models for both multirotor and fixed-wing UAVs.
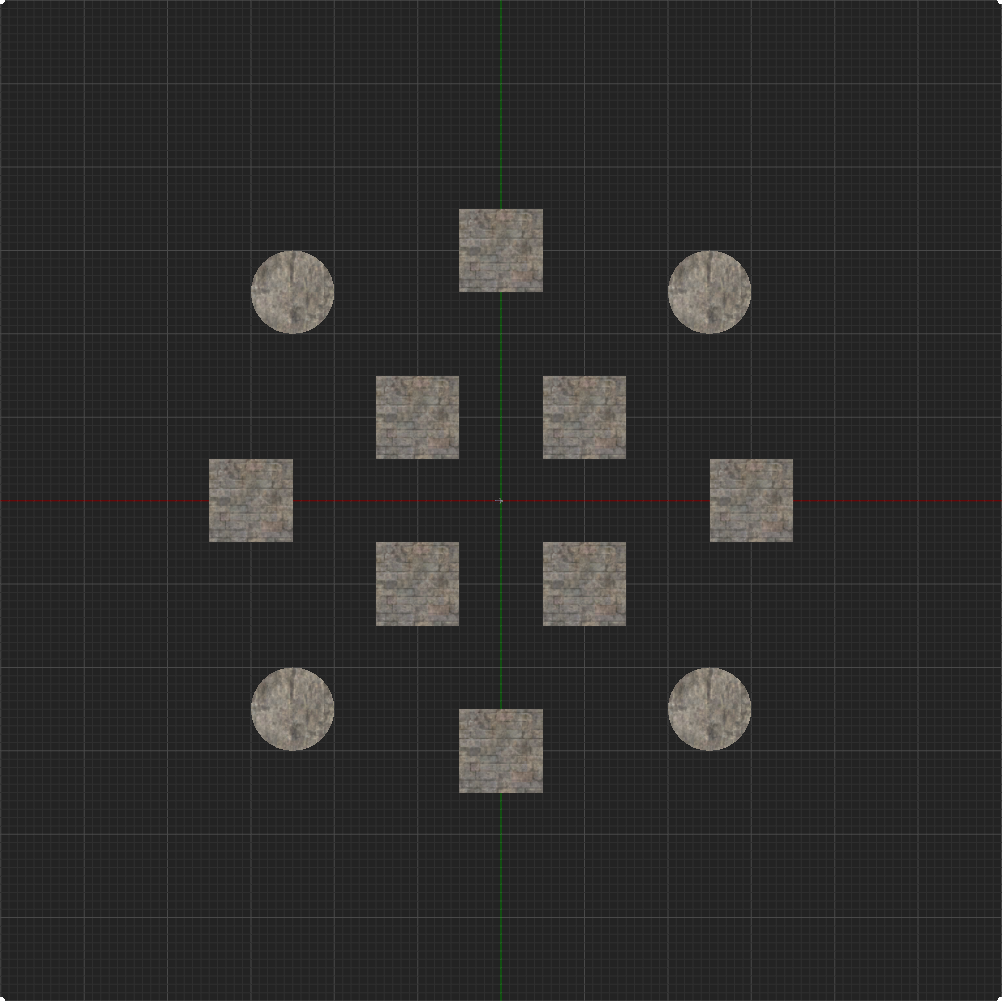
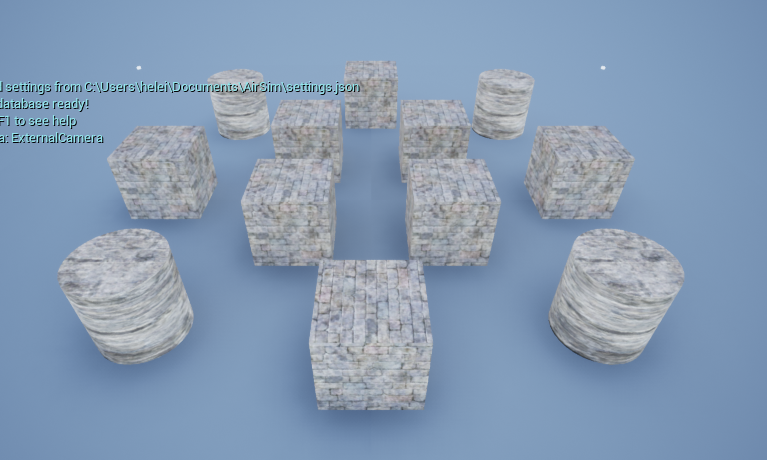
- Some UE4 environments are provided to train and test the navigation policy.
- based on AirSim and SB3.
Try to train your own autonomous flight policy and even transfer it into real UAVs! Have fun ^_^!
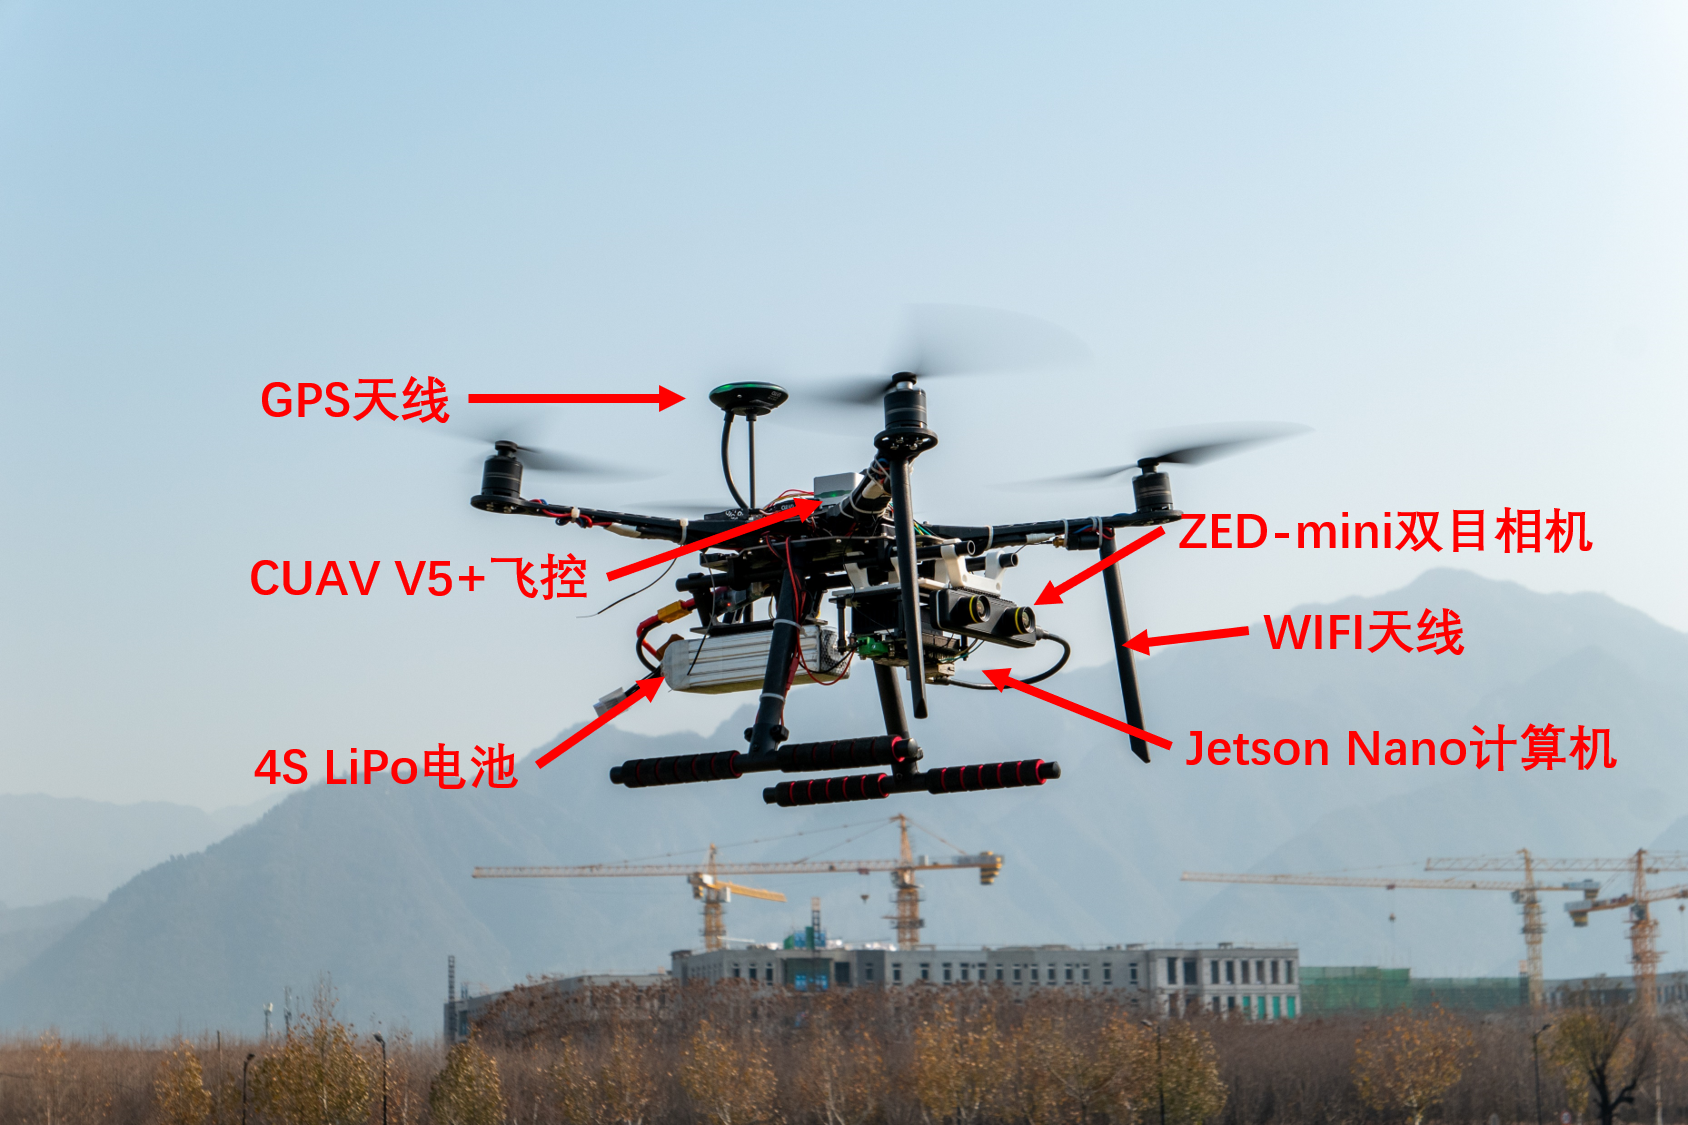
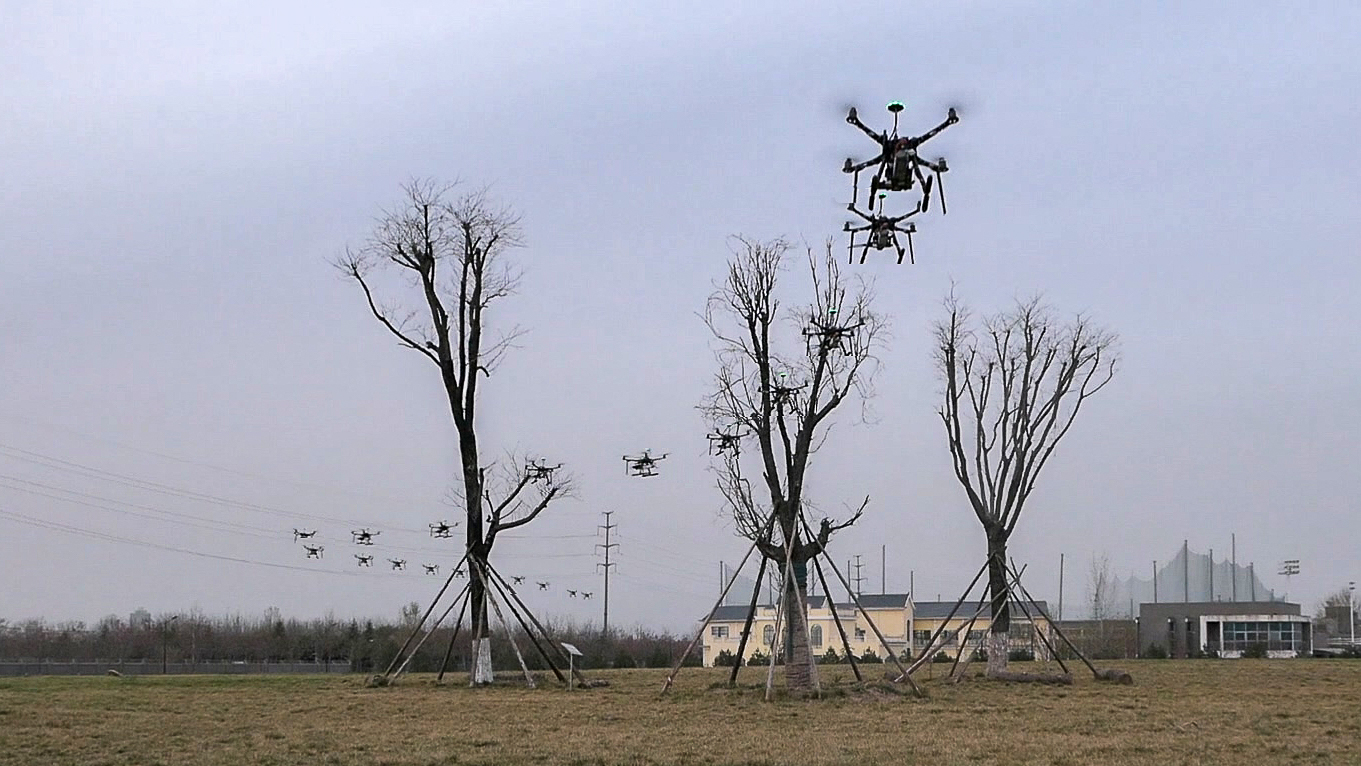
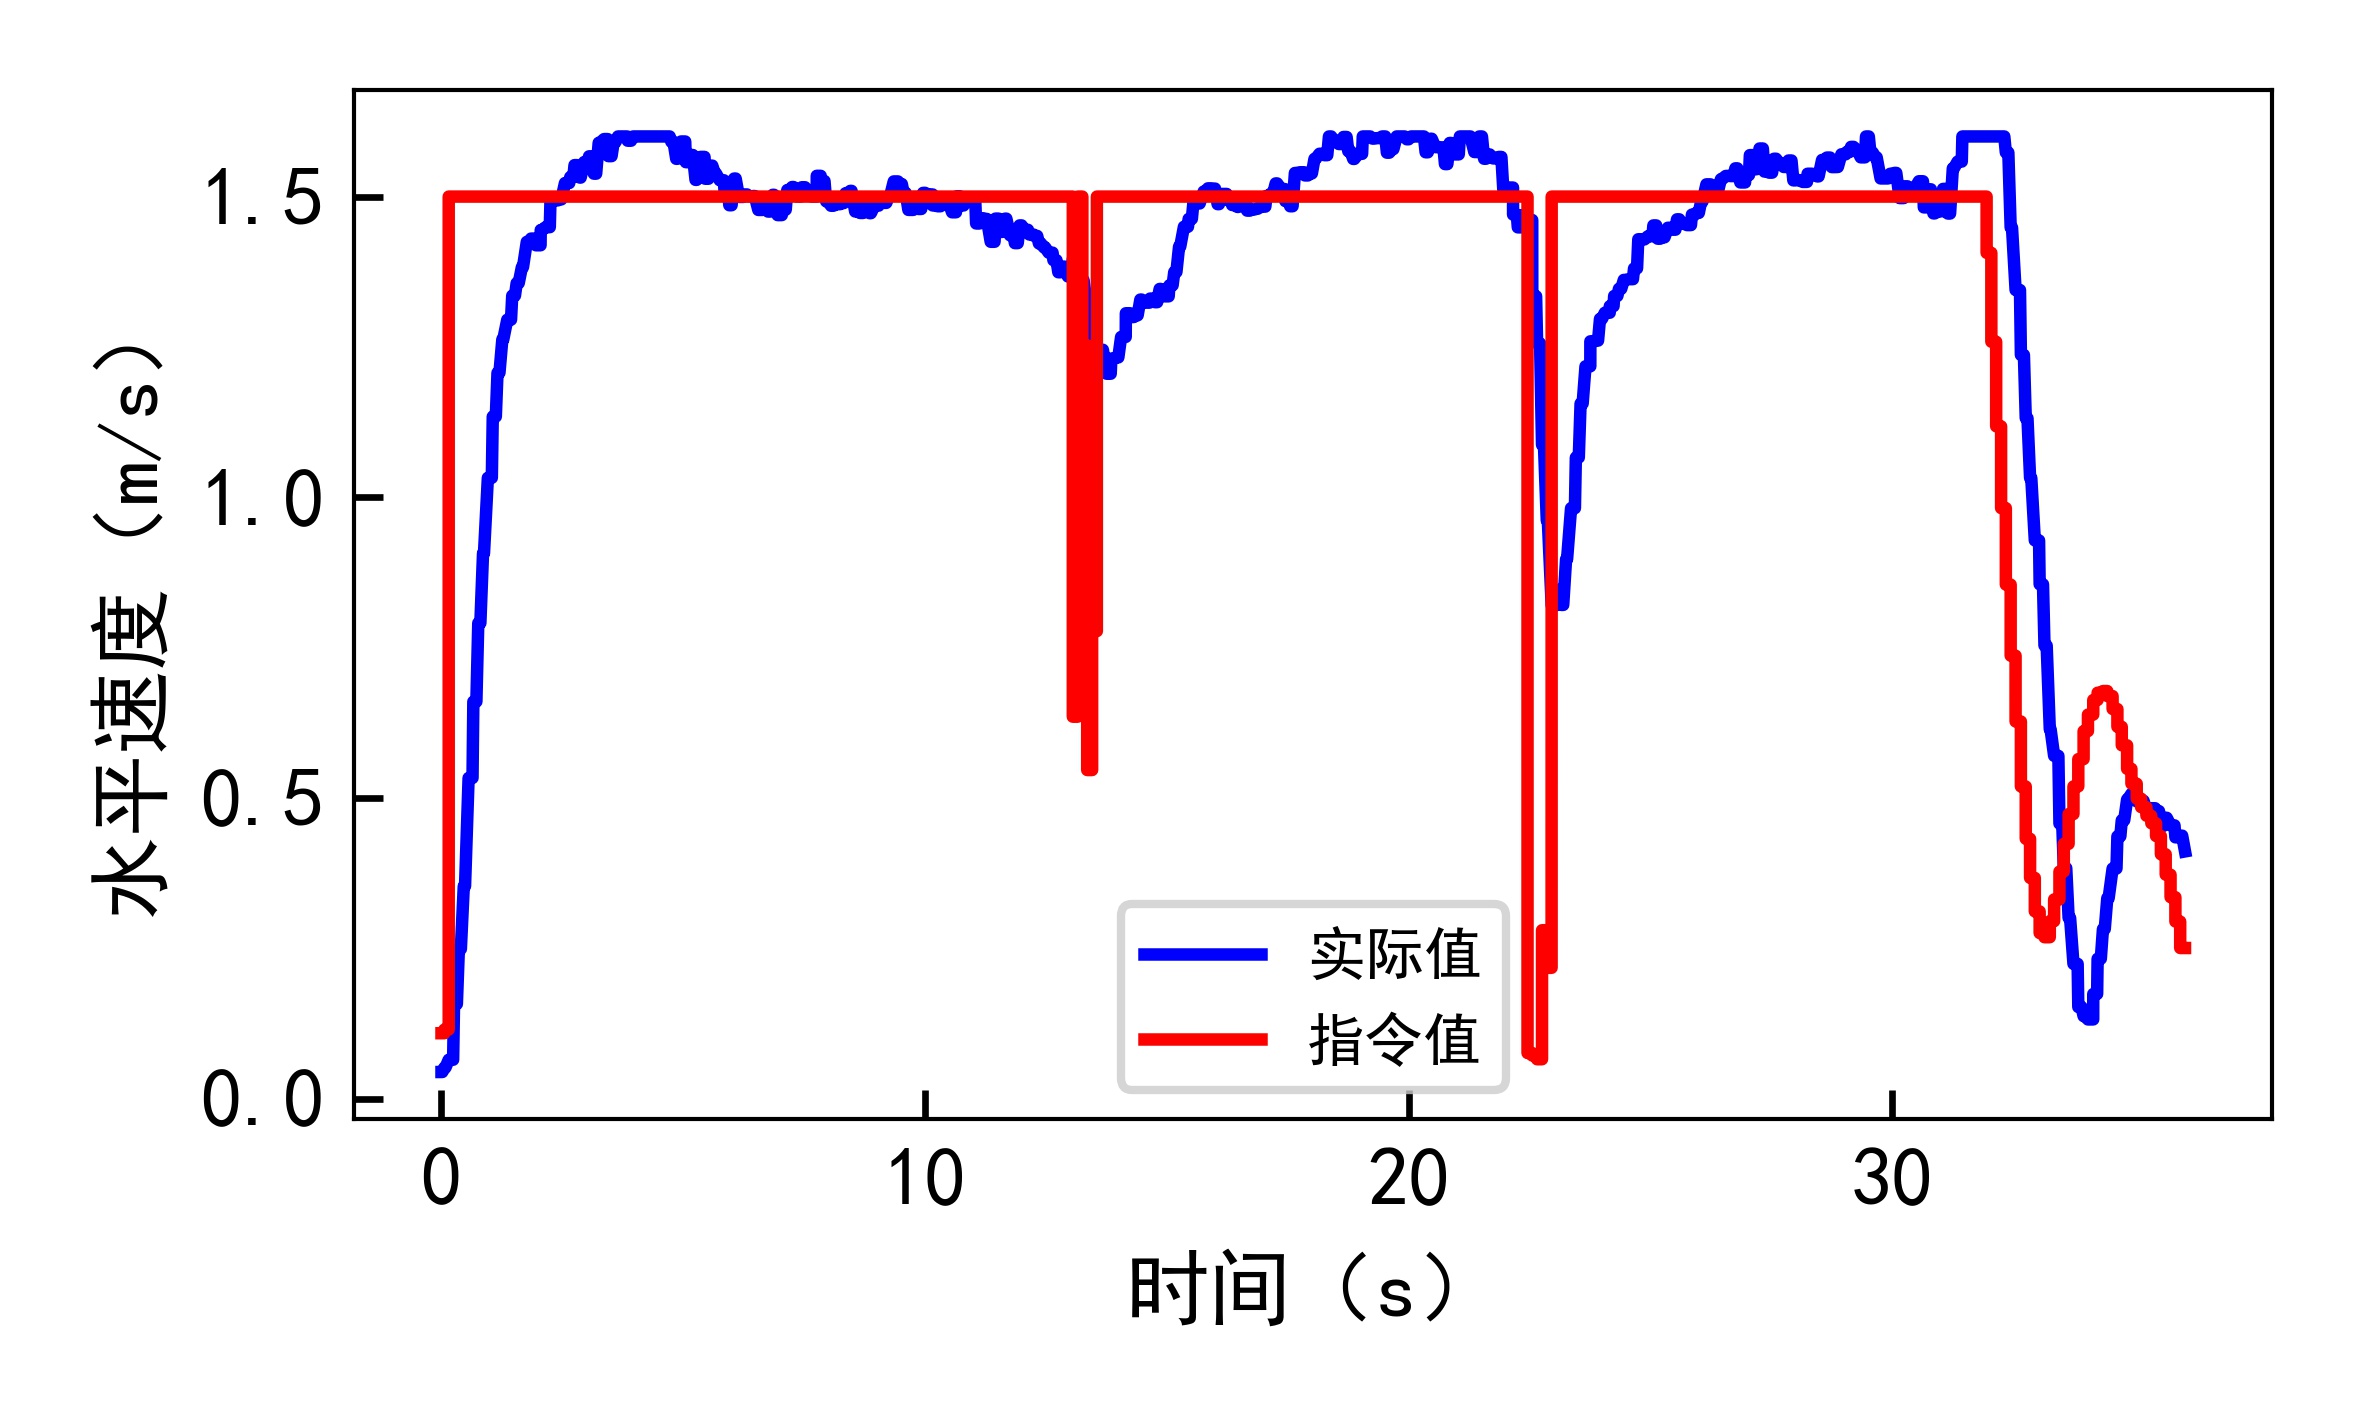
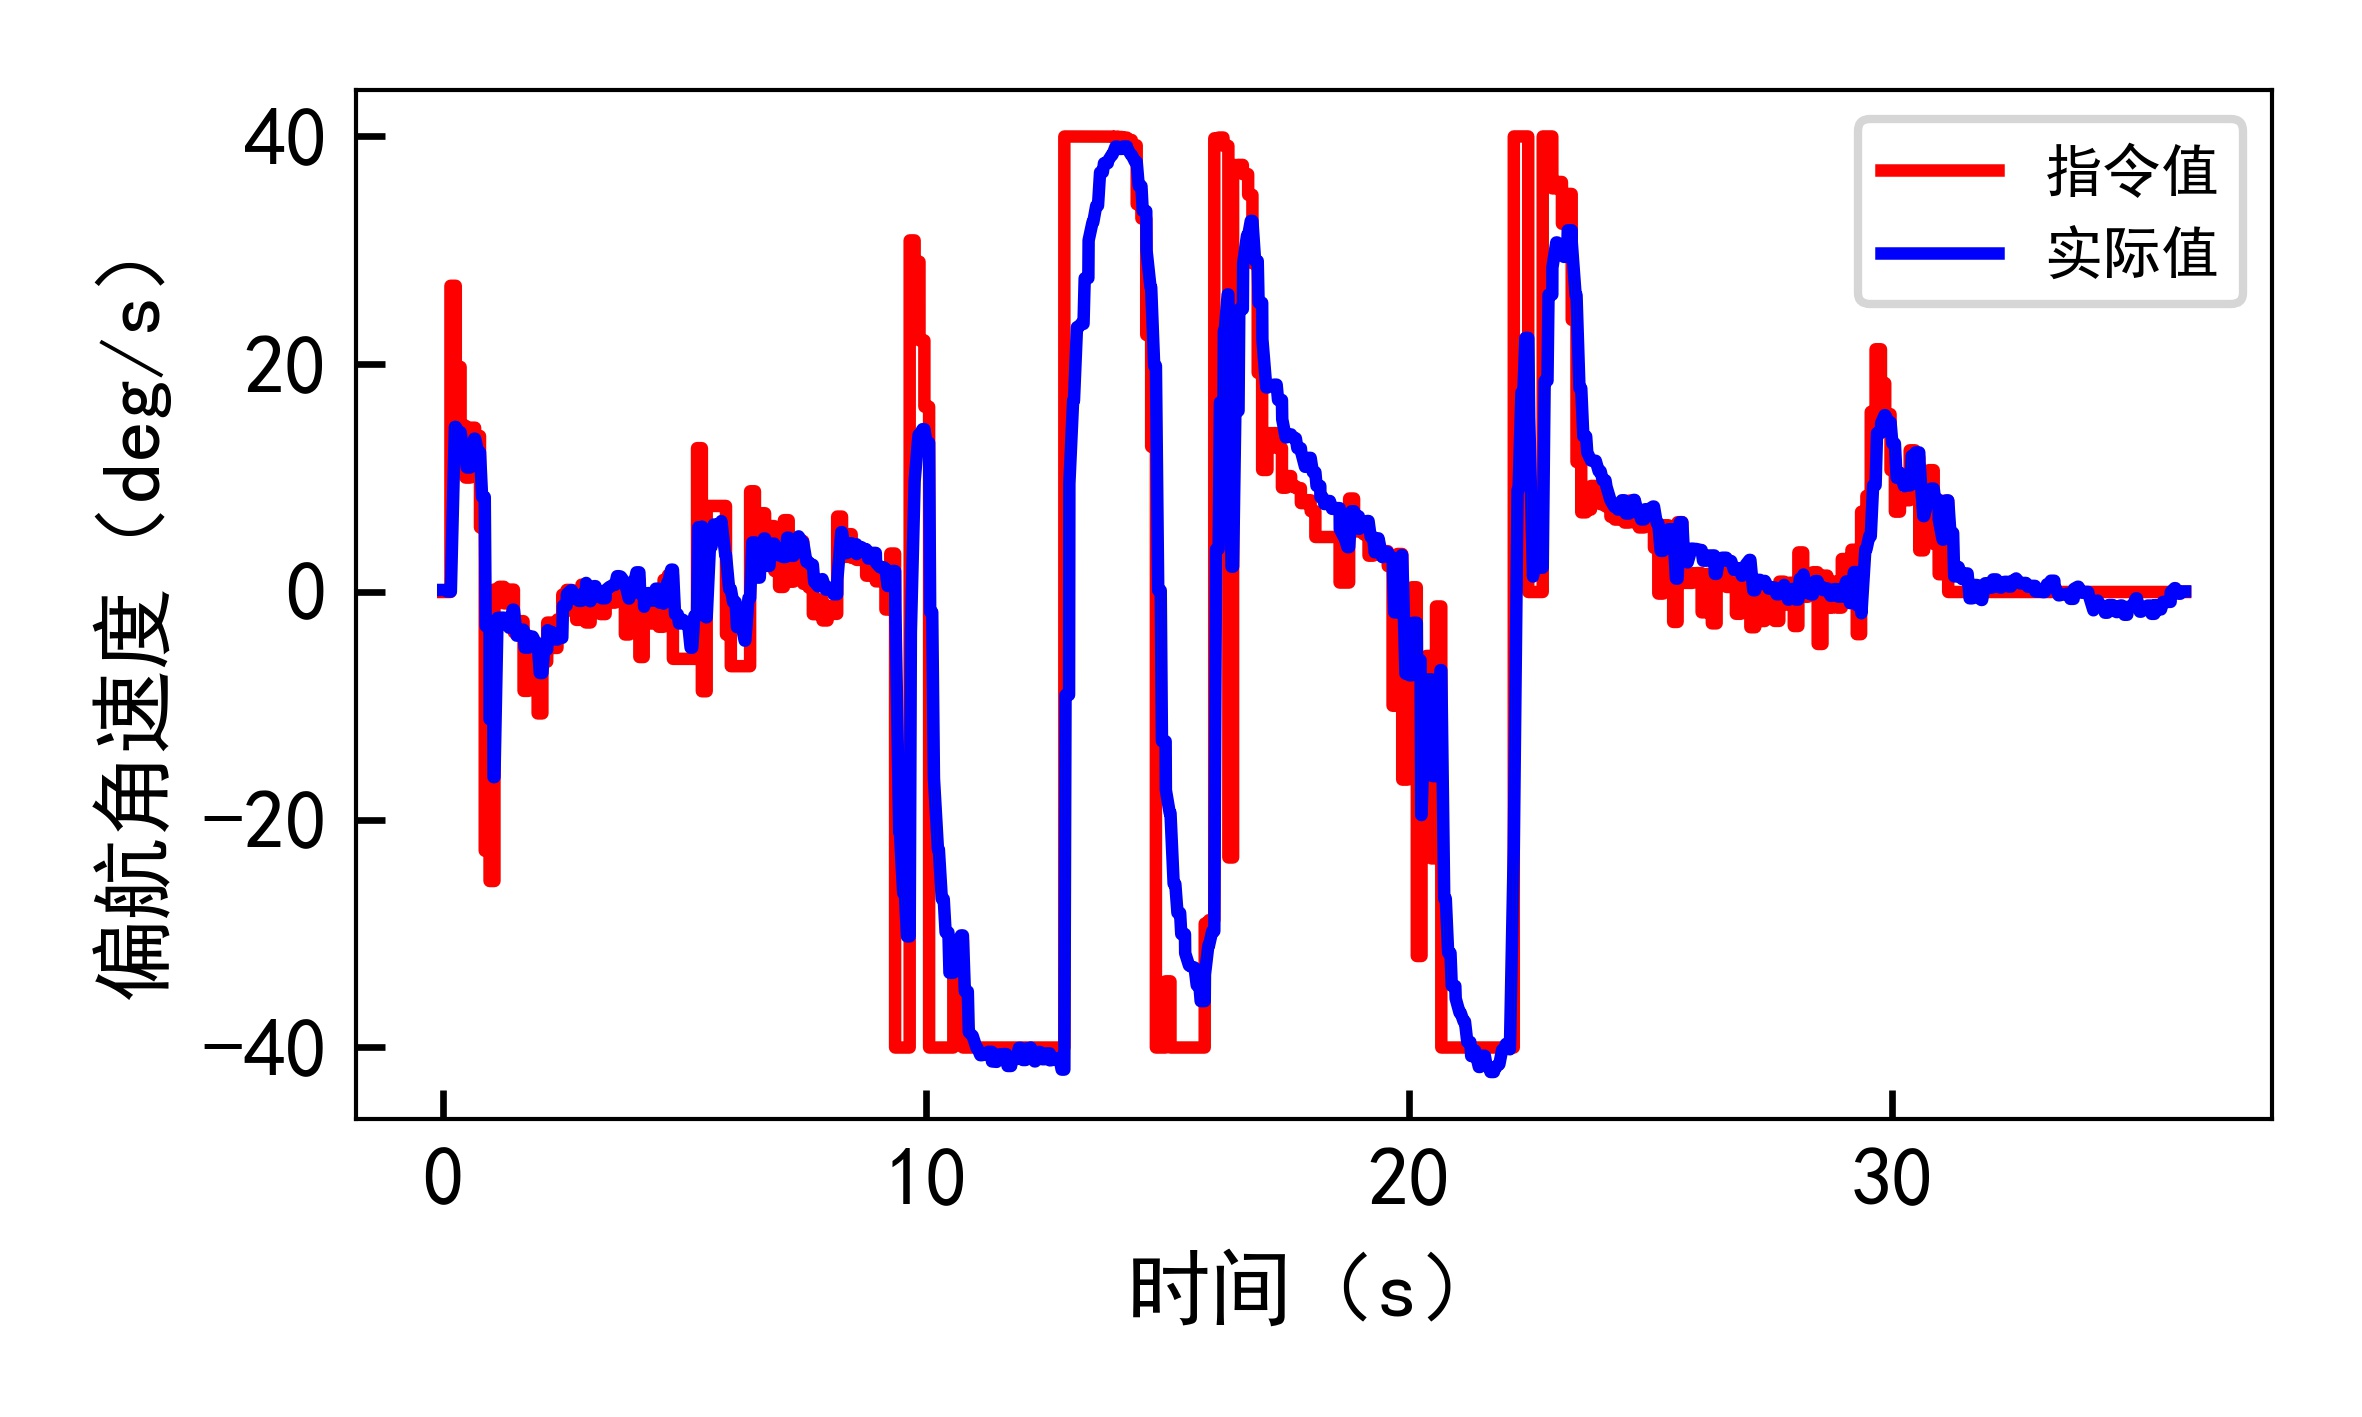
Trained policy can be deployed in the real world directly!!!
- 2024-03-28
- Deleted the LGMD part
- Updated README file
- 2022-03-11
- Add W&B support
- 2022-03-10
- Remove gym_airsim_multirotor submodule
- Add gym_env as envrionment, include MultirotorSimple, Multirotor and FixedwingSimple dynamics
- Add train with plot
- Add SimpleAvoid UE4 environment
- Python 3.8
- AirSim v1.6.0
- pytorch 1.10.1 with gpu
- gym-0.21.0
- Pyqt5 5.15.6
- keyboard 0.13.5
- Stable-baselines3 v1.4.0
- Download CUDA11.6
pip3 install torch==1.10.1+cu113 torchvision==0.11.2+cu113 torchaudio===0.10.1+cu113 -f https://download.pytorch.org/whl/cu113/torch_stable.html- You can use
tools/test/torch_gpu_cpu_test.pyto test your PyTorch and CUDA.
-
Clone this repo and the submodules
git clone https://github.com/heleidsn/UAV_Navigation_DRL_AirSim.git --recursive
-
Install gym_env
cd gym_envpip install msgpack msgpack-rpc-pythonpip install -e .
-
Install customized stable-baselines3
cd stable-baselines3pip install -e .- If you find the following error, please find the solution here
-
Download a AirSim environment, such as SimpleAvoid.
-
If you want to train in other environments please download AirSim released environments from here and run it.
- Note the current version is v1.6.0 for Windows, maybe it will be updated to higher version someday.
- If you get a directX runtime problem, please download and install it here.
- You can use
Alt+Enterto exit the full-screen mode for the first time. - You should copy the
settings.jsonat the bottom of README to your/Document/AirSim/settings.json.
-
Install other python packages
pip install wandb pyqtgraph seaborn keyboard tensorboard tqdm
-
Start training
cd UAV_Navigation_DRL_AirSimpython scripts/start_train_with_plot.py- If you find it's quite slow to get data, please set
ClockSpeedinyour path to Documents\Airsim\settings.jsonover than 1 (such as 10) to speed up the training process. - You log and trained model will be saved to the
logfolder.
-
Evaluation
cd UAV_Navigation_DRL_AirSimpython scripts/start_evaluate_with_plot.py
This repo using config file to control training conditions.
Now we provide 3 training envrionment and 3 dynamics.
env_name
-
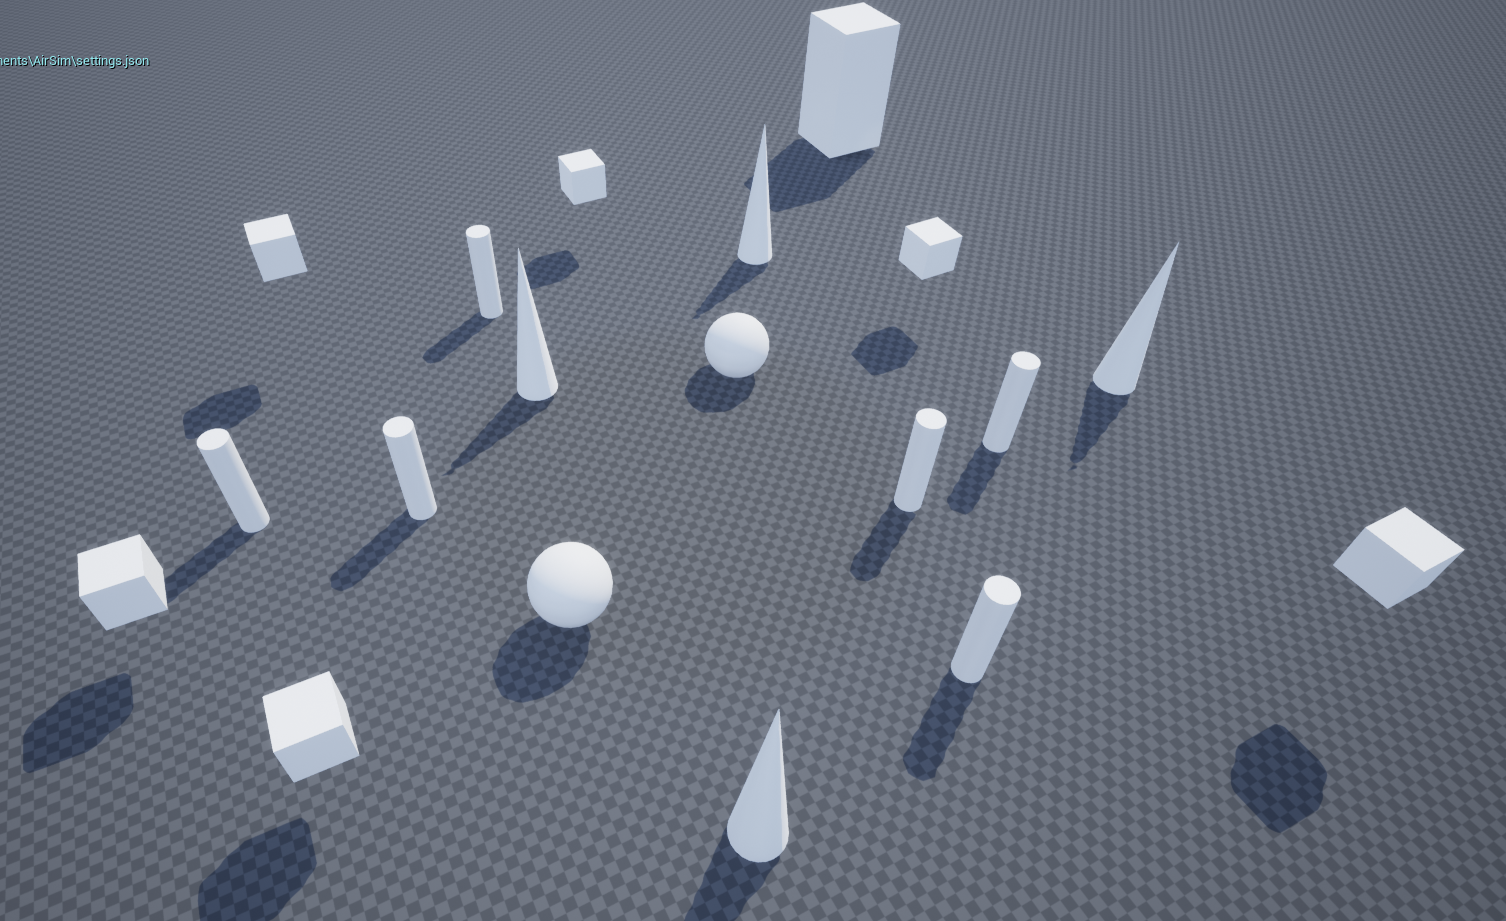
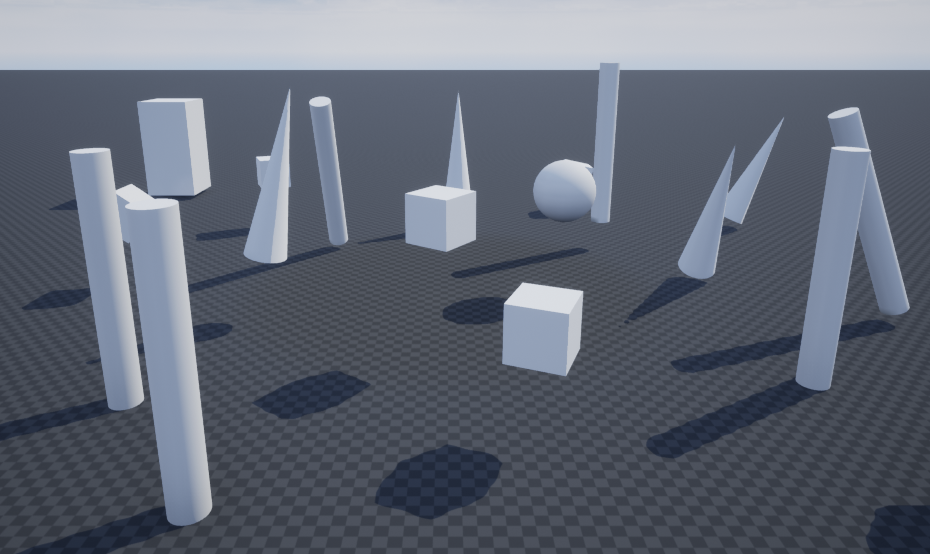
SimpleAvoid
- This is a custom UE4 environment used for simple obstacle avoidance test. You can download it from google drive.
-
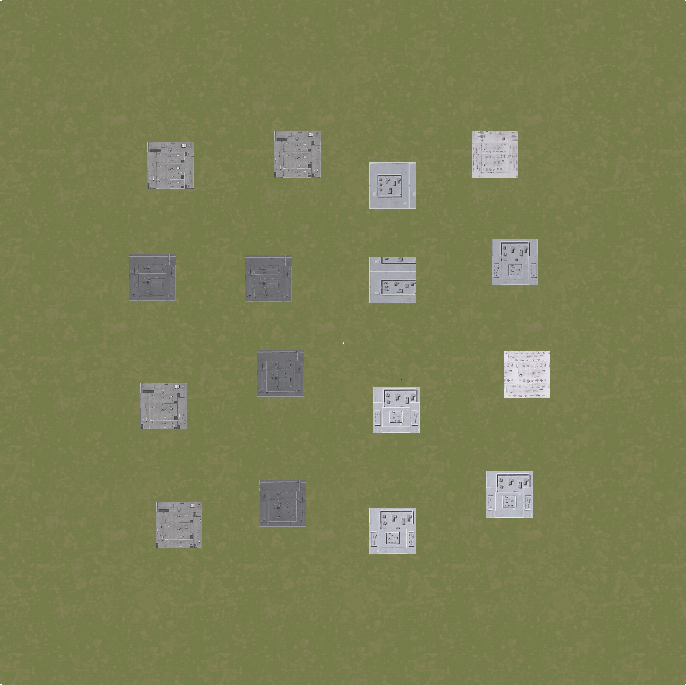
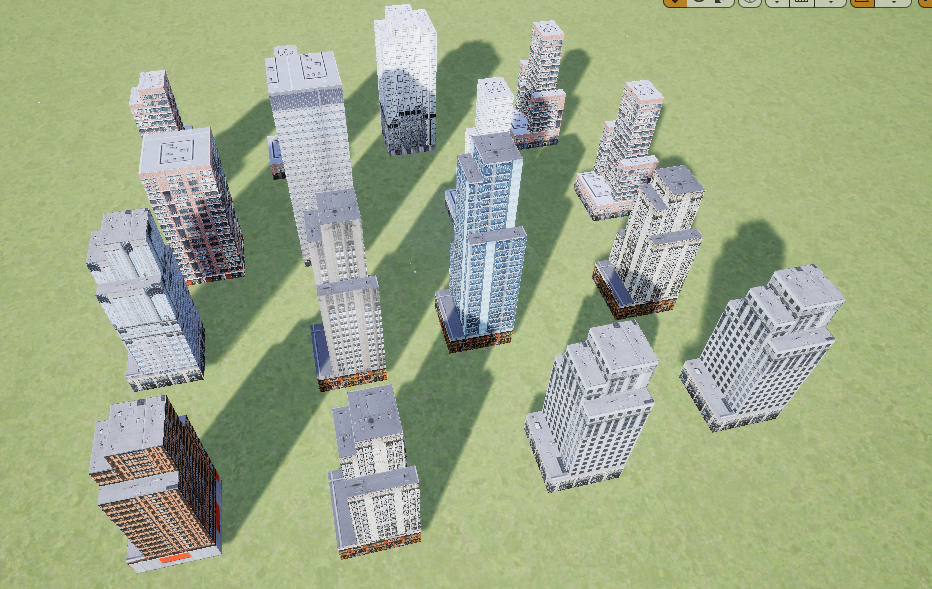
City_400_400
- A custom UE4 environment used for fixedwing obstacle avoidance test. You can also get it from google drive
-
Random obstacles
-
Other Airsim build in envrionment (AirSimNH and CityEnviron):
dynamic_name
- SimpleMultirotor
- Multirotor
- SimpleFixedwing
Wandb is a central dashboard to keep track of your hyperparameters, system metrics. You can find examples here.
Note: If you use wandb, please run python as administators.
Training result using TD3 with no_cnn policy
2D depth navigation Benchmark for 3 different algorithms and 5 different policies in SimpleAvoid environment:
Note:
To speed up image collection, you can set ViewMode to NoDisplay.
For multirotor with simple_flight controller, please set SimMode to Multirotor. Or you can use ComputerVision mode to train without dynamics. You can also set ClockSpeed over than 1 to speed up simulation (Only useful in Multirotor mode).
Also, it's better to put your environment files in your SSD rather than HDD.
{
  "SeeDocsAt": "https://github.com/Microsoft/AirSim/blob/master/docs/settings.md",
  "SettingsVersion": 1.2,
  "SimMode": "Multirotor",
  "ViewMode": "",
  "ClockSpeed": 1,
  "SubWindows": [
    {"WindowID": 0, "CameraID": 0, "ImageType": 0, "Visible": true},
    {"WindowID": 1, "CameraID": 0, "ImageType": 3, "Visible": false},
    {"WindowID": 2, "CameraID": 0, "ImageType": 3, "Visible": true}
    ],
  "CameraDefaults": {
    "CaptureSettings": [
      {
        "ImageType": 3,
        "Width": 100,
        "Height": 80,
        "FOV_Degrees": 90,
        "AutoExposureSpeed": 100,
        "AutoExposureBias": 0,
        "AutoExposureMaxBrightness": 0.64,
        "AutoExposureMinBrightness": 0.03,
        "MotionBlurAmount": 0,
        "TargetGamma": 1.0,
        "ProjectionMode": "",
        "OrthoWidth": 5.12
      },
      {
        "ImageType": 0,
        "Width": 256,
        "Height": 144,
        "FOV_Degrees": 90,
        "AutoExposureSpeed": 100,
        "AutoExposureBias": 0,
        "AutoExposureMaxBrightness": 0.64,
        "AutoExposureMinBrightness": 0.03,
        "MotionBlurAmount": 0,
        "TargetGamma": 1.0,
        "ProjectionMode": "",
        "OrthoWidth": 5.12
      }
    ]
  }
}