This library reimplements Google Blockly in Unity. It has:
- full implementation of the block models in Google Blockly.
- automatic block generation from the semantics definition in json.
- a C# interpreter for blocks, translating blocks into C# code for execution.
- a C# code runner, enabling full control of the execution of block code. Debug mode is also supported.
- an auto layout UI system based on UGUI, supporting automatic sizing and positioning of blocks.
For instructions on how to use, please see the content below.
If you are interested in how I implement this library, welcome to read these blogs:
Also have fun with 2 game demos.
- open Examples in Unity.
- Hit menu UBlockly/Build Block Prefabs and wait to finish prefabs building.
- open scene UGUIDemo.
- Hit play and have fun.
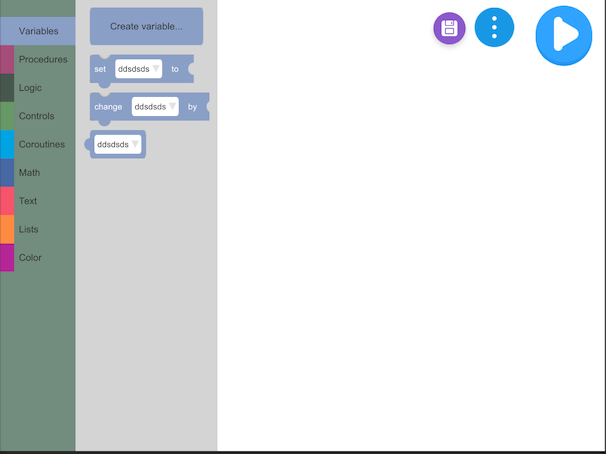
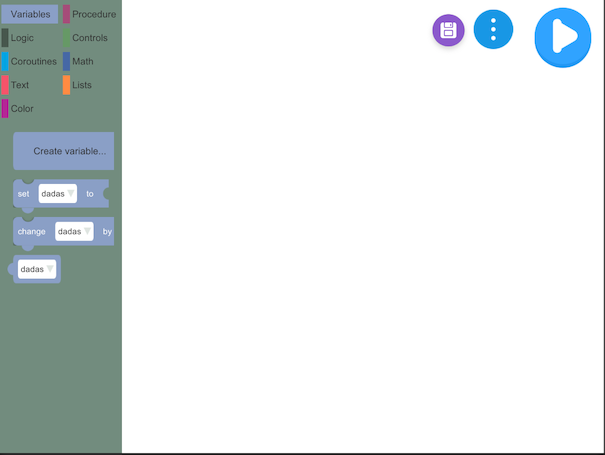
There offered two UI themes: google blockly style and scratch style. Default is scratch(I prefer~).
To change themes:
-
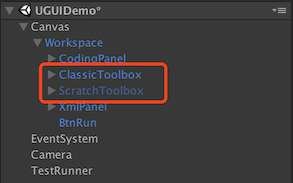
Drag the prefab UBlocklyData/Toolboxs/Prefabs/ClassicToolbox under the scene object Canvas/Workspace (Make sure the scene UGUIDemo is opened).
-
Delete or hide the other theme prefab ScratchToolbox.
-
Attach the ClassicToolbox to the component WorkspaceView on scene object Workspace.
-
Hit play and have a look.
-
Add json definition for the block. Please follow the format of the built-in blocks under
ublockly/Source/JsonBlocks/. This doc provides a detailed explaination and instruction on the JSON definition.-
If you want to add a block in the existing category, just add the json definition in the existing json files.
-
The
typeof the block must follow the format:[category]_nameOfBlock.e.g.
coroutine_wait_time,coroutineis the name of the category, which is also the name of the json file;wait_timeis the name of the block. -
If you want to add a new category.
- Create a new json file anywhere you want. Then add its reference to the
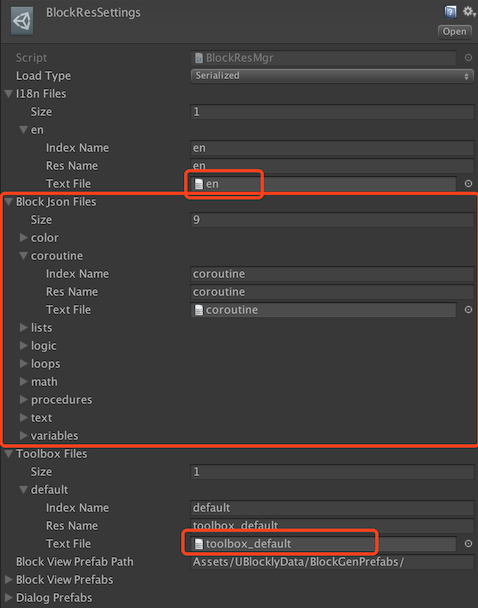
BlockJsonFilesinBlockResSettings. Of course you can remove a category from it. - If you want the toolbox to show the newly added category, you should add the new category to the toolbox config file named
toolbox_default. Of course, you can customized the toolbox config by adding your own config file. - Add a translation for the new category name in
en.json. Or you can create your own i18n file for a new language.
- Create a new json file anywhere you want. Then add its reference to the
-
-
Interprete the execute code for the newly added block in C#. Please follow the built-in blocks under
ublockly/Source/Script/CodeDB/CSharp.
There are 2 ways to reset the workspace.
- Brutal
BlocklyUI.DestroyWorkspace();
GameObject.Instantiate(workspacePrefab, GameObject.Find("Canvas").transform);
This destroys the Workspace gameobject entirely and then re-create a new one. It also reset the logical workspace, not only the UI. Just everything.
-
The
workspacePrefabshall be referenced or loaded byResources.LoadorAssetbundle.Load... -
Also switching scenes can destroy the
Workspacegameobject and finish the dispose work automatically, unless you make it undestroyable.
- Reset block views and toolbox respectively.
- Stop running code and clean blocks
BlocklyUI.WorkspaceView.StopRunCode();
BlocklyUI.WorkspaceView.CleanViews();- Reset Toolbox
BlocklyUI.WorkspaceView.Toolbox.Clean();
BlocklyUI.WorkspaceView.Toolbox.Init(BlocklyUI.WorkspaceView.Workspace, ToolboxConfig.Load());There are two Settings under ublockly/UserData/Resources.
-
-
Load Type
Define which way to load resources. Default Serialized.
-
I18n Files
This is where you can add your own language. Remember to check the selected checkbox. See #8.
-
Block Json Files
This is where you add your customized block json files.
-
Toolbox Files
This is where you can add your customized toolbox config files. e.g. change colors of blocks, select block categories, etc. Remember to check the selected checkbox.
-
Block View Prefab Path
This is where the automatically generated block prefabs located. You can change it as your preferred location.
-
Block View Prefabs
This is where to reference the automatically generated block prefabs. Just leave it!
-
Dialog Prefabs
This is where to reference all the dialog prefabs. If you want to add your customized dialog. Drag it here and give a name for loading.
-
-
BlockViewSettings
This is where to tweak the look of blocks. Currently you may just leave it there.
Welcome to use the debug mode:v:. Please see this video on how to use it.
Also check this cool guide, written by Toamig and LockDownPT, for detailed instructions on the usage of ublockly, e.g. changing languages, creating new categories/blocks, etc.
-
These two guys made great contributions in the early stage of ublockly.
-
These guys contributed a detailed guide for ublockly.
Many thanks to these cool guys!


