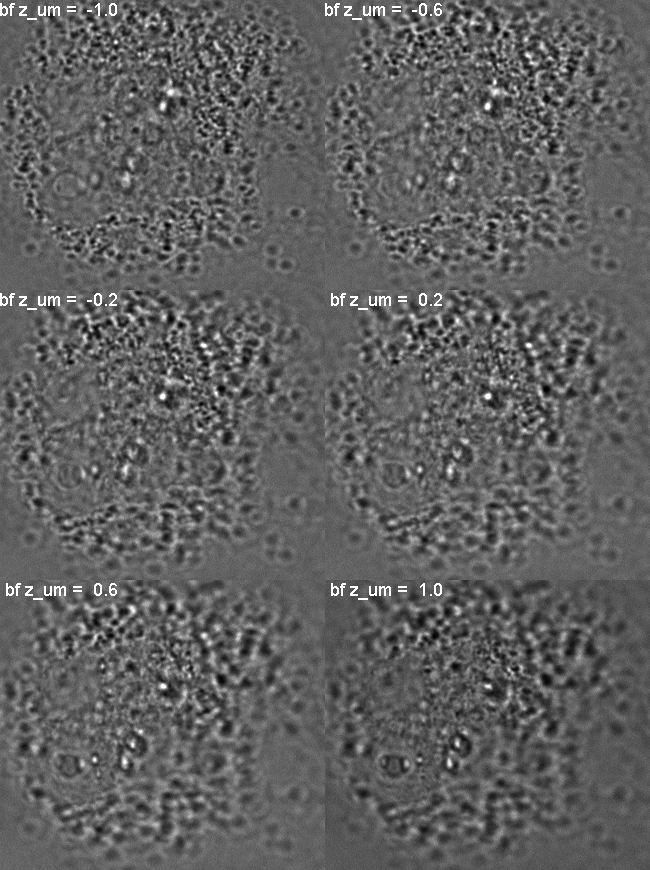
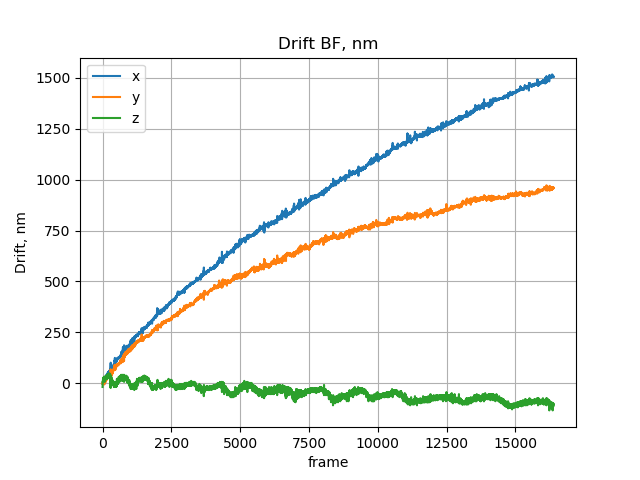
Use bright field signal to trace the drift in 3D with nanometer precision.
You can try it with joy using our new platform Imjoy!
Just install the Imjoy plugin engine and Click this link to jump to the installation step of the script. Otherwise, click Add Plugin in Imjoy and paste This link to the plugin installation URL line. Plugin will be installed autimatically with all necessary dependencies.
- python 3.6+
- All dependencies are automatically pulled during installation of BFDC
We recommend using Conda virtual environment to run BFDC. Install Miniconda and type the following instructions in Anaconda promt (Windows) or Terminal (Unix / MacOS)
With Conda create a new environment with python 3.7:
conda create -n pydrift python=3.7 -y
Then activate it and run installation:
source activate pydrift (Unix / MacOS) activate pydrift (Windows)
pip install git+https://github.com/imodpasteur/Brightfield_Drift_Tracking_3D.git
In order to trace the drift in 3D a calibration stack needed (dict.tif).
Acquire bright field images with the same exposure (movie.tif) in order to trace the drift with nanometer precision.
You'll need to select a contrast region say 32x32 picels from the dict.tif and save as crop.roi (ImageJ ROI format)
python -m bfdc trace dict.tif crop.roi movie.tif
python -m bfdc apply ZOLA_localization_table.csv BFCC_table.csv --smooth 10
python -m bfdc batch data_folder
Expected file structure:
- data_folder
- FOV1
- dict_LED_100nm
- dict_LED_100nm_Pos0.ome.tif
- 32x32.roi
- sr_ast_642_LEDskip9
- sr_ast_642_LEDskip9.Pos0.ome.tif
- sr_ast_642_LEDskip9.Pos0_1.ome.tif
- ZOLA_localization_table.csv
- dict_LED_100nm
- FOV2
- ...
- FOV1
The possible arguments include:
- Recursively parsing folders with fields of views (
--fov_prefix=FOV) - Looking for the folder with dictionary stack (
--dict_folder_prefix=dict) - Finding ROI file (
--ROI_suffix=roi) - Opening dictionary stack next to ROI (
--dict_suffix=ome.tif) - Opening STORM movie with bright field frames (
--sr_folder prefix=sr,--sr_movie_suffix=Pos0.ome.tif) - Automatically selects brightfield frames with background more than (
--filter_bg=100)
python -m bfdc -h
python -m bfdc trace -h
python -m bfdc apply -h
python -m bfdc batch -h
Super resolution imaging of EDU Alexa 647 in the nucleus: beads photobleaching.
Luckily, we have recorded the bright field movie along with the fluorescence by alternating illumination between illuimination and LED!
How can we use it to trace the drift in 3D?
Using the stack, recorded prior to imaging with the same exposure and same illumination intensity, we can reveal the drift from bright field only in 3D!
32x32 px crop form the dictionary and 64x64 crom form the movie tracks the drift with the precision higher than using beads and better sampling than redundant cross-corellation.
Note, how Nikon's Perfect Focus System struggles to maintain the focus!
Fluorescent bead track before and after BFDC.
V0.2.0 Processing tif file sets
V0.1.4 Batch processing
V0.1.3 Avoid plots ovelaps from diffrent datasets
v0.1.2 Removing localizations from the ZOLA table if they come from bright field.
v0.1.1 Automatically detecting BF frames based on intensity. No more need of skipping parameters to know.
_l.gif)
_l.gif)


_crop32l.gif)


