Brief Review
Note that the preffered language of this tutorial is using

The project tree:

The rqt graph (3 turtles for simplicity):

The tf tree (3 turtles for simplicity):

A turtlesim program that will try to avoid each turtle in the field.
This programs will help you continuing to understand the basic ROS concepts like tf2, also I include how to make libraries and classes to be more organized with your code.
This applications function as follows.
- ROSCore launches
- Turtlesim node launches and a default turtle is displayed at the center.
- Next we lauched three (3) additional nodes...
- The first node will broadcast using tf2 the goal of the turtles. These goals are static broadcasted to /tf_static topic.
- The second additional node is a pose broadcaster. Those poses are also broadcasted on the /tf topic.
- The final node is the controller. This is a simple planner application.
- Next the turtles tries to find its path to the new locations and will try to avoid each one with a minimal distance margin of acceptance.
- Each planner uses a PID controller for each turtle and also there is another part of the code responsible of the avoidance algorithm (naive approach).
If you do not know the ros basics i recommend my previous package named TurtlesimBuster, but if you have now more ROS experience just continue with the section below
Please follow ROS tf and tf2 tutorials and also this one from the SIR group of UPC Spain for better understanding of Rigid Body Transformations.
Using TurtlesimBuster Package
- Create a ROS ros workspace and compile an empty package:
    cd ~
    mkdir -p catkin_ws/src
    cd catkin_ws
    catkin_make
- Open the
.bashrcwith nano:
nano ~/.bashrc
- Insert this line at the end of the
~/.bashrcfile for sourcing your workspace:
source ~/catkin_ws/devel/setup.bash
- Clone this repo in the
~/catkin_ws/srcfolder by typing:
    cd ~/catkin_ws/src
    git clone https://github.com/issaiass/turtlesim_simple_planner
    mv Turtlesim_Simple_Planner turtlesim_simple_planner
    rm -rf README.md
    rm -rf imgs
- Go to the root folder
~/catkin_wsand make the folder runningcatkin_maketo ensure the application compiles. - Finally launch the application by:
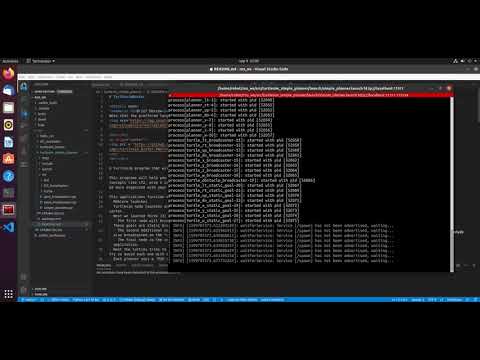
roslaunch turtlesim_simple_planner simple_planner.launch
- You must see that
roscoreandturtlesim_nodeexecuting. In the end eight (8) turtles are spawned (+1 static defaul turtle) trying not to overlap each other.
Modifying the Package for your own usage
NOTE: The node names must not be similar.After completing the previous steps and ensuring the application is compiling do the following:
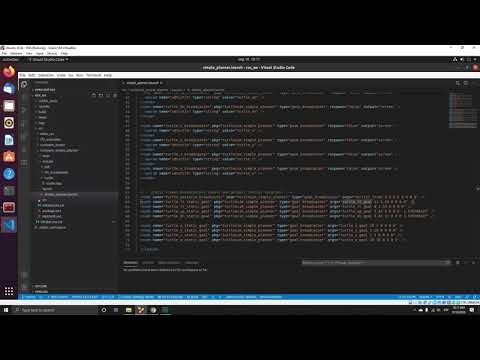
- Open the launch file at the location
~/catkin_ws/src/turtlesim_simple_planer/launch. - Modify the node planner by creating a turtle in a location on the simulator:
    <node name="planner_w" pkg="turtlesim_simple_planner" type="simple_planner" output="screen"
        args="<turtle_name> <x0> <y0> <theta>">
  </node>
- Modify the pose broadcaster, note the
turtle_nameis the same name as previous step:
    <node name="turtle_w_broadcaster" pkg="turtlesim_simple_planner" type="pose_broadcaster" respawn="false" output="screen" >
    <param name="sdturtle" type="string" value="<turtle_name>" />
  </node>
- Modify the frame broadcasters, note that
turtle_nameat the end has the word_goal - Modify the locations
<node name="turtle_w_static_goal" pkg="turtlesim_simple_planner" type="goal_broadcaster" args="<turtle_name>_goal <x1> <y1> <z1> <roll> <pitch> <yaw>" />
- Open the file
simple_planner.cppand hardcode the line 84 with all your turtle names plus the fixed one, namedturtle1_fixed, i.e.:
vector<string> turtles{"turtle_lt", "turtle_rt", "turtle_up", "turtle_dn", "turtle1_fixed", "turtle_x", "turtle_y", "turtle_z", "turtle_w"};
- Finally modify line 7 to line 23 as your choise to tune the application.
- Go to the root folder
~/catkin_wsand make the folder runningcatkin_maketo ensure the application compiles. - Finally launch the application by:
roslaunch turtlesim_simple_planner simple_planner.launch
Results
You could see the results on this youtube video.
The video only shows the application running, not the explanation of the code.
Video Explanation
I will try my best for making an explanatory video of the application as in this youtube video.
Issues
🐛 The kill function is not working at all but is not needed for running the application.
Contributiong
Your contributions are always welcome! Please feel free to fork and modify the content but remember to finally do a pull request.
📱 Having Problems?
License
