The objective of this project is to develop a secure simple-service application using Spring Boot and integrate it with Okta for authentication and authorization.
Note: In the repository
okta-springboot-reactyou can find a more complex example that involves:
- Implementation of a
ReactJSfront-end application and aSpring Bootback-end application, both secured byOkta;- Enabling and creating
Oktagroups (a.k.a.ROLESof the applications).
On ivangfr.github.io, I have compiled my Proof-of-Concepts (PoCs) and articles. You can easily search for the technology you are interested in by using the filter. Who knows, perhaps I have already implemented a PoC or written an article about what you are looking for.
- [Medium] Implementing and Securing a Simple Spring Boot REST API with Okta
- [Medium] Implementing and Securing a Simple Spring Boot UI (Thymeleaf + RBAC) with Okta
- [Medium] Implementing and Securing a Spring Boot GraphQL API with Okta
- [Medium] Building a Single Spring Boot App with Keycloak or Okta as IdP: Introduction
-
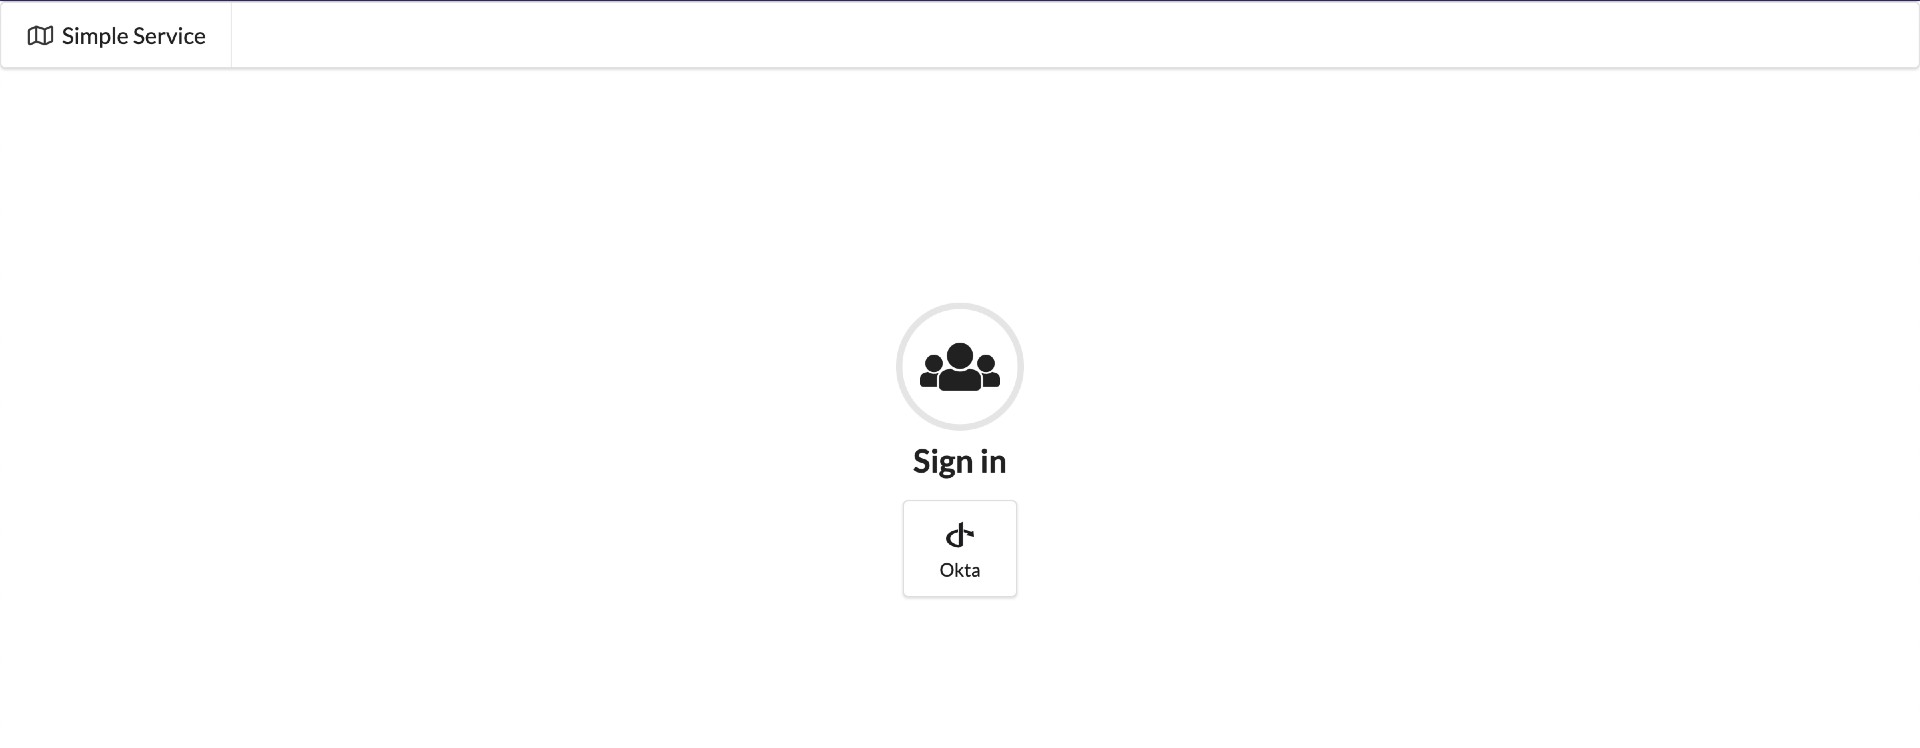
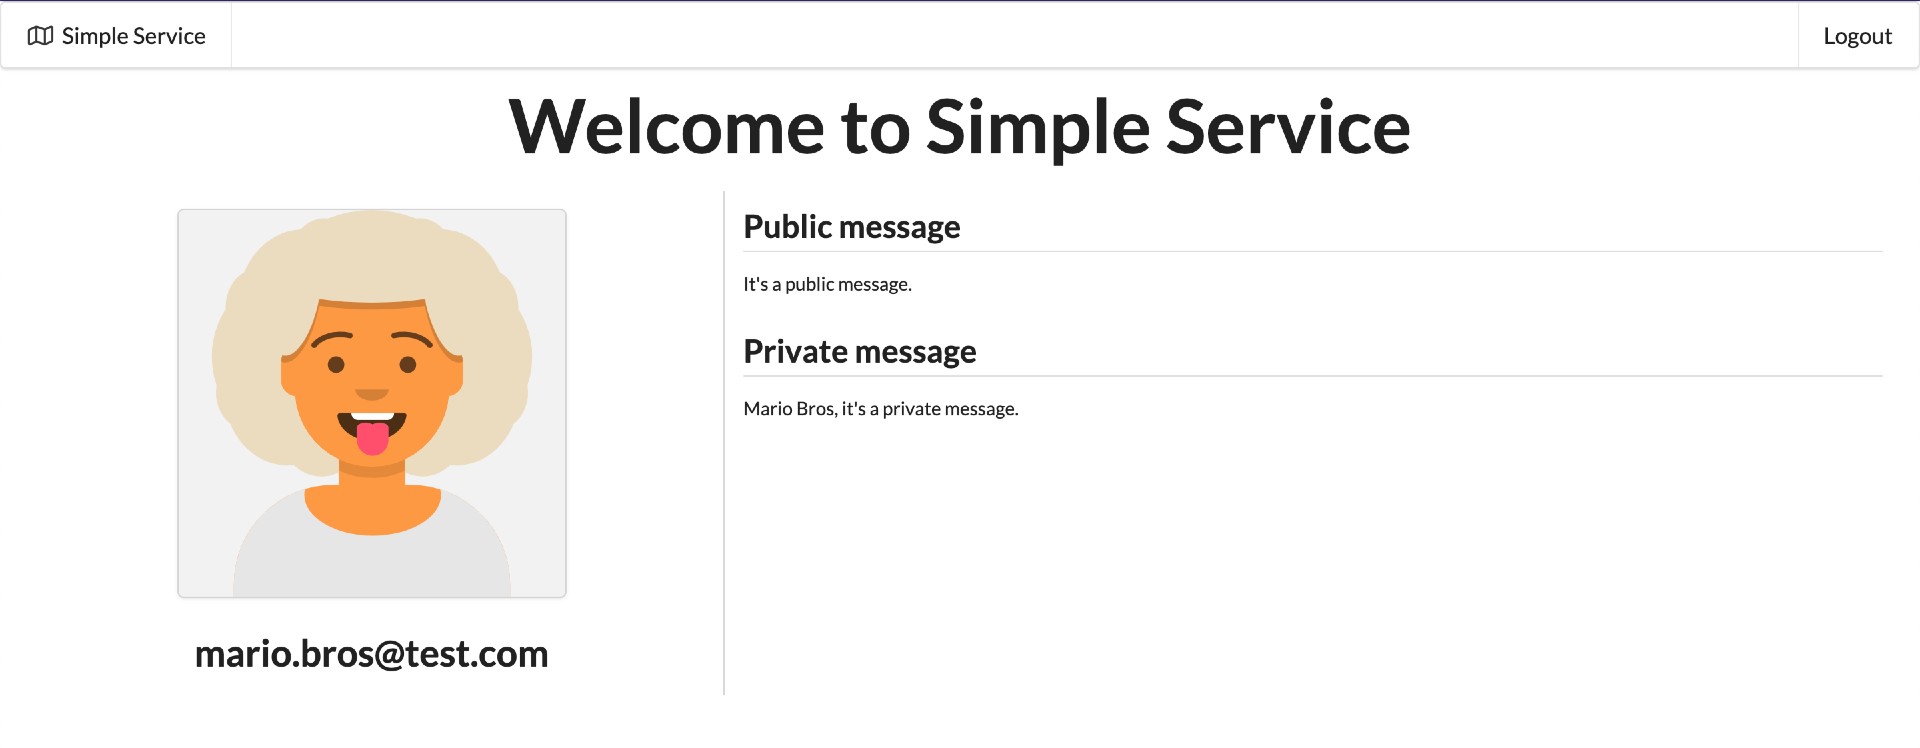
Spring BootWeb Java application offers a user interface (UI) that requires users to log in using theirOktaaccounts. After successful login, users can access and view both their public and private messages.Login Index 

It also exposes the following endpoints:
Endpoint Description Secured GET /api/privateRetrieve the private message. Only accessible by users that provide a Access Token issued by OktaYES GET /api/publicRetrieve the public message NO POST /api/callback/tokenUsed by Oktato return user's Access TokenNO GET /actuator/*Used to expose operational information about the application NO
- If you do not have a Developer Edition Account, you can create one at https://developer.okta.com/signup/
- If you already have, access https://developer.okta.com/login/
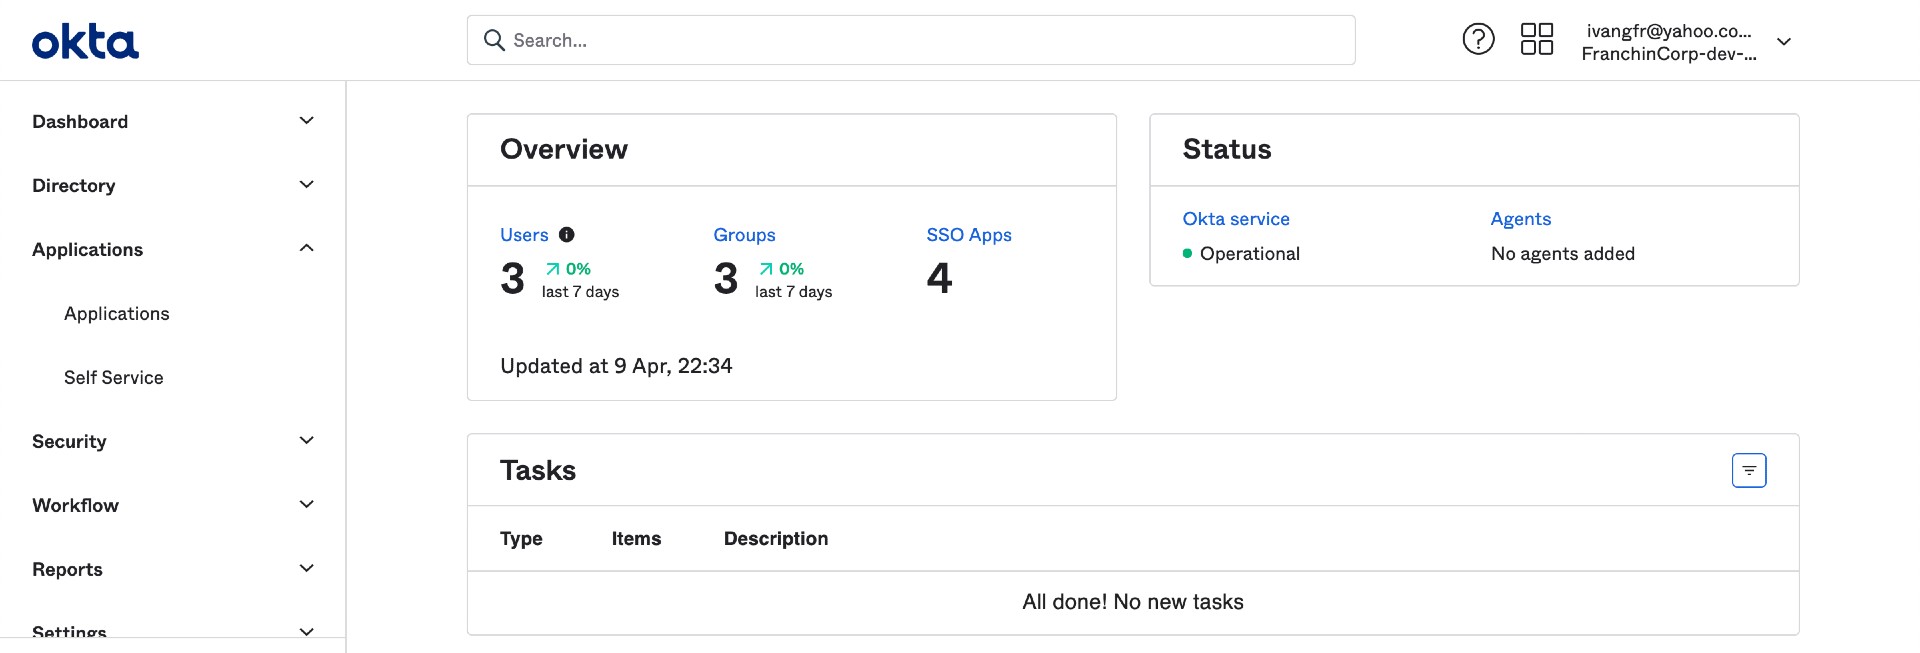
If you are in Okta Developer Dashboard home page, click Admin button on the top-right
The picture below is how Okta Admin Dashboard looks like
- In the
Okta Admin Dashboardmain menu on the left, clickApplicationsmenu and thenApplicationssub-menu - In the next page, click
Create App Integrationbutton - Select
OIDC - OpenID Connectas Sign on method andWeb Applicationas Application type. ClickNextbutton - Enter the following values in the form
- General Settings
- App integration name:
Simple Service - Grant type: besides
Authorization Codethat is already checked, check alsoImplicit (hybrid) - Sign-in redirect URIs:
http://localhost:8080/login/oauth2/code/oktaandhttp://localhost:8080/api/callback/token - Sign-out redirect URIs:
http://localhost:8080
- App integration name:
- Assignments
- Controlled access:
Skip group assignment for now
- Controlled access:
- General Settings
- Click
Savebutton - The
Client IDandClient Secretare generated. - The
Okta Domaincan be obtained by clicking the button-menu present on the up-right corner of the screen.
- In the
Okta Admin Dashboardmain menu on the left, clickDirectorymenu and thenPeoplesub-menu - In the next page, click
Add personbutton - Enter the following information
- First name:
Mario - Last name:
Bros - Username:
mario.bros@test.com - Primary email:
mario.bros@test.com - Password:
Set by admin - Set a strong password in the text-field that will appear
Uncheckthe check-box that says "User must change password on first login"
- First name:
- Click
Savebutton
- In the
Okta Admin Dashboardmain menu on the left, clickApplicationsmenu and thenApplicationssub-menu - In the next page, click
Assign Users to Appbutton - Select the
Simple Servicecheck-box in the Applications column andMario Broscheck-box in the People column. ClickNextbutton to continue assignment process - Click
Confirm Assignmentsbutton
Warning: if we don't do the fix, we will see the following error
{"state":"state","error":"server_error","error_description":"The 'sub' system claim could not be evaluated."}
- In the
Okta Admin Dashboardmain menu on the left, clickApplicationsmenu and thenApplicationssub-menu - In Applications list whose status are
ACTIVE, selectSimple Serviceapplication - Click
Assignmentstab - Edit
Mario Brosby clicking thepenicon - Set
mario.bros@test.comin theUser Nametext-field - Click
Savebutton
-
Open a terminal and make sure you are in
okta-springbootroot folder -
Export the following environment variables. Those values were obtained while adding application in
Okta.export OKTA_DOMAIN=... export OKTA_CLIENT_ID=... export OKTA_CLIENT_SECRET=... -
./mvnw clean spring-boot:run --projects simple-service -
-
Build Docker Image
- JVM
./docker-build.sh - Native
./docker-build.sh native
- JVM
Environment Variables
Environment Variable Description OKTA_DOMAINSpecify the Domaindefined by OktaOKTA_CLIENT_IDSpecify the Client IDdefined by OktaOKTA_CLIENT_SECRETSpecify the Client Secretdefined by Okta-
Start Docker Container
docker run --rm --name simple-service -p 8080:8080 \
-e OKTA_DOMAIN=${OKTA_DOMAIN} \
-e OKTA_CLIENT_ID=${OKTA_CLIENT_ID} \
-e OKTA_CLIENT_SECRET=${OKTA_CLIENT_SECRET} \
ivanfranchin/simple-service:1.0.0
-
| Application | Type | URL |
|---|---|---|
| simple-service | UI | http://localhost:8080 |
| simple-service | Swagger | http://localhost:8080/swagger-ui.html |
In order to access the simple-service secured endpoints, you must have a Access Token. Below are the steps to get it.
-
In a terminal, create the following environment variables. Those values were obtained while adding application in
Okta.OKTA_DOMAIN=... OKTA_CLIENT_ID=... -
Get Okta Access Token Url
OKTA_ACCESS_TOKEN_URL="https://${OKTA_DOMAIN}/oauth2/default/v1/authorize?\ client_id=${OKTA_CLIENT_ID}\ &redirect_uri=http://localhost:8080/api/callback/token\ &scope=openid\ &response_type=token\ &response_mode=form_post\ &state=state\ &nonce=myNonceValue" echo $OKTA_ACCESS_TOKEN_URL -
Copy the Okta Access Token Url from the previous step and paste it in a browser
-
The Okta login page will appear. Enter the username & password of the person added at the step
Configuring Okta > Add personand clickSign Inbutton -
It will redirect to
api/callback/tokenendpoint ofsimple-serviceand theAccess tokenwill be displayed, together with other information{ "state": "state", "access_token": "eyJraWQiOiJyNFdY...", "token_type": "Bearer", "expires_in": "3600", "scope": "openid" }Note: In jwt.io, you can decode and verify the Access Token
-
GET api/publicThe
api/publicendpoint is not secured, so we can call it without any problem.curl -i http://localhost:8080/api/publicIt should return
HTTP/1.1 200 It's a public message. -
GET api/privatewithout Access TokenTry to call
api/privateendpoint without informing the Access Token.curl -i http://localhost:8080/api/privateIt should return
HTTP/1.1 401 -
GET api/privatewith Access TokenFirst, get the access token as explained in
Getting Access Tokensection. Then, create an environment variable for the access tokenACCESS_TOKEN=...Call
api/privateendpoint informing the access token.curl -i http://localhost:8080/api/private -H "Authorization: Bearer $ACCESS_TOKEN"Response
HTTP/1.1 200
mario.bros@test.com, it's a private message.
-
Get the access token as explained in
Getting Access Tokensection. -
Click
Authorizebutton. Paste the Access Token in theValuefield. Then, clickAuthorizeandCloseto finalize. -
Done! You can now access the sensitive endpoints.
Go to the terminal where the application is running and press Ctrl+C
In a terminal and inside okta-springboot root folder, run the command below
./mvnw clean test --projects simple-service
To remove the Docker images created by this project, go to terminal and, inside okta-springboot root folder, run the following script
./remove-docker-images.sh
- In the
Okta Admin Dashboardmain menu on the left, clickDirectorymenu and thenPeoplesub-menu - Click
Mario Brosin the People list - In
Mario Brosprofile, clickMore Actionsmulti-button and thenDeactivate - Confirm deactivation by clicking
Deactivatebutton - Still in
Mario Brosprofile, clickDeletebutton - Confirm deletion by clicking
Deletebutton
- In the
Okta Admin Dashboardmain menu on the left, clickApplicationsmenu and thenApplicationssub-menu - In Application list whose status is
ACTIVE, clickSimple Service'sgearicon and then clickDeactivate - Confirm deactivation by clicking
Deactivate Applicationbutton - In Application list whose status is
INACTIVE, clickSimple Service'sgearicon and then clickDelete - Confirm deletion by clicking
Delete Applicationbutton


