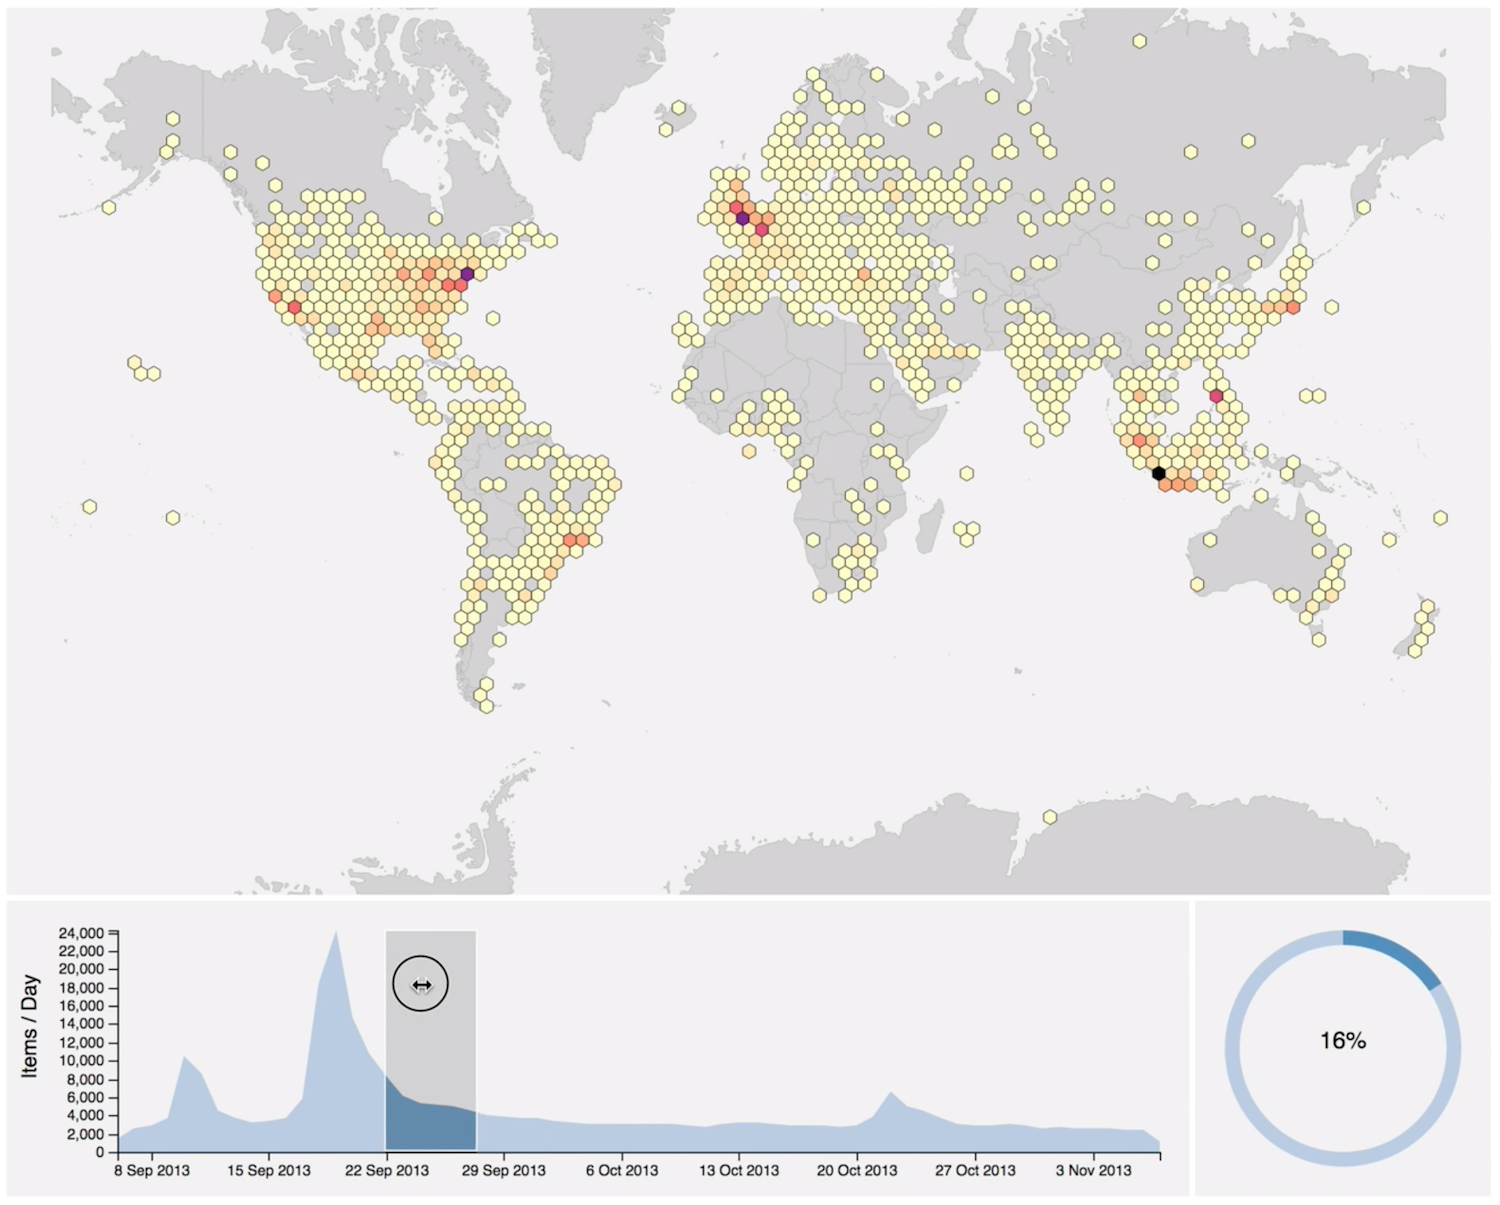
A coordinated hexbin, time series and pie chart visualization of geocoded and date-stamped data created with D3. The hexbins group the data points by latitude and longitude. The time series charts the number of data points created each day. The pie chart shows the proportion of data points selected with the time series.
Selecting a date range by brushing the time series updates the hexbins to highlight the data points in the selected date range. The pie chart updates to show the proportion of selected data points.
The D3 Geo Hexbin video on YouTube shows an example with 28,000 data points:
The data folder contains two files. The World map GeoJSON is stored in world-50m.json. The data.csv file contains a small example dataset to demonstrate the required three-column CSV format:
| Date | Latitude | Longitude |
|---|---|---|
| 30-09-2018 | 27.174996 | 78.042144 |
| 01-10-2018 | 48.858307 | 2.294513 |
| 02-10-2018 | 40.748424 | -73.985750 |
You should replace the contents of data.csv with your own data.
Both files are loaded asynchronously by d3-queue, which initiates the visualization after both files have loaded.
The default date format is day-month-year (e.g. 01-10-2018). The date format is defined by the standard JavaScript date format notation. To change the date format, edit the following line in the index.html file:
var dateFormat = "%d-%m-%Y";
The D3 Geo Hexbin visualization is an HTML page that should be served from an HTTP server. Two easy to use web servers are Python's built in HTTP server and the Node.js http-server module.
To run the Python web server, change to the folder containing the d3-geo-hexbin repository and issue the following command:
python -m SimpleHTTPServer
Or, to run Node's http-server, change to the folder containing the d3-geo-hexbin repository and issue the following command:
http-server -p 8000
If you don't have the http-server module installed, install it with the following command:
npm install http-server -g
The -g command-line option installs the http-server globally to make it available from any folder.
After running the HTTP server, visit the following URL in your web browser:
http://localhost:8000/
