This package is used to publish a virtual world in Rviz for use on a projector. It also includes a node to turn a navigation path into path of arrows. Feel free to open an issue if you have any questions or encounter any problems. This package was tested with ROS Melodic on Ubuntu 18.04.
It is accompanied with the following paper submitted to AI-HRI 2020:
Projection Mapping Implementation: Enabling Direct Externalization of Perception Results and Action Intent to Improve Robot Explainability. Submitted to the AI-HRI Symposium at AAAI-FSS 2020.
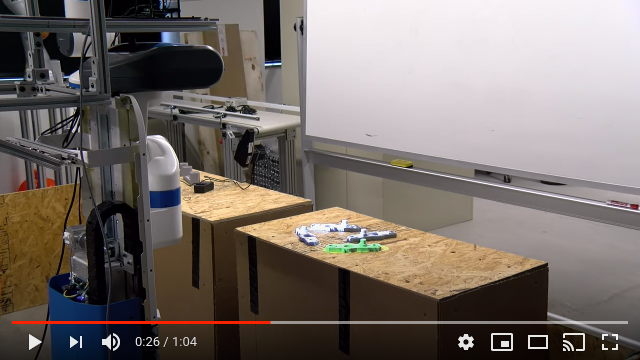
Video:
- Download the
rviz_camera_streamplugin to yoursrcdirectory:git clone https://github.com/uml-robotics/rviz_camera_stream.git - On Ubuntu, enable a "Toggle fullscreen mode" shortcut
Super + F11in keyboard settings:

- Change the Fixed Frame to the projector frame
- See [
launch/tf_publisher.launch] for an example on how to publish projector frames - It is reccommended to add a TF display to see the location of the projector
- See [
- Add displays to visualize anything
- If you plan to project point clouds, add displays for them
- If you plan to project the navigation MarkerArray, add a MarkerArray display and set the topic to
/visualization_marker_array
- Add an Image display and set the topic to
/proj_view/imageor your custom image topic - Add a CameraPub display
- Set the image topic to
/proj_view/imageand the camera info topic to/proj_view/camera_info- See [
launch/camera_publisher.launch] for an example on how to publish a CameraInfo message
- See [
- Under "Visibility", choose what you want visible from
proj_view
- Set the image topic to
Notes:
- The fixed frame in the Rviz confing is currently set to
projector_turret_base_link - The projection image is the view from the
proj_viewTF frame in Rviz proj_link's parent is currentlybase_linkprojector_camera_info.yamlis set up for a ViewSonic PA503W projector. Details on how to manually calculate the values of K and P can be found in [docs/projector_calibration.pdf].
- Launch point cloud projection:
roslaunch point_cloud_projection point_cloud_projection.launch- This will launch both
launch/camera_publisher.launchandlaunch/tf_publisher.launch
- This will launch both
- Run the
fetch_projector.rvizRviz config:roscd point_cloud_projection && rviz -d rviz/fetch_projector.rviz, or your own rviz config - Run
image_viewwithrosrun image_view image_view image:=/proj_view/image - Make the image fullscreen on the projector screen by pressing
Super + F11 - The projector should be pointed in the direction of the point cloud either manually or with a pan/tilt unit as described in the paper


- Launch point cloud projection:
roslaunch point_cloud_projection point_cloud_projection.launch - Run the marker publishing node:
rosrun point_cloud_projection marker_nodeto convert/move_base/NavfnROS/planinto a MarkerArray - Run the
fetch_projector.rvizRviz config:roscd point_cloud_projection && rviz -d rviz/fetch_projector.rviz, or your own config - Run
image_viewwithrosrun image_view image_view image:=/proj_view/image - Make the image fullscreen on the projector screen by pressing
Super + F11 - The projector should be pointed at the floor in front of the robot either manually or with a pan/tilt unit as described in the paper

![]()
camera_publisher.launch uses projector_camera_info.yaml to publish /proj_view/camera_info, which is a topic of type sensor_msgs::CameraInfo
tf_publisher.launch creates 2 static transform publishers proj_link and proj_view. proj_link is the center of the bottom of the projector, and proj_view is the lense of the projector
point_cloud_projection.launch launches both camera_publisher.launch and tf_publisher.launch