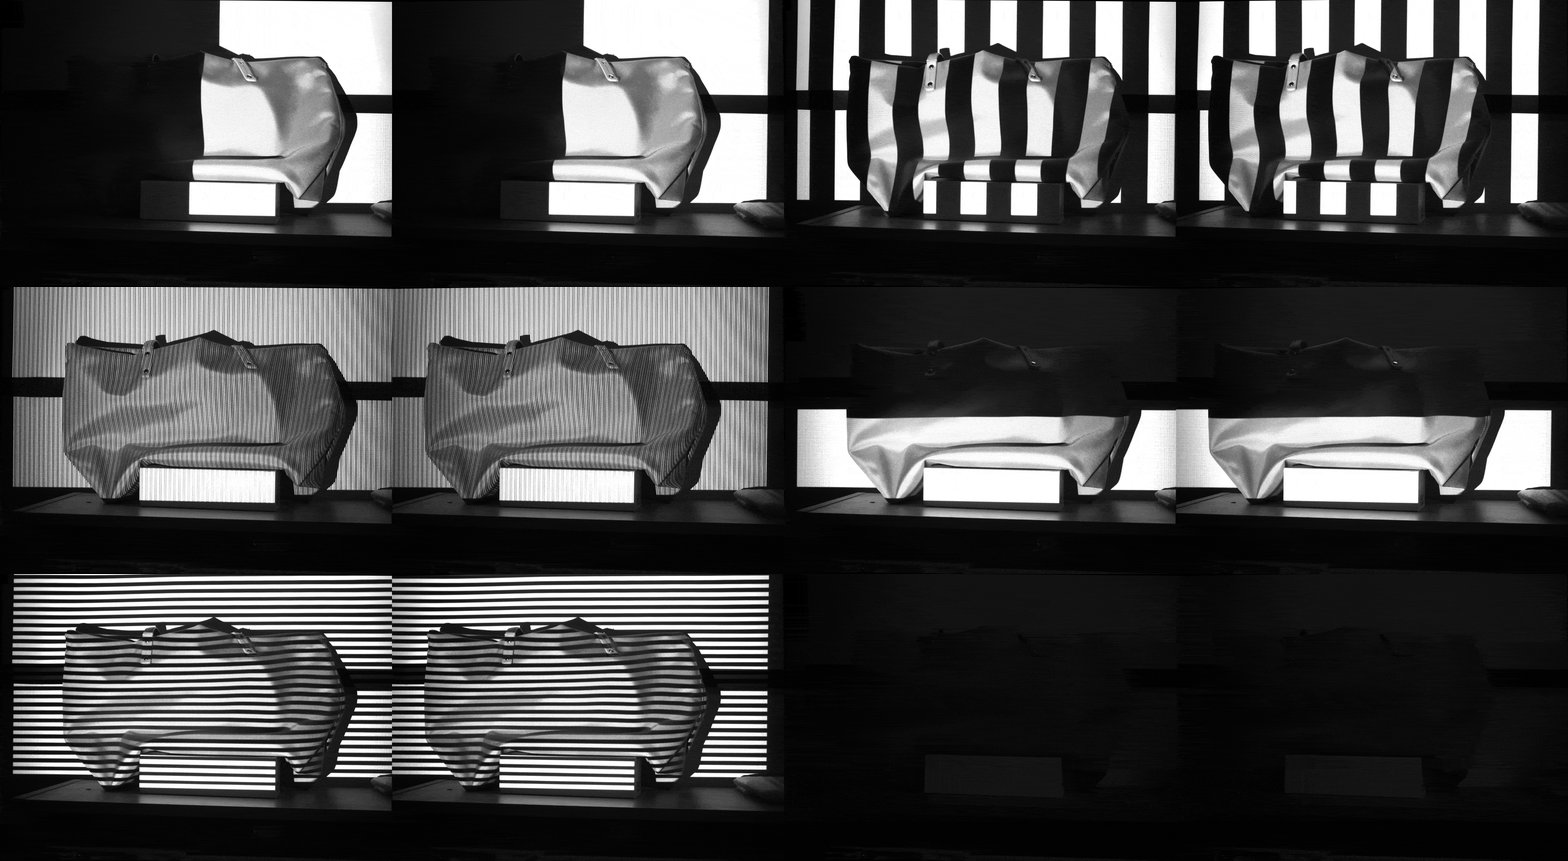
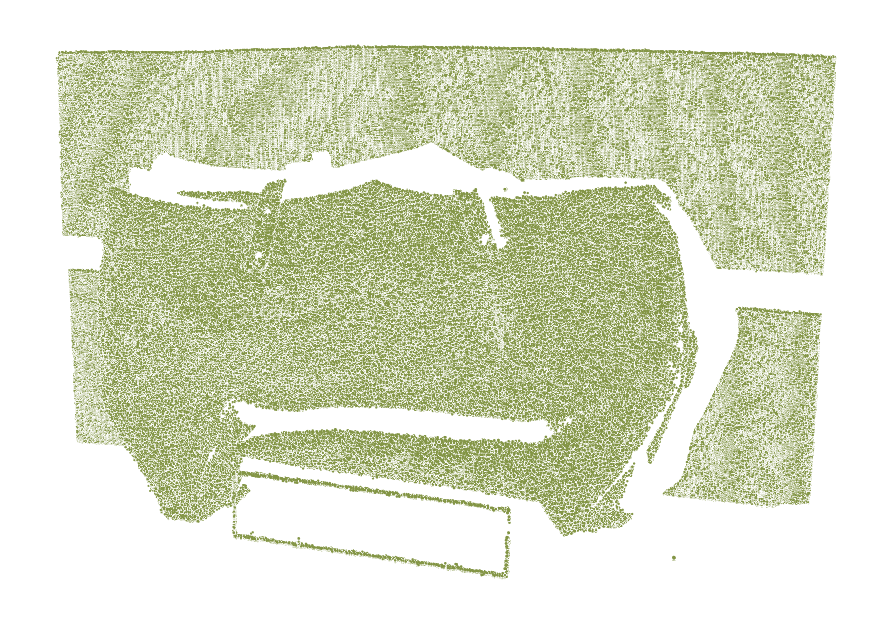
This repo uses a stereo camera and gray-code-based structured light to realize dense 3D reconstruction.
-
STEP 0:
pip install opencv-python==4.5.4.60 opencv-contrib-python==4.5.4.60(Version is necessary since the APIs are changed in higher versions.) -
STEP 1: Setup the stereo camera and calibrate it with a Charuco board. An example dataset is provided in
./data/stereo_calib_flir. You can play with it by running./capture/charuco_calib.py. The calibration results will be saved in './data/stereo_calib_flir/stereo_calib_data.h5. -
STEP 2: Connect your projector with your computer and run
gray_code_encoder.pyto project gray-code patterns. I used two FLIR cameras to build my stereo system and the driver script is./capture_calib/double_flir_capture.py. An example dataset is in./data/bag. -
STEP 3: Run one of the three
gray_code_decoder_*.pyscripts to get the reconstructed point clouds. Differences among them are:gray_code_decoder_disp.py: First recover a disparity map and rely on it to construct the point clouds. So the matching is column-direction only. This script can be the primary choice with good stereo calibration.gray_code_decoder_tria_all_pts.py: First respectively construct the pixel-level camera-projector correspondences. Then triangulate the left-right camera pixels that correspond to the same projector's pixel. So the matching is 2D.gray_code_decoder_tria_unique_pts.py: Same as above. But only pixels with unique correspondences are triangulated.

