I completed this project as part of Udacity's Deep Reinforcement Learning Nanodegree.
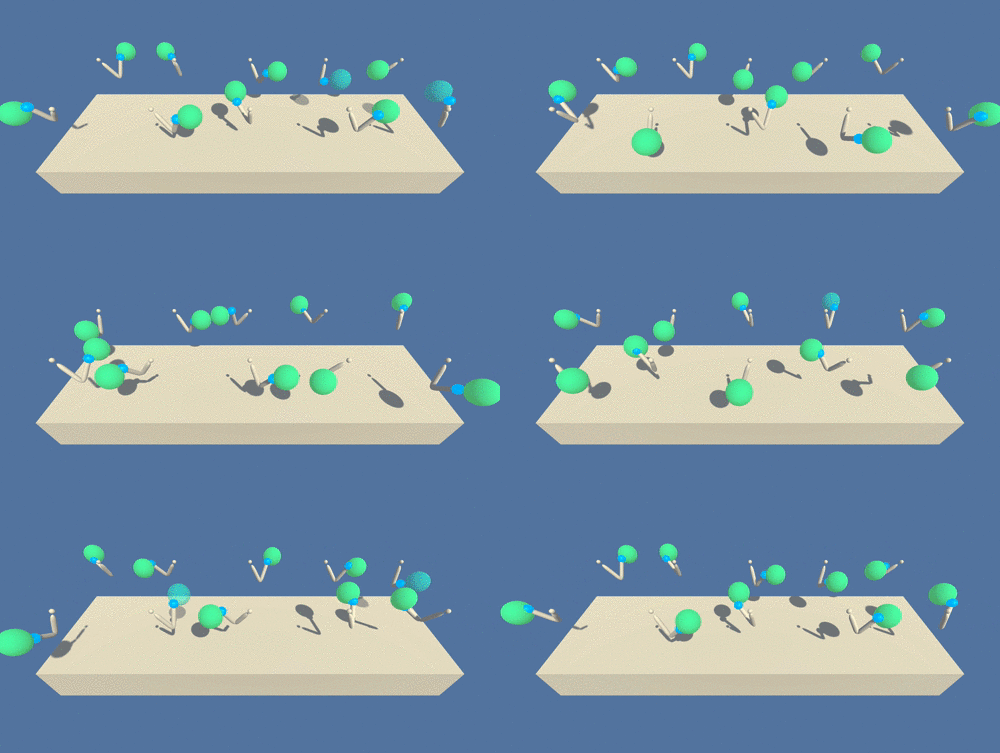
The goal of this project is to solve the Unity ML-Agents Reacher Environment.
In this environment, a double-jointed arm can move to target locations. A reward of +0.1 is provided for each step that the agent's hand is in the goal location. Thus, the goal of your agent is to maintain its position at the target location for as many time steps as possible.
The observation space consists of 33 variables corresponding to position, rotation, velocity, and angular velocities of the arm. Each action is a vector with four numbers, corresponding to torque applicable to two joints. Every entry in the action vector should be a number between -1 and 1.
For this project, there are two separate versions of the Unity environment.
- The first version contains a single agent.
- The second version contains 20 identical agents, each with its own copy of the environment.
The second version is useful for algorithms like PPO, A3C, and D4PG that use multiple (non-interacting, parallel) copies of the same agent to distribute the task of gathering experience.
Download the environment that matches your operating system from one of the links below:
-
Version 1: One (1) Agent
- Linux: click here
- Mac OSX: click here
- Windows (32-bit): click here
- Windows (64-bit): click here
-
Version 2: Twenty (20) Agents
- Linux: click here
- Mac OSX: click here
- Windows (32-bit): click here
- Windows (64-bit): click here
(For Windows users) Check out this link if you need help with determining if your computer is running a 32-bit version or 64-bit version of the Windows operating system.
(For AWS) If you'd like to train the agent on AWS (and have not enabled a virtual screen), then please use this link (version 1) or this link (version 2) to obtain the "headless" version of the environment. You will not be able to watch the agent without enabling a virtual screen, but you will be able to train the agent. (To watch the agent, you should follow the instructions to enable a virtual screen, and then download the environment for the Linux operating system above.)
I store my environment files locally, rather than in GitHub, because they are quite large. This one is 64MB on Mac, for example.
The primary dependencies for this project are:
The requirements.txt file contains all dependencies required to run the project code. You can use the requirements.txt to create a virtual environment to run the project code.
For example, I use Conda to create a virtual environment called DLRND, using the following command:
$ conda create --name DRLND --file requirements.txtActivate the DLRND virtual environment:
$ conda activate DLRND
(DLRND) $
The primary project code is run from the Continuous_Control.ipynb Jupyter Notebook.
Install ipykernel if not already installed:
(DLRND) $ conda install -c anaconda ipykernel
Then, tell ipykernel about the DLRND conda virtual environment:
(DLRND) $ python -m ipykernel install --user --name=DLRND
Go to the root directory of your project, and run the jupyter notebook command:
(DLRND) $ jupyter notebook
Once Jupyter starts, select the Continuous_Control.ipynb. Go to the Kernel menu, and select the Change kernel option. From there, you should see the DLRND environment name listed. After you select the environment name that you want, you will see it displayed in the top right corner of the notebook, as shown here:
From there, you can follow the instructions in the notebook, and step through the notebook to see the DQN implementation in action.

