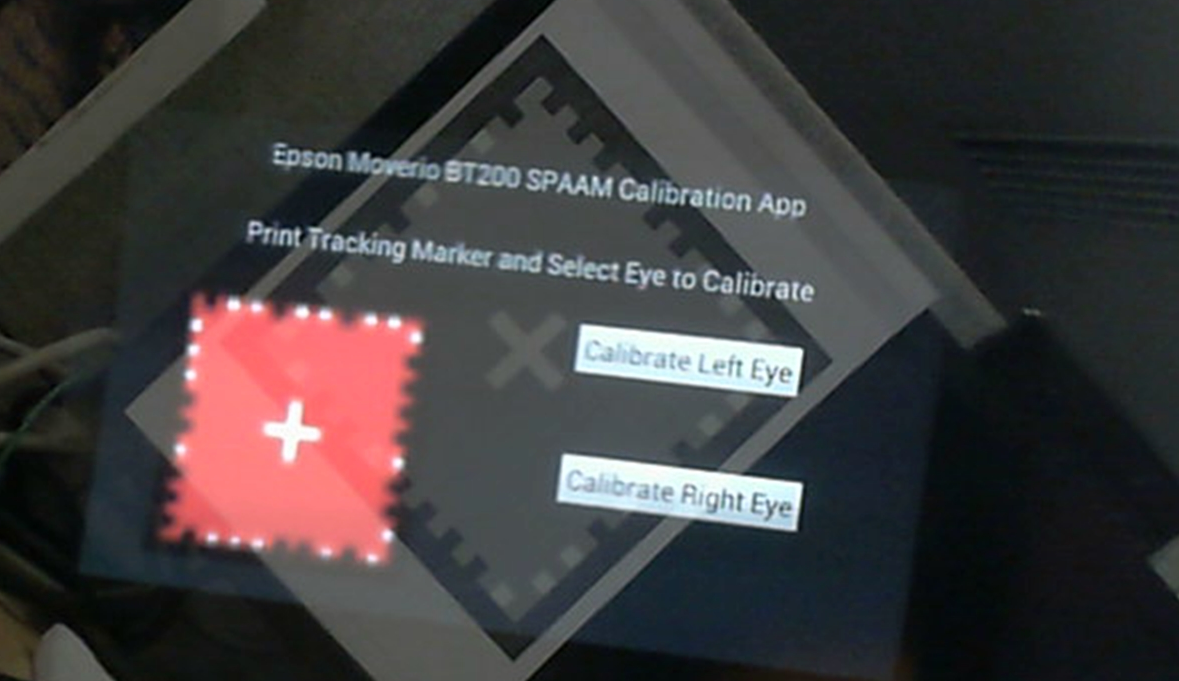
A Single Point Active Alignment Method implementation created to calibrate the left and right eye perspective projections for the Epson Moverio BT-200 Optical See-Through Head-Mounted Display
The intention of this program is to allow a user to calibrate the left and right eye view of the Epson Moverio, save the calibration result to the device, and be able to use other programs which read those calibration files to produce correctly registered AR content.
/************************************************************************* This code is taken almost directly from the Ubitrack library. I have simply converted it from C++ and Boost to Java and JAMA:
Ubitrack - Library for Ubiquitous Tracking
- Copyright 2006, Technische Universitaet Muenchen,
- This is free software; you can redistribute it and/or modify it
- under the terms of the GNU Lesser General Public License as
- published by the Free Software Foundation; either version 2.1 of
- the License, or (at your option) any later version.
- This software is distributed in the hope that it will be useful,
- but WITHOUT ANY WARRANTY; without even the implied warranty of
- MERCHANTABILITY or FITNESS FOR A PARTICULAR PURPOSE. See the GNU
- Lesser General Public License for more details.
- You should have received a copy of the GNU Lesser General Public
- License along with this software; if not, write to the Free
- Software Foundation, Inc., 51 Franklin St, Fifth Floor, Boston, MA
- 02110-1301 USA, or see the FSF site: http://www.fsf.org.
The source code is open source under the GLPL license. Please feel free to use and modfiy the source code with proper citation where applicable *************************************************************************/
This software is free to use and modify by anyone. It is hoped that the accessibilty of this software will aid and encourage others interested in see-through display calibration to further the work and ease the development of other projects.
There are 3 main parts to this software
1 The source code - This project is intended for use on the Epson Moverio BT-200, and therefore the source code is written in Java for use on the Android platform. The project itself is created for the Eclipse IDE but should be usable in other Android development environments as well.
2: Third Party libraries - This project requires hat several third party libraries be inclded which provide necessary functionality. These libraries are: Vuforia (used for marker tracking), JAMA (used for linear algebra solving), Moverio SDK (used to control some screen settings of the Moverio device)
3: Tracking Marker - This is the marker used for the screen-world alighnments of SPAAM. There is a Microsoft Power Point file that contains the marker as well as 2 pdf's (one letter and one A4) which can be used to print the marker to the appropriate size (20cm x 20cm).
If you wish to modify the code of this project, follow these simple steps to setup the project for compilation in the Eclipse IDE for Android development.
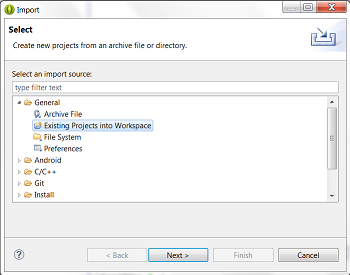
1: Import the project directly by selecting the import option from the File menu of Eclipse.
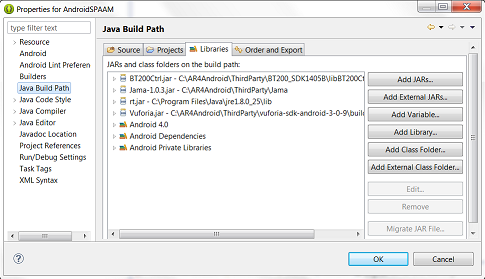
2: Once the project is imported, you will most likely need to adjust the path settings to the required third party libraries. Right click on the project folder in Eclipse and go to properties. Under the 'Java Build Path' -> Libraries settings, make sure that the correct paths are set for the JAMA.java math library, the Vuforia.java tracking library, the BT200Ctrl.java Moverio settings library, and the rt.jaba java runtime library.
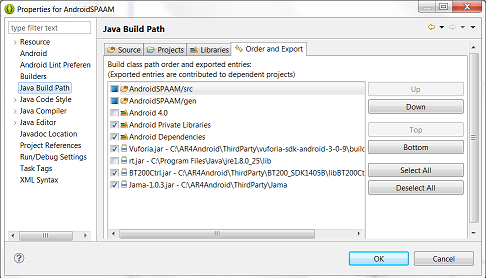
3: Once the paths to the third party libraries are set, also verify that the proper ordering and export options are selected for each.
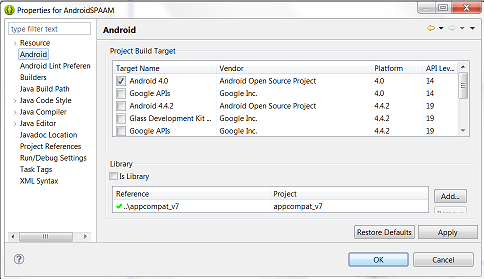
4: Once the required libraries are properly linked, make sure that the appcompat_V7 library is available from the 'Android' -> 'Library' pane of the properties window. This I believe can be installed through the Eclipse IDE update SDK options (or something to that effect).
5: You will also need to make sure that the Android NDK is available on your machine since this is needed to compile the JNI c++ code used by the Vuforia library. (You only need to recompile the JNI code if you modify the activity class name, such as copying the code to your own project, or changing the name of the native functions. See the Vuforia developer site for more information on working with Vurforia). If you simply use this project as the starting point of your own application then you will most likely not need to recompile the JNI c++ code.
6: The project should now properly compile the apk.
To use the calibration software, simply install the apk available in the bin directory of the project and follow these simple steps.
1: Print out the required tracking marker (the black border of the marker should be 20cm x 20cm). There is a Microsoft Power Point and also 2 pdf versions (letter & A4 size) that contain printable versions of the marker.
Even though the marker image is in red, Vuforia is also capable of tracking the marker in grey scale. Therefore, if you can only print the marker in black and white, that is also fine as long as the dimensions are 20cm x 20cm.
2: Run the program on the Moverio device. The icon for the program will resemble the printed tracking marker.
3: On the main start screen select the eye to calibrate (left or right).
4: Once the eye is chosen, the alignment crosses will appear in that eye. The other eye will see only a black screen (nothing on the display itself). It is best to close the unused eye during calibration to avoid binocular rivalry.
![]()
5: Look at the printed tracking marker. If the Moverio's camera is able to see the marker the crosses will appear green. If the crosses appear red then the marker is not seen. Please make sure that the Moverio camera can see the marker at all times. (Blue crosses mean that the marker is tracked but that the internal storage of the device cannot be accessed to record the result).
6: Tap on the touch pad to begin the calibration. During calibration only a single cross should be visible. (take care not to accidentaly tap on the touchpad during calibration since taps signal for a measurement to be taken).
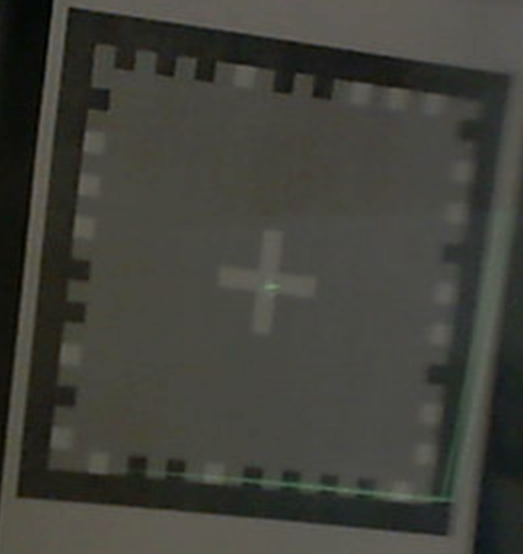
7: Align the green crosshair with the center of the white cross on the tracking marker. Once the screen cross and tracking marker cross are aligned, tap on the touch pad to take the measurement and show the next cross.
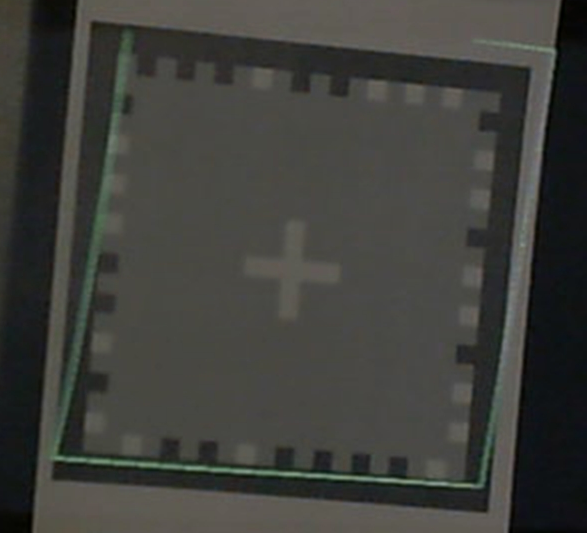
9: Repeat the process for as many crosses as desired to achieve a satisfactory calibration. A green wireframe square will be shown during the calibration. A very good calibration should result in the wireframe square matching the border of the tracking marker very closely.
10: The calibration results should be saved in the 'Download' folder of the device in the new folder 'SPAAM_Calib'. A seperate file for the left and right eye will be created and can be used by other programs to create perspectively correct projections. The calibration results are created using a RandomAccess file object writting doubles. So be sure to read doubles in your own programs using these files. The saved results are 4x4 matrices in column major order that can be used directly in opengl ES programs.
