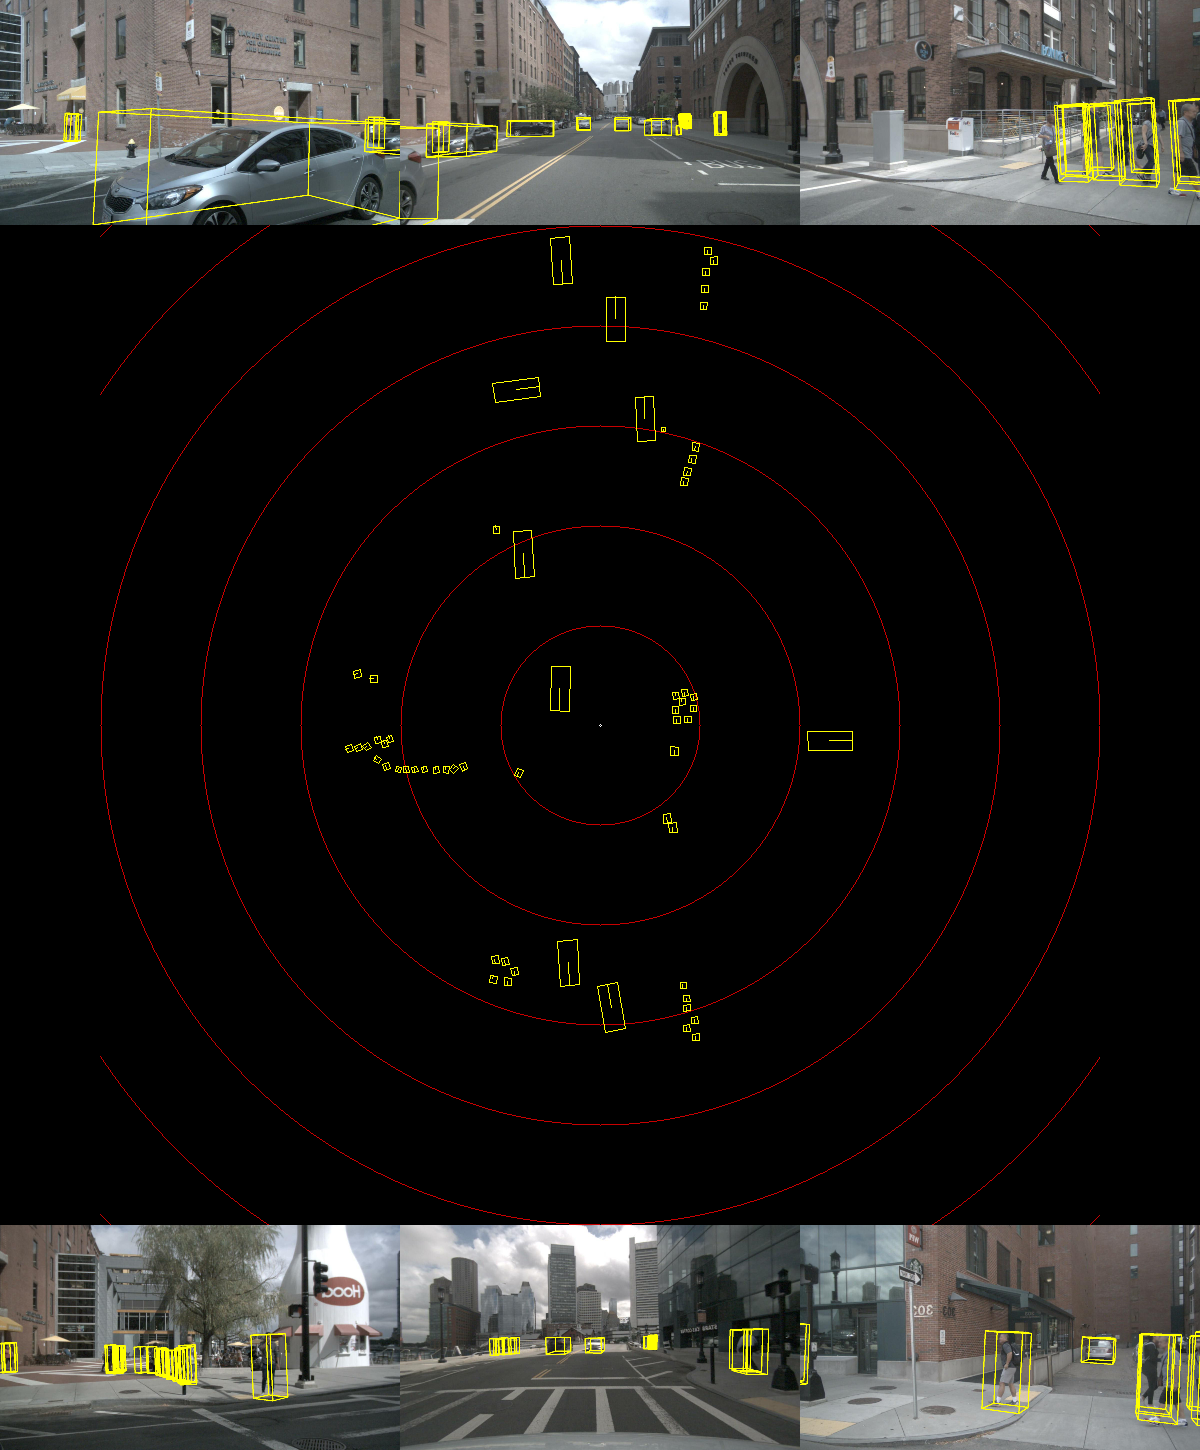
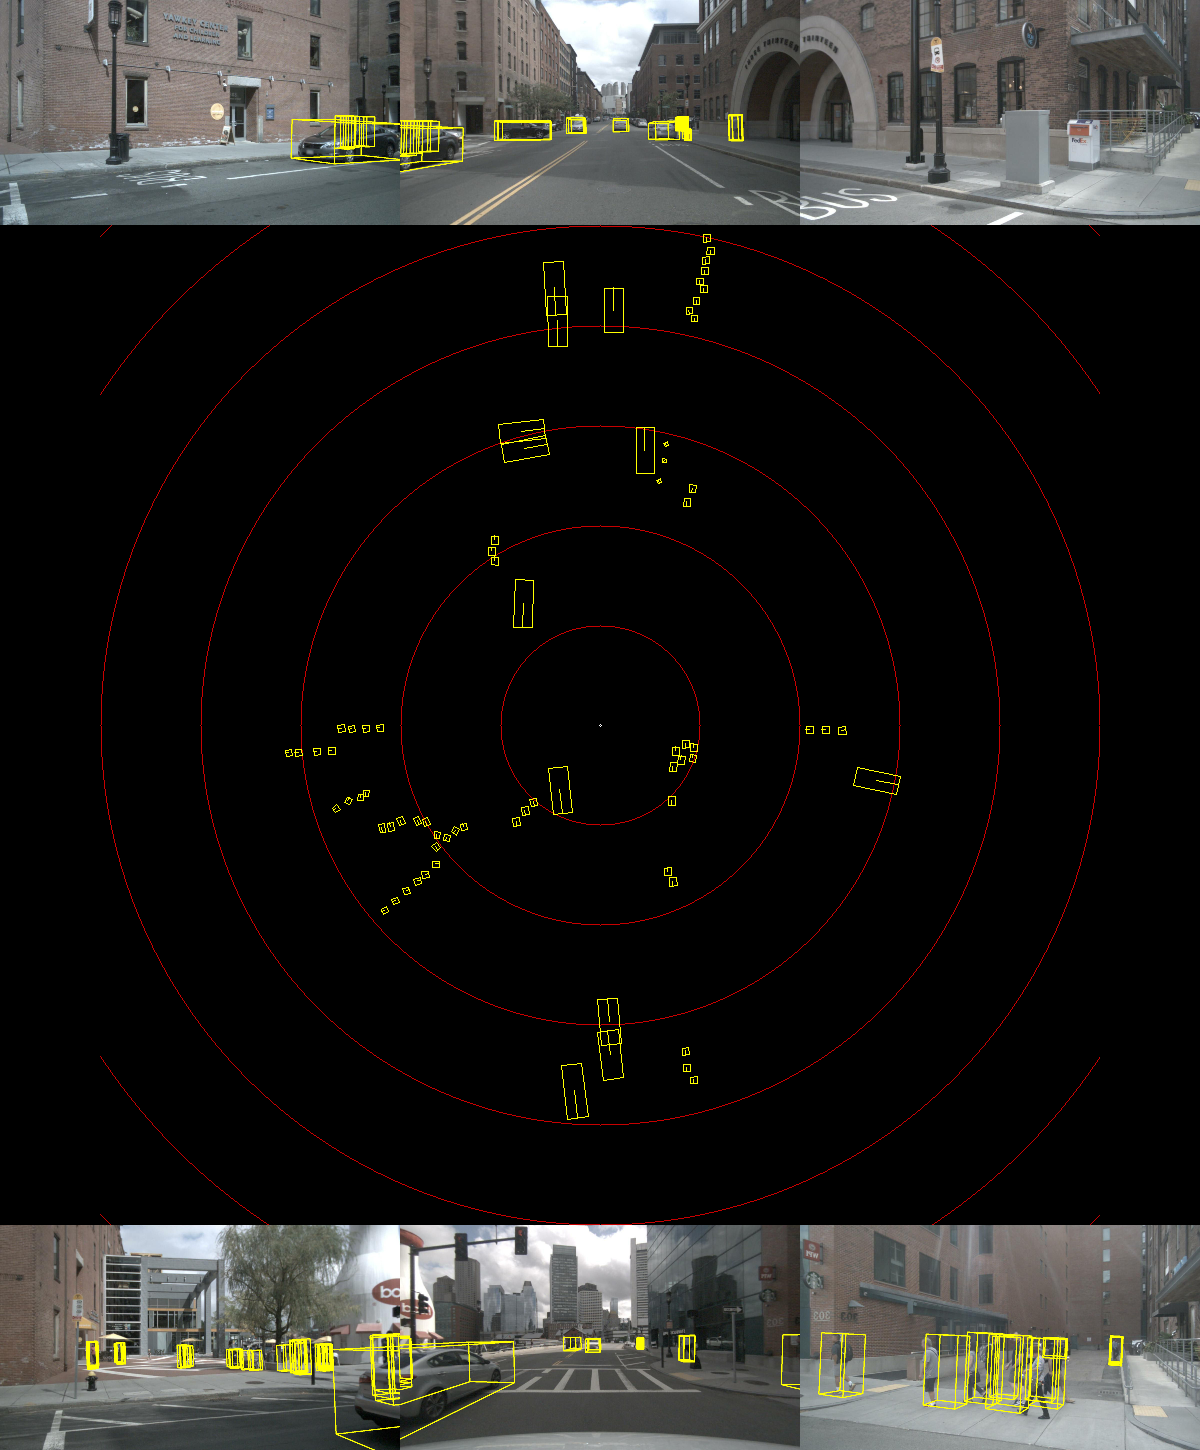
This repository contains sources and model for Fast-BEV inference using CUDA & TensorRT. And provide PTQ and QAT int8 quantization code.
- For all models, I used the configs/fastbev_m0_r18_s256x704_v200x200x4_c192_d2_f1.py configuration, delete time sequence.
- The camera resolution is 256x704
- Backbone is ResNet18, without DCN
| Model | Framework | Precision | mAP | FPS |
|---|---|---|---|---|
| ResNet18 | TensorRT | FP16 | 24.3 | 113.6(on RTX2080Ti) |
| ResNet18-PTQ | TensorRT | FP16+INT8 | 23.89 | 143.8 |
| ResNet18-head-PTQ | TensorRT | FP16 + INT8 | 23.83 | 144.9 |
-
For quick practice, I provide an example data of nuScenes.You can download from Google Drive It contains the following:
- Camera images in 6 directions.
- Transformation matrix of camera/lidar and vtrans need data.
-
All models (model.zip) can be downloaded from Google Drive .It contains the following:
- fastbev onnx models and pytorch models.
- resnet18 int8 onnx and PTQ models.
To build fastbev, we need to depend on the following libraries:
- CUDA >= 11.0
- CUDNN >= 8.2
- TensorRT >= 8.5.0
- libprotobuf-dev == 3.6.1
- Compute Capability >= sm_80
- Python >= 3.6
The data in the performance table was obtained by us on the Nvidia Orin platform, using TensorRT-8.6, cuda-11.4 and cudnn8.6 statistics.
- download model.zip
- download nuScenes-example-data.zip
# download models and datas to CUDA-FastBEV
cd CUDA-FastBEV

# unzip models and datas
unzip model.zip
unzip nuScenes-example-data.zip

# here is the directory structure after unzipping
CUDA-FastBEV
|-- example-data
    |-- 0-FRONT.jpg
    |-- 1-FRONT_RIGHT.jpg
    |-- ...
    |-- example-data.pth
    |-- x.tensor
    |-- y.tensor
    `-- valid_c_idx.tensor
|-- src
|-- ptq
|-- model
    |-- resnet18int8
    |   |-- fastbev_pre_trt.onnx
    |   |-- fastbev_post_trt_decode.onnx
    |   |-- fastbev_ptq.pth
    |-- resnet18
    `-- resnet18int8head
`-- tool- Install python dependency libraries
apt install libprotobuf-dev
pip install onnx- Modify the TensorRT/CUDA/CUDNN/fastbev variable values in the tool/environment.sh file.
# change the path to the directory you are currently using
export TensorRT_Lib=/path/to/TensorRT/lib
export TensorRT_Inc=/path/to/TensorRT/include
export TensorRT_Bin=/path/to/TensorRT/bin

export CUDA_Lib=/path/to/cuda/lib64
export CUDA_Inc=/path/to/cuda/include
export CUDA_Bin=/path/to/cuda/bin
export CUDA_HOME=/path/to/cuda

export CUDNN_Lib=/path/to/cudnn/lib

# resnet18/resnet18int8/resnet18int8head
export DEBUG_MODEL=resnet18int8

# fp16/int8
export DEBUG_PRECISION=int8
export DEBUG_DATA=example-data
export USE_Python=OFF- Apply the environment to the current terminal.
. tool/environment.sh- Building the models for tensorRT
bash tool/build_trt_engine.sh- Compile and run the program
bash tool/run.sh- PTQ
python ptq_bev.py- QAT
python qat_bev.py- export ONNX
python export_onnx.py
