This repository provides the environment used to train the Unitree Go1 robot to walk on rough terrain using NVIDIA's Isaac Gym.
This repository is based on the legged gym environment by Nikita Rudin, Robotic Systems Lab, ETH Zurich (https://arxiv.org/abs/2109.11978) and the Isaac Gym simulator from NVIDIA (Paper: https://arxiv.org/abs/2108.10470). Training code builds on the rsl_rl repository, also by Nikita Rudin, Robotic Systems Lab, ETH Zurich. All redistributed code retains its original license.
Original Project website: https://leggedrobotics.github.io/legged_gym/
Paper: https://arxiv.org/abs/2109.11978
A blog for setting up Isaac Gym: Link
A YouTube Video Tutorial: Video Link
A GitHub Repo which collected some resources for Isaac Gym: Link
Isaac Gym works on the Ubuntu system and the system version should be Ubuntu 18.04, or 20.04. Isaac Gym also needs an NVIDIA GPU to enable reinforcement learning training. Before implementing the training, please make sure you have an NVIDIA GPU with at least 8GB of VRAM.
- Create a new python virtual env with python 3.6, 3.7 or 3.8 (3.8 recommended)
- Install pytorch 1.10 with cuda-11.3:
pip3 install torch==1.10.0+cu113 torchvision==0.11.1+cu113 torchaudio==0.10.0+cu113 -f https://download.pytorch.org/whl/cu113/torch_stable.html
- Install Isaac Gym
- Download and install Isaac Gym Preview 4 from here.
- Unzip the file via:
tar -xf IsaacGym_Preview_4_Package.tar.gz
- Now install the python package
cd isaacgym/python && pip install -e .
- Verify the installation by try running an example
python examples/1080_balls_of_solitude.py
- For troubleshooting check docs
isaacgym/docs/index.html
- Install rsl_rl (PPO implementation)
- Clone https://github.com/leggedrobotics/rsl_rl
cd rsl_rl && pip install -e .
- Install legged_gym
- Clone this repository
cd legged_gym && pip install -e .
At this moment, though we don't have Unitree Go1 yet, we still can test if the training enviroment works. They have several quadruped robots supported by this repository, for example: A1, ANYmal C... Please note that for now, we don't have any trained policy yet, therefore, we can only use the test.py file to test if the enviroment was installed correctly.
- Test the enviroment with ANYmal C robot standing on the ground:
python legged_gym/tests/test_env.py --task=anymal_c_flat
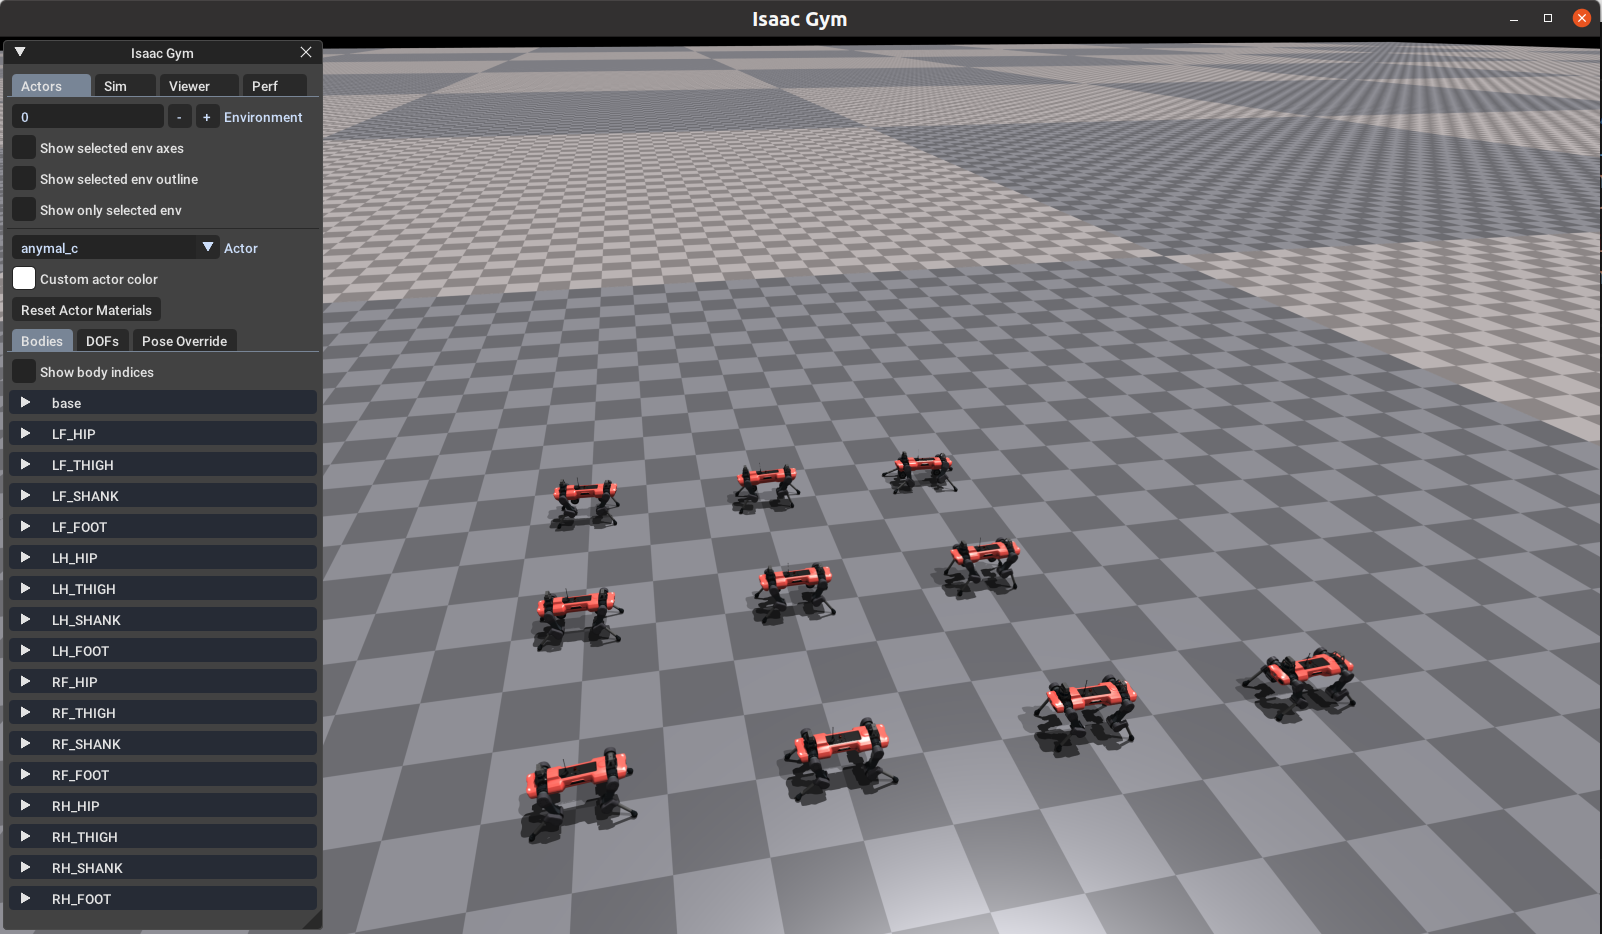
- By default it will generate 10 ANYmal C robot standing on a flat plane such like the picture below.

Now we can train our first policy to see how this training enviroment works and how we can tune the enviroment. Use ANYmal C robot as an example:
- Train:
python legged_gym/scripts/train.py --task=anymal_c_flat- To run on CPU add following arguments:
--sim_device=cpu,--rl_device=cpu(sim on CPU and rl on GPU is possible). - To run headless (no rendering) add
--headless. - Important: To improve performance, once the training starts press
vto stop the rendering. You can then enable it later to check the progress. - The trained policy is saved in
issacgym_anymal/logs/<experiment_name>/<date_time>_<run_name>/model_<iteration>.pt. Where<experiment_name>and<run_name>are defined in the train config. - The following command line arguments override the values set in the config files:
- --task TASK: Task name.
- --resume: Resume training from a checkpoint
- --experiment_name EXPERIMENT_NAME: Name of the experiment to run or load.
- --run_name RUN_NAME: Name of the run.
- --load_run LOAD_RUN: Name of the run to load when resume=True. If -1: will load the last run.
- --checkpoint CHECKPOINT: Saved model checkpoint number. If -1: will load the last checkpoint.
- --num_envs NUM_ENVS: Number of environments to create.
- --seed SEED: Random seed.
- --max_iterations MAX_ITERATIONS: Maximum number of training iterations.
- To run on CPU add following arguments:
- Play a trained policy:
python legged_gym/scripts/play.py --task=anymal_c_flat- By default the loaded policy is the last model of the last run of the experiment folder.
- Other runs/model iteration can be selected by setting
load_runandcheckpointin the train config.
Then we can take a glance at the code structure, this part gives us help for adding new robots to our training enviroment.
- Each environment is defined by an env file (
legged_robot.py) and a config file (legged_robot_config.py). The config file contains two classes: one conatianing all the environment parameters (LeggedRobotCfg) and one for the training parameters (LeggedRobotCfgPPo). - Both env and config classes use inheritance.
- Each non-zero reward scale specified in
cfgwill add a function with a corresponding name to the list of elements which will be summed to get the total reward. - Tasks must be registered using
task_registry.register(name, EnvClass, EnvConfig, TrainConfig). This is done inenvs/__init__.py, but can also be done from outside of this repository.
The base environment legged_robot implements a rough terrain locomotion task. The corresponding cfg does not specify a robot asset (URDF/ MJCF) and no reward scales.
- Add a new folder to
envs/with'<your_env>_config.py, which inherit from an existing environment cfgs - If adding a new robot:
- Add the corresponding assets to
resourses/. - In
cfgset the asset path, define body names, default_joint_positions and PD gains. Specify the desiredtrain_cfgand the name of the environment (python class). - In
train_cfgsetexperiment_nameandrun_name
- Add the corresponding assets to
- (If needed) implement your environment in <your_env>.py, inherit from an existing environment, overwrite the desired functions and/or add your reward functions.
- Register your env in
isaacgym_anymal/envs/__init__.py. - Modify/Tune other parameters in your
cfg,cfg_trainas needed. To remove a reward set its scale to zero. Do not modify parameters of other envs!
Follow the instruction to add the Unitree Go1 robot into the Isaac Gym.
- First we need to add the Go1 robot assets into the environment. Put the
go1folder under the/resources/robotsdirectory. Thego1folder include the robot description such asmeshesand theurdffile. These files are from Unitree Official Github page. - Then we need to add a new folder which is
go1intoenvs/withgo1_config.pyfile, which inherit from an existing environment cfgs. We can refer to the existinga1_config.pyfile in thea1folder to create thego1_config.py. In this config file, we need:- Set path to our go1 asset. And also define the body names, default_joint_positions and PD gains.
- Specify the training configration which contains the
experiment_nameandrun_name. - Add the training configration into the
__init__.pyfile to take the registration.
- We can also modify other settings such as reward, terrain as needed.
You can use the following command to test whether the new Go1 enviroment was added correctly.
python legged_gym/tests/test_env.py --task=go1If it is correct, you will see a simulation such as follows:

Besides the robot asset, we also implemented the training configrationm, therefore, we can train the Go1 robot. We can use this command to train the Go1 robot walking on a flat ground:
python legged_gym/scripts/train.py --task=go1 In this repository, we already had one trained policy for Go1 walking on the flat ground which is in the /logs folder for thoes who don't want to spend time on training or lack of GPU memory.
You can use the following command to test the trained policy after training:
python legged_gym/scripts/play.py --task=go1 --num_envs=256Here is the example for running the trained policy:

-
If you get the following error:
ImportError: libpython3.8m.so.1.0: cannot open shared object file: No such file or directory, do:sudo apt install libpython3.8 -
The contact forces reported by
net_contact_force_tensorare unreliable when simulating on GPU with a triangle mesh terrain. A workaround is to use force sensors, but the force are propagated through the sensors of consecutive bodies resulting in an undesireable behaviour. However, for a legged robot it is possible to add sensors to the feet/end effector only and get the expected results. When using the force sensors make sure to exclude gravity from trhe reported forces withsensor_options.enable_forward_dynamics_forces. Example:sensor_pose = gymapi.Transform() for name in feet_names: sensor_options = gymapi.ForceSensorProperties() sensor_options.enable_forward_dynamics_forces = False # for example gravity sensor_options.enable_constraint_solver_forces = True # for example contacts sensor_options.use_world_frame = True # report forces in world frame (easier to get vertical components) index = self.gym.find_asset_rigid_body_index(robot_asset, name) self.gym.create_asset_force_sensor(robot_asset, index, sensor_pose, sensor_options) (...) sensor_tensor = self.gym.acquire_force_sensor_tensor(self.sim) self.gym.refresh_force_sensor_tensor(self.sim) force_sensor_readings = gymtorch.wrap_tensor(sensor_tensor) self.sensor_forces = force_sensor_readings.view(self.num_envs, 4, 6)[..., :3] (...) self.gym.refresh_force_sensor_tensor(self.sim) contact = self.sensor_forces[:, :, 2] > 1.