This is a background removing tool powered by InSPyReNet (ACCV 2022). You can easily remove background from the image or video or bunch of other stuffs when you can make the background transparent!
| Image | Video | Webcam |
|---|---|---|
 |
 |
 |
- Our package is currently not working properly on small images without
--fastargument. Sorry for the inconvenience and we'll fix this issue with better algorithm coming out shortly. - [2023.09.22] For the issue with small images without
--fastargument, please download This Checkpoint. After some user feedback (create issue or contact me), I'll decide to substitute the current checkpoint to the newer one or train again with different approach. - [2023.09.25] The above checkpoint is now available with
--mode base-nightlyargument.--fastargument is deprecated. Use--mode [MODE]instead.--modeargument supportsbase,fastandbase-nightly. Note thatbase-nightlycan be changed without any notice. - [2023.10.19] Webcam support is not stable currently. We remove the dependency for the latest release. Install with extra dependency option
pip install transparent-background[webcam]if you want to use webcam input.
| package | version (>=) |
|---|---|
pytorch |
1.7.1 |
torchvision |
0.8.2 |
opencv-python |
4.6.0.66 |
timm |
0.6.11 |
tqdm |
4.64.1 |
kornia |
0.5.4 |
gdown |
4.5.4 |
pyvirtualcam (optional) |
0.6.0 |
Note: If you have any problem with pyvirtualcam, please visit their github repository or pypi homepage. Due to the backend workflow for Windows and macOS, we only support Linux for webcam input.
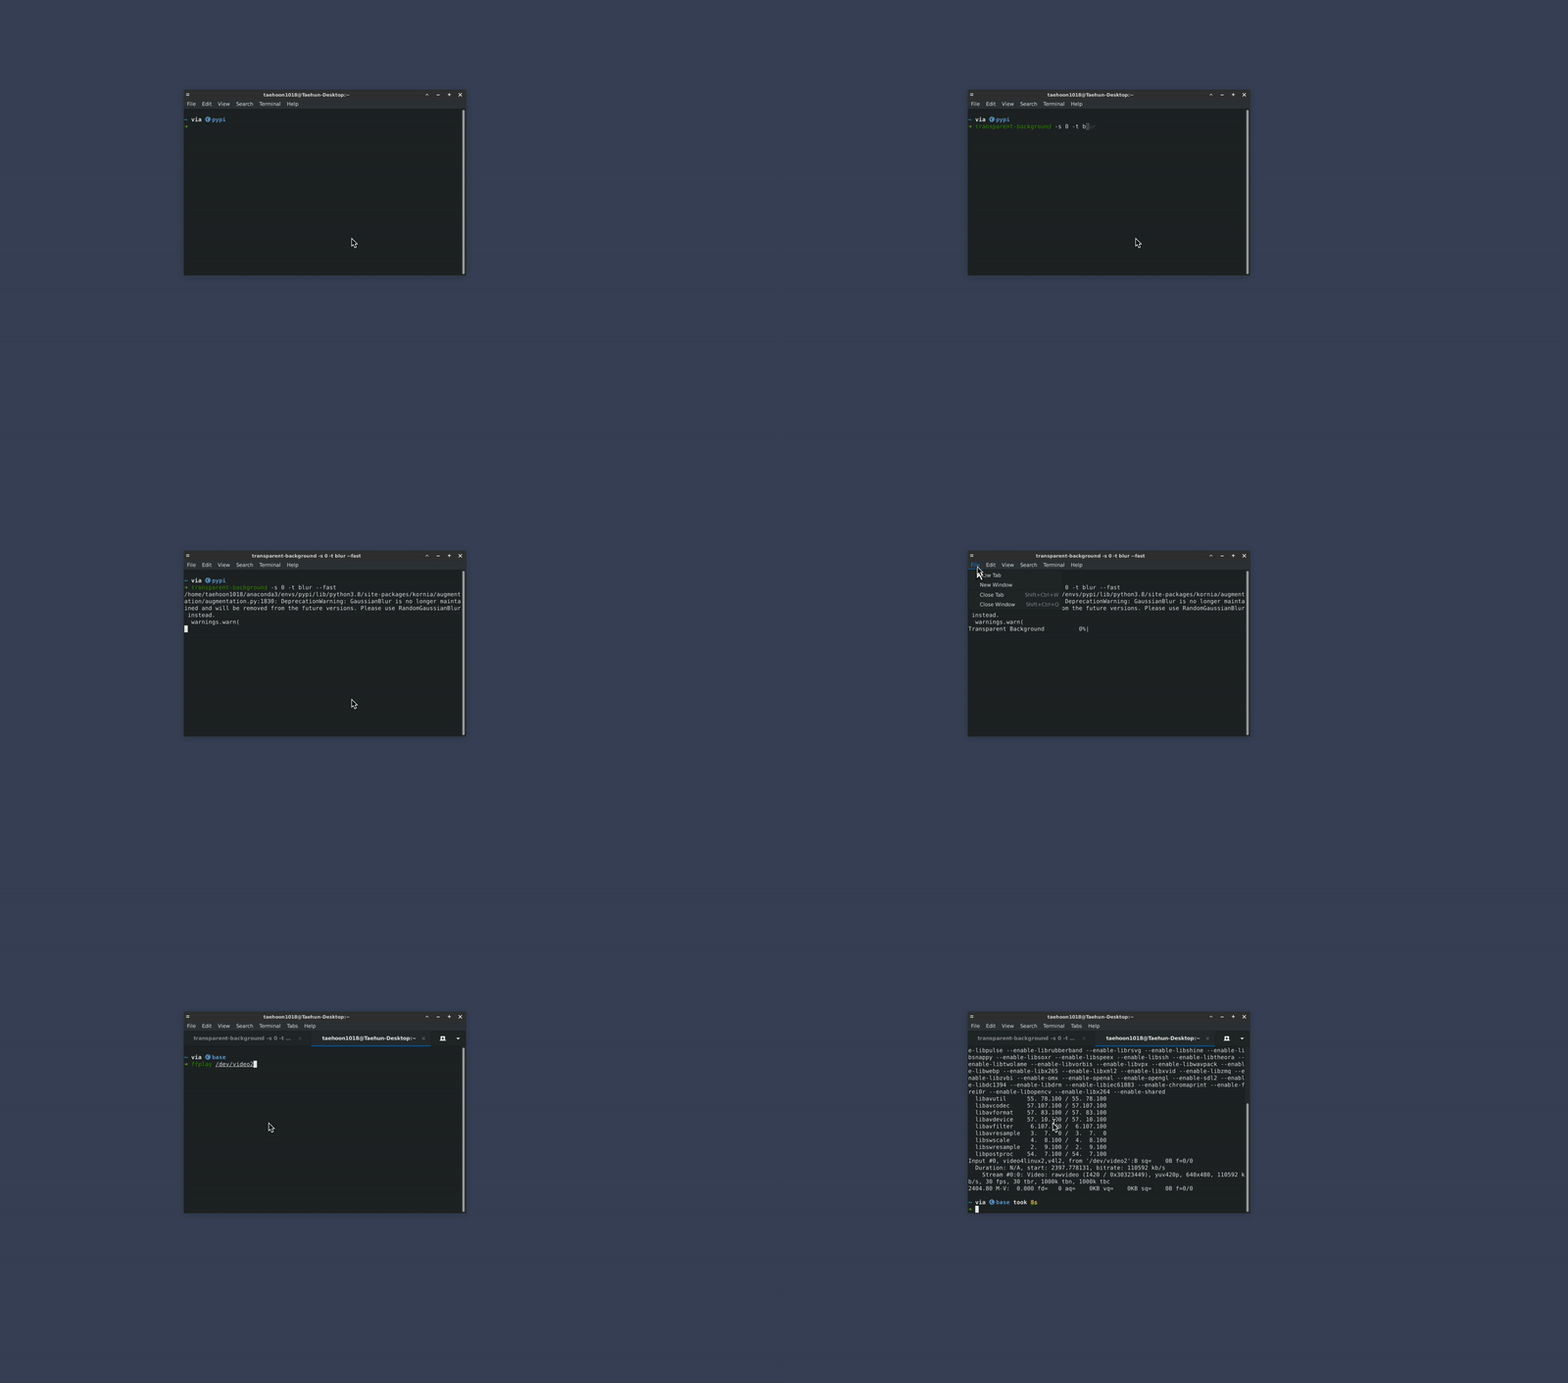
We basically follow the virtual camera settings from pyvirtualcam. If you do not choose to install virtual camera, it will visualize real-time output with cv2.imshow.
# Install v4l2loopback for webcam relay
$ git clone https://github.com/umlaeute/v4l2loopback.git && cd v4l2loopback
$ make && sudo make install
$ sudo depmod -a

# Create virtual webcam
$ sudo modprobe v4l2loopback devices=1
Note: If you have any problem with installing v4l2loopback, please visit their github repository.
Install OBS virtual camera from install OBS.
Follow the steps below.
- Install OBS.
- Start OBS.
- Click "Start Virtual Camera" (bottom right), then "Stop Virtual Camera".
- Close OBS.
# via pypi
$ pip install transparent-background
$ pip install transparent-background[webcam] # with webcam dependency

# via github
$ pip install git+https://github.com/plemeri/transparent-background.git

# locally
$ pip install .transparent-background now supports external configuration rather than hard coded assets (e.g., checkpoint download url).
- The config file will be added in your home directory
~/.transparent-background/config.yaml - You may change the
urlargument to your google drive download link. (Please note that only google drive is supported.) - You may change the
md5argument to your file's md5 checksum. Or, setmd5toNULLto skip verification. - You may add
http_proxyargument to specify the proxy address as you need. If your internet connection is behind a HTTP proxy (e.g.http://192.168.1.80:8080), you can set this argument. (Contributed by bombless)
base:
  url: "https://drive.google.com/file/d/13oBl5MTVcWER3YU4fSxW3ATlVfueFQPY/view?usp=share_link" # google drive url
  md5: "d692e3dd5fa1b9658949d452bebf1cda" # md5 hash (optional)
  ckpt_name: "ckpt_base.pth" # file name
  http_proxy: NULL # specify if needed (Contributed by bombless)
  base_size: [1024, 1024]

fast:
  url: "https://drive.google.com/file/d/1iRX-0MVbUjvAVns5MtVdng6CQlGOIo3m/view?usp=share_link"
  md5: NULL # change md5 to NULL if you want to suppress md5 checksum process
  ckpt_name: "ckpt_fast.pth"
  http_proxy: "http://192.168.1.80:8080"
  base_size: [384, 384]
- If you are an advanced user, maybe you can try making
custommode by training custom model from InSPyReNet.
custom:
  url: [your google drive url]
  md5: NULL
  ckpt_name: "ckpt_custom.pth"
  http_proxy: "http://192.168.1.81:8080"
  base_size: [768, 768]
$ transparent-background --source test.png --mode custom# for apple silicon mps backend, use "PYTORCH_ENABLE_MPS_FALLBACK=1" before the command (requires torch >= 1.13)
$ transparent-background --source [SOURCE]
$ transparent-background --source [SOURCE] --dest [DEST] --threshold [THRESHOLD] --type [TYPE] --ckpt [CKPT] --mode [MODE] (--fast) (--jit)--source [SOURCE]: Specify your data in this argument.- Single image -
image.png - Folder containing images -
path/to/img/folder - Single video -
video.mp4 - Folder containing videos -
path/to/vid/folder - Integer for webcam address -
0(e.g., if your webcam is at/dev/video0.)
- Single image -
--dest [DEST](optional): Specify your destination folder. Default location is current directory.--threshold [THRESHOLD](optional): Designate threhsold value from0.0to1.0for hard prediction. Do not use if you want soft prediction.--type [TYPE](optional): Choose betweenrgba,mapgreen,blur,overlay, and another image file. Default isrgba.rgbawill generate RGBA output regarding saliency score as an alpha map. Note that this will not work for video and webcam input.mapwill output saliency map only.greenwill change the background with green screen.whitewill change the background with white color. -> [2023.05.24] Contributed by carpedm20'[255, 0, 0]'will change the background with color code [255, 0, 0]. Please use with single quotes. -> [2023.05.24] Contributed by carpedm20blurwill blur the background.overlaywill cover the salient object with translucent green color, and highlight the edges.- Another image file (e.g.,
samples/backgroud.png) will be used as a background, and the object will be overlapped on it.
--ckpt [CKPT](optional): Use other checkpoint file. Default is trained with composite dataset and will be automatically downloaded if not available. Please refer to Model Zoo from InSPyReNet for available pre-trained checkpoints.--mode [MODE](optional): choose betweenbaseandfastmode. Also, usebase-nightlyfor nightly release checkpoint. Replacing--fastargument.--fast(optional, deprecated, will be removed future release): Fast mode. If specified, it will use low-resolution input and model trained with LR scale. May decrease performance but reduces inference time and gpu memory usage.--jit(optional): Torchscript mode. If specified, it will trace model with pytorch built-in torchscript JIT compiler. May cause delay in initialization, but reduces inference time and gpu memory usage.
- Usage Example
import cv2
import numpy as np

from PIL import Image
from transparent_background import Remover

# Load model
remover = Remover() # default setting
remover = Remover(mode='fast', jit=True, device='cuda:0', ckpt='~/latest.pth') # custom setting
remover = Remover(mode='base-nightly') # nightly release checkpoint

# Usage for image
img = Image.open('samples/aeroplane.jpg').convert('RGB') # read image

out = remover.process(img) # default setting - transparent background
out = remover.process(img, type='rgba') # same as above
out = remover.process(img, type='map') # object map only
out = remover.process(img, type='green') # image matting - green screen
out = remover.process(img, type='white') # change backround with white color
out = remover.process(img, type=[255, 0, 0]) # change background with color code [255, 0, 0]
out = remover.process(img, type='blur') # blur background
out = remover.process(img, type='overlay') # overlay object map onto the image
out = remover.process(img, type='samples/background.jpg') # use another image as a background

out = remover.process(img, threshold=0.5) # use threhold parameter for hard prediction.

out.save('output.png') # save result

# Usage for video
cap = cv2.VideoCapture('samples/b5.mp4') # video reader for input
fps = cap.get(cv2.CAP_PROP_FPS)

writer = None

while cap.isOpened():
    ret, frame = cap.read() # read video

    if ret is False:
        break

    frame = cv2.cvtColor(frame, cv2.COLOR_BGR2RGB)
    img = Image.fromarray(frame).convert('RGB')

    if writer is None:
        writer = cv2.VideoWriter('output.mp4', cv2.VideoWriter_fourcc(*'mp4v'), fps, img.size) # video writer for output

    out = remover.process(img, type='map') # same as image, except for 'rgba' which is not for video.
    writer.write(cv2.cvtColor(np.array(out), cv2.COLOR_BGR2RGB))

cap.release()
writer.release()rsreetech shared a tutorial using colab. [Youtube]
pip uninstall transparent-background
See LICENCE for more details.
This work was supported by Institute of Information & communications Technology Planning & Evaluation (IITP) grant funded by the Korea government (MSIT) (No.2017-0-00897, Development of Object Detection and Recognition for Intelligent Vehicles) and (No.B0101-15-0266, Development of High Performance Visual BigData Discovery Platform for Large-Scale Realtime Data Analysis)


