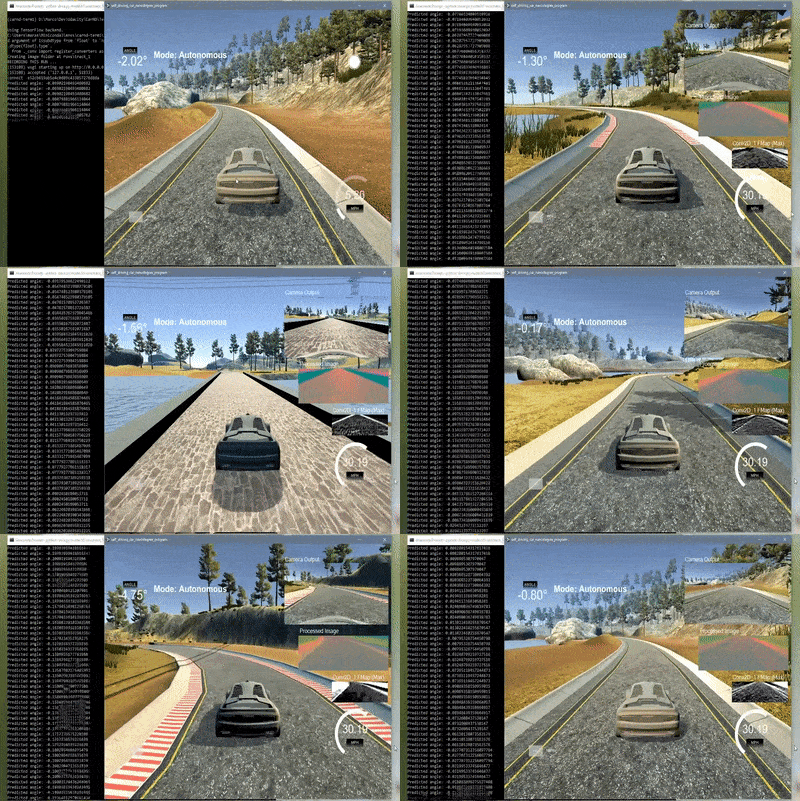
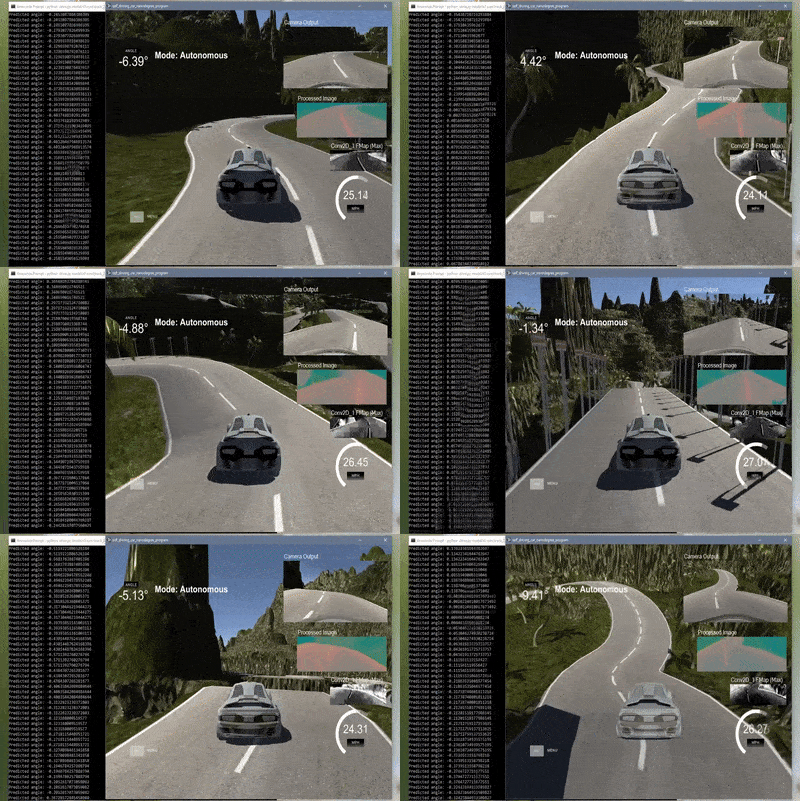
This repository contains an implementation with Keras and Tensorflow of a convolutional neural network aiming to teach the model to drive a car autonomously given a single input image, trying to predict the steering angle.
The model implements the architecture proposed by Nvidia in the End-to-End Learning for Self-Driving Cars paper:
The architecture implemented in this repository follows closely the nvidia paper, but a RELU activation is used in each layer and batch normalization is used in the fully connected layers. Additionally a single dropout layer after the first fully connected is introduced to reduce overfitting.
For training, the data is collected through the Udacity simulator and tested running in autonomous mode within the same simulator. The simulator contains 2 tracks, the first one being a simple track without middle lane marking and soft turns and a second one presenting a more challenging environment with hard turns and middle lane markings.
The simulator records 3 camera images that can be used to train the network and provides the current steering angle during the recording session:
When running the simulator in autonomous mode only the center camera view is fed to the model to predict the steering angle:
This project was implemented using Keras with Tensorflow as backend, you'll need a set of dependencies in order to run the code as well as the Udacity simulator for collecting data. The easiest way is to setup a conda environment that contains all the needed dependencies, Udacity provided a detailed guide to install a ready environment: https://github.com/udacity/CarND-Term1-Starter-Kit/blob/master/doc/configure_via_anaconda.md.
Given the complexity of the model a GPU is strongly suggested to train the model; A good and relatively cheap way is to use an EC2 instance on AWS. For example a p2.xlarge instance on EC2 is a good candidate for this type of task (You'll have to ask for an increase in the limits for this type of instance).
You can use the official Deep Learning AMI from Amazon that contains the required dependencies (See https://docs.aws.amazon.com/dlami/latest/devguide/gs.html) but beware that the keras version may be different than the one used in this implementation. Or more simply you can use the Udacity custom AMI (Just search for udacity-carnd in the community AMIs when launching an instance on EC2).
You'll also need the simulator in order to collect data for training (Code here):
In order to collect data simply start the simulator, select one of the tracks and then Training Mode, once in the track press the R key to start recording (the first time it asks where to save the data). Pressing the R key again stops and saves the training data.
In the selected folder you should find:
- IMG folder: Contains all the frames of your driving.
- driving_log.csv: Each row in this CSV maps each image with the steering angle, throttle, brake, and speed of the car.
The first 3 columns of the driving_log.csv contain the path to the relative images (center, left and right), the 4th is steering angle that is used in this implementation (note that we could use the throttle, brake and speed as well).
Once enough data is collected (I personally recorded 1 full lap in each direction on both tracks) you can begin training the model using the model.py. This script is highly customizable, can can be run using python model.py --parameter_name=parameter_value. The supported parameters are as follows:
- epochs The number of epochs; defaults to 50
- batch_size The mini batch size; defaults to 64
- learning_rate The learning rate for the adam optimizer; defaults to 0.0001
- loss The name of the loss function to use; defaults to "mse"
- dropout The dropout probability; defaults to 0.1
- activation The name of the activation function to use; defaults to "relu"
- batch_norm The batch normalization momentum, if 0 batch norm is not applied; defaults to 0.9')
- angle_correction The correction angle to add to right and left camera images; defaults to 0.15
- mirror_min_angle The min steering angle needed in order to discriminate if an image should be mirrored or not; defaults to 0.0 (e.g. all images are mirrored)
- normalize_factor The factor applied for normalization when dropping values over the mean; defaults to 1.5 (e.g. 1.5 times the mean)
- normalize_bins The number of bins to divide the data when normalizing; defaults to 100
- regenerate True if the dataset should be regenerated from the log file, rather than loaded from the pickle file; defaults to False
- preprocess True if the generator should preprocess all the images in memory, speeds up the training but requires more memory; defaults to True
- clahe True if histogram equalization should be applied during preprocessing; defaults to False
- blur True if blurring should be applied during preprocessing; defaults to True
- random_transform True if random image transformations should be applied during training; defaults to True
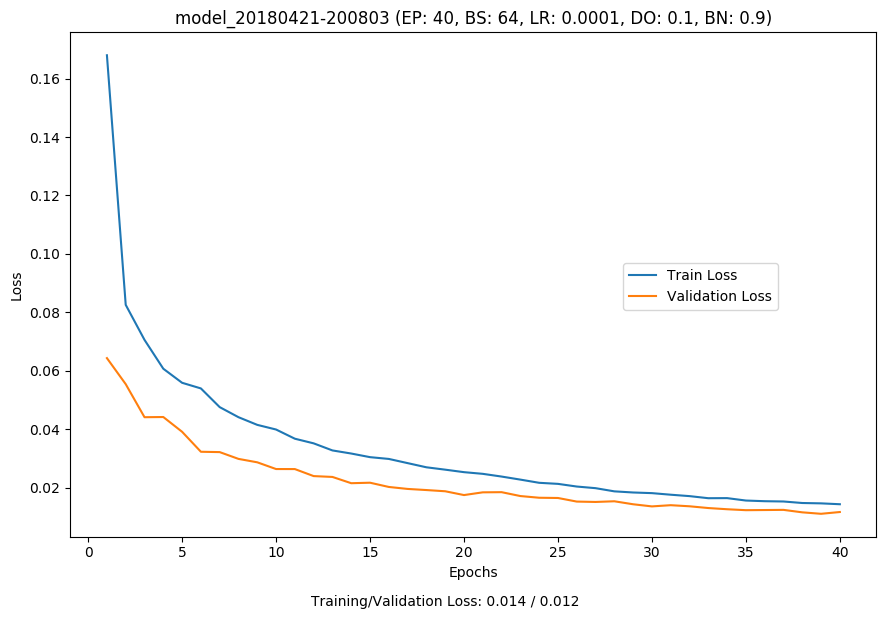
The script will save you timestamped model in the models folder, along with a png containing the plotted training and validation loss at each epoch.
Once the model is trained the drive.py script can be used to drive the car around the tracks in autonomous mode using the trained model.
python drive.py models/your_model.h5 --speed=25Once running you can start the simulator again, select a track and then Autonomous mode.
The result is quite amazing thinking that all it needs to predict the correct steering angle is a single image:
The drive.py can also record the images that are fed to the model, in order to do so you can supply as 2nd argument the folder where to save the images:
python drive.py models/your_model.h5 output_folderIf you do not have a fast PC this can too heavy and delay the prediction angles, if so you can use the --save_on_disconnect=True parameter so that the images are dumped only when the simulator is disconnected. Run the drive.py and the simulator and to save the images simply exit the simulator.
The repository contains an additional set of scripts to help visualizing the collected data and what the model is learning, in particular:
-
video.py The script allows to create a video from the images recorded from the drive.py script.
Additionally supplying the argument
--process=Truethe images are first processed as they are fed into the model. -
process_fmap.py This tool allows to output a video containing the feature maps output for a specific layer of the model, in order to see if the model is learning the features of the road/environment to predict the steering angle.
python process_fmap.py models/your_model.h5 image_folder
The following additional parameters are accepted (use with
--parameter_name=parameter_value):- layer_name The name of the layer to feed the images to, defaults to the first layer: "convolution2d_1"
- fmap The index of the feature map in the layer to output, defaults to "max" which means to take for each image the feature map that have most of the pixels with a value > 0
- out The output path the generated video (will append .mp4), defaults to "fmaps"
- scale If the feature map is too small if can be useful to scale it, defaults to 2


