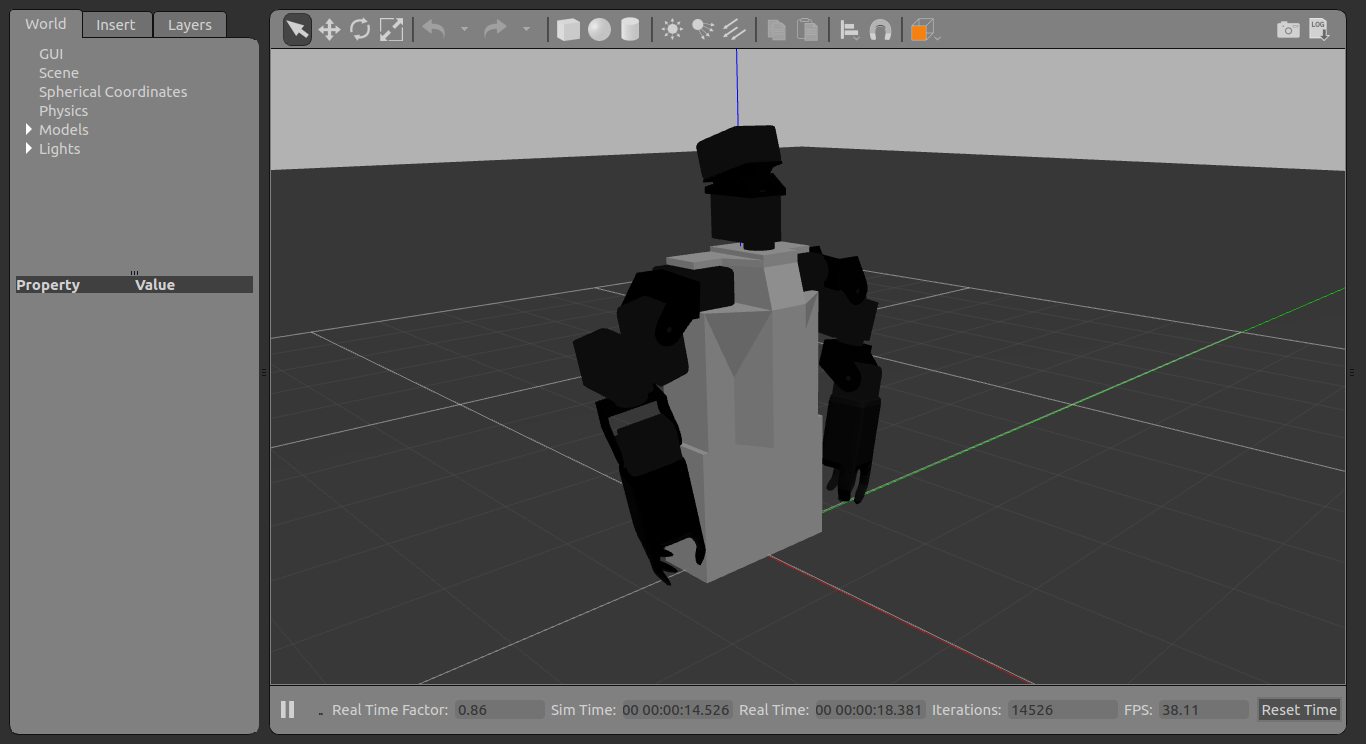
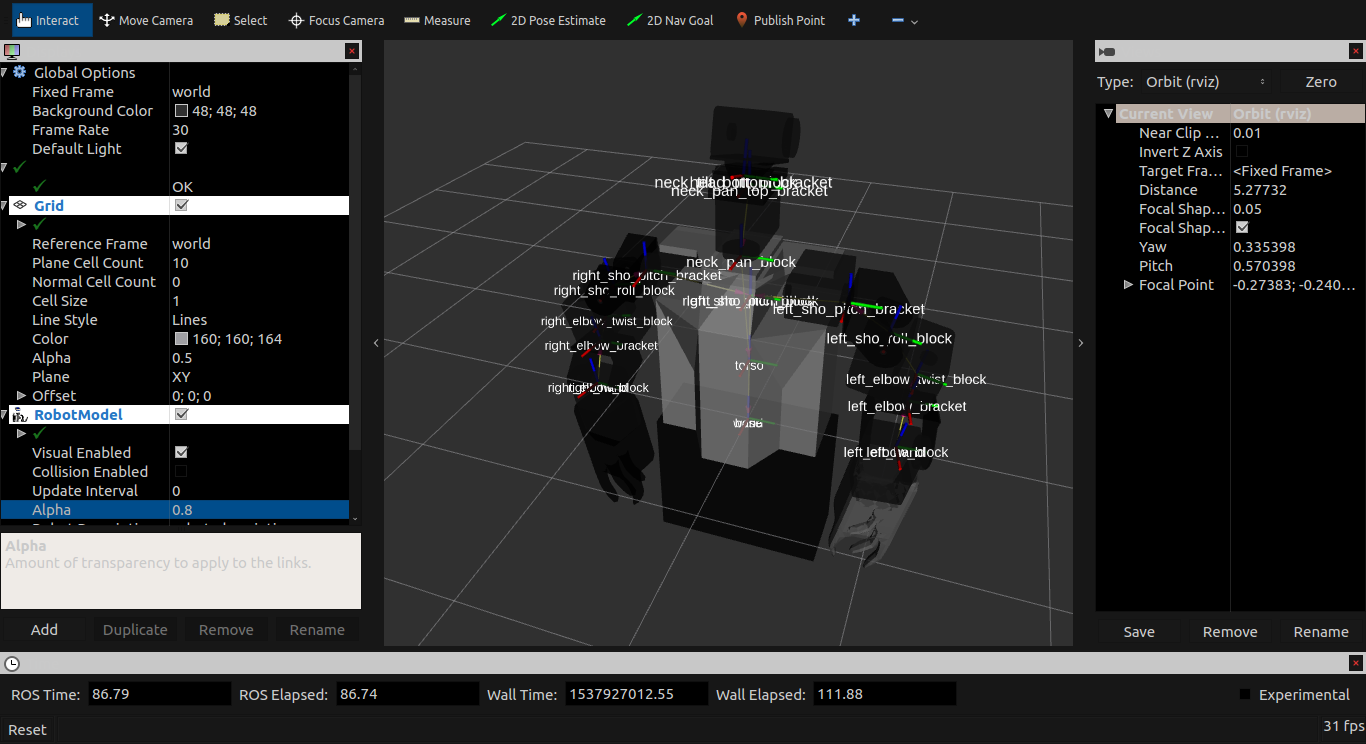
A set of ROS packages for simulating the Timmy2 robot (based on HROS-1 robot) in Gazebo and Rviz.
There are two ROS packages in this project: timmy2_description and timmy2_control.
This package mainly contains the model of Timmy2 written in URDF/Xacro format.
The 3D meshes of Timmy2 were made using Blender 2.79 and exported to .dae (Collada) format.
The current model of Timmy2 is described in the urdf/timmy3.urd.xacro file, and uses the meshes located in the meshes2/ directory.
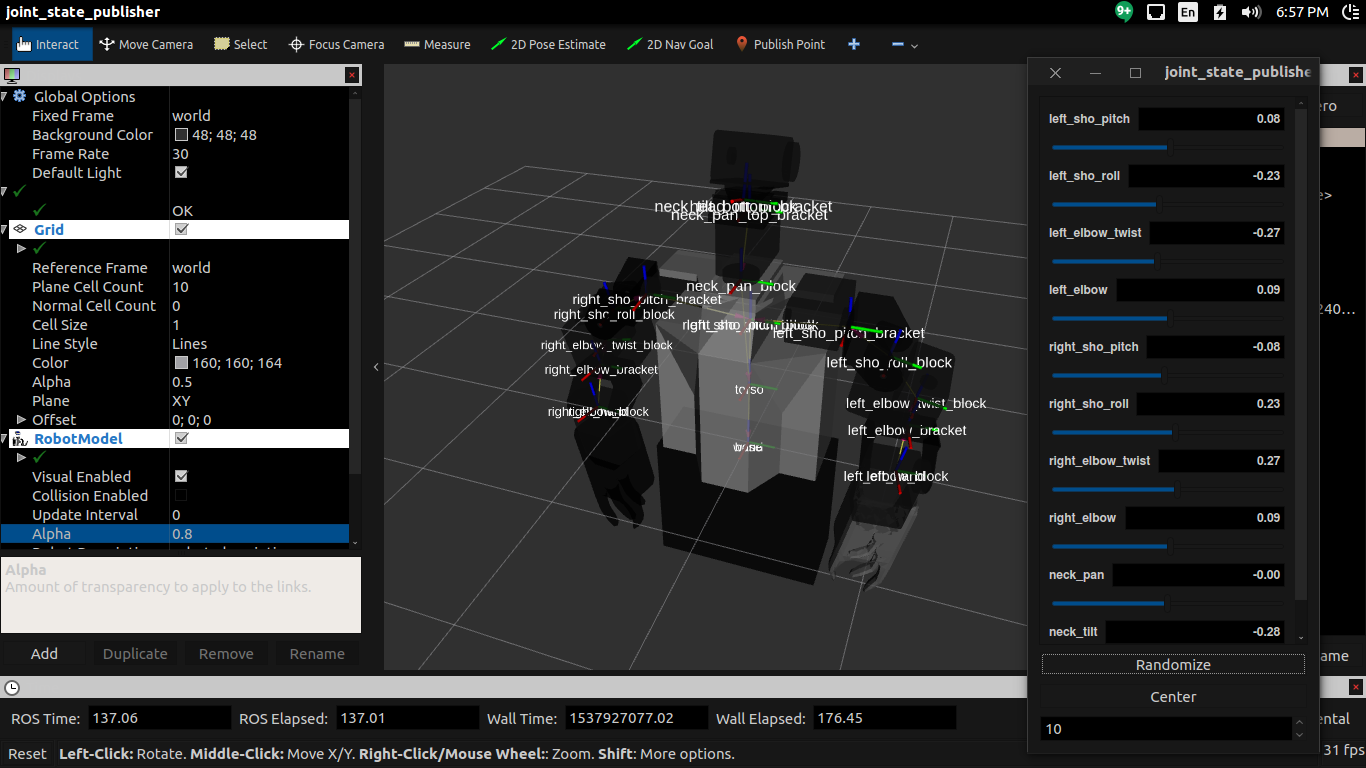
 Fig. 3: Timmy2 in Rviz with Joint State Publisher GUI
-
To run all (Gazebo, Rviz, Joint State Publisher) run:
$ roslaunch timmy2_description timmy_description.launchThis will load the
timmy3.urdf.xacromodel and launch Gazebo. Additionally, it will launch (i.e.<include ...>thetimmy2_control/timmy2_control.launchfile (see details below) -
The current Timmy2 model has a twist DOF at the elbow. The original HROS-1-based model does not have this DOF. Use the
timmy2.urdf.xacroin the launch file for this original model.<!--timmy_description.launch--> ... <arg name="model" default="$(find timmy2_description)/urdf/timmy2.urdf.xacro"/> ...
-
Cannot use both the
joint_state_publisherand Gazebo simulation. When Gazebo is running,robot_state_publisherwhich connects Gazebo to ROS will continuously publish a stream of output of the physics simulation in Gazebo to/timmy2/joint_statetopic (JointStatetype) which will override any values published byjoint_state_publisher.The effects of
joint_state_publishercan be seen briefly in Rviz, but will quickly revert to the state reflected in Gazebo.joint_state_publishercurrently has no effect to the model in Gazebo. -
The model can be moved using two other methods: directly publishing to a joint topic from the Terminal or using rqt_gui (see below)
-
Currently, it's best to choose either: a) use Gazebo and move the model using direct topic publishing or rqt_gui OR b) use only
joint_state_publisherand disconnect Gazebo simulation. See below for instructions/commands.
This package contains configurations for/to:
-
spawn joint controllers (from
controller_managerpackage)- This is used to connect ROS with Gazebo (i.e. so publishing joint position from ROS will be reflected in Gazebo, and vice versa)
-
launch
joint_state_publisher- This is for manual control of each joint via slider bars (GUI).
-
launch
robot_state_publisher- From Gazebo tutorial
...listens to /joint_states messages from the joint_state_controller then publishes the transforms to /tf. This allows you to see your simulated robot in Rviz as well as do other tasks.
-
launch Rviz
$ roslaunch timmy2_description timmy_description.launchNOTE: The current configuration tries to make joint_state_publisher and Gazebo work at the same time. This is achieved by commenting the remap argument for robot_state_publisher in timmy2_control/launch/timmy2_control.launch
<!-- Joint state publisher GUI -->
<param name="use_gui" value="${arg gui}"/>
<node name="joint_state_publisher" pkg="joint_state_publisher" type="joint_state_publisher">
    <rosparam param="source_list">["timmy2/joint_states"]</rosparam>
</node>

<!-- Convert joint states to TF transforms for rviz, etc -->
<node name="robot_state_publisher" pkg="robot_state_publisher" type="robot_state_publisher"
    respawn="false" output="screen">
    <!--remap from="/joint_states" to="/timmy2/joint_states" /-->
</node>- Comment the
rosparamline forjoint_state_publisherintimmy2_control/launch/timmy2_control.launch
<node name="joint_state_publisher" pkg="joint_state_publisher" type="joint_state_publisher">
   <!--rosparam param="source_list">["timmy2/joint_states"]</rosparam-->
</node>- Launch everything (see above)
WARNING: joint_state_publisher will not work.
-
Uncomment
rospoaramline forjoint_state_publisherandremapforrobot_state_publisherintimmy2_control/launch/timmy2_control.launch<!-- Joint state publisher GUI --> <param name="use_gui" value="${arg gui}"/> <node name="joint_state_publisher" pkg="joint_state_publisher" type="joint_state_publisher"> <rosparam param="source_list">["timmy2/joint_states"]</rosparam> </node> <!-- Convert joint states to TF transforms for rviz, etc --> <node name="robot_state_publisher" pkg="robot_state_publisher" type="robot_state_publisher" respawn="false" output="screen"> <remap from="/joint_states" to="/timmy2/joint_states" /> </node>
-
Launch everything (see above)
-
Launch everything
$ roslaunch timmy2_description timmy_description.launch
-
In a new Terminal
$ rostopic pub -1 /timmy2/right_elbow_position_controller/command std_msgs/Float64 "data: 1.5"Change
right_elbow_position_controllerto any other joint topics i.e.<joint_name>_position_controller/commandand givedatasome value (Float64, in radians).
-
Launch everything
$ roslaunch timmy2_description timmy_description.launch
-
In a new Terminal
$ rosrun rqt_gui rqt_gui -
Open a Message Publisher panel
-
Press the green PLUS button to add a new message to publish
-
Click the checkbox to make the message active
-
Choose the topic to publish to e.g.
/timmy2/right_elbow_position_controller/command -
Make sure the type is correct:
std_msgs/Float64 -
Choose a rate to publish the message (50 or 100Hz is good)
-
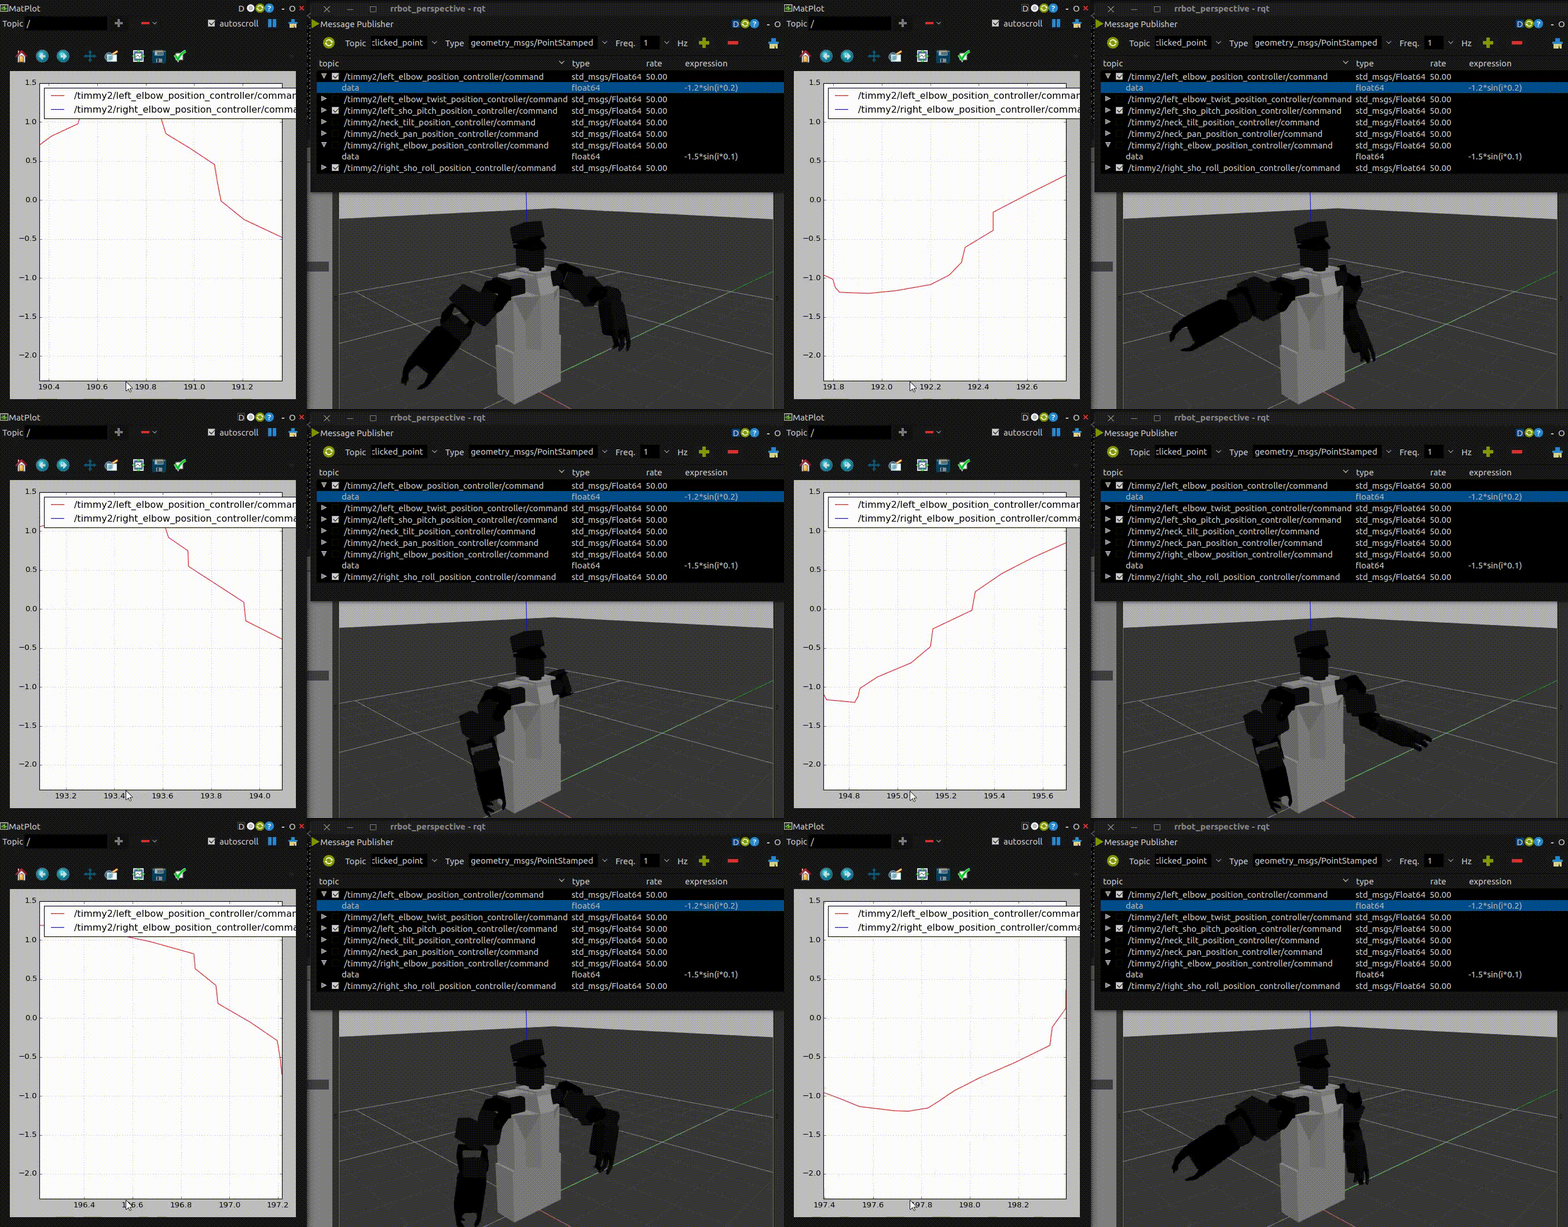
In the Expressions field, enter a value or a math expression.
iis the default variable of time.- Cyclic expressions using
sinorcoswill create cyclic motions. e.g.1.5*sin(i*100) - Expressions are assumed to follow Python expressions (i.e. as if you were to write the expression in Python). See Fig 4 below.


