This document describes how to develop a simple UVC device using the NXP i.MX RT1050 or i.MX RT1170 processor.
Please refer to AN12103 for complete instructions on how to use this software.
This demo is built based on NXP MCUXpresso SDK. All required source files to run the demo are contained in this repository.
- MCUXpresso SDK: 2.3.0 (i.MX RT1050 UVC demo), 2.12.1 (i.MX RT1170 UVC demo)
- NXP USB Stack: 1.6.3 (i.MX RT1050 UVC demo), 2.8.2 (i.MX RT1170 UVC demo)
- IAR Embedded Workbench for ARM: 9.30.1
- EVK-MIMXRT1050 Rev A, or EVKB-IMXRT1050 Rev A/B, or MIMXRT1170-EVK Rev A/B/C, or MIMXRT1170-EVKB Rev A/B/C boards
- MT9M114 camera module
- Personal Computer
- Two micro USB cables
- Connect the MT9M114 camera module to J35 on the EVK-MIMXRT1050 board.
- Connect a micro USB cable between the host PC and the OpenSDA USB port J28 on the EVK-MIMXRT1050 board.
- Connect another micro USB cable between the host PC and the micro USB port J9 on the EVK-MIMXRT1050 board.
- Open a serial terminal with the following settings:
- 115200 baud rate
- 8 data bits
- No parity
- One stop bit
- No flow control
- Build a configuration and download the program to the target board.
The log below shows the output of the demo in the terminal window:
This is a USB video demo application.
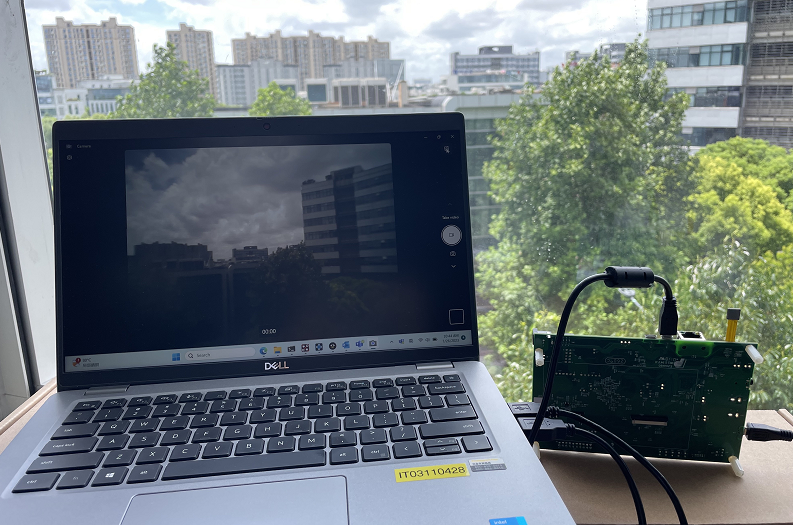
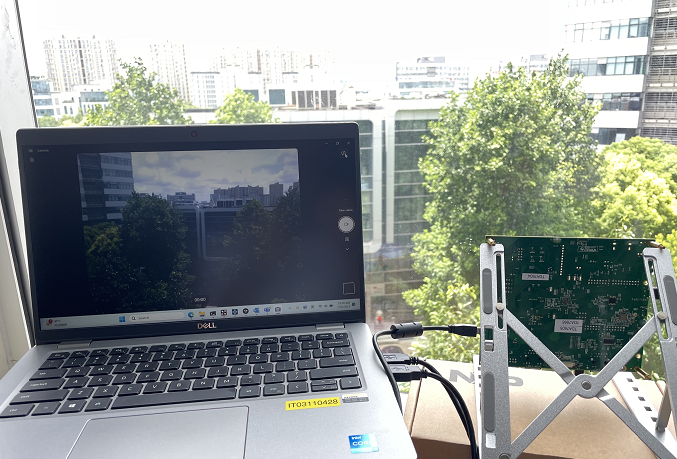
A USB device named "CSI Camera Device" start to be enumerated. After the enumeration is finished, open a webcam program on your PC, like AMCap. Select and open the demo video device. Then you can see the video screen on your PC.
-
EVKB-IMXRT1050 UVC demo
-
MIMXRT1170-EVK UVC demo


If you have any questions, please create a ticket in NXP Community.
Questions regarding the content/correctness of this example can be entered as Issues within this GitHub repository.
Warning: For more general technical questions regarding NXP Microcontrollers and the difference in expected funcionality, enter your questions on the NXP Community Forum
| Version | Description / Update | Date |
|---|---|---|
| 1.0 | Initial release on Application Code Hub | August 10th 2023 |