The Power Manager example uses runtime menus to evaluate the power modes and power management features of the MCX Nx4x. This example also uses the Power Manager component of MCUXpresso SDK, which provides a common framework of APIs for power management. For more details how to use this example and measure current, refer to the lab guide "MCXNx4x Power Management Lab.pdf".
In this lab, you will learn:
- about the Power Management features of the MCX Nx4x MCU
- how to measure current on the FRDM-MCXN947 board
- how to measure current with MCU-Link Pro and MCUXpresso IDE
- about the Power Management component in the MCUXpresso SDK
- MCUXpresso IDE 11.8.1
- MCUXpresso for VS Code v1.4.63 or later
- IAR Embedded Workbench 9.40.2
- FRDM-MCXN947 board with USB Type-C cable
- or MCX-N9XX-EVK board with micro USB cable
- Personal Computer
The steps below detail how to import the example application into the 3 IDE options:
- Clone the repo or extract the project archive. In this example, the repo is cloned to
C:\power_manager
The project defaults to the FRDM-MCXN947 board. To build for a different board, change the BOARD_NAME macro in board.h.
- In the IDE's Quickstart panel, click Import project(s) from filesystem
- Browse to the Root Directory, at
\boards\mcxn9xxevk\demo_apps\power_manager\cm33_core0\mcux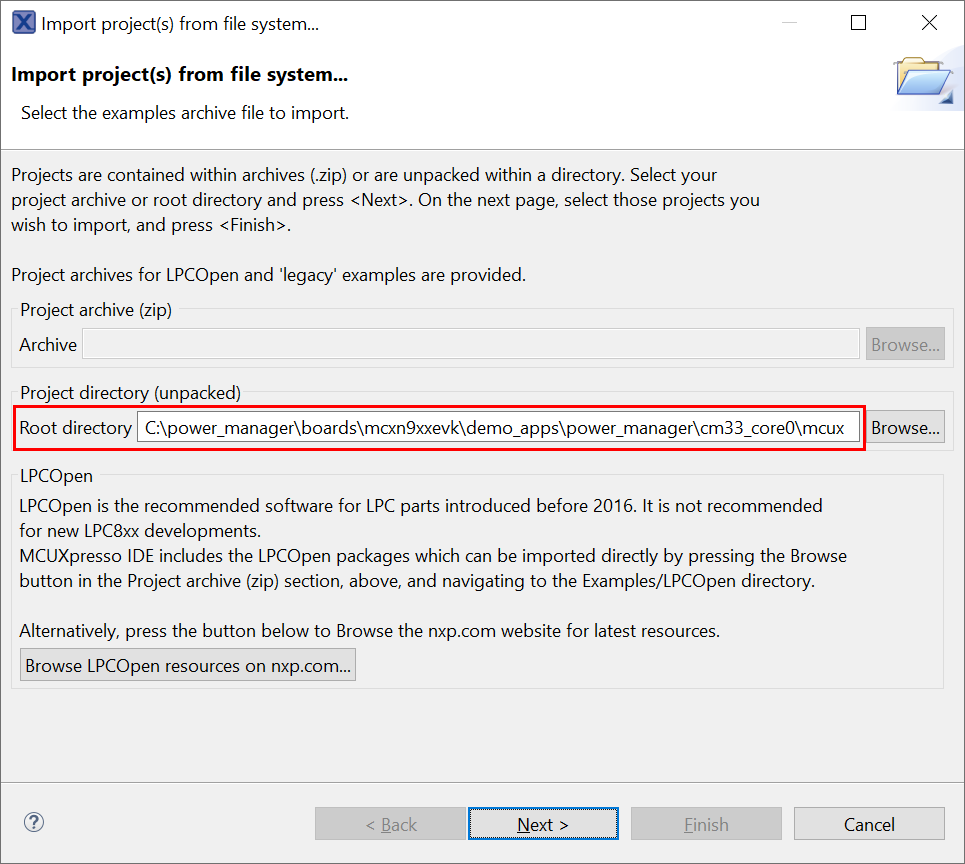
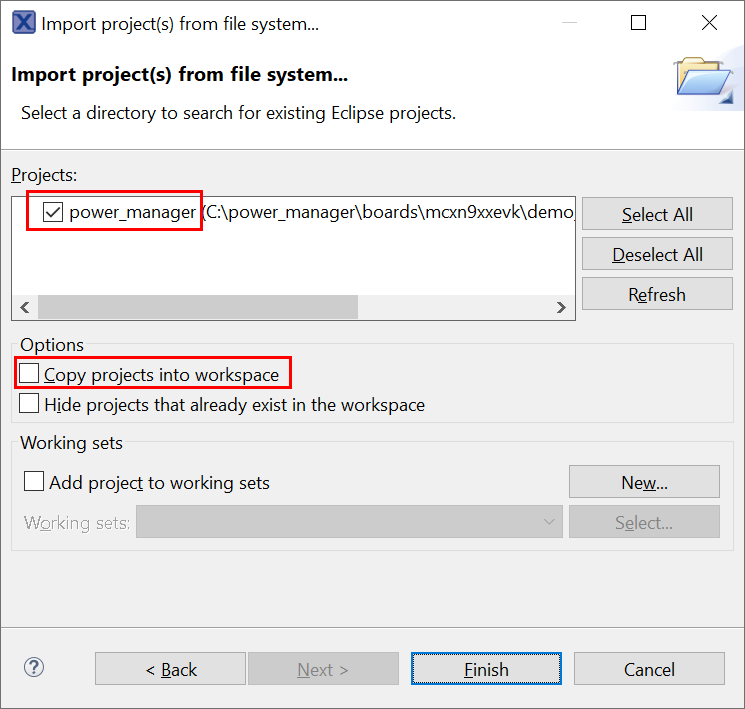
- Import the power_manager project, and uncheck the box Copy projects into workspace. Then click Finish.
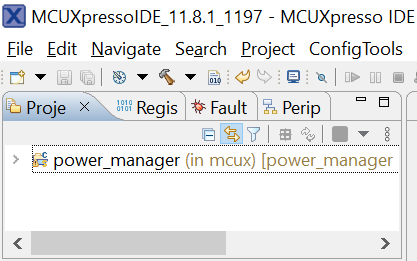
- The power_manager project is now included in the Project Explorer view, and is ready to build.


Using VS Code requires the MCUXpresso extension. For details using this extension, see this wiki.
2) In the MCUXpresso extension view, in the Quickstart Panel, click Import Repository.
3) Choose the Local repo option, and import the local folder used in Setup.
 This MCUXpresso SDK Standalone repo will now be listed in the Installed Repositories view:
 4) In the Quickstart Panel, click Import Project.
5) Click the Folder button, and browse to the application directory
4) In the Quickstart Panel, click Import Project.
5) Click the Folder button, and browse to the application directory \boards\mcxn9xxevk\demo_apps\power_manager\cm33_core0. Choose the repository imported in Setup. Choose the toolchain installed for VS Code.
 The project named
 cm33_core0 will now be listed in the Projects view, and is ready to build.

- Use the menu File->Open Workspace, and open the file
\boards\mcxn9xxevk\demo_apps\power_manager\cm33_core0\iar\power_manager.eww
On the board, connect the USB cable between the PC host and the MCU-Link USB port on the board
- On the FRDM-MCXN947 board, connect to USB J17
- On the MCX-N9XX-EVK board, connect to USB J5
Open a serial terminal with the following settings:
- 115200 baud rate
- 8 data bits
- No parity
- One stop bit
- No flow control
Refer to the lab guide "MCXNx4x Power Management Lab.pdf" for detailed steps using the demo application.
The log below shows the output of the power manager example in the terminal window:
Sticky RESET sources:
Warm,   PIN,
#######    MCX Nx4x Power Manager component demo    #######

----------------------- Normal Boot -----------------------

Main Menu, press a key below:

        p: Power Modes Menu
        a: Analog Peripherals Menu
        c: Clocks Menu
        v: Voltage Menu
        s: System SRAM Menu
        e: Enter Selected Mode
Questions regarding the content/correctness of this example can be entered as Issues within this GitHub repository.
Warning: For more general technical questions regarding NXP Microcontrollers and the difference in expected funcionality, enter your questions on the NXP Community Forum
| Version | Description / Update | Date |
|---|---|---|
| 1.0 | Initial release on Application Code Hub | January 2nd 2024 |