Leveraging deep learning to count the number of people in a room using a low-resolution 8x8 infrared array sensor
This demo shows how to create a deep learning model to count the number of people in a room using a low-resolution 8x8 infrared array sensor.
- MCUXpresso v11.8.0
- LPCXpresso55S69 SDK from the MCUXpresso SDK Builder or from the MCUXpresso SDK repository.
- Python 3.11+
- Jupyter notebook or VS Code
- LPCXpresso55s69
- LPCXpresso55s28
- Grid-EYE CLICK
- Micro USB cable
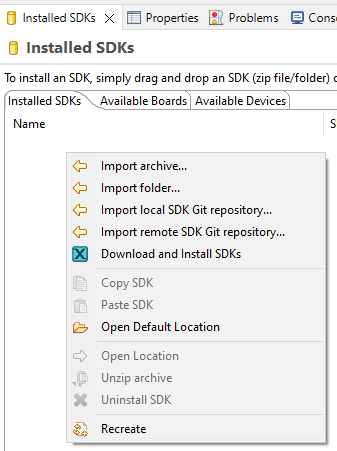
- Add the LPCXpresso55S69 SDK to the MCUXpresso IDE by right clicking on
Installed SDKsand selectingImport archive...for the SDK downloaded from the SDK Builder orImport remote SDK Git repository...for the MCUXpresso SDK repository.
- Clone this repository anywhere in your drive.
- Open MCUXpresso and select
File->Open Projects from File System....
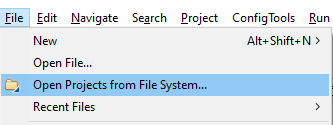
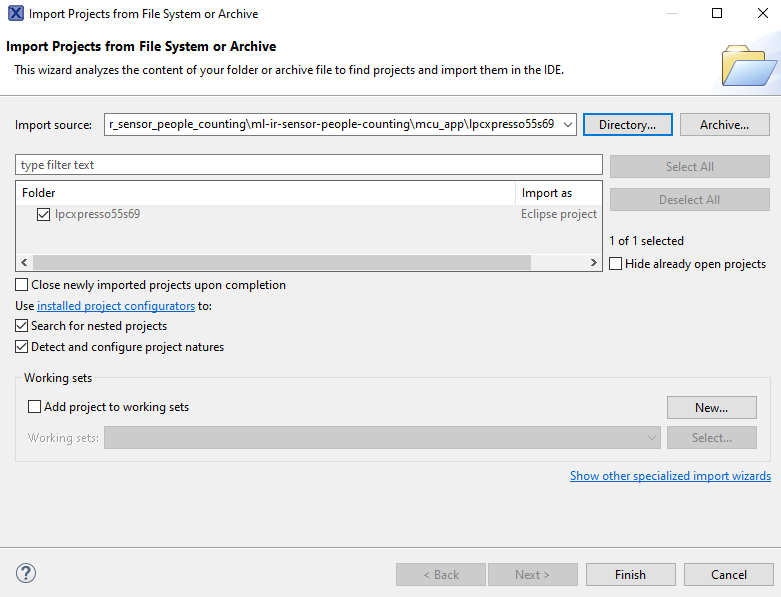
- Under Import Source, select
Directory..., navigate to<repo_location>/mcu_app/<board>and click onSelect Folder. - Make Sure that the project is selected in the window and click
Finish.
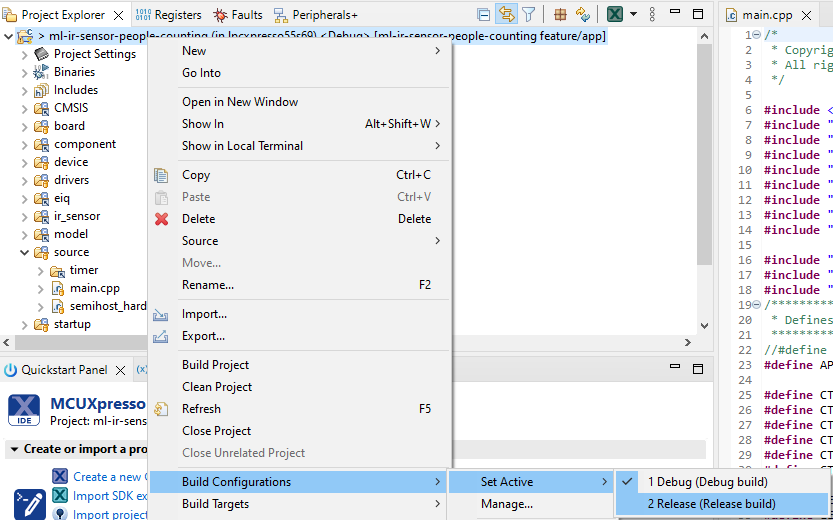
- Right click on the project in the
Project Explorerthen navigate toBuild Configurations->Set Active->Release.
- Connect the Grid-EYE CLICK board to
P23andP24as shown in the image below.
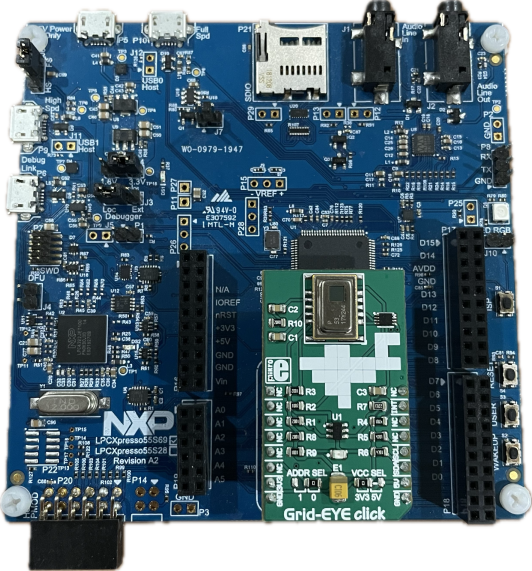
- Connect the board to your computer through the
Debug Link(P6) connector on the board. - Build the application by clicking on
buildand then flash it to the board by either clicking onDebugor by selecting the gray rectangle on the tool bar.

- Mount the board to the ceiling for best results. Refer to Fig. 2 in this research paper.


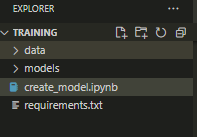
- We will use VS Code to open and run the Jupyter Notebook.
- Open VS Code, click on
File->Open Folder, and navigate to<repo_location>/trainingand clickSelect Folder. Once opened, the Explorer should look like below.
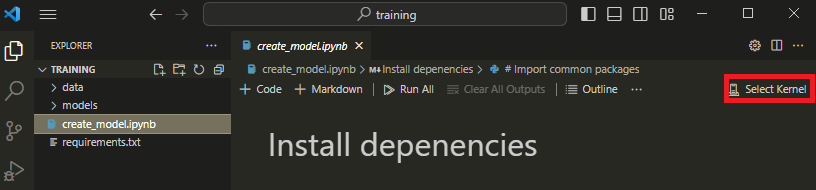
- Open the
create_model.ipynbfile and then click onSelect Kernelin the top right.
- Follow the instructions in the pop up to create a virtual environment.
- After successfully creating a virtual environment, follow the instructions in the notebook to retrain or create a new model.
- Once you have a new model, modify
mcu_app/common/model/model_config.handmcu_app/common/model/model_ops.cppaccording to your new model. - Rebuild the MCU application, flash it to the board, and run it.


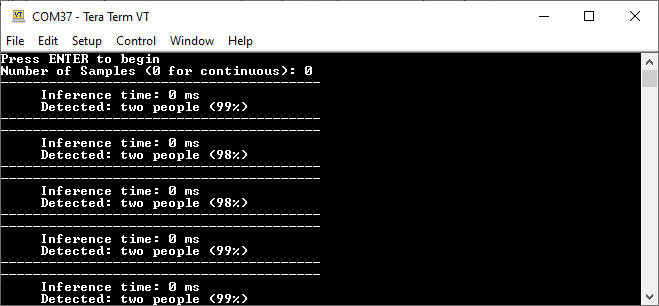
- When running the model on the board, open a serial terminal and connect to the board to see the inference results.
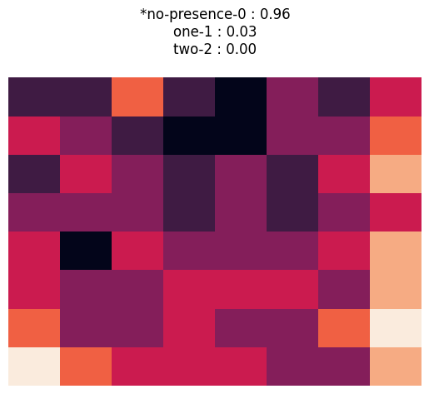
- When running the model on your computer using real-time data from the board, the animation on the Jupyter Notebook will look like below.


- How do I generate the operations for model_ops.cpp?
You can use the eIQ Toolkit's Model Tool to view all of the required operations for your model and manually add them to the ops resolver.
Please submit any issues within this GitHub repository.
Questions regarding the content/correctness of this example can be entered as Issues within this GitHub repository.
Warning: For more general technical questions regarding NXP Microcontrollers and the difference in expected funcionality, enter your questions on the NXP Community Forum
| Version | Description / Update | Date |
|---|---|---|
| 1.0 | Initial release on Application Code Hub | September 26nd 2023 |