About atdrive-moab
This repo is forked from the original atdrive-moab developed by Mark Fassler, please follow the link here for the original source code. You can simply check on the notepad file "howto-build-mbed-os-on-linux.txt", which was wriiten by the original developer.
The step below is for
- User who want to develop atdrive-moab on Ubuntu machine
- User who has some basic of coding skill C++, Python
- User who doesn't have much experience on Linux but want to
For a professional user such as ARM developer, Software developer, or High experienced software engineer, please feel free to do it your own way for an installation and build process, and just skip to User Guide section.
The default branch of this repo is coded for XWheels (Brushless hub wheels) with a skid-mode type,for the steering type please check on master branch of Mark's repo.
The purpose of this project is to create a UGV controller which has an IO for low-level communication such as SBUS, GPS, RC-servo, etc., and Ethernet for high-level communication to an autopilot PC such as Intel NUC, NVIDIA Jetson, etc. Those autopilot PC will take care on Autopilot script, Navigation system, and AI integration.
The original MOAB is shown as below
Installation
atdrive-moab is developed on mbed-os, we are highly recommended to have a look on mbed-os Installation and setup page for more detail. In this repo we will focus on the Mbed CLI, feel free to choose any of your favourite way to build the project.
Linux
You can choose any Linux distro for the development as you like, the installation step below is done on Ubuntu 18.04, feel free to adjust the command to match with your distro. Let first install basic dependencies by this command on your terminal
sudo apt install python2.7 python-pip git mercurial
virtual environment
It is suggested to install Mbed CLI from virtual environment, this will ensure that changes made by Mbed CLI installation do not propagate to the rest of your system and cause unexpected changes in any existing Python installation. And this is kind of good manner to work with Python related. Please follow the command to install from this link or following the step below.
sudo pip install virtualenvwrapper
open .bashrc script from your terminal from this command sudo gedit ~/.bashrc and add these three lines at the bottom of the script.
export WORKON_HOME=$HOME/.virtualenvs
export PROJECT_HOME=$HOME/Devel
source /usr/local/bin/virtualenvwrapper.sh
save and close gedit. On the same terminal run this command source ~/.bashrc to reload your .bashrc
then make a new virtual environment from this command
mkvirtualenv mbed
you can change mbed to any name you want. To start working on new environment, run this command workon <your env name>, replace <your env name> with your created one. Now you will see there is a (mbed) in front of your username on the terminal. You are now working on virtual environment which name mbed, and to come back to system environment you can run deactivate .
Mbed CLI
From the virtual environment, you can easily install Mbed CLI with pip install mbed-cli and to verify Mbed CLI installed correctly, run mbed --help, it should print out how to use it. To update Mbed CLI, run this command pip install -U mbed-cli
Compiler
There are many compiler that available from manual-installation page, here we will use gcc-arm as a toolchain. Download the tar file from developer.arm.com, on the present time, the version is gcc-arm-none-eabi-9-2019-q4-major-x86_64-linux.tar.bz2
After the file downloaded, bring it to your home directory and extract the file. Inside gcc-arm-none-eabi-9-2019-q4-major you will see "arm-none-eabi" , "bin" , "lib" , "share" which meant you correctly did it.
Then you may need to add the tool chain to your path by open .bashrc sudo gedit ~/.bashrc and copy this line
export PATH=$PATH:/home/<username>/gcc-arm-none-eabi-<your downloaded version>/bin/ and paste at the end of the .bashrc file. Don't forget to change <username> and <your downloaded version> to your proper one.
Reload you .bashrc by run this source ~/.bashrc
or alternatively way you can config the compiler path to let the mbed knows by run this command
mbed config -G GCC_ARM_PATH "/home/<username>/gcc-arm-none-eabi-<your downloaded version>/bin/"
Getting Started
After the installation processes and without any error, it's time to test some simple program to make sure that our Mbed CLI and compiler are properly installed. You can also walk through the step from this link or follow us here. From your home directory (or anywhere you want to create the project), let make the new project by run this command
mbed new test-mbed-program
This creates the project name test-mbed-program and initializes a new project with the latest mbed-os. You can check on the version of mbed-os by first enter to that directory
cd test-mbed-program
mbed ls
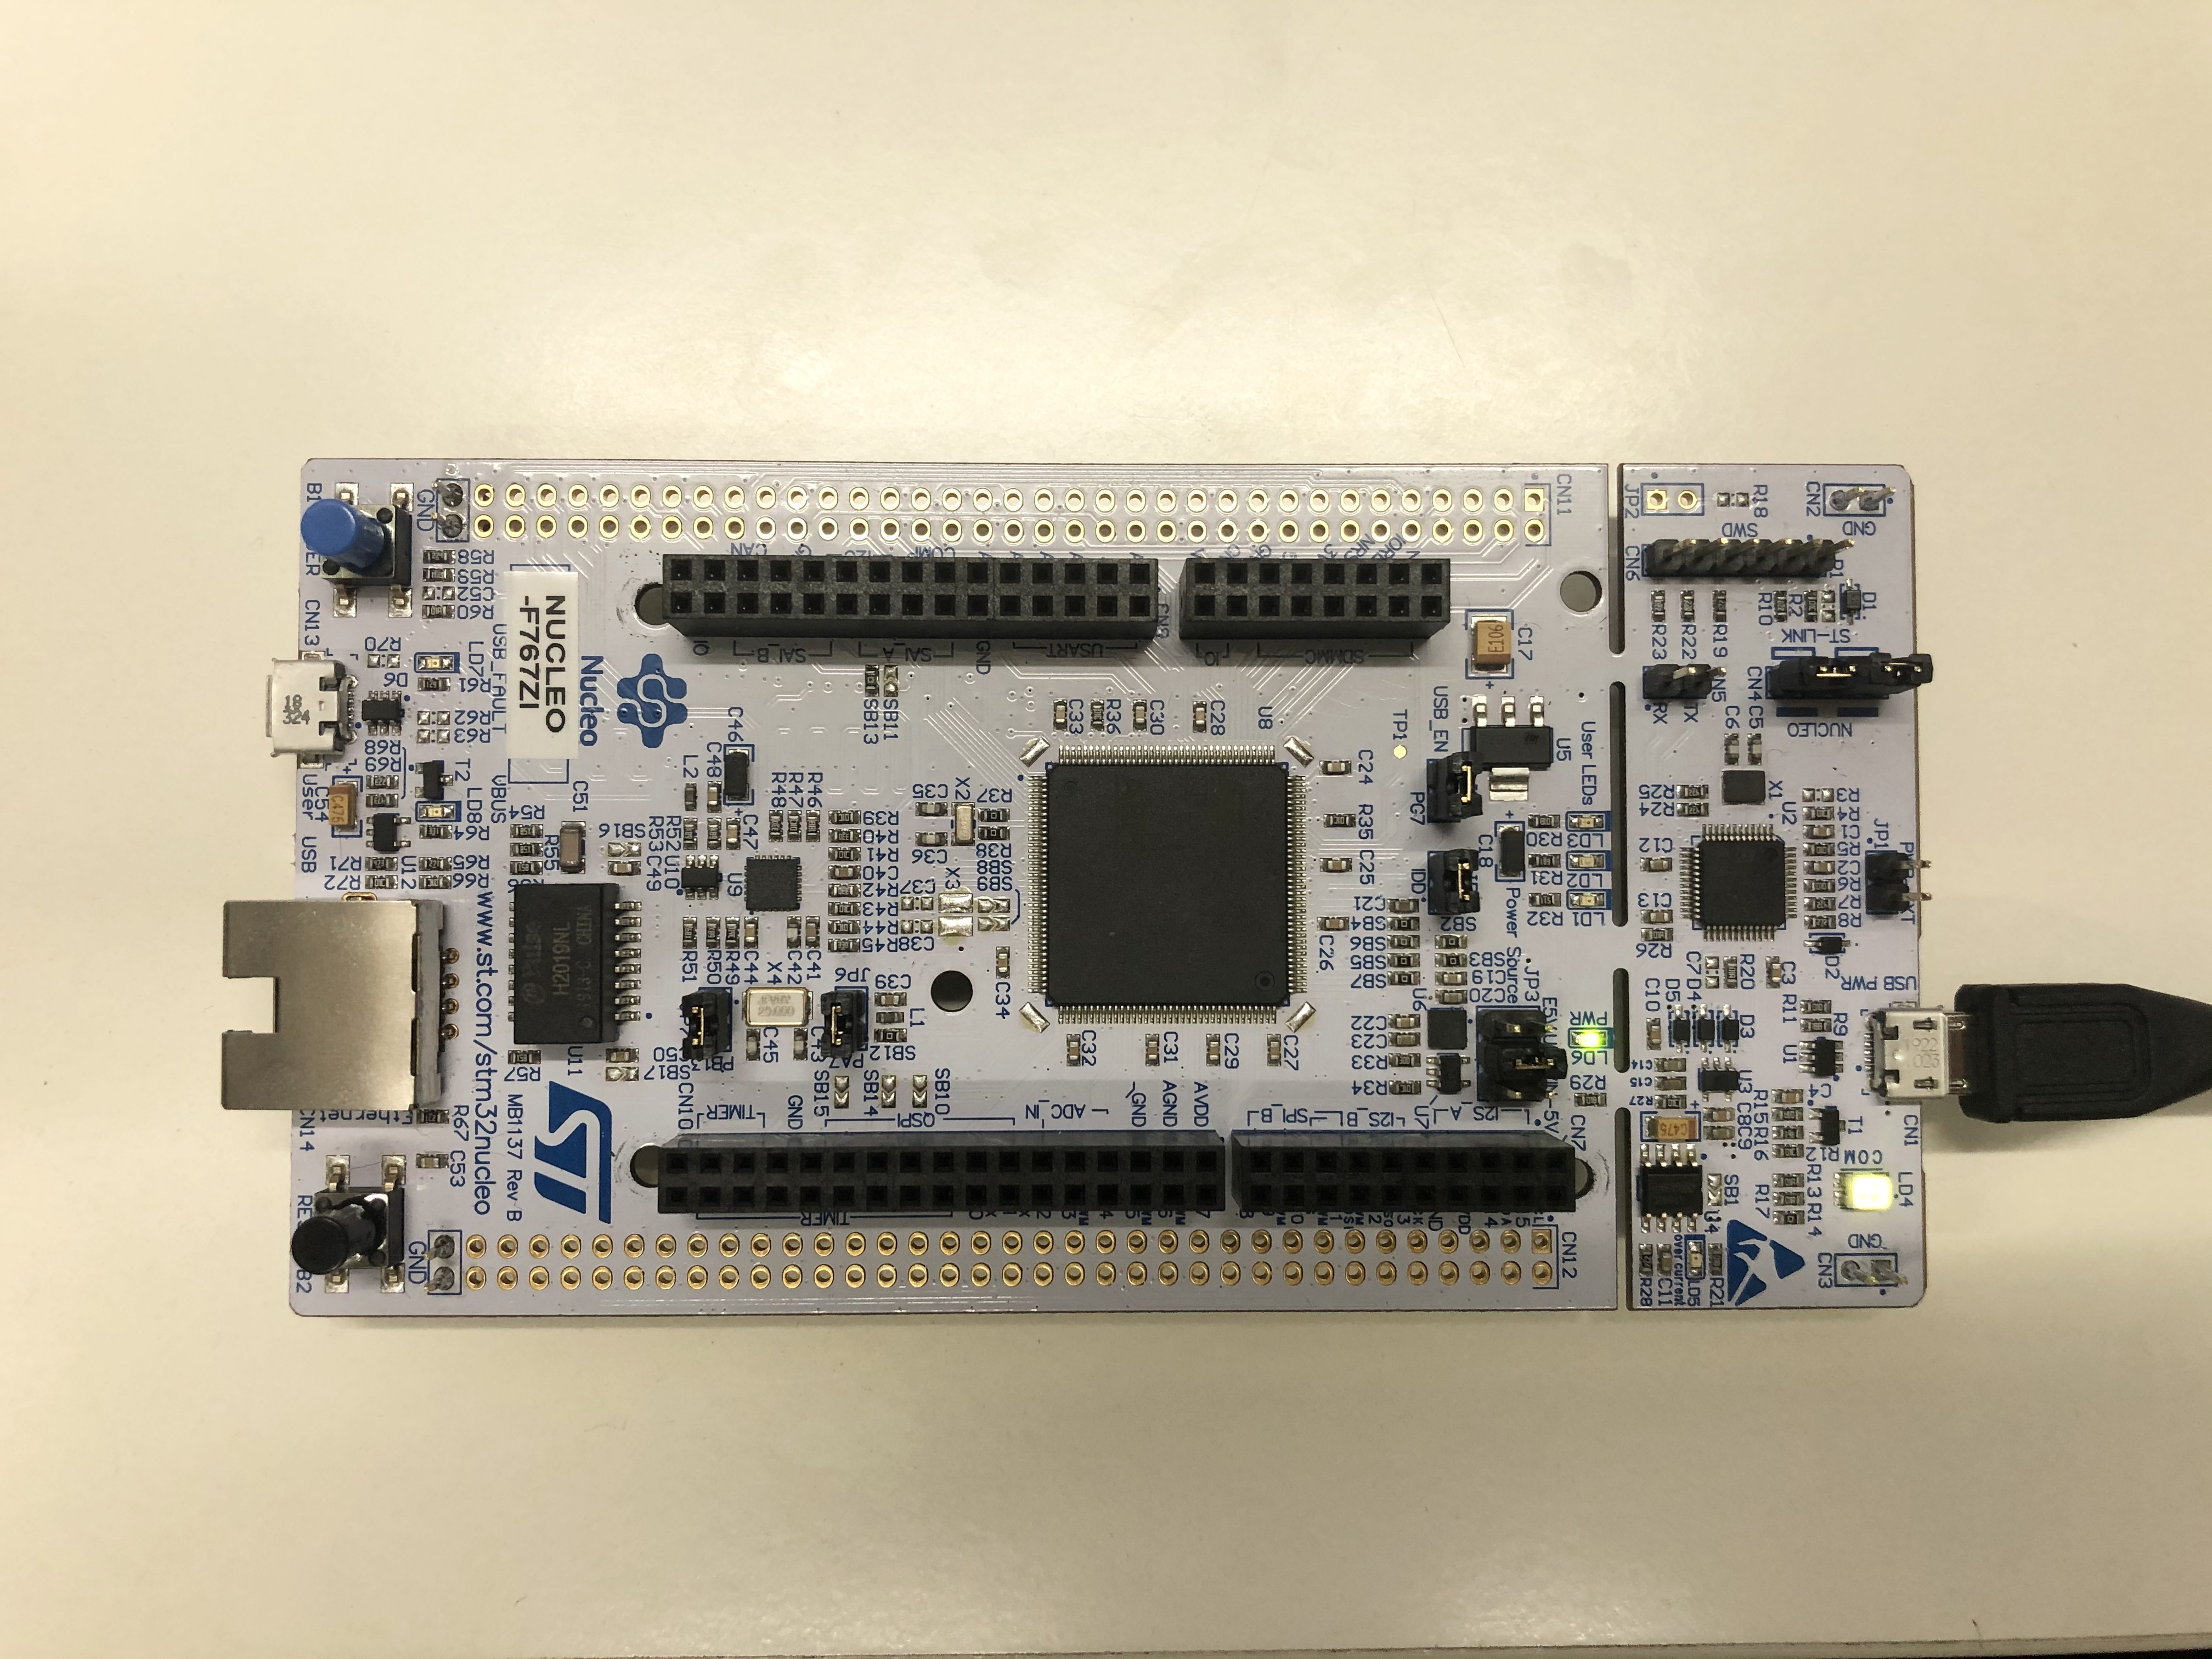
Our atdrive-moab is developed on NUCLEO_F767ZI board with our custom shield to put on top of it. Let try take out the shield from the NUCLEO board, and switch the jumper JP3 to U5V, so the pin will get power from USB port (normally, we will use E5V, with the shield on it). The board should look like this
Then plug the micro-USB at CN1 of NUCLEO to your pc. We can set the target board according to each project, but we always use NUCLEO_F767ZI all of the atdrive-moab product, so let set the target board as this one by this command
mbed target NUCLEO_F767ZI
set the toolchain for this project by this command
mbed toolchain GCC_ARM
If everything is fine, try make some simple heartbeat code by run touch main.cpp to create empty file, and open it up and copy and paste this code to there.
 #include "mbed.h"

 DigitalOut heartbeat(LED1);

 int main() {
     while (1) {
         heartbeat = 1;
         wait(0.5);
         heartbeat = 0;
         wait(0.5);
     }
 }
You can find other examples and how to use those APIs from here.
Save, close the script, and run mbed compile. Because we already set toolchain and target board already, so everytime we compile, it will automatically look for the GCC_ARM and the target board that we set. Finally, if there is no error, we can try run mbed compile -f to flash the compiled code to the board.
If you see the LED1 blinking at 2Hz, so you have success to build a code on mbed-os! Now let move to more advance code on atdrive-moad source code.
Build atdrive-moab source code
From you home directory (or any project dir), clone this repo with
git clone https://github.com/rasheeddo/atdrive-moab.git
or using mbed command
mbed import https://github.com/rasheeddo/atdrive-moab.git.
You will notice that there is no mbed-os in there, just run the following command to add mbed-os to this project
mbed add mbed-os or git clone https://github.com/ARMmbed/mbed-os.git,
then go into that directory by cd mbed-os/ . To make sure we are in the same page, same version, you have to change the version of mbed-os as our code requires.
Run this commned git checkout mbed-os-5.4.0-rc1-17413-g38a8c0e to let your mbed-os version similar to us. We better to insall some requirements according to this version by run this pip install -r requirements.txt . After that, return to your absolute project path by run cd .. , so your currect directory should be atdrive-moab.
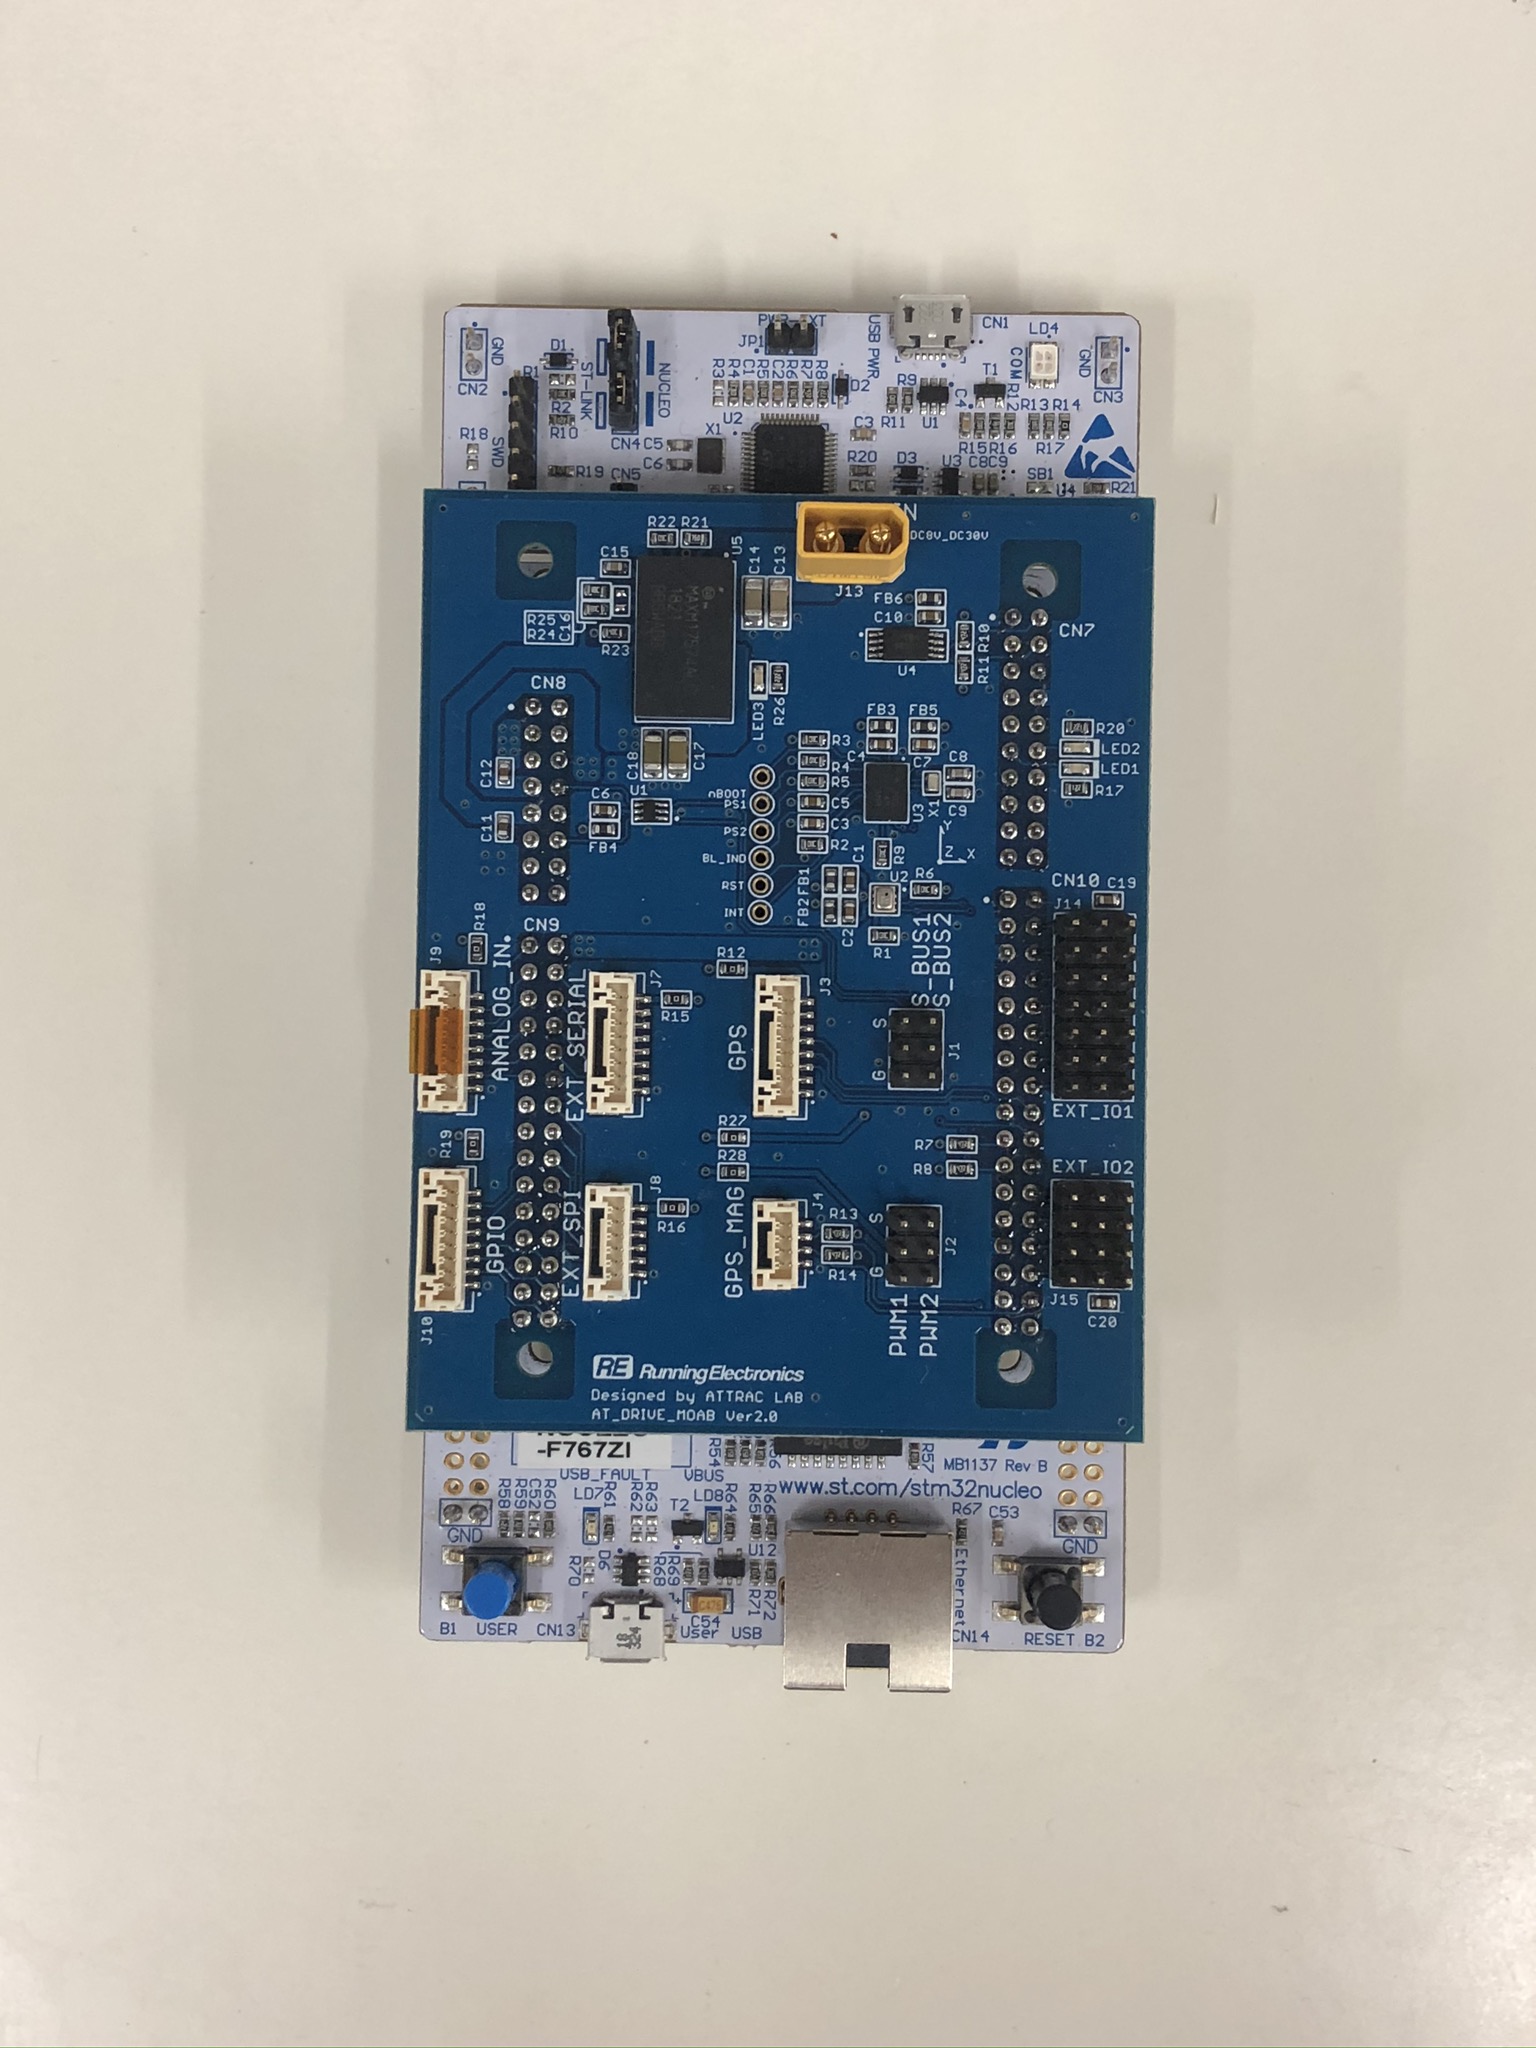
Next step is to compile the code and flash to NUCLEO board. I think it's time to plug the shield back to NUCLEO board and don't forget to switch JP3 back to E5V. We are going to provide external power on POWER_IN XT30 connector. Your current setup should look like below, then plug the USB from NUCLEO board to your PC.
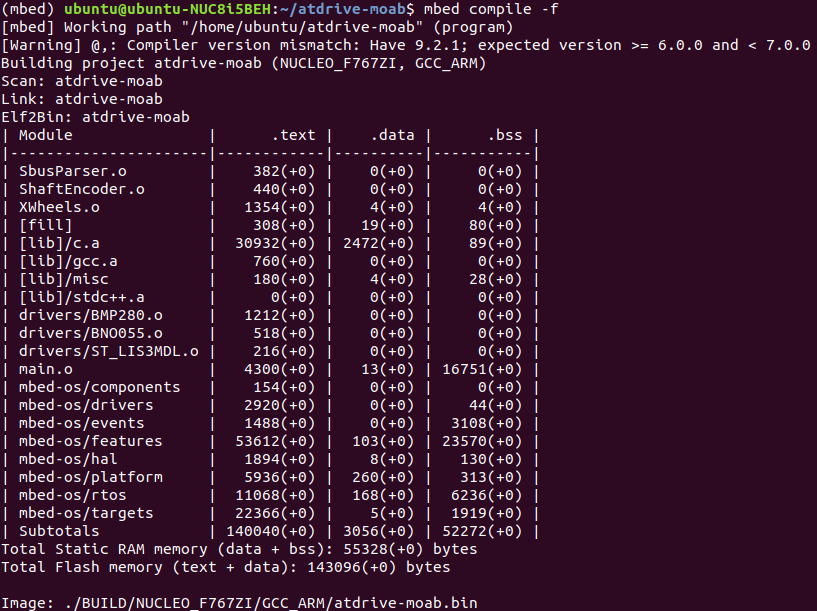
Run mbed compile to just compile the code, and mbed compile -f to compile and flash. If everything is going fine, your terminal should look like this.
You can see that LED2 on the shield is blinking that indicates us all the code is running. Now you can unplug USB from the NUCLEO board.
Debugging
LAN port
To monitor what's going on, you can use u_printf() function to print out some value or message you want to observe, see some example of how to use this function on main.cpp. Note that you need to plug the ethernet cable on the MOAB board (NUCLEO + shield = moab) and also set the ROBOT_CONFIG.hpp file as the proper one.
For example my office LAN is 192.168.0.xx, so you can see I have ROBOT_CONFIG_XDRIVE_OfficeLAN.hpp file which contains the information of my network, so you can copy/edit this file according to your LAN setting. Then we need to make a soft link from that config file to the new ROBOT_CONFIG.hpp file by the command below.
ln -s ROBOT_CONFIG_XDRIVE_OfficeLAN.hpp ROBOT_CONFIG.hpp
make sure that _AUTOPILOT_IP_ADDRESS is setup correctly. For in an office debugging, this should be your PC's IP.
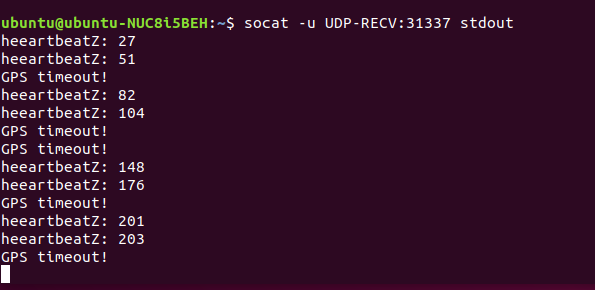
I plug ethernet cable to the MOAB board to access my office LAN, then from my PC with the same LAN, I can run socat -u UDP-RECV:31337 stdout on the terminal, to see the message from MOAB. You can put u_printf("messages or variables you want to monitor") to anywhere on the code in case you want to debug something. This technique comes from the original developer Mark Fassler.
NOTE If you don't see anything printing on the terminal, there is a possibility that your firewall is enable. To disable please use this command.
sudo ufw disable
UART port
Additionally, you can use USB port with Arduino's Serial Monitor. If you are familiar with Arduino development, then this is another option that you can monitor some messages or variables. On the MOAB's code (main.cpp, XWheels.cpp, or etc) you can try put printf("message") or printf("rpmR: %f", %rpmR) to monitor something.
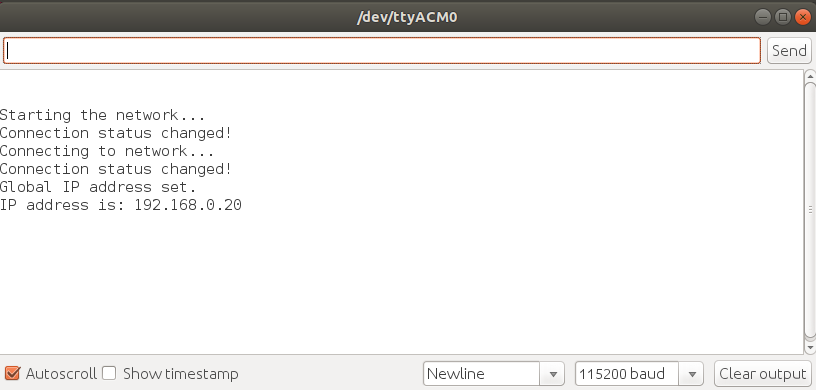
First you need to install Arduino, then open the software, select the correct USB port for example /dev/ttyACM0 or etc, then open Serial Monitor. The baud rate to listen printf() is 1152000, if everything is setup correctly at least when you reset the board and the Serial Monitor is openning you should see this message from eth_callback() . I think this can give you a rough idea about how to debug when something goes wrong.
Or you can use another serial monitor such as CoolTerm.
User Guide
Another repo that will help you workaround with atdrive-moab easily is atdrive-moab-tools which developed by Mark Fassler. Please clone the repo to your home or any project directory as this command
git clone https://github.com/mfassler/atdrive-moab-tools.git
You will need these tools when working with GPS, SBUS, IMU, or etc. So I highly recommend to clone that repo to your autopilot PC such as Intel NUC or NVIDIA Jetson, and also clone it to your base station PC. I will explain more detail in each feature from an example.
General Features
Brushless Wheels
DC Brushed Wheels
