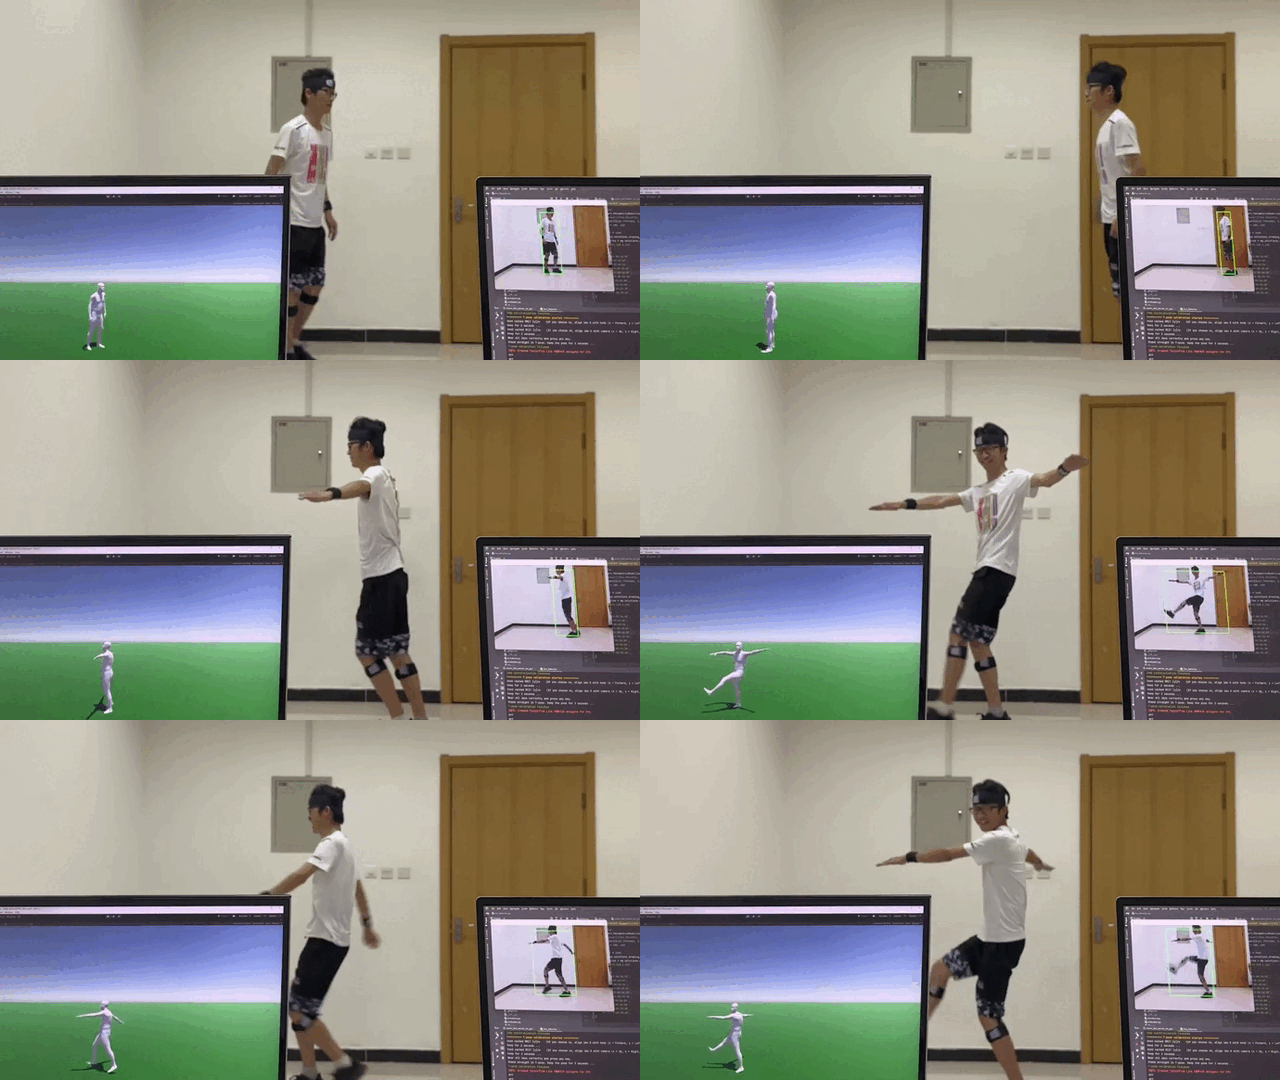
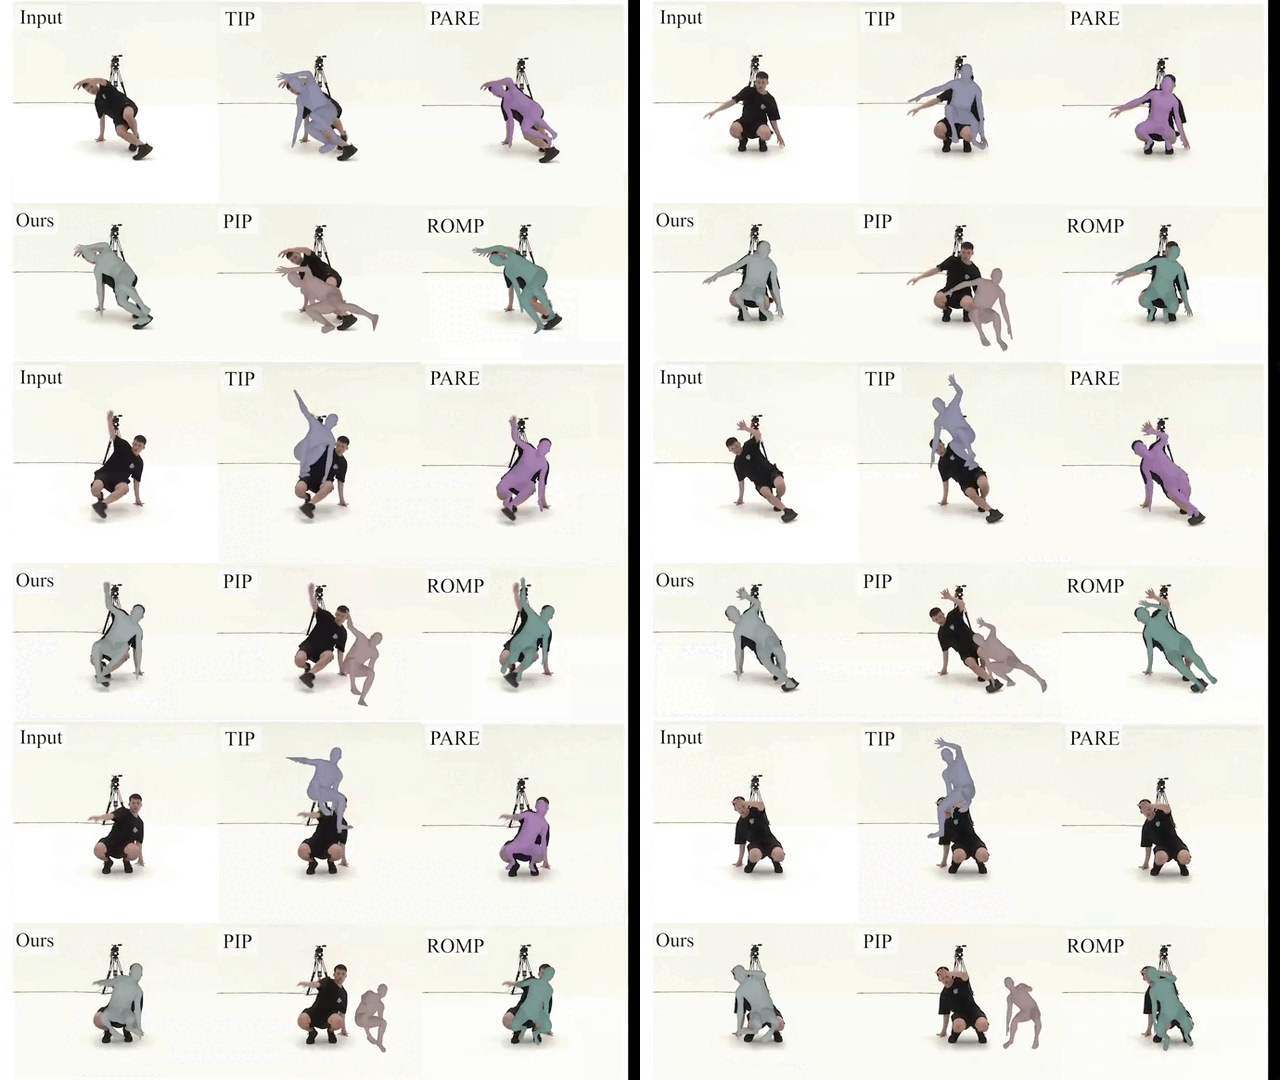
Code for our SIGGRAPH ASIA 2023 paper "Fusing Monocular Images and Sparse IMU Signals for Real-time Human
Motion Capture". This repository contains the system implementation and evaluation. See Project Page.
conda create -n RobustCap python=3.8
conda activate RobustCap
pip install -r requirements.txt
Install pytorch cuda version from the official website.
- Download smpl files from here or the official website. Unzip it and place it at
models/. - Download the pretrained model and data and place them at
data/. - For AIST++ evaluation, download the no aligned files and place it at
data/dataset_work/AIST.
We provide the evaluation code for AIST++, TotalCapture, 3DPW and 3DPW-OCC. The results maybe slightly different from the numbers reported in the paper due to the randomness of the optimization.
python evaluate.py
We provide the visualization code for AIST++. You can use view_aist function in evaluate.py to visualize the results. By indicating seq_idx and cam_idx, you can visualize the results of a specific sequence and camera. Set vis=True to visualize the overlay results (you need to download the origin AIST++ videos and put them onto config.paths.aist_raw_dir). Use body_model.view_motion to visualize the open3d results.
You can use view_aist_unity function in evaluate.py to visualize the results. By indicating seq_idx and cam_idx, you can visualize the results of a specific sequence and camera.
- Download unity assets from here.
- Create a unity 3D project and use the downloaded assets, and create a directory UserData/Motion.
- For the unity scripts, use Set Motion (set Fps to 60) and do not use Record Video.
- Run view_aist_unity and copy the generated files to UserData/Motion.
Then you can run the unity scripts to visualize the results.
We use 6 Xsens Dot IMUs and a monocular webcam. For different hardwares, you may need to modify the code.
- Config the IMU and camera parameters in
config.Live. - Calibrate the camera. We give a simple calibration code in
articulate/utils/executables/RGB_camera_calibration.py. Then copy the camera intrinsic parameters toconfig.Live.camera_intrinsic. - Connect the IMUs using the code
articulate/utils/executables/xsens_dot_server_no_gui.py. Following the instructions in the command line including “connect, start streaming, reset heading, print sensor angle (make sure the angles are similar when you align the IMUs)”. - Run the live detector code
live_detector.pyand you can see the camera reading. - Run the Unity scene to render the results. You can write your own code or use the scene from Transpose (https://github.com/Xinyu-Yi/TransPose).
- Run the live server code
live_server.pyto run our networks and send the results to Unity.
After doing this, you can see the real-time results in Unity. If you are encountering any problems, please feel free to issue.
run net/sig_mp.py.
@inproceedings{pan2023fusing,
title={Fusing Monocular Images and Sparse IMU Signals for Real-time Human Motion Capture},
author={Pan, Shaohua and Ma, Qi and Yi, Xinyu and Hu, Weifeng and Wang, Xiong and Zhou, Xingkang and Li, Jijunnan and Xu, Feng},
booktitle={SIGGRAPH Asia 2023 Conference Papers},
pages={1--11},
year={2023}
}


