CarpetplotR.R is a command-line tool written in R, for fast and easy visualisation of fMRI data quality using carpet plots.
Carpet plots are becoming a increasing popular way to visualise subject-level fMRI scan quality. The plot visualises a matrix of colour-coded signal intensities, in which rows represent voxels and columns represent time. The order in which these voxels are displayed has a major effect on the visual interpretation of carpet plots. Please see these two papers for more details:
Either download the carpetplotR.R script directly from this git page,
or using the command-line:
wget https://raw.githubusercontent.com/sidchop/carpetplotR/main/carpetplotR.R
- R
- The other required R CRAN packages (“optparse”, “RColorBrewer”,
“matrixStats”,“shape”, “RNifti”) will be automatically downloaded
and installed the first time you call
carpetplotR.R.
- [Required] fMRI data file (.nii or .nii.gz format)
- [Recommended] Tissue mask file where grey matter = 1, white
matter = 2 & csf = 3 (.nii or .nii.gz format). If you have used
fmriprep to process your data, this can be the
${subj}_bold_space-${template}_dseg.nii.gzfile. If you do not provide this mask, a brain mask will be generated which will include all voxels with a mean value > 0. - [Optional] A text file with the global signal given as a vector. If you do not provide this, the global signal will be automatically calculated from the provided fMRI file.
You can call R scripts from a command-line terminal using the Rscript
command. The most basic use of carpetplotR using defaults would be:
Rscript carpetplotR.R -f fmri_file.nii.gz
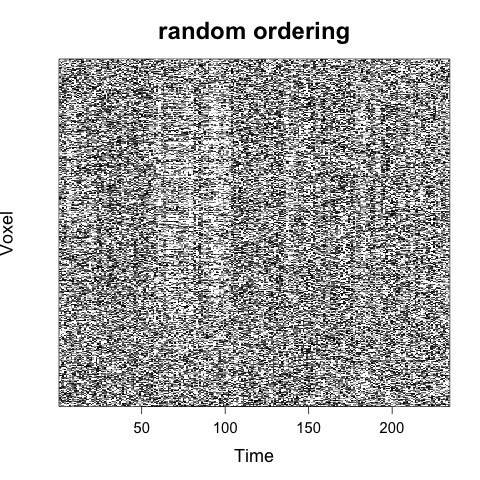
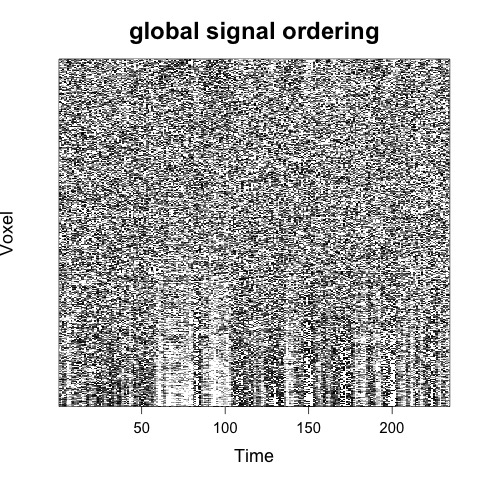
Which would by default result in two carpet plots images (.jpeg) being generated, one with random voxel ordering and one with global signal ordering:
For a discussion of voxel ordering in carpet plots see here.
It is highly recommended that you provide a tissue mask. If you do not, a mean mask will automatically be applied which will only include all voxels where the mean signal is greater than the mean global signal. There is no guarantee that this mask will provide good coverage of the brain.
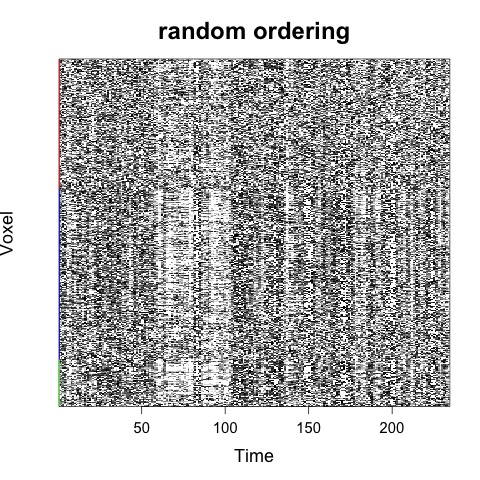
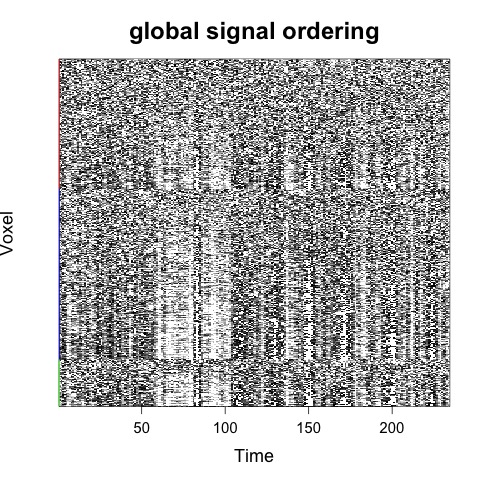
If a tissue mask is provided, then voxels will first be ordered by tissue type:
Rscript carpetplotR.R -f fmri_file.nii.gz -m mask_dseg.nii.gz
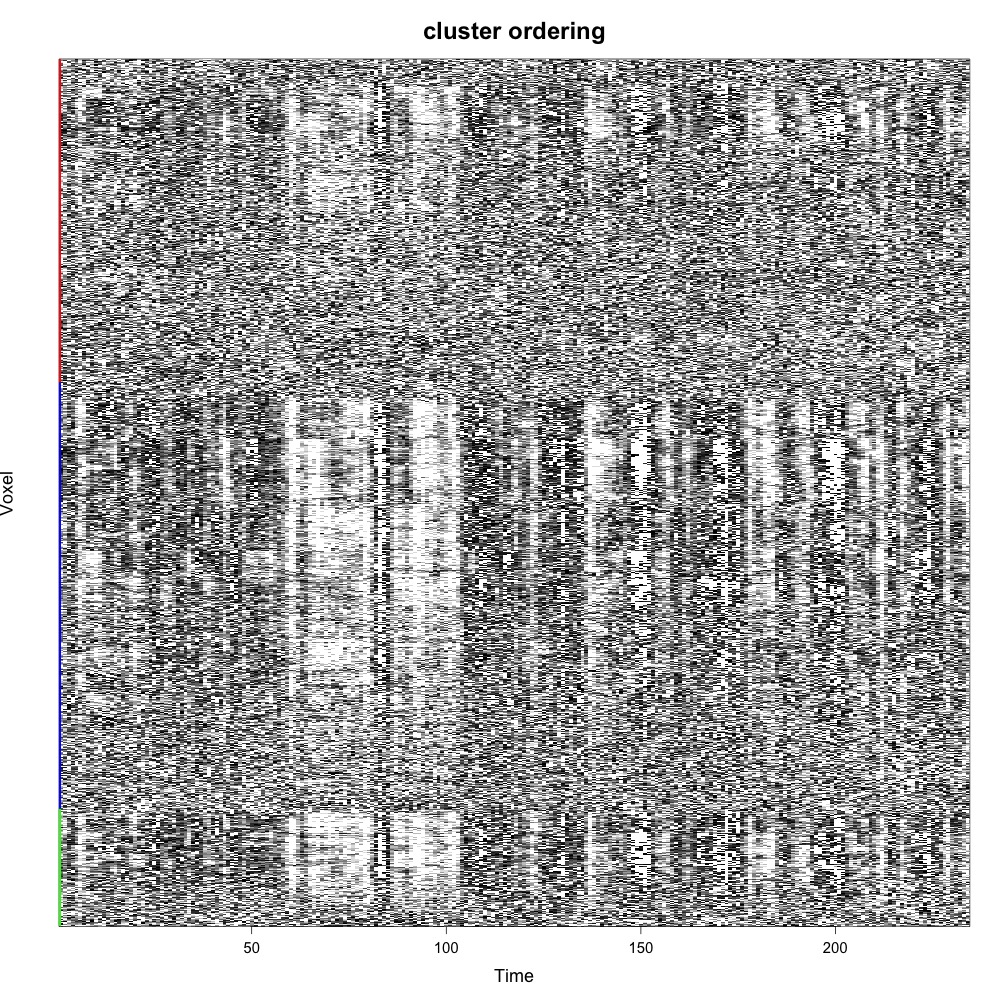
CarpetplotR also offers hierarchical average linkage clustering on Euclidean distances (-r “co”). Computing this can require a lot of RAM, so please consider downsampling the data using the “-d” flag:
Rscript carpetplotR.R -f fmri_file.nii.gz -m mask_desg.nii.gz -r "co" -d 6
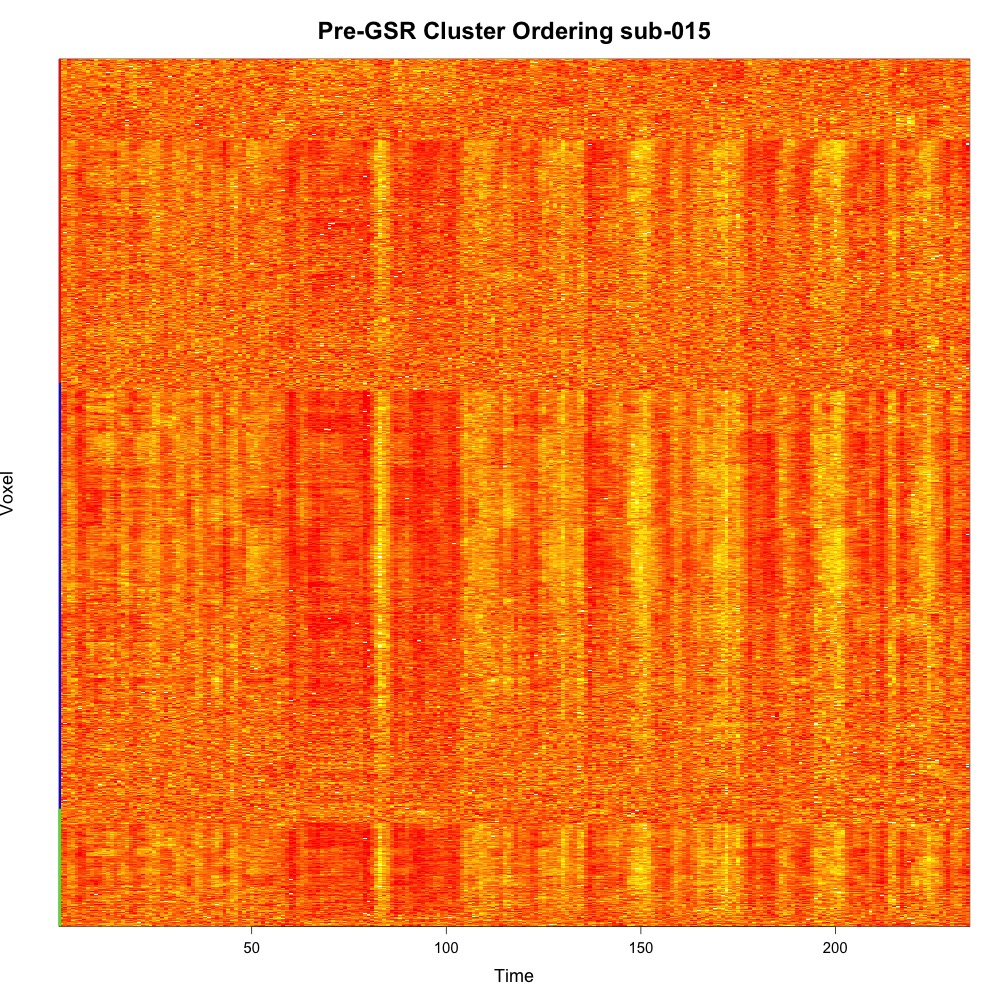
There are other options available such as changing the colour palette, max/min colour limits, plot title and format of output image:
Rscript carpetplotR.R -f fmri_file.nii.gz -m mask_desg.nii.gz -r "co" -d 8 -l 3 -c "red,yellow" -i "tiff" -t "Pre-GSR Cluster Ordering sub-015" -o "sub-015_co_"
There are other options, which can be accessed by calling
Rscript carpetplotR.R without any options or
Rscript carpetplotR.R --help:
Rscript carpetplotR.R --help

Usage: carpetplotR.R [options]


Options:
    -f FILE, --file=FILE
        [Required] fMRI file in .nii or .nii.gz format.
 Minimal useage:

               Rscript carpetplotR.R -f fmri_file.nii.gz

    -m MASK, --mask=MASK
        [Recommended] Tissue mask file in .nii or .nii.gz format which matches the 3D dimentions of the fMRI file,
               where the voxels are labelled:  1=gm, 2=wm & 3=csf. If you have run fmriprep
               you can use the '${subj}_bold_space-${template}_dseg.nii.gz' file. If you provide a mask file,
               the voxels will first be sorted acording to tissue type.
 Recommended useage:

               Rscript carpetplotR.R -f fmri_file.nii.gz -m bold_space_dseg.nii.gz

    -o OUTPUT_FILENAME, --output_filename=OUTPUT_FILENAME
        Output file path and name [default= carpetplot].
 E.g.
               Rscript carpetplotR.R -f fmri_file.nii.gz -o "path/to/output/subj"

    -r CHARACTER, --ordering=CHARACTER
        Voxel ordering: random, gs (global signal) and or co (cluster ordering).
 E.g. -r "random, gs" [Default]

    -g GS, --gs=GS
        a .txt file with the global signal (gs), if not provided, gs will be extracted from provided fmri

    -i IMAGE, --image=IMAGE
        image device to use: "jpeg" [Default], png or tiff

    -c COLOURPALETTE, --colourpalette=COLOURPALETTE
        Colour palette used for the carpet plot. Entered as individual colors (either name or hex) which are combined into a continuous scale, e.g. "black, white" [Default]

    -l LIMITS, --limits=LIMITS
        [Optional] a sets a +upper and -lower z-score limit on the color bar. Default = 1.2. Stops outliers dominating colour scale

    -t TITLE, --title=TITLE
        [Optional] A title that will appear at the top of the plot.

    -d DOWNSAMPLEFACTOR, --downsamplefactor=DOWNSAMPLEFACTOR
        [Optional] downsample the image by a factor. Highly recommend using a factor between 6-10 when using cluster ordering (i.e. -o "co"), as it can take a lot of RAM.

    -s IMAGESIZE, --imagesize=IMAGESIZE
        [Optional] Size (height & width) of the image in pixels. Default is 1000. If the images are comming out blank, try uping the size

    -R USERASTER, --useRaster=USERASTER
        [Optional] Use raster graphics. Speeds things up a lot, but if you are using carpetplotR on a cluster and the plots are comming out blank, set to False.

    -h, --help
        Show this help message and exit
- Output is a blank image? Try increasing the image size (-s 1500).
- Still blank? Try turning off raster graphics (-R FALSE). Sometimes computing clusters don’t play nice with raster graphics.
- Script crashes due to low memory/RAM? Try increasing the downsampling factor (e.g. -d 8)
- Taking too long? Try increasing the downsampling factor (e.g. -d 8)
- Dependencies not installing? You might not have admin privileges to
the path where packages are usually installed. Try setting this
variable to somewhere else
export R_LIBS=/some/where/elseor the current directory you are usingexport R_LIBS=$PWD.
Don’t hesitate to ask for support or new features using github issues or email me at sid.chopra@monash.edu.

