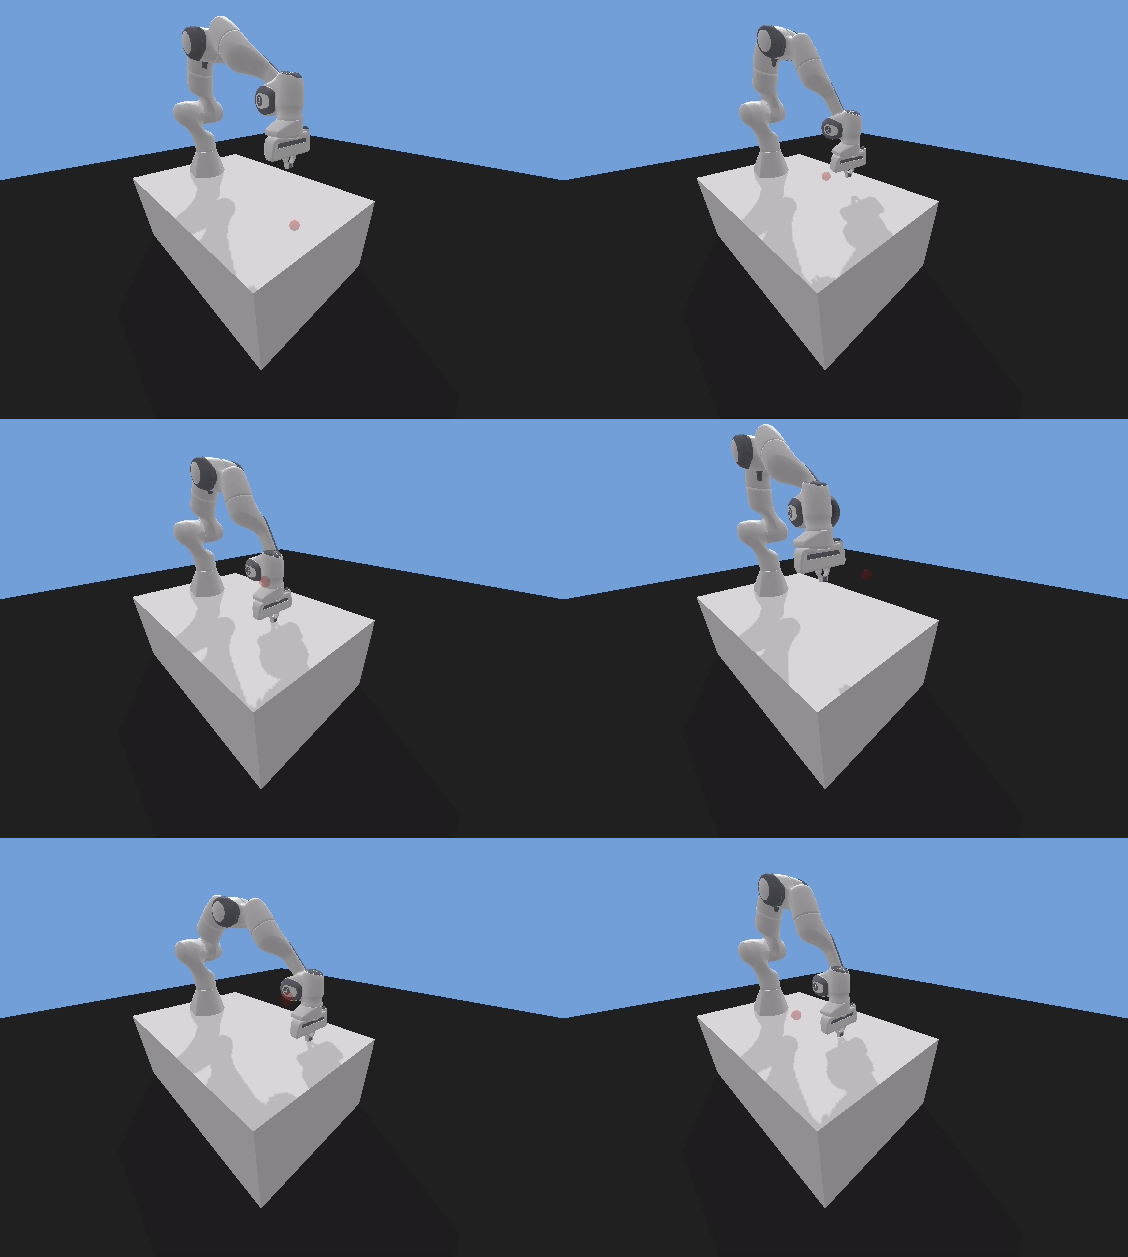
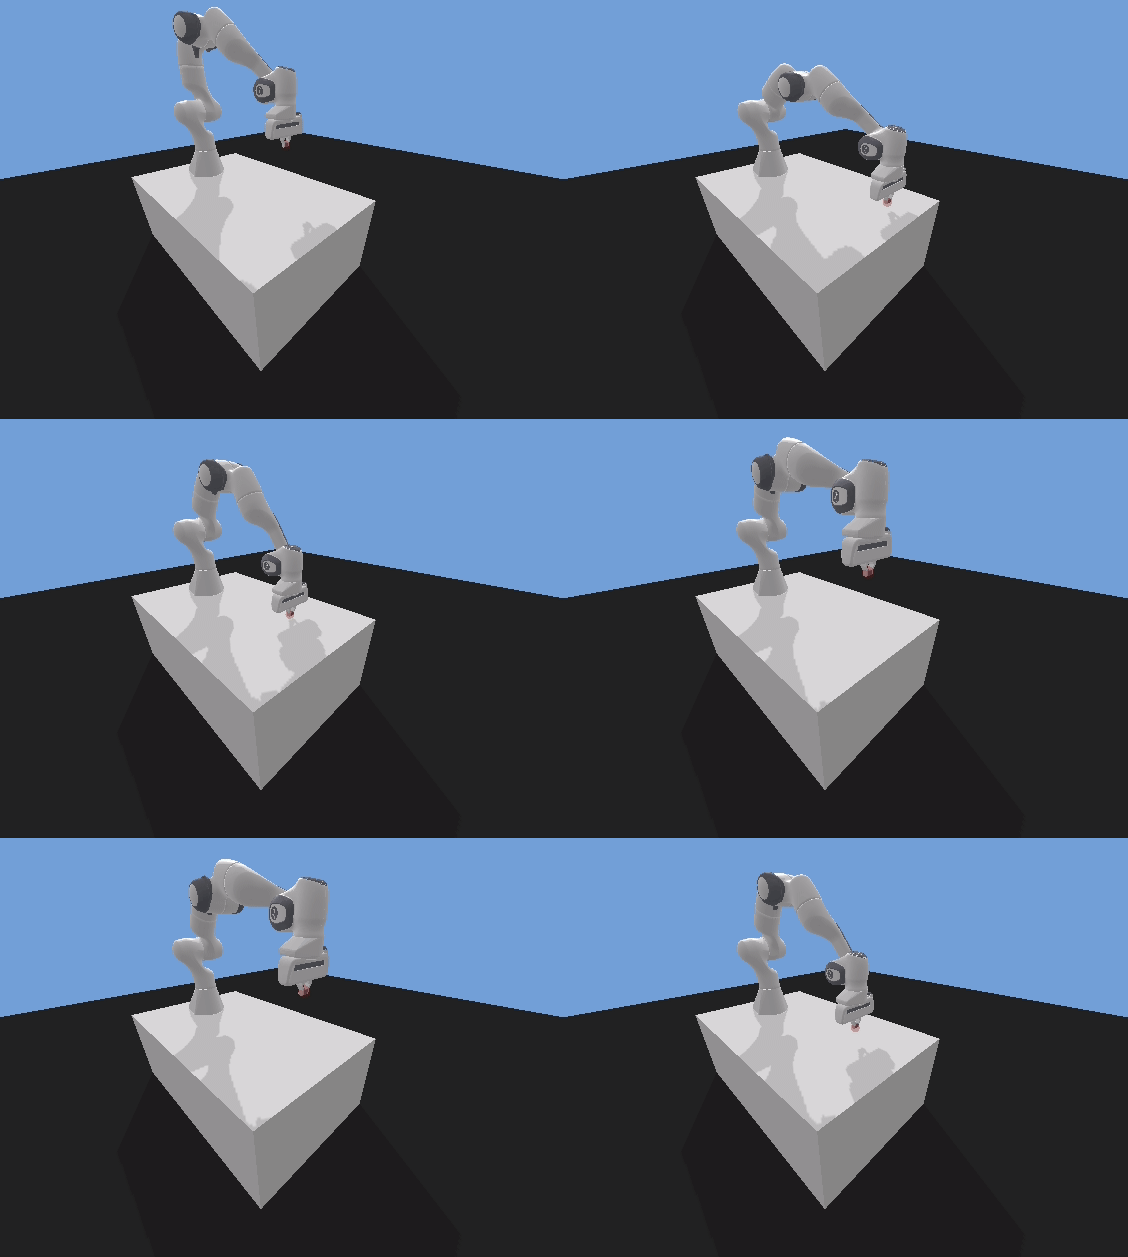
This is an example showing how to train a Reinforcement Learning agent for the Franka Panda robot arm using:
- PyBullet physics simulation
- Gymnasium (formerly OpenAI gym) RL API
- panda-gym robot environments in PyBullet
- Stable-Baselines3 RL algorithms library
Panda pybullet simulation
Action space:
The PandaReach-v3 environment action space is composed of the gripper movement, three coordinates Box(3), one for each axis of movement x, y, z, or joint movement, seven joints Box(7).
ee
Box(-1.0, 1.0, (3,), float32)
joints
Box(-1.0, 1.0, (7,), float32)
The action space can be selected by setting control_type when creating the environment.
env = gym.make(
    "PandaReach-v3",
    render_mode="human",
    reward_type="dense",  # "dense" or "sparse"
    control_type="ee",  # "ee" or "joints"
)
Observation space:
The PandaReach-v3 environment has the following observations, where observation is the position and speed of the gripper Box(6).
Dict(
    achieved_goal:
        Box(-10.0, 10.0, (3,), float32),
    desired_goal:
        Box(-10.0, 10.0, (3,), float32),
    observation:
        Box(-10.0, 10.0, (6,), float32)
    )
The PandaReach-v3 environment comes with both sparse and dense reward functions. Default is the sparse reward function, which returns 0 or -1 if the desired goal was reached within some tolerance. The dense reward function is the negative of the distance d between the desired goal and the achieved goal.
distance_threshold = 0.05  # Distance threshold in meters
d = distance(achieved_goal, desired_goal)  # Norm distance (Euclidean distance)

if self.reward_type == "sparse":
    return -(d > self.distance_threshold).astype(np.float32)
else:
return -dThe python virtual environment is set up with Python 3.8. Python 3.7 and up should also work, but has not been tested.
In the following we use Anaconda to set up the virtual environment.
$ conda create -n rl_panda_gym_py38 python=3.8
$ conda activate rl_panda_gym_py38$ git clone https://github.com/simonbogh/rl_panda_gym_pybullet_example.gitWe need the following Python packages, which are all defined in requirements.txt.
- black==24.8.0
- gym==0.26.2
- gymnasium==0.29.1
- panda-gym==3.0.7
- protobuf==4.25.3
- pybullet==3.2.6
- pyglet==2.0.10
- pygame==2.5.2
- sb3-contrib==2.2.1
- scikit-learn==1.3.2
- stable-baselines3==2.2.1
- tensorboard==2.14.0
- torch==2.2.0
- wandb==0.16.3
- tqdm==4.66.2
- rich==13.7.0
$ cd rl_panda_gym_pybullet_example
$ pip install -r requirements.txt
The following example tests the installation of panda_gym and pybullet. It runs the PandaReach-v3 pybullet environment and sends random actions to the robot.
No Reinforcement Learning agent is trained. Check the next section for how to train an agent using Stable-Baselines3.
import gymnasium as gym
import panda_gym  # Import panda_gym to register the Panda pybullet environments


def run_random_agent():
    # Create gym training environment
    env = gym.make(
        "PandaReach-v3",
        render_mode="human",
        reward_type="dense",  # "dense" or "sparse"
        control_type="ee",  # "ee" or "joints"
    )
    print("Action space:")
    print(env.action_space)
    print("Observation space:")
    print(env.observation_space)

    # Reset environment and get first observation
    obs = env.reset()
    done = False
    while True:
        # Take random action
        action = env.action_space.sample()  # random action
        obs, rewards, dones, truncated, info = env.step(action)
        env.render()  # Make the rendering real-time (1x)

    env.close()


if __name__ == "__main__":
run_random_agent()Minimal example showing how to train a PPO agent for the PandaReach-v3 task using Stable-Baselines3.
import gymnasium as gym
import panda_gym
from stable_baselines3 import PPO

# Create gym training environment
env = gym.make(
    "PandaReach-v3",
    render_mode="human",
    reward_type="dense",  # "dense" or "sparse"
    control_type="ee",  # "ee" or "joints"
)

# Set up PPO model
model = PPO(
    "MultiInputPolicy",
    env,
    verbose=1,
    tensorboard_log="runs",
    learning_rate=0.001,
)

# Train agent
model.learn(total_timesteps=200000)

# Save trained model
model.save("PandaReach_v3_model")
The following python script includes more hyper-parameters and settings that can be adapted when training the agent.
$ python panda_reach_train_agent.pyA trained agent/policy can be tested by loading the model saved during training. A trained model can be found in the folder rl-trained-agents/.
panda_reach_test_agent.py loads a saved model and runs the pybullet simulation using that model as the policy for the agent.
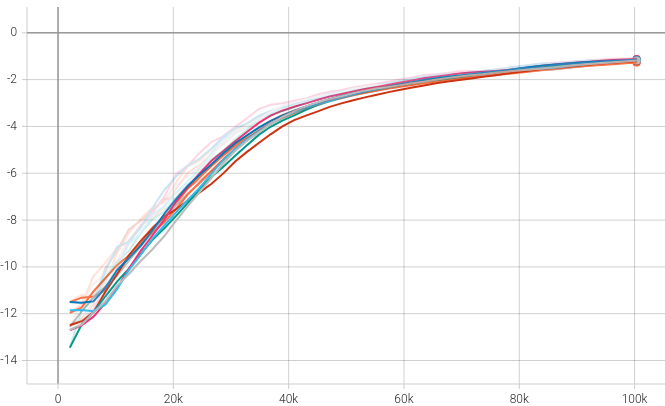
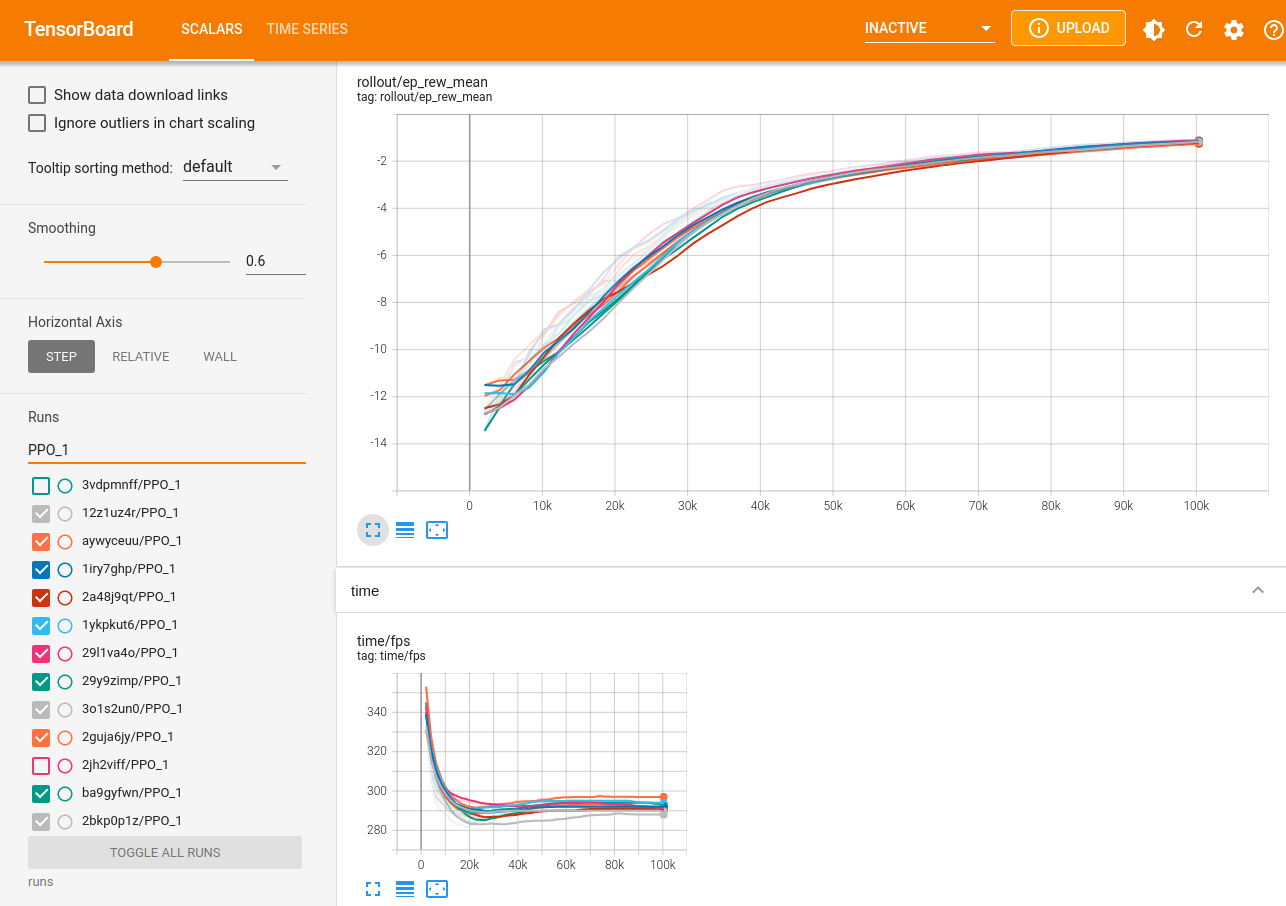
$ python panda_reach_test_agent.pyTensorboard log files are saved to the runs/ folder. Make sure to set tensorboard_log="runs" for the PPO model before training. When training is running, run the following in your terminal to start tensorboard.
$ tensorboard --logdir runsLogs can be viewed in a web browser at http://localhost:6006/
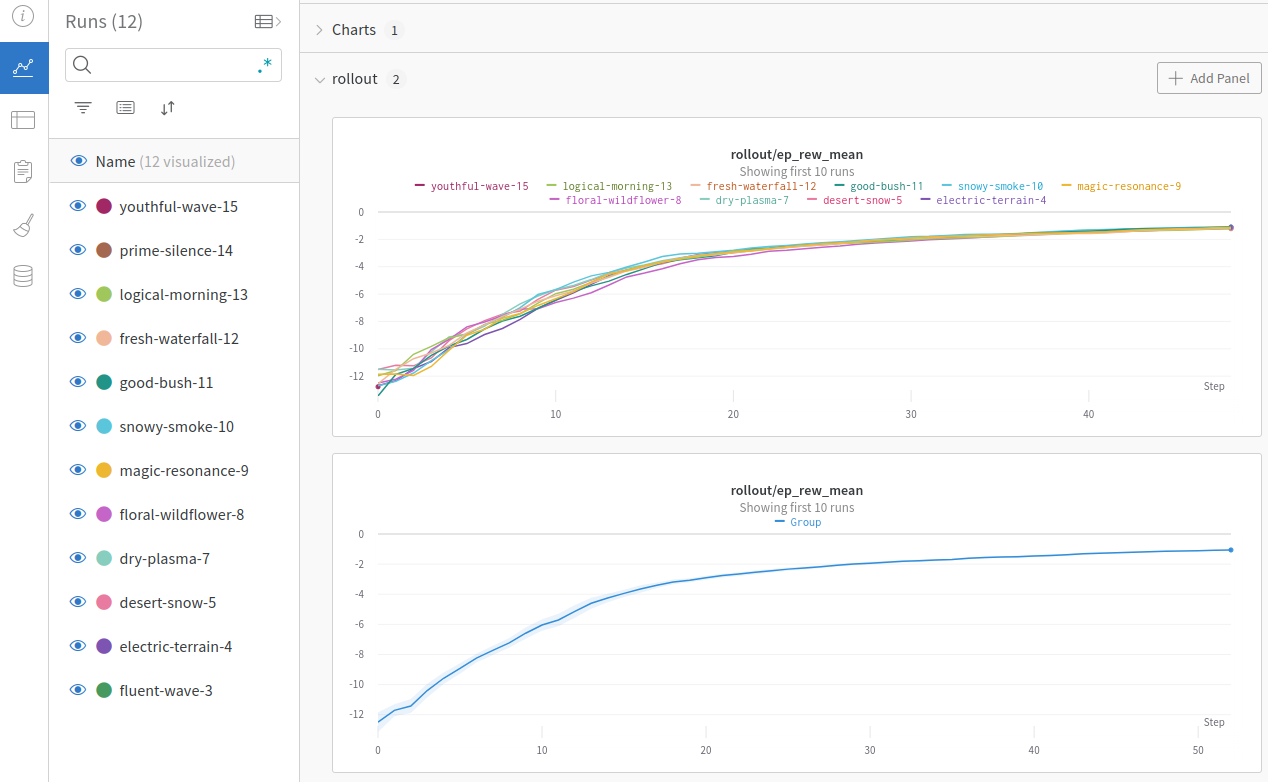
Weights & Biases (wandb) can be used instead of tensorboard to track the training process. Several runs can be compared and you can make reports for the experiments.
https://docs.wandb.ai/guides/integrations/other/stable-baselines-3
When running the simulation in an Anaconda environment on a latop with a dedicated Nvidia GPU, you may get an error related to OpenGL, Iris and libstdc.
In this case, change the Nvidia settings to always use the dedicated Nvidia GPU:
- Open
NVIDIA X server Settings - Select
PRIME Profiles - Select
NVIDIA (Performance Mode) - Restart computer
Source: https://askubuntu.com/questions/1255049/use-dedicated-gpu-only-on-laptop-running-ubuntu-20-04
Pretrained models are stored using git lfs. Make sure to install git lfs and pull pretrained models.
Ubuntu:
sudo apt install git-lfs
git lfs install
git lfs pull
macOS:
brew install git-lfs
git lfs install
git lfs pull