This repository contains a simple example of how to use the OpenCV machine vision library in the UnrealEngine4 video game editor, allowing you add machine vision AI to your video games. The example uses the stock SideScroller game template with a a simple edge-detection algorithm, but can easily be adapted to use other algorithms from OpenCV.
Check here for the minimum hardware recommended by Unreal Engine.
You will need Unreal Engine 4 (UE4). We are attempting to use the latest version, which as of the time of this writing is UE4.18.2.
Windows users will need Visual Studio Community (we're using the latest version, 2017). If you don't have UE4 or Visual Studio 2017 installed, these instructions will help get you started. If you've already been using C++ to develop video games with older versions of these tools (Visual Studio 2015, UE 4.16), we recommend sticking with those, as we've found that the differences between Visual Studio 2015 and 2017 can cause problems for UE4 if you're not careful (inability to generate a .sln file from a .uproject file, inability to compile source code, etc.).
Linux users should follow these instructions. If (like us) you like to build your projects from the bash command line, follow these instructions to add a bash-shell command allowing you to do this. Because of the difficulties I've had getting UE4 to run consistently on Linux, I cannot guarantee that this will work.
You should first clone the UE4_OpencCV repository into your Documents/Unreal Projects folder, creating that folder if it doesn't already exist.
To make sure that this program has access to the OpenCV libraries, the first thing you should do is open the folder UE4_OpenCV\ThirdParty\OpenCV\Libraries\Win64, copy the file opencv_world340.dll, and paste it into the C:\Windows\System32 folder. This will also help with any future programs you write using OpenCV.
Next, navigate back to the UE4_OpenCV folder, right-click on OpenCV.uproject, and select the menu item Generate Visual Studio project files. This should create a file UE4_OpenCV.sln and some new folders. If you don't get the new .sln file, it's probably because UE4 cannot find a C++ compiler for the version of Visual Studio you've installed (see discussion here). Double-clicking on the .sln file should launch Visual Studio. The first time you launch Visual Studio, it can take several minutes to parse up all the C++ source code for the UE4 engine.
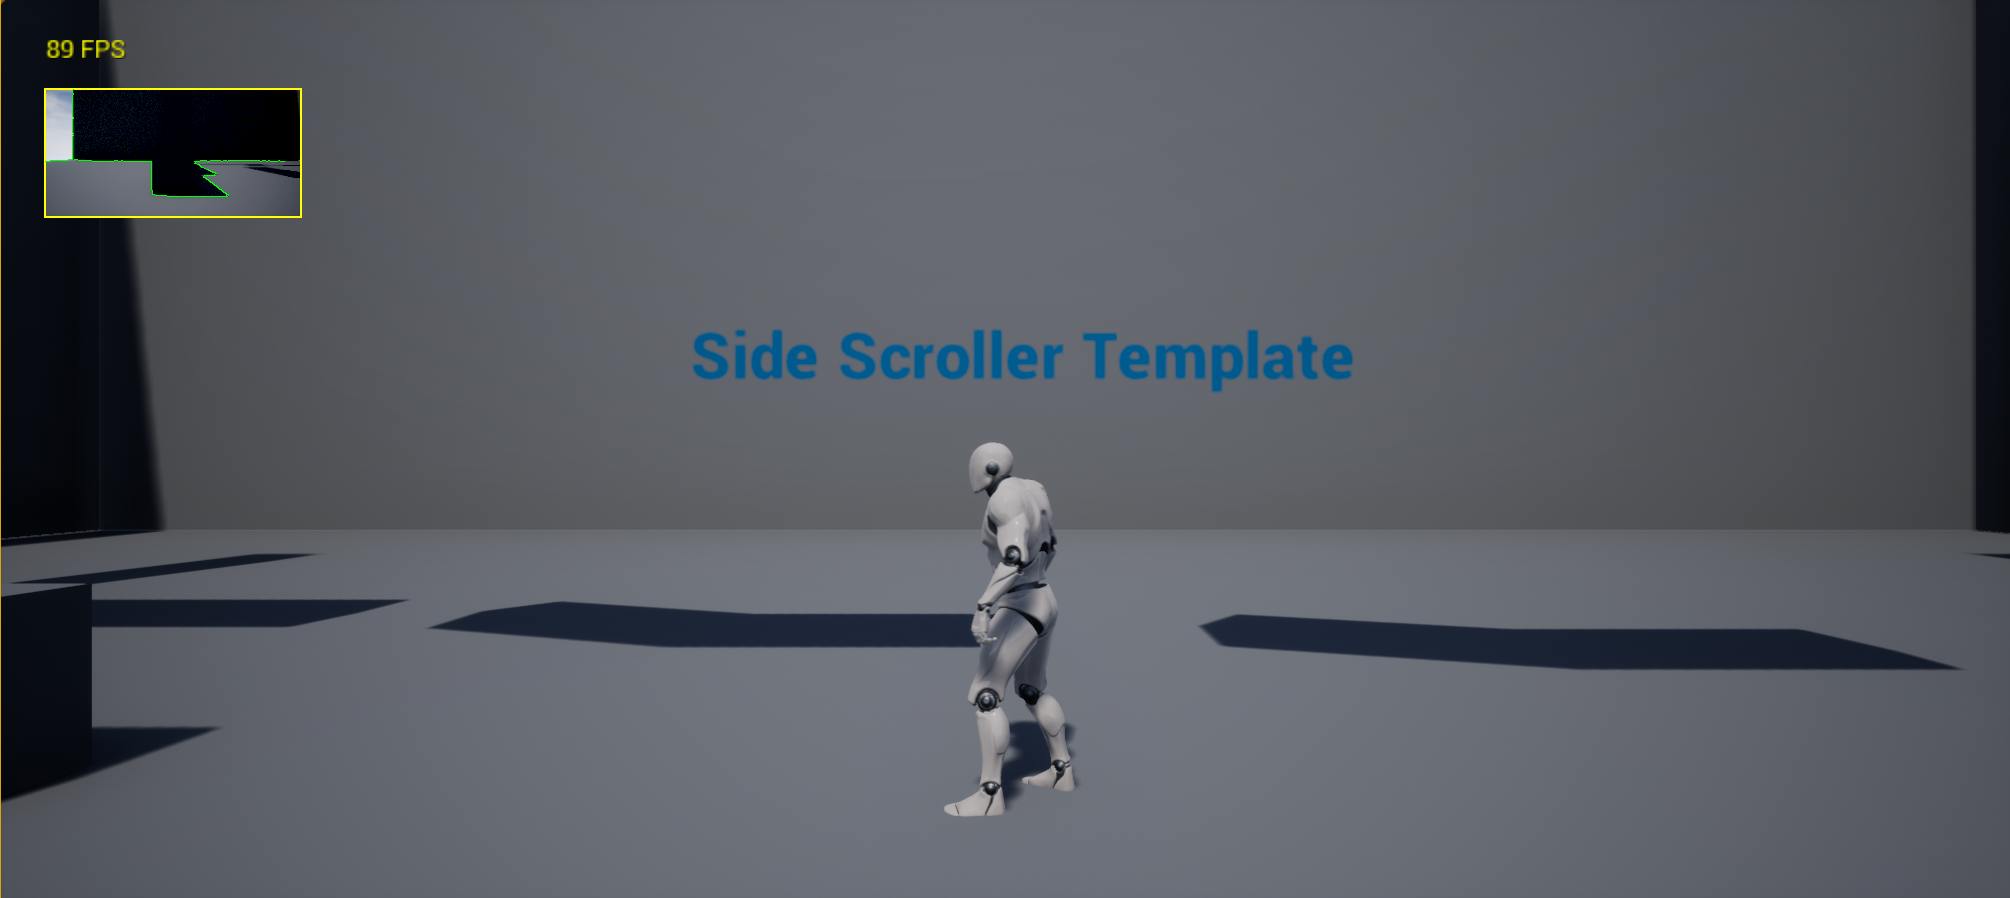
Finally, hit the F5 key to launch launch the UE4 editor. Go to the World Settings tab in the upper right, and under Game Mode open the Selected GameMode item, and for HUD Class select VisionHUD. Now, when you press the Play button, the upper-left of the display should present a little camera view from the character's perspective, along with a report of the frame rate (FPS).
The starting point for this project was the C++ code generated by the simple SideScroller example provided by UnrealEngine4. Using the UnrealEditor, I created a Blueprint from the SideScrollerCPP character. Then, based on this video tutorial, I used UnrealEditor to add a camera to the SideScroller character Blueprint, added a ScreenCaptureComponent2D to the camera, and set the TextureTarget of the ScreenCaptureComponent2D to a TextureRenderTarget2D (referred to as T_Minimap in the video). Instead of adding a HUD as a Blueprint in UnrealEditor, I created a VisionHUD class in C++, whose constructor loads the TextureRenderTarget2D object from the Blueprint and uses it to create an FRenderTarget object. The VisionHUD's DrawHUD method reads the RGBA pixel values from the FRenderTarget, stores the R, G, and B components into an ordinary byte array, and passes the byte array to the OpenCV-based machine-vision algorithm. Finally, I followed this example to make the vision algorithm run on its own thread.
To add a machine-vision HUD like this to another UE4 C++ project, you should use/modify the following files:
-
SideScrollerCPP.Build.cs As described in this tutorial, the contents (public and private methods) of this class can be copy/pasted into the .Build.cs class for your project.
-
EdgeDetection.h / EdgeDetection.cpp Modify and/or rename this class to run the OpenCV algorithm(s) of your choice. Your class should provide a static getInstance() factory method like the one in EdgeDetection.cpp.
-
OnscreenDebug.h / OnscreenDebug.cpp This class has nothing to do with machine vision; instead, it provides a simple way to add onscreen debugging printout to your UE4 projects. In this project, we're using it to display the frame rate.
-
VisionAlgorithm.h Subclass this class to run your machine-vision algorithm.
Although I have not tried it out, the UnrealCV project appears to be a fully developed platform for exploring computer vision with UnrealEngine4.