This tutorial is for anyone who wants to use the webapp2 Python framework without the Cloud SDK on their computer. It's similar to this tutorial, except that it also uses templating engine Jinja.
You have two options:
- Follow the steps in this tutorial
- Skip the tutorial and start using the boilerplate code right away
If you're eager to start using this boilerplate code right away, just download the repository in a ZIP format (download here), unzip it and install PIP dependencies: pip install -r requirements.txt.
If you don't know how to do it, follow this tutorial. Also, if you'd like to deploy on Google Cloud (App Engine), scroll down to step 9.
Open PyCharm and click on Create New Project.
In the next step define the project path and optionally create a virtual environment.

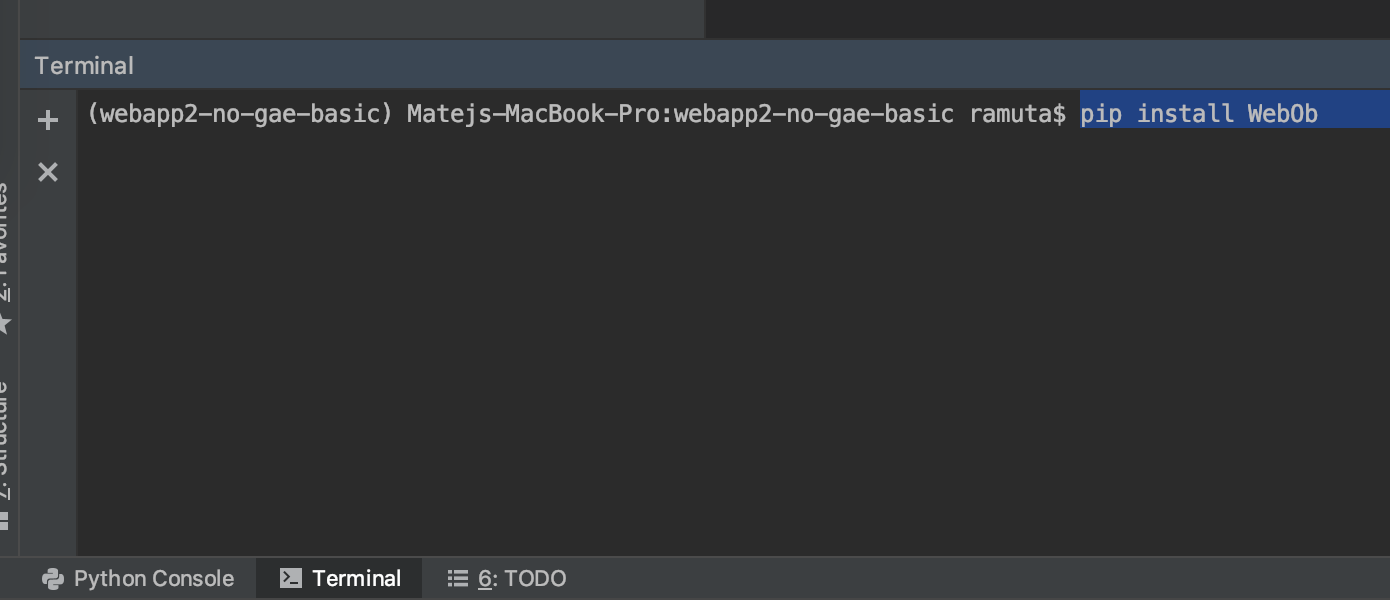
Now that you've started a new project, open the Terminal tab (below) and install four PIP libraries:
a) You can install all of them at the same time with this command: pip install -r requirements.txt.
b) Or you can install them one-by-one:
pip install WebObpip install Pastepip install webapp2pip install jinja2
webapp2 is the Python framework we'll use and it needs WebOb in order to work correctly. Paste is a HTTP server that we'll use to run our website on our computer. And jinja2 is a templating engine that will connect our Python code to our HTML files.
Create a file called main.py in the root of your project.
Then add the following code in it:
import os
import jinja2
import webapp2

template_dir = os.path.join(os.path.dirname(__file__), "templates")
jinja_env = jinja2.Environment(loader=jinja2.FileSystemLoader(template_dir), autoescape=False)


class BaseHandler(webapp2.RequestHandler):

    def write(self, *a, **kw):
        return self.response.out.write(*a, **kw)

    def render_str(self, template, **params):
        t = jinja_env.get_template(template)
        return t.render(params)

    def render(self, template, **kw):
        return self.write(self.render_str(template, **kw))

    def render_template(self, view_filename, params=None):
        if params is None:
            params = {}
        template = jinja_env.get_template(view_filename)
        return self.response.out.write(template.render(params))


# handlers
class MainHandler(BaseHandler):
    def get(self):
        return self.render_template("hello.html")


# URLs
app = webapp2.WSGIApplication([
    webapp2.Route('/', MainHandler),
], debug=True)


# run the localhost server
localhost = True  # change to False before deploying to Google Cloud (GAE)
if localhost:
    def main():
        from paste import httpserver
        from paste.cascade import Cascade
        from paste.urlparser import StaticURLParser

        assets_dir = os.path.join(os.path.dirname(__file__))
        static_app = StaticURLParser(directory=assets_dir)

        web_app = Cascade([app, static_app])
        httpserver.serve(web_app, host='localhost', port='8080')


    if __name__ == '__main__':
        main()
As you can see, we have a MainHandler that serves a hello.html file. But we don't have this file created yet. Let's create it now!
Right-click on your project name and select New and then Directory. Name it templates.

Next right-click on the templates folder, select New and choose HTML File. Name the file: hello.html.
Enter the following code in the hello.html file:
<!DOCTYPE html>
<html>
	<head lang="en">
	    <meta charset="UTF-8">
	    <title>SmartNinja basic Jinja template</title>

	    <link rel="stylesheet" href="/assets/css/style.css">
	</head>

	<body>
	    <h1>Hello, SmartNinja!</h1>

	</body>
</html>Now we can run the app. Right-click on main.py and select Run 'main'.

A new window will open in your PyCharm below. Click on the http://127.0.0.1:8080 link and your web app will open in the browser.
As you can see in the HTML file, we have a reference to a CSS file, but we haven't created it yet.
Create a directory called assets (the same way you created the templates directory.
Next, create a CSS file in it (right-click on assets, the select New and File). The name of the file should be style.css.
Add the following code into your CSS file:
body {
    background-color: red;
}There are two things you have to do to reload your web app:
First reload the main.py (click on the curved green arrow):

Then reload the page in your browser.
You should see your website background turned red.
Sometimes reloading doesn't work due to browser caching. In that case, do a hard refresh in your browser:
- Windows: Ctrl+F5
- Mac: Cmd+Shift+R
- Linux: Ctrl+Shift+R
You can also send a variable from your Python code into the HTML file.
Open main.py, find the MainHandler and adapt its code like this:
class MainHandler(BaseHandler):
    def get(self):
        message = "This is my message"
        return self.render_template("hello.html", params={"message": message})
Now open the hello.html file and add the following paragraph below the <h1> heading:
<p>{{message}}</p>Now reload the main.py app and your browser. You should see the message variable value ("This is my message") appearing on the screen. Congrats!
Even if the Cloud SDK does not work on your computer, you can still deploy this web app on Google Cloud (on Google App Engine). See this tutorial to learn how: click here.