Abhinav Kumar1,
Garrick Brazil2,
Enrique Corona3,
Armin Parchami3,
Xiaoming Liu1
1Michigan State University, 2Meta AI, 3Ford Motor Company
in ECCV 2022
Much of the codebase is based on GUP Net. Some implementations are from GrooMeD-NMS and PCT. Scale Equivariant Steerable (SES) implementations are from SiamSE.
If you find our work useful in your research, please consider starring the repo and citing:
@inproceedings{kumar2022deviant,
   title={{DEVIANT: Depth EquiVarIAnt NeTwork for Monocular $3$D Object Detection}},
   author={Kumar, Abhinav and Brazil, Garrick and Corona, Enrique and Parchami, Armin and Liu, Xiaoming},
   booktitle={ECCV},
   year={2022}
}-
Requirements
- Python 3.7
- PyTorch 1.10
- Torchvision 0.11
- Cuda 11.3
- Ubuntu 18.04/Debian 8.9
This is tested with NVIDIA A100 GPU. Other platforms have not been tested. Clone the repo first. Unless otherwise stated, the below scripts and instructions assume the working directory is the directory code:
git clone https://github.com/abhi1kumar/DEVIANT.git
cd DEVIANT/code- Cuda & Python
Build the DEVIANT environment by installing the requirements:
conda create --name DEVIANT --file conda_GUP_environment_a100.txt
conda activate DEVIANT
pip install opencv-python pandas- KITTI, nuScenes and Waymo Data
Follow instructions of data_setup_README.md to setup KITTI, nuScenes and Waymo as follows:
./code
├── data
│      ├── KITTI
│      │      ├── ImageSets
│      │      ├── kitti_split1
│      │      ├── training
│      │      │     ├── calib
│      │      │     ├── image_2
│      │      │     └── label_2
│      │      │
│      │      └── testing
│      │            ├── calib
│      │            └── image_2
│      │
│      ├── nusc_kitti
│      │      ├── ImageSets
│      │      ├── training
│      │      │     ├── calib
│      │      │     ├── image
│      │      │     └── label
│      │      │
│      │      └── validation
│      │            ├── calib
│      │            ├── image
│      │            └── label
│      │
│      └── waymo
│             ├── ImageSets
│             ├── training
│             │     ├── calib
│             │     ├── image
│             │     └── label
│             │
│             └── validation
│                   ├── calib
│                   ├── image
│                   └── label
│
├── experiments
├── images
├── lib
├── nuscenes-devkit
│ ...- AP Evaluation
Run the following to generate the KITTI binaries corresponding to R40:
sh data/KITTI/kitti_split1/devkit/cpp/build.shWe finally setup the Waymo evaluation. The Waymo evaluation is setup in a different environment py36_waymo_tf to avoid package conflicts with our DEVIANT environment:
# Set up environment
conda create -n py36_waymo_tf python=3.7
conda activate py36_waymo_tf
conda install cudatoolkit=11.3 -c pytorch

# Newer versions of tf are not in conda. tf>=2.4.0 is compatible with conda.
pip install tensorflow-gpu==2.4
conda install pandas
pip3 install waymo-open-dataset-tf-2-4-0 --user
To verify that your Waymo evaluation is working correctly, pass the ground truth labels as predictions for a sanity check. Type the following:
/mnt/home/kumarab6/anaconda3/envs/py36_waymo_tf/bin/python -u data/waymo/waymo_eval.py --sanityYou should see AP numbers as 100 in every entry after running this sanity check.
Train the model:
chmod +x scripts_training.sh
./scripts_training.sh
The current Waymo config files use the full val set in training. For Waymo models, we had subsampled Waymo validation set by a factor of 10 (4k images) to save training time as in DD3D. Change val_split_name from 'val' to 'val_small' in waymo configs to use subsampled Waymo val set.
We provide logs/models/predictions for the main experiments on KITTI Val /KITTI Test/Waymo Val data splits available to download here.
| Data Split | Method | Run Name/Config Yaml | Weights |
|---|---|---|---|
| KITTI Val | GUP Net | config_run_201_a100_v0_1 | gdrive |
| KITTI Val | DEVIANT | run_221 | gdrive |
| KITTI Test | DEVIANT | run_250 | gdrive |
| Waymo Val | GUP Net | run_1050 | gdrive |
| Waymo Val | DEVIANT | run_1051 | gdrive |
Make output folder in the code directory:
mkdir outputPlace models in the output folder as follows:
./code
├── output
│      ├── config_run_201_a100_v0_1
│      ├── run_221
│      ├── run_250
│      ├── run_1050
│      └── run_1051
│
│ ...
Then, to test, run the file as:
chmod +x scripts_inference.sh
./scripts_inference.shTo get qualitative plots, type the following:
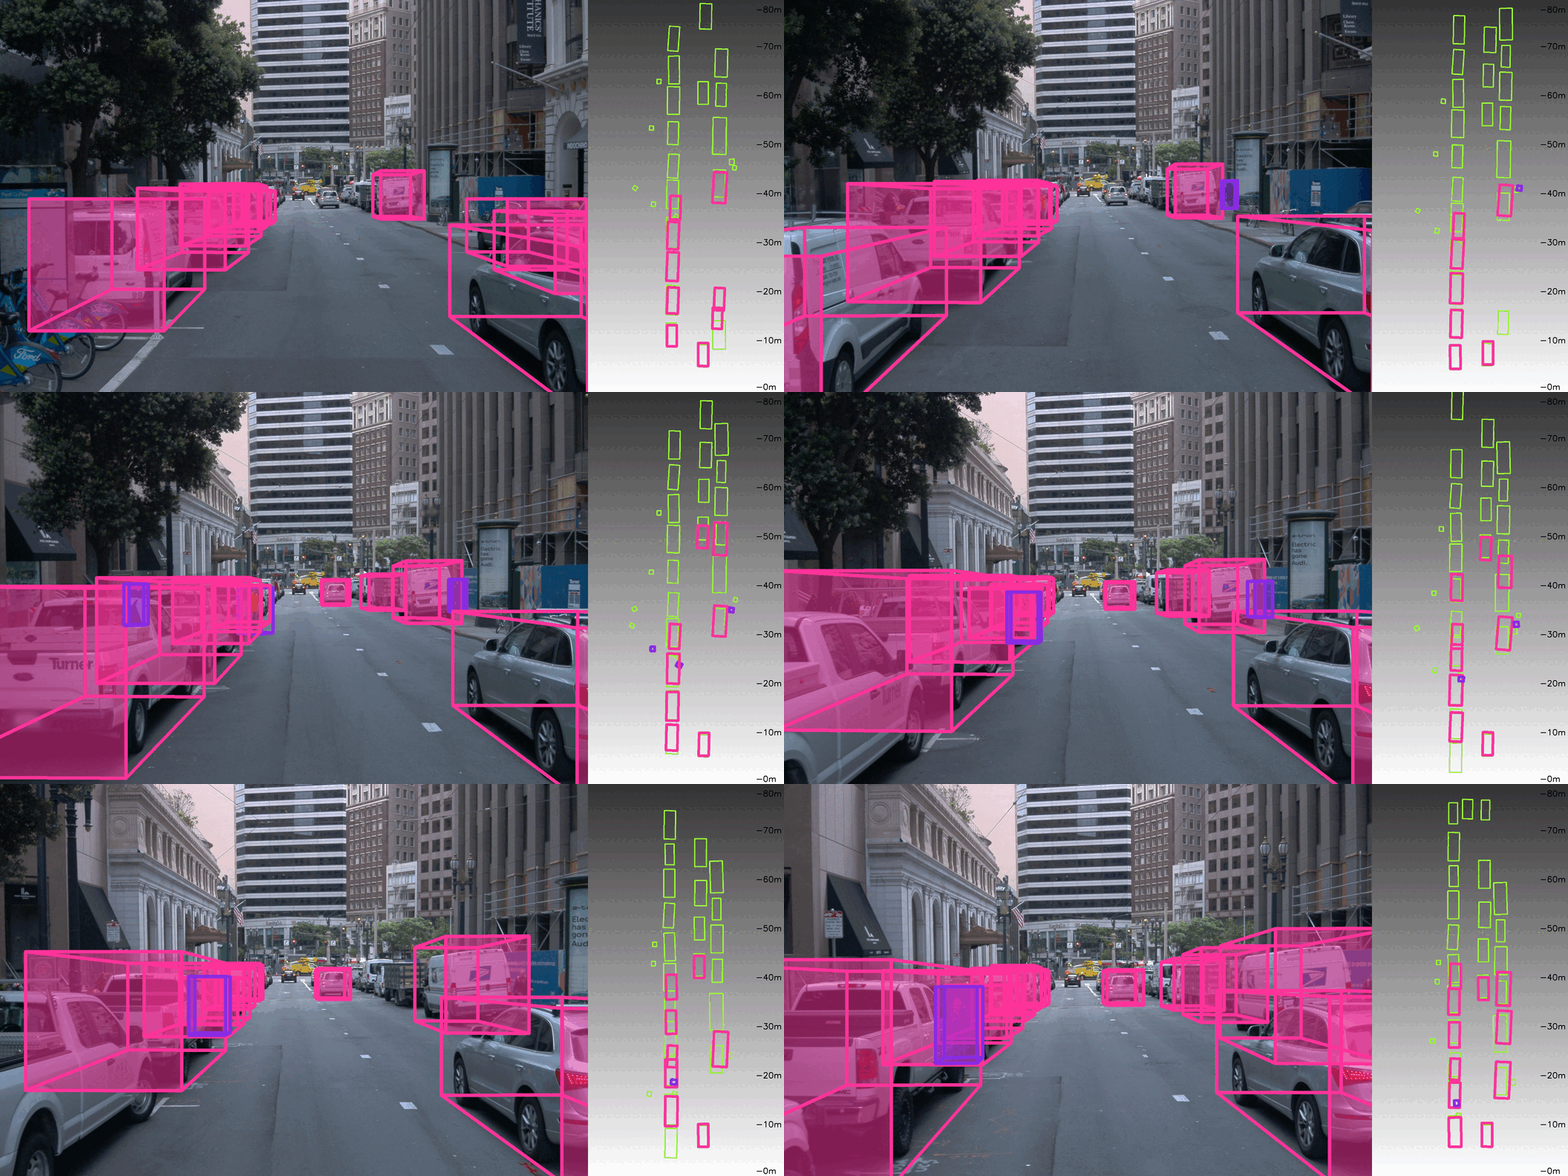
python plot/plot_qualitative_output.py --dataset waymo --folder output/run_1051/results_test/dataType the following to reproduce our other plots:
python plot/plot_sesn_basis.py
python plot/visualize_output_of_cnn_and_sesn.py- Inference on older cuda version For inference on older cuda version, type the following before running inference:
source cuda_9.0_env- Correct Waymo version You should see a 16th column in each ground truth file inside
data/waymo/validation/label/. This corresponds to thenum_lidar_points_per_box. If you do not see this column, run:
cd data/waymo
python waymo_check.py
to see if num_lidar_points_per_box is printed. If nothing is printed, you are using the wrong Waymo dataset version and you should download the correct dataset version.
- Cannot convert a symbolic Tensor (strided_slice:0) to a numpy array This error indicates that you're trying to pass a Tensor to a NumPy call". This means you have a wrong numpy version. Install the correct numpy as:
pip install numpy==1.19.5We thank the authors of GUP Net, GrooMeD-NMS, SiamSE, PCT and patched nuscenes-devkit for their awesome codebases. Please also consider citing them.
For questions, feel free to post here or drop an email to this address- abhinav3663@gmail.com
