Python wrapper for working with stepper motor controllers using the libximc library.
-
Install the required dependencies. To do this, go to the scripts folder and run the script:
- install_for_py_36_37.bat if you work in Windows with Python version 3.6-3.7;
- install_for_py_38_311.bat if you work in Windows with Python version 3.8-3.11;
- install_for_py_36_37.sh if you work in Linux with Python version 3.6-3.7;
- install_for_py_38_311.sh if you work in Linux with Python version 3.8-3.11.
-
At the prompt, go to the jupyter_demo folder and run the command:
-
if you work in Windows:
venv\Scripts\python -m jupyter notebook jupyter_demo.ipynb
-
if you work in Linux:
venv/bin/python3 -m jupyter notebook jupyter_demo.ipynb
-
-
Then follow the instructions from the jupyter_demo.ipynb example.
-
Sign in to your Google account in browser.
-
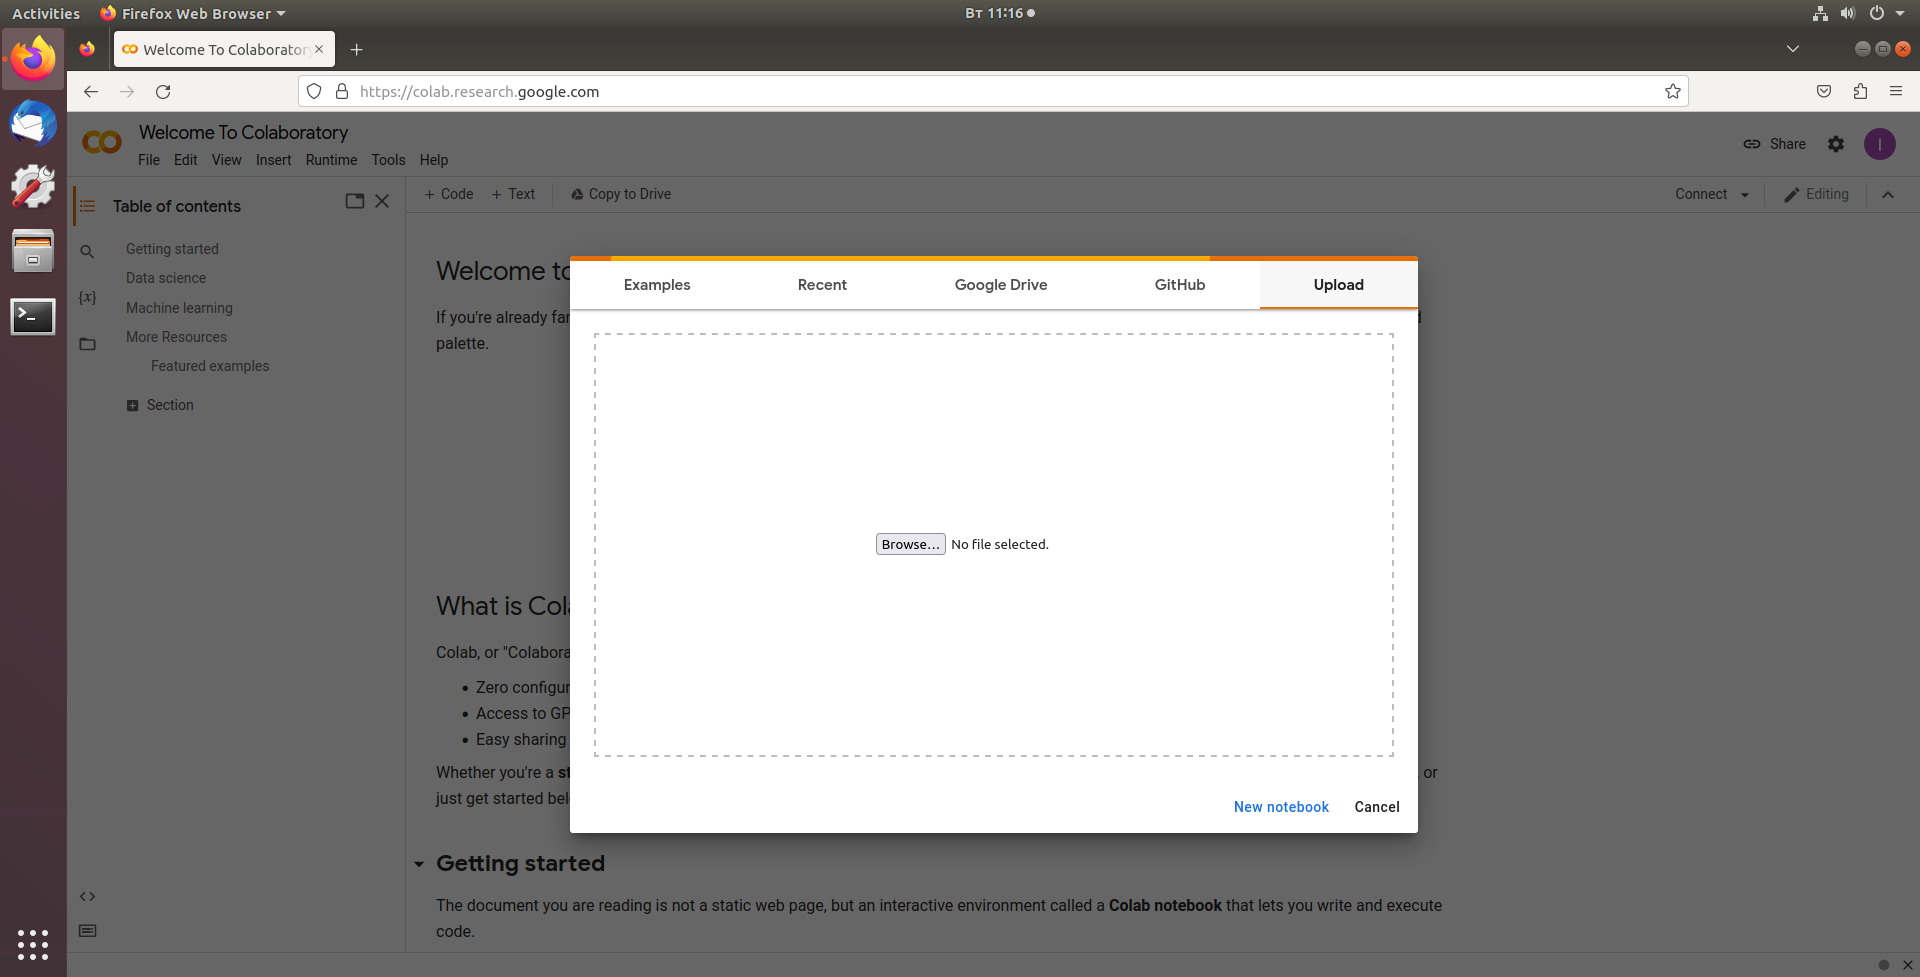
Open Google Colab in browser.
-
In the window that appears, select "Upload" and select the file jupyter_demo.ipynb.
-
Then follow the instructions from the jupyter_demo.ipynb example.

The application has been tested on the following machines:
- Windows 10, Python 3.6.8 (64 bit), 3.7.9 (64 bit), 3.8.10 (64 bit), 3.9.13 (64 bit), 3.10.7 (64 bit), 3.11.1 (64 bit). There is a problem installing Jupyter Notebook on Python 32 bit (you can read about the problem, for example, [here](https://stackoverflow.com/questions/67343397/how-to-fix-errors-occurring-on-installation-of -jupyter-notebook)). Therefore, to work, you need to use Python 64 bit;
- Ubuntu 18.04, Python 3.6.9, 3.8.16, 3.10.9;
- Ubuntu 20.04, Python 3.8.10, 3.10.9, 3.11.1.
Python-обертка для работы с контроллерами шаговых двигателей с помощью библиотеки libximc.
-
Установите необходимые зависимости. Для этого перейдите в папкy scripts и выполните скрипт:
- install_for_py_36_37.bat, если вы работаете в Windows с Python версии 3.6-3.7;
- install_for_py_38_311.bat, если вы работаете в Windows с Python версии 3.8-3.11;
- install_for_py_36_37.sh, если вы работаете в Linux с Python версии 3.6-3.7;
- install_for_py_38_311.sh, если вы работаете в Linux с Python версии 3.8-3.11.
-
В командной строке перейдите в папку jupyter_demo и выполните команду:
-
если вы работаете в Windows:
venv\Scripts\python -m jupyter notebook jupyter_demo.ipynb
-
если вы работаете в Linux:
venv/bin/python3 -m jupyter notebook jupyter_demo.ipynb
-
-
Далее следуйте инструкции из примера jupyter_demo.ipynb.
-
В браузере войдите в ваш аккаунт Google.
-
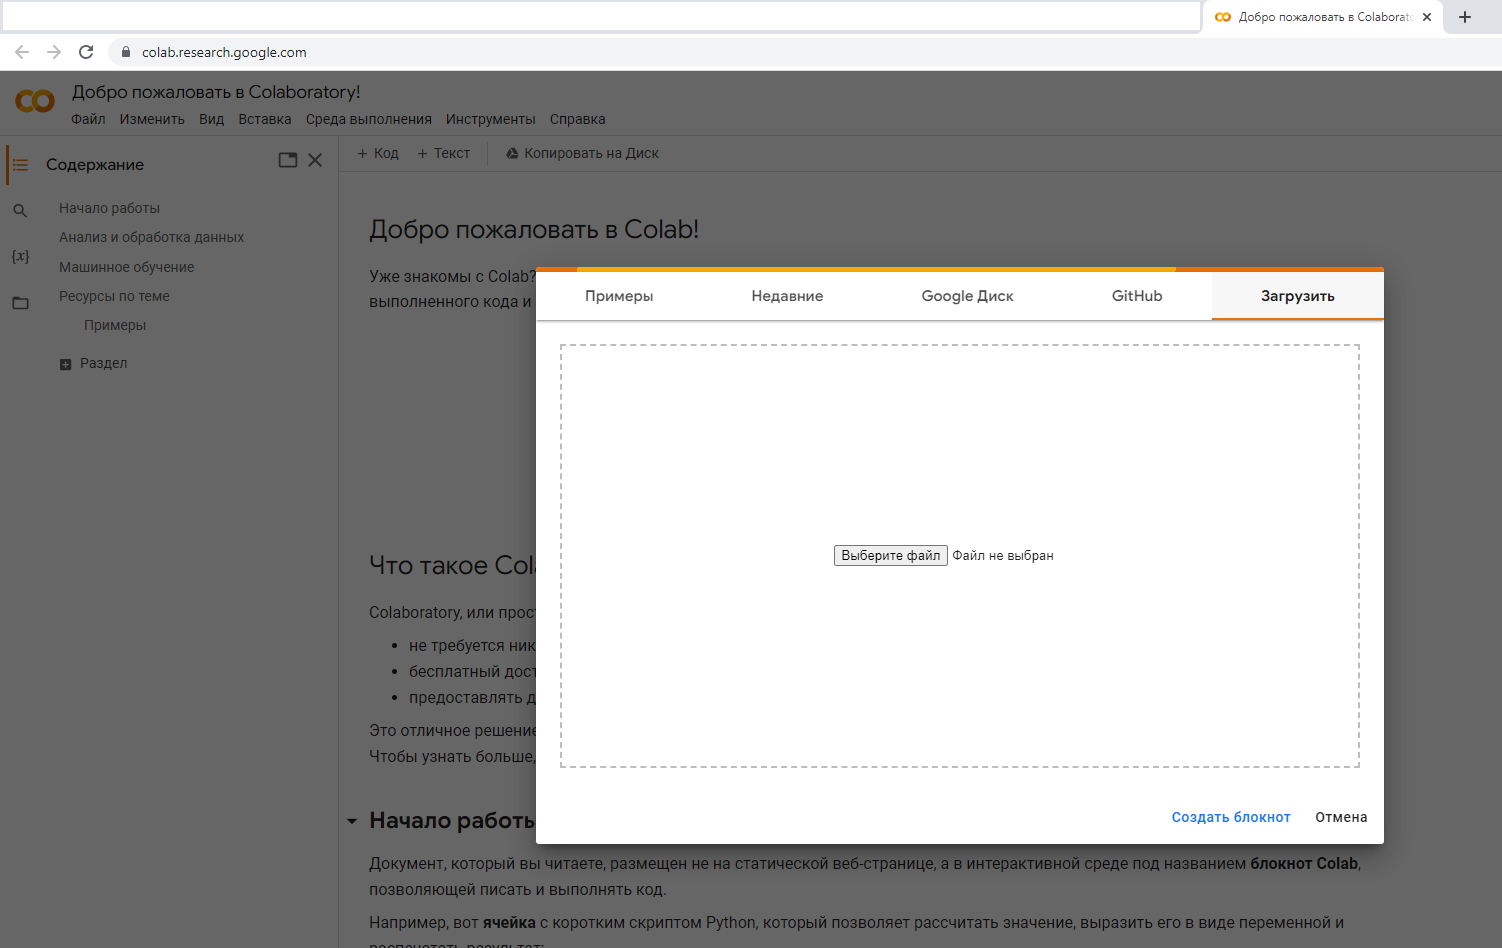
Откройте в браузере Google Colab.
-
В появившемся окошке выберите "Загрузить" и выберите файл jupyter_demo.ipynb.
-
Далее следуйте инструкции из примера jupyter_demo.ipynb.

Работа приложения была проверена на следующих машинах:
- Windows 10, Python 3.6.8 (64 bit), 3.7.9 (64 bit), 3.8.10 (64 bit), 3.9.13 (64 bit), 3.10.7 (64 bit), 3.11.1 (64 bit). Имеется проблема установки Jupyter Notebook на Python 32 bit (о проблеме можно почитать, например, здесь). Поэтому для работы нужно использовать Python 64 bit;
- Ubuntu 18.04, Python 3.6.9, 3.8.16, 3.10.9;
- Ubuntu 20.04, Python 3.8.10, 3.10.9, 3.11.1.